Your cart is currently empty!
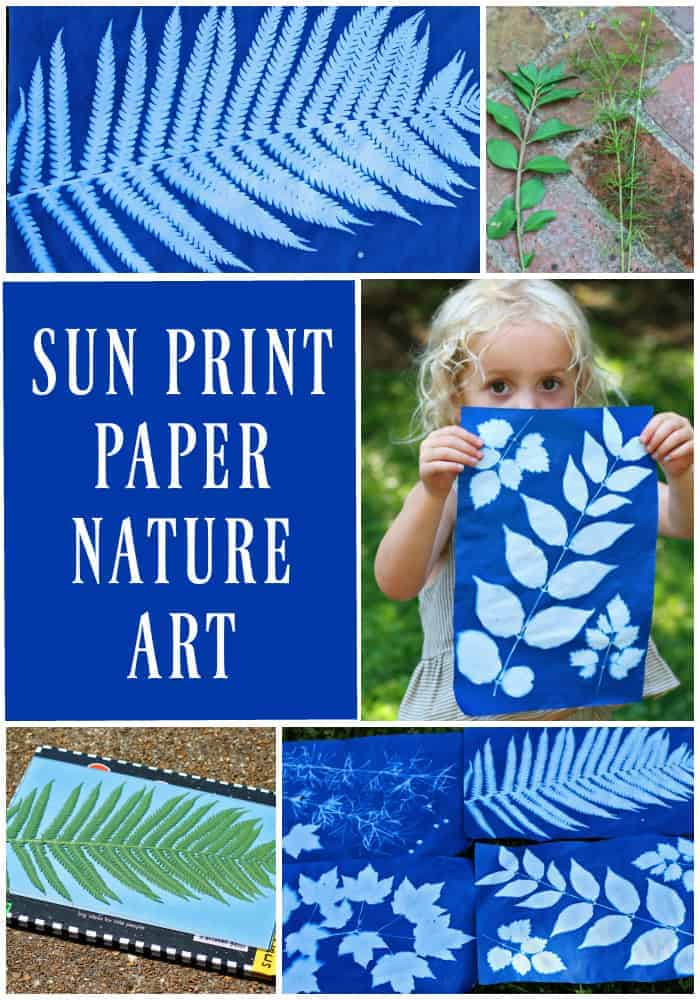
Sun Print Paper Nature Art
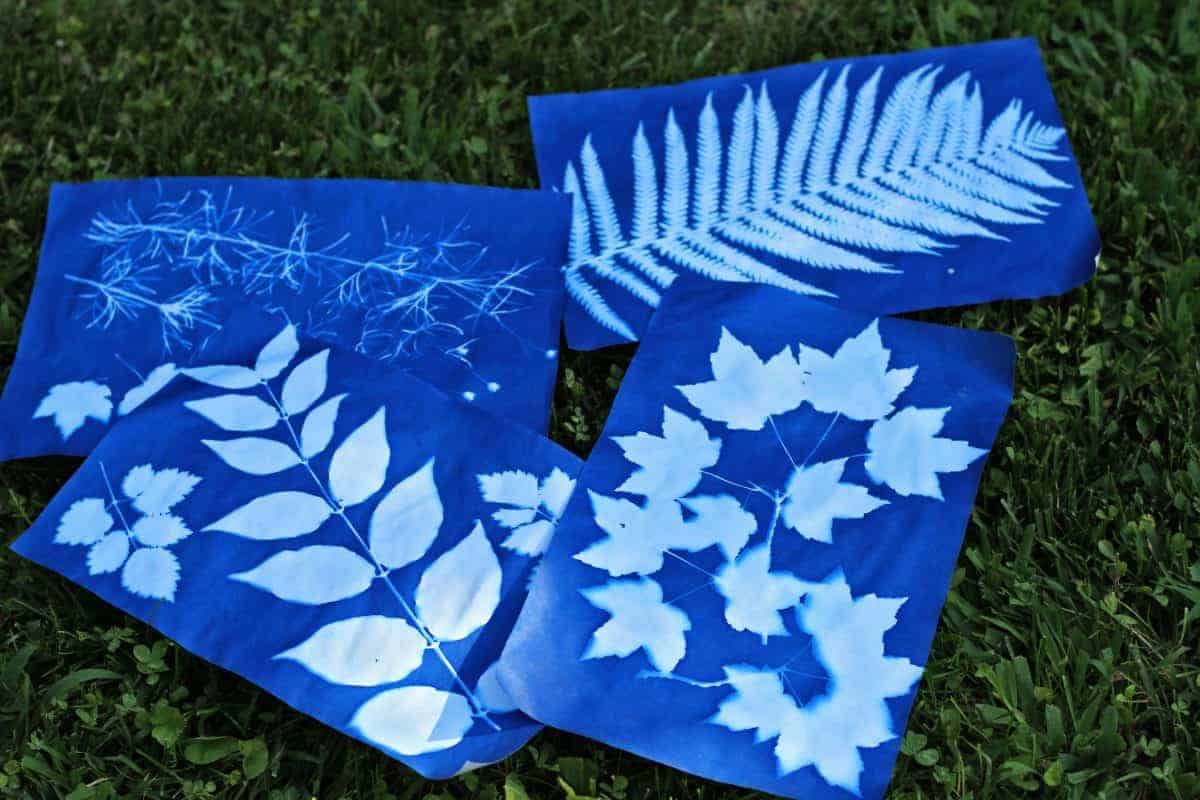
The great solar eclipse of 2017 has passed (it was really cool, wasn’t it?!), but that doesn’t mean you can’t still have some fun experimenting with the sun and its powers. If your kids had a chance to view the eclipse, hopefully, it sparked a curiosity in them about our solar system, the sun, and science. Making nature art using sun print paper is a great way to teach kids about the sun and shadows. It also encourages them to be observant of shapes, patterns, and sizes of leaves, plants and nature objects. Plus, you get some really gorgeous art prints out of it that would look so pretty framed or turned into wrapping paper or greeting cards. It’s a win/win/win!
Sun print paper
Sun print paper is relatively new to me, but has been around for a long time. Sunprinting, also called cyanotype or “blueprinting,” is the oldest non-silver photographic printing process. The paper is coated with light-sensitive chemicals, which react to light waves and particles when exposed to sunlight. When you place objects on the paper, they block the light (paper remains white), while the areas on the paper around them turn a beautiful Prussian blue (ferric ferrocyanide). Water stops the process and fixes your images on the paper.
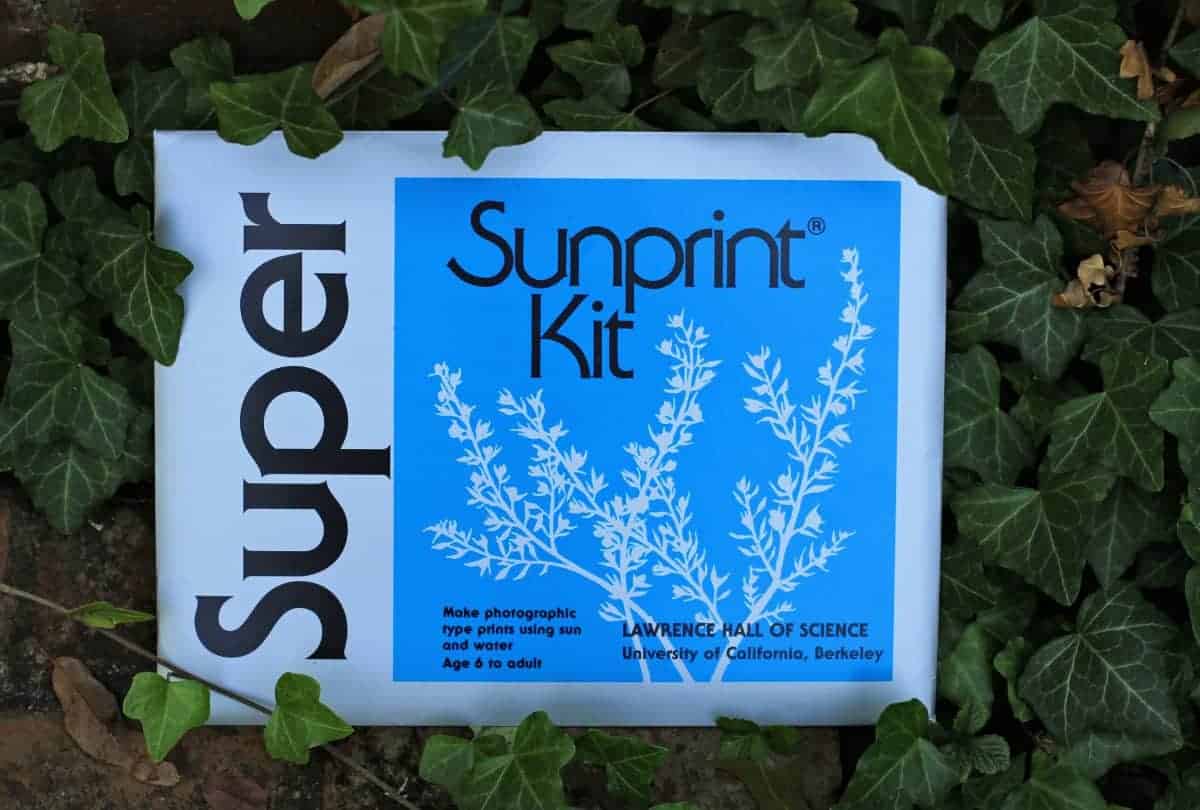
You can get sun print paper at many local crafts stores, or order it online. The paper comes in a variety of sizes and can be purchased in a kit with an acrylic sheet included. I bought this kit (affiliate link) – Super Sunprint Kit – from Amazon for about $12, which contains 15 sheets of paper and a heavy acrylic sheet.
Nature items to use for sun print art
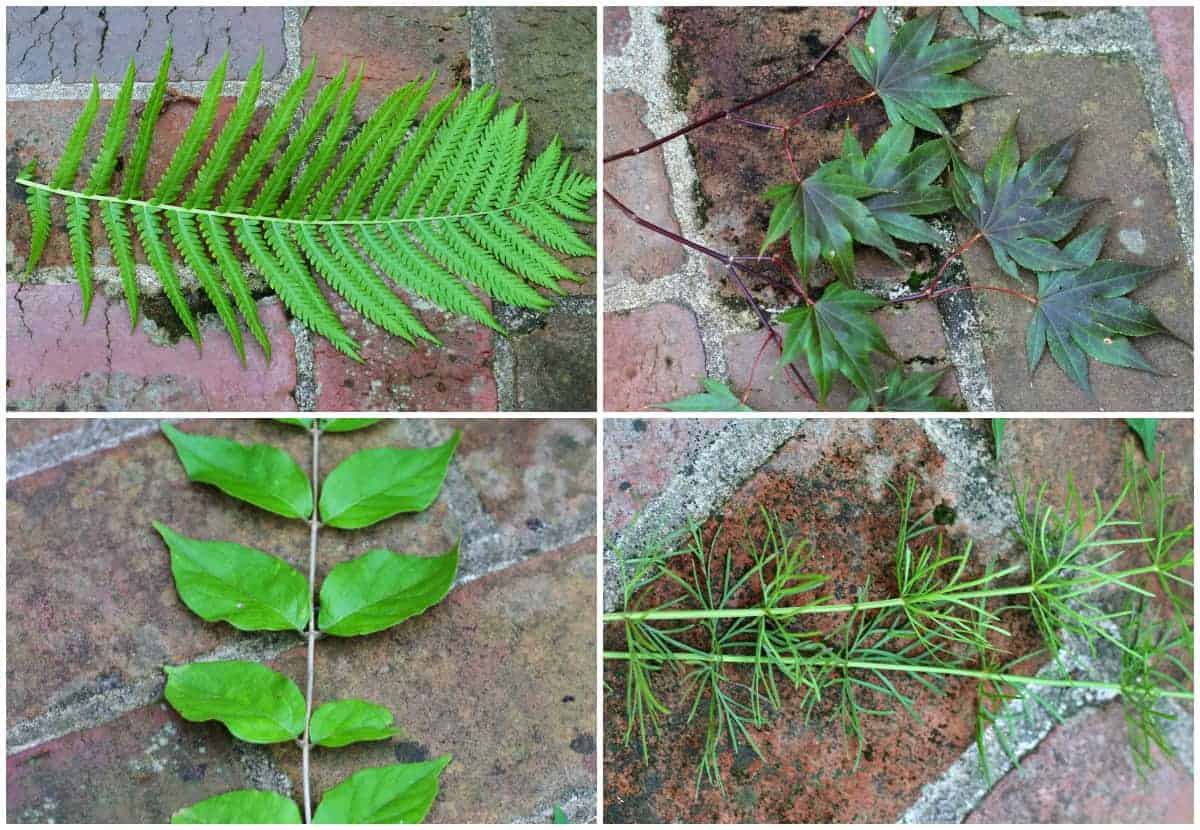
Part of the fun of making the sun prints with kids is collecting items from around our neighborhood to use. We chose all leaves this time, but there are so many items you can use, from everyday household things (paperclips, buttons) to all natural items. Here’s a fun list of nature-inspired objects that your kids could collect and use:
- flowers
- flower petals
- feathers
- algea
- moss
- clovers
- leaves
- shells
- starfish
- dead butterfly/moth
- seedpods
Step 1 – What you need
- sun print paper
- an acrylic sheet or frame of glass
- heavy cardboard base (or thick book)
- a sink/tub full of water
- fun and interesting nature objects to print
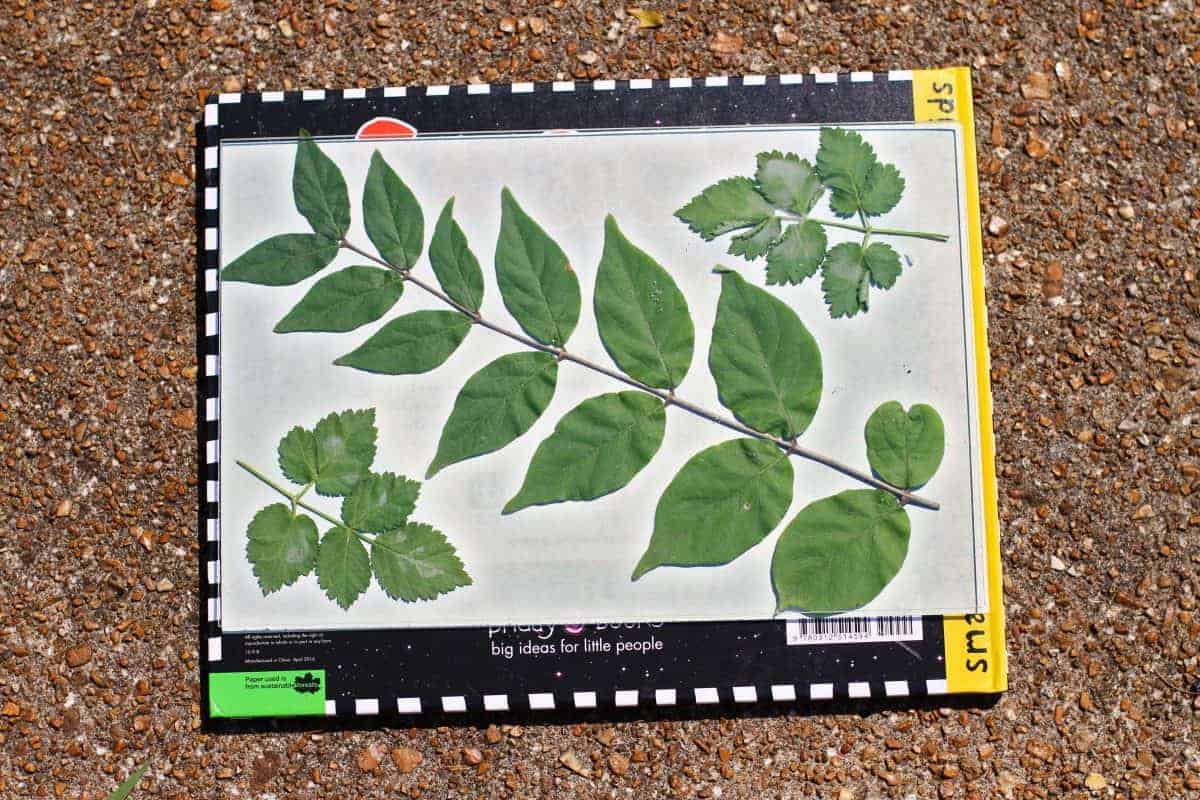
Step 2 – Arrange your objects
Because the blue molecules embedded in the sun print paper are sensitive to ultra-violet light, it’s best to arrange your objects on the paper in a dark room. Direct sunlight will expose the paper quickly, but even ambient light in the shade, or in a room with a big window will cause slow exposure of the paper. Turn out all the lights and draw the shades, before assembling.
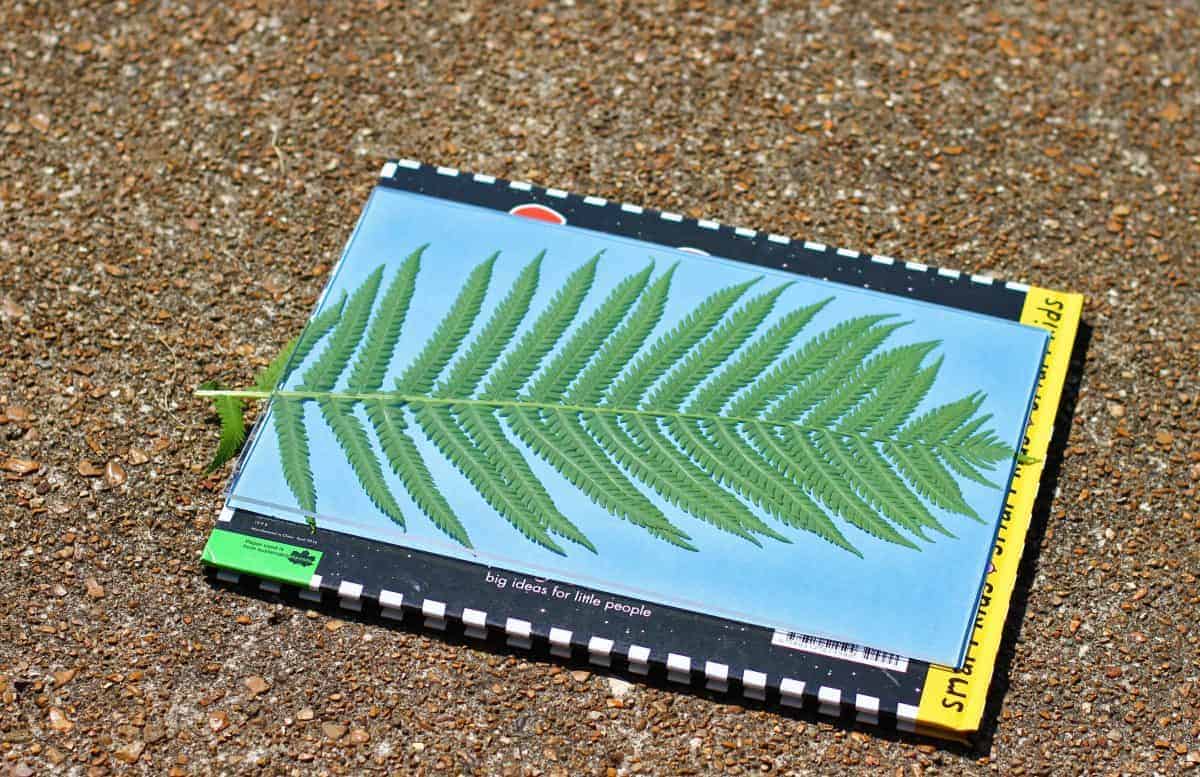
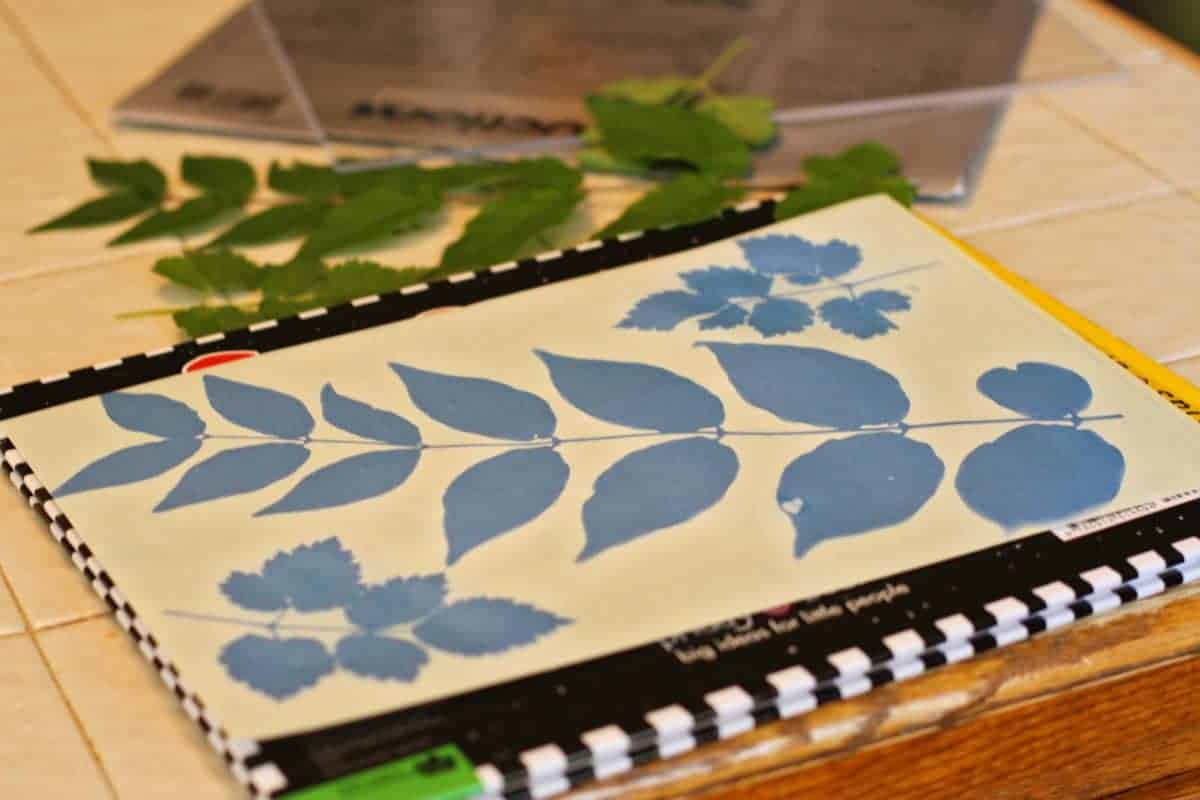
Start with a hard cardboard base layer – we used a thick flat book. Then arrange your items in an interesting pattern on the sun print paper, blue-side up. Try to keep things from overlapping too much and carefully spread out individual leaves or flower petals. You can make shapes, make a landscape, combine patterns and objects or keep it simple. There’s no right or wrong way to set everything up, so let your kids play around with the items until they’re happy.
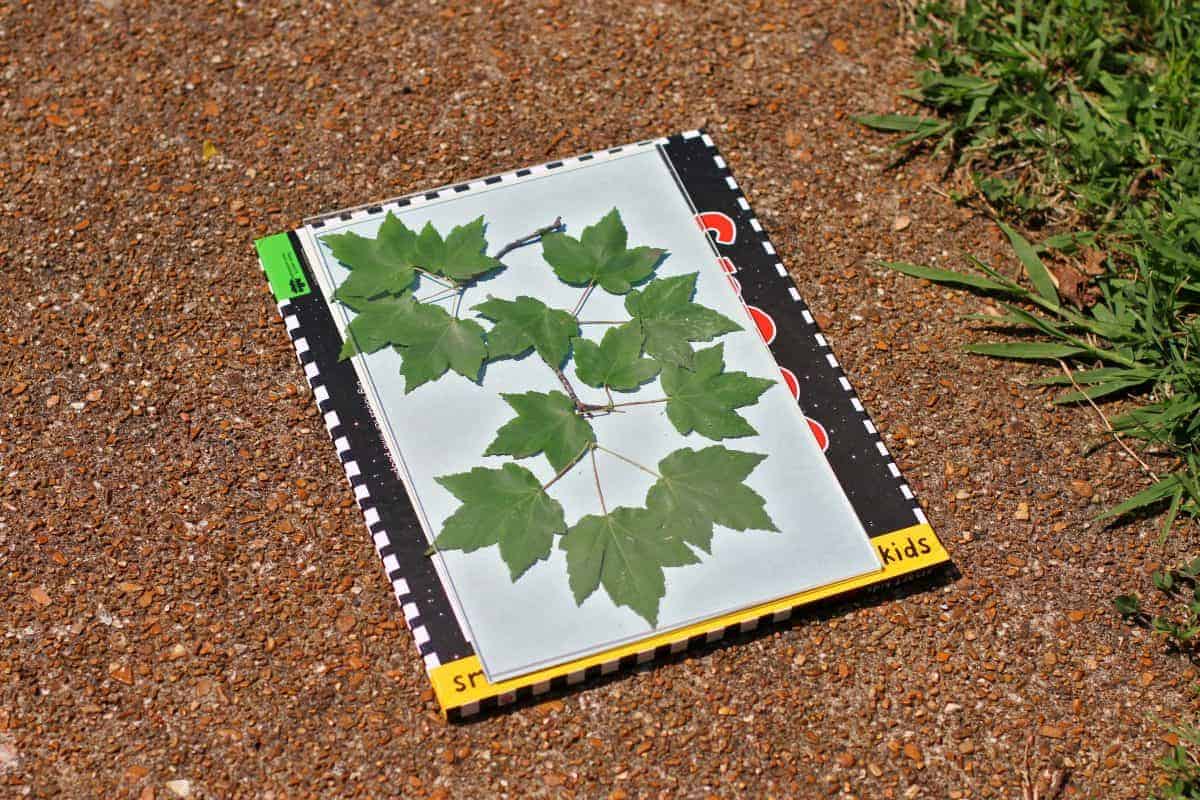
Step 3 – Place the acrylic sheet on top to flatten
When you’ve got everything arranged on the paper exactly how you want it, place a sheet of thick acrylic or glass on top to hold everything in place. My sun print paper kit came with a heavy sheet of acrylic, but you can also use a piece of glass from a picture frame. Using an acrylic pressing sheet will not only hold flat objects in place, but it also helps sharpen the edges between blue and white in your final print. The ambient sunlight outdoors will find its way underneath the edges of your objects if they are not pressed firmly to the paper, and you will get sun prints with blended contrasts.
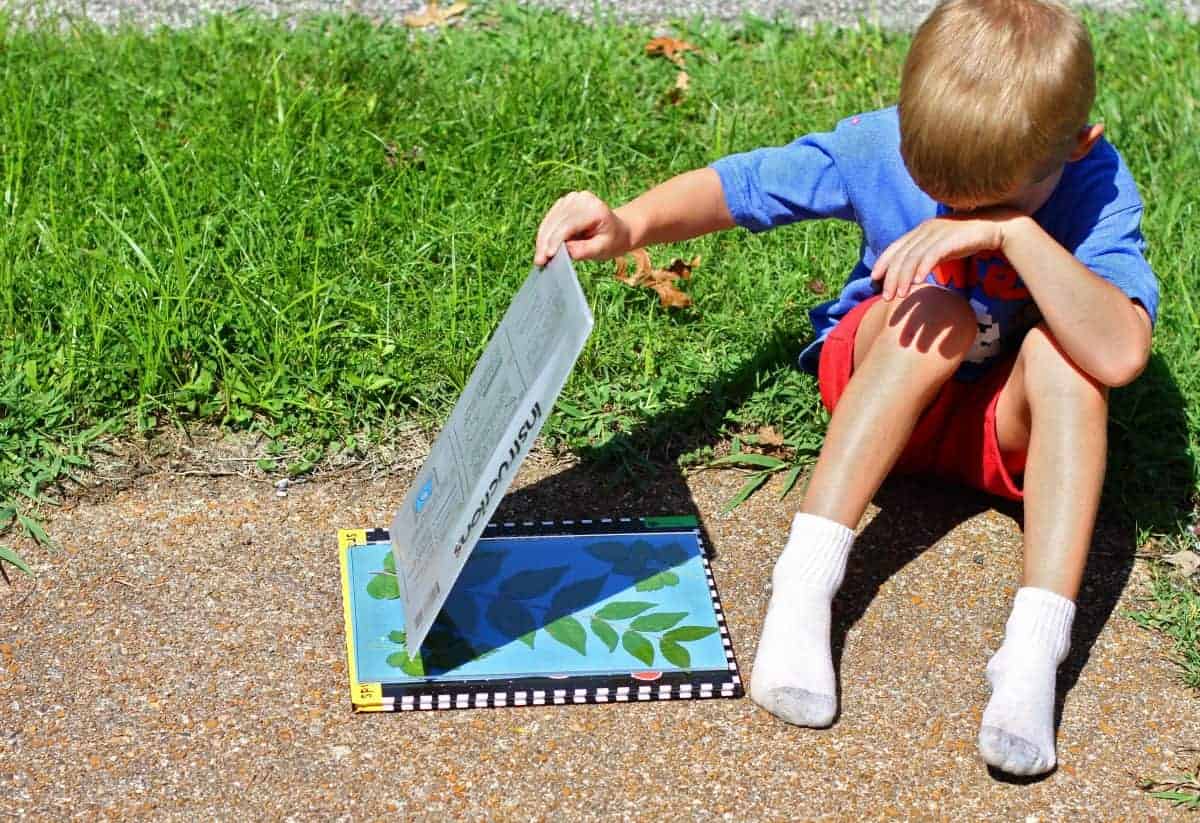
Step 4 – Take your sun paper outside
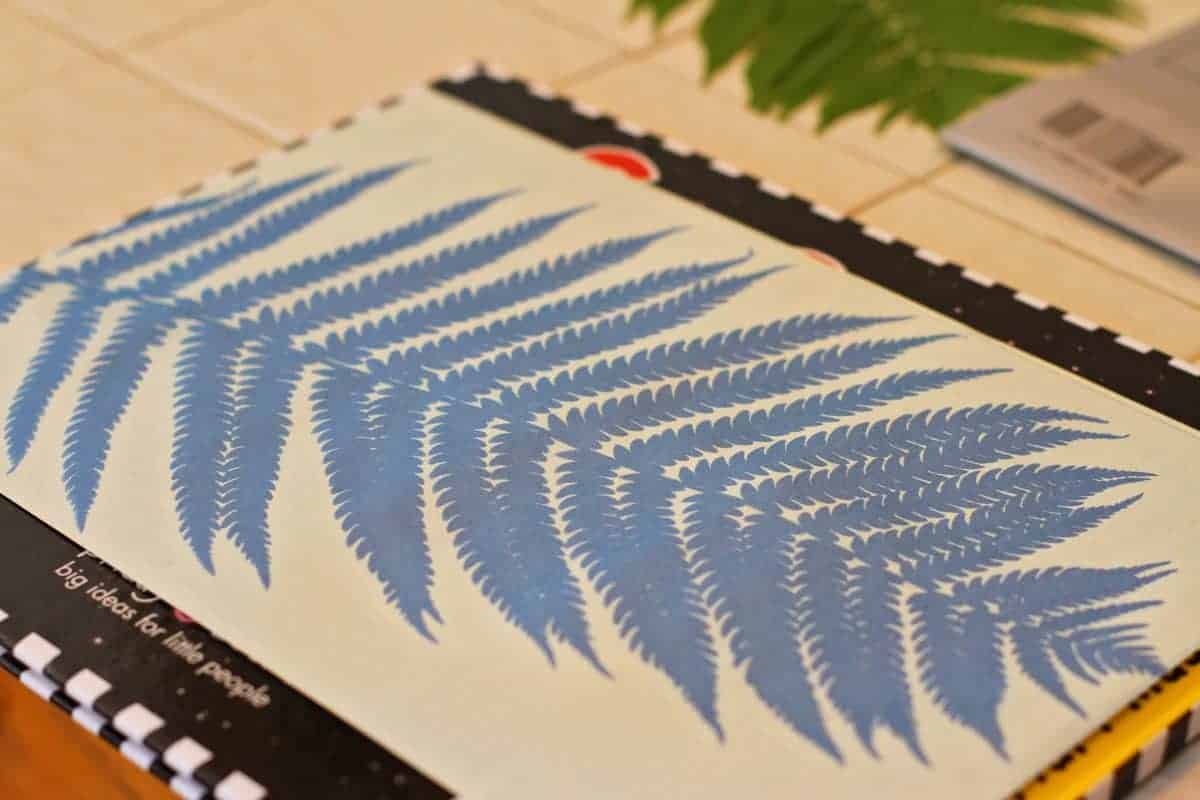
Once you have everything set up (cardboard, sun print paper, nature items, acrylic sheet), then you’re ready for sunlight! Take everything outside and let the sun work it’s magic from 2-5 minutes, depending on the strength of the rays. The areas of the paper exposed to the sun will fade from blue to white. When you see most of the color disappear from the paper, your print has been fully exposed. If no direct sunlight is available, don’t worry–just expose your print a little longer and wait for the same fading effect. Under cloud cover, the process may take 5-20 minutes depending on the thickness of the clouds.
*What is happening in this step? Two crucial molecules in the paper are interacting, forming a new molecule. Their interaction is initiated by specific wavelengths of ultra-violet light. The new molecule is colorless so that as the blue molecules are converted, the white of the paper base begins to show through. Areas of the paper covered by your objects still contain the original blue molecule, so they remain blue.
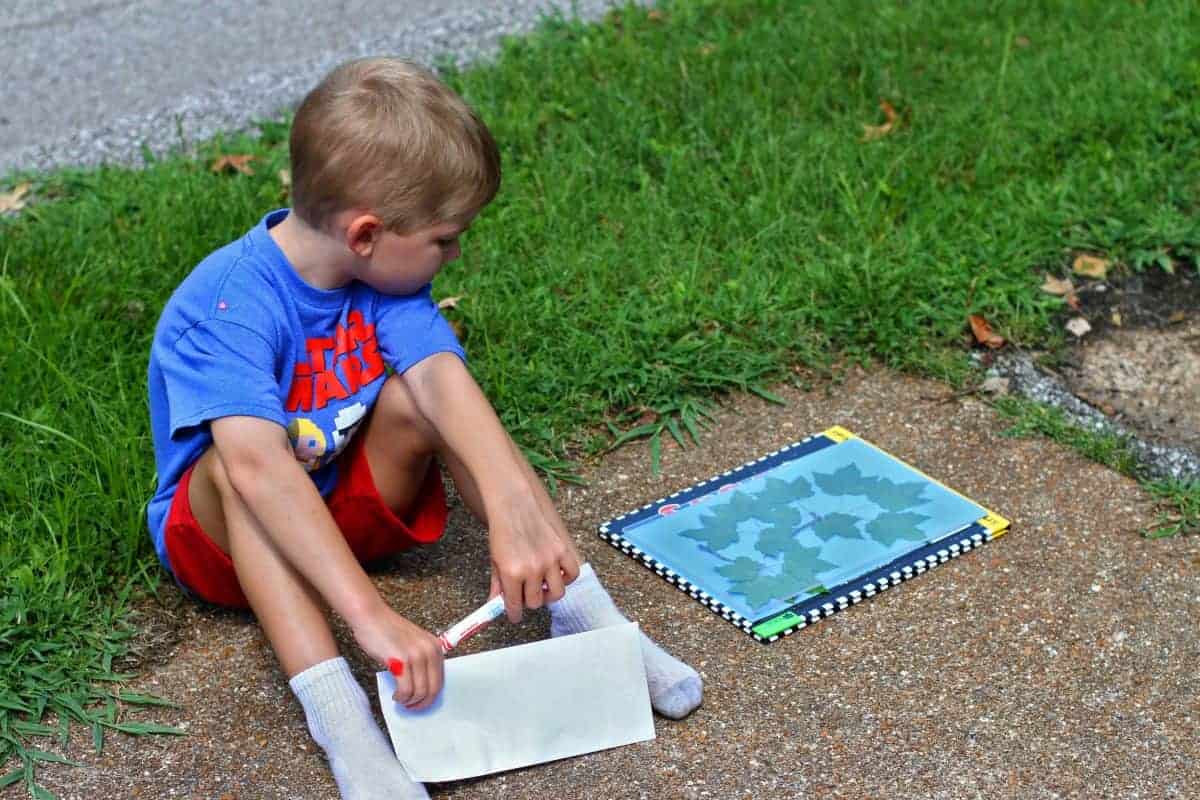
Step 5 – Rinse your sun print in water
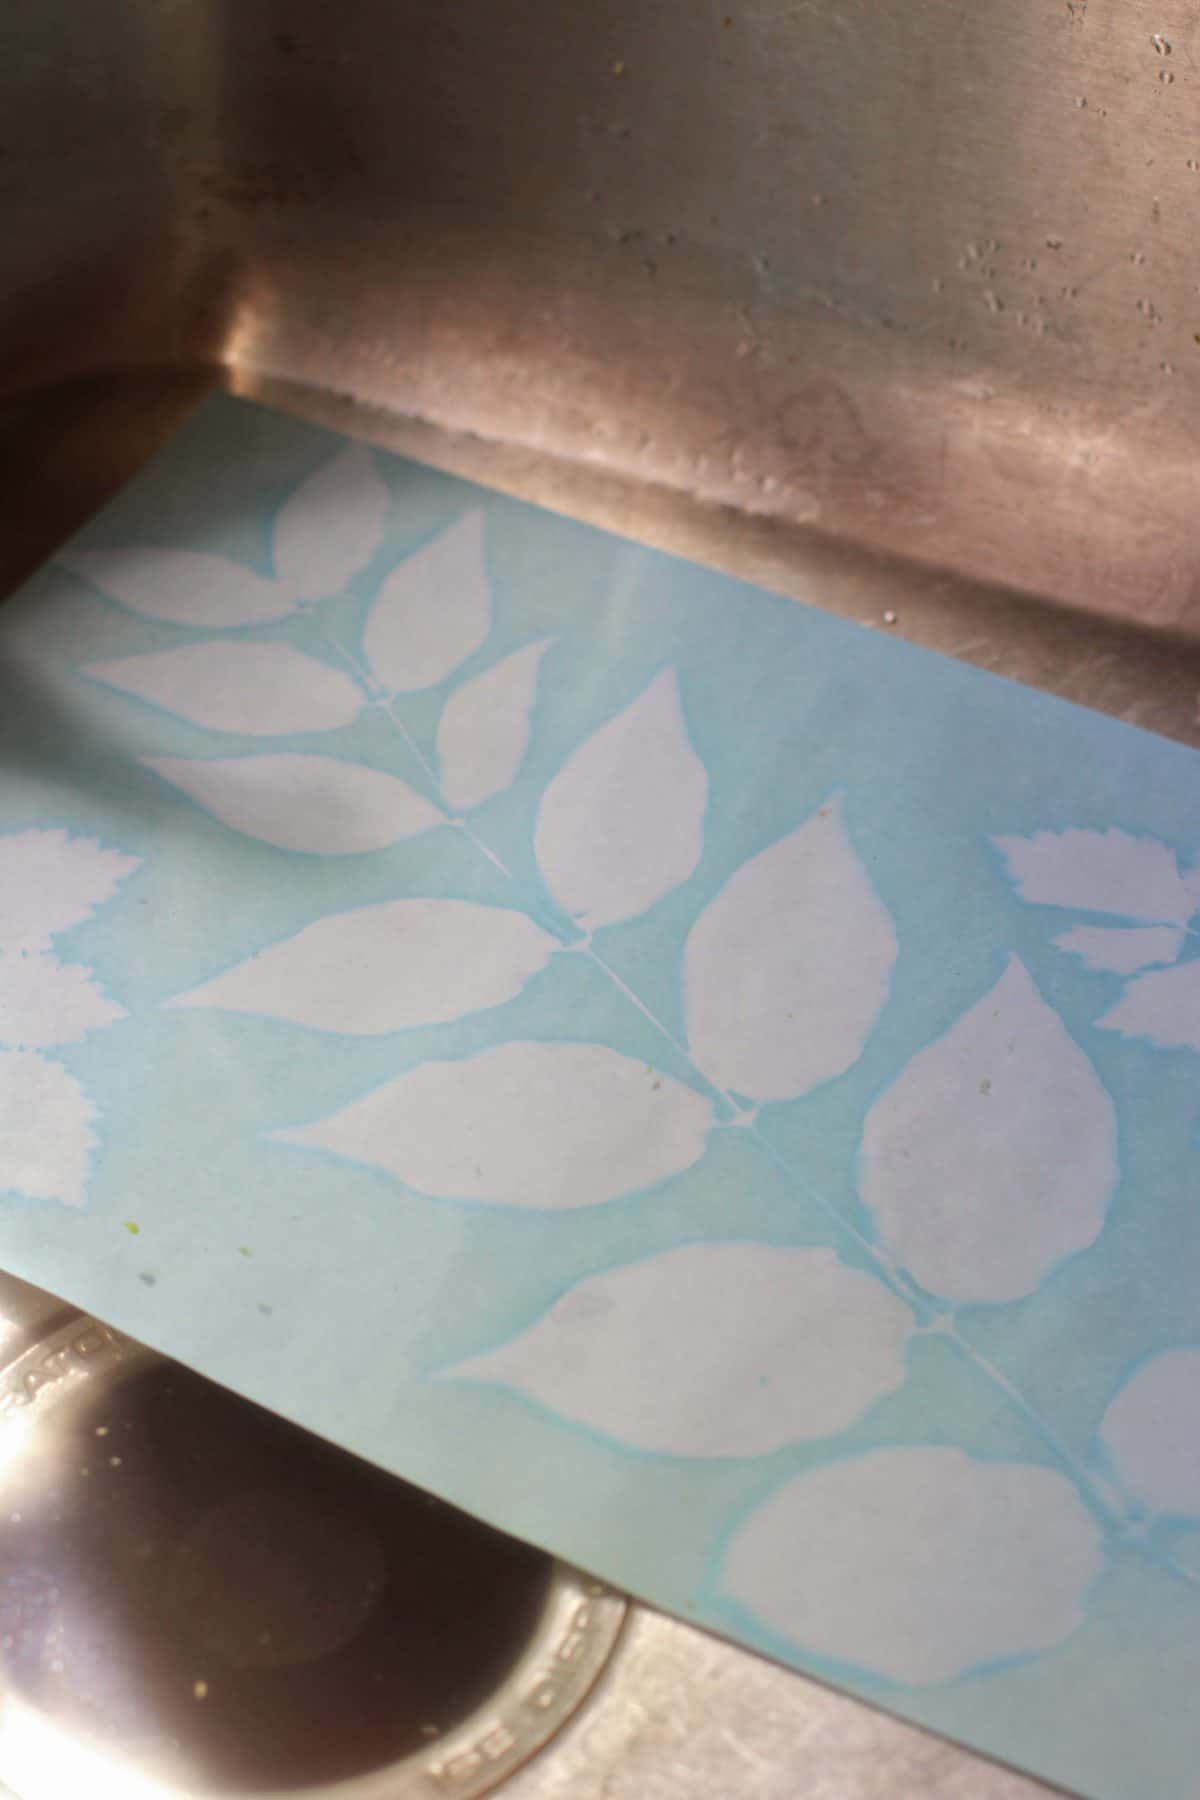
Once your exposed paper has turned almost white, remove the objects and rinse the paper in water to stop the chemical reaction. As the paper is submerged, watch the white turn into blue and the blue turn into white! To get the deepest blue that the paper can give, leave it in the water for 1-5 minutes.
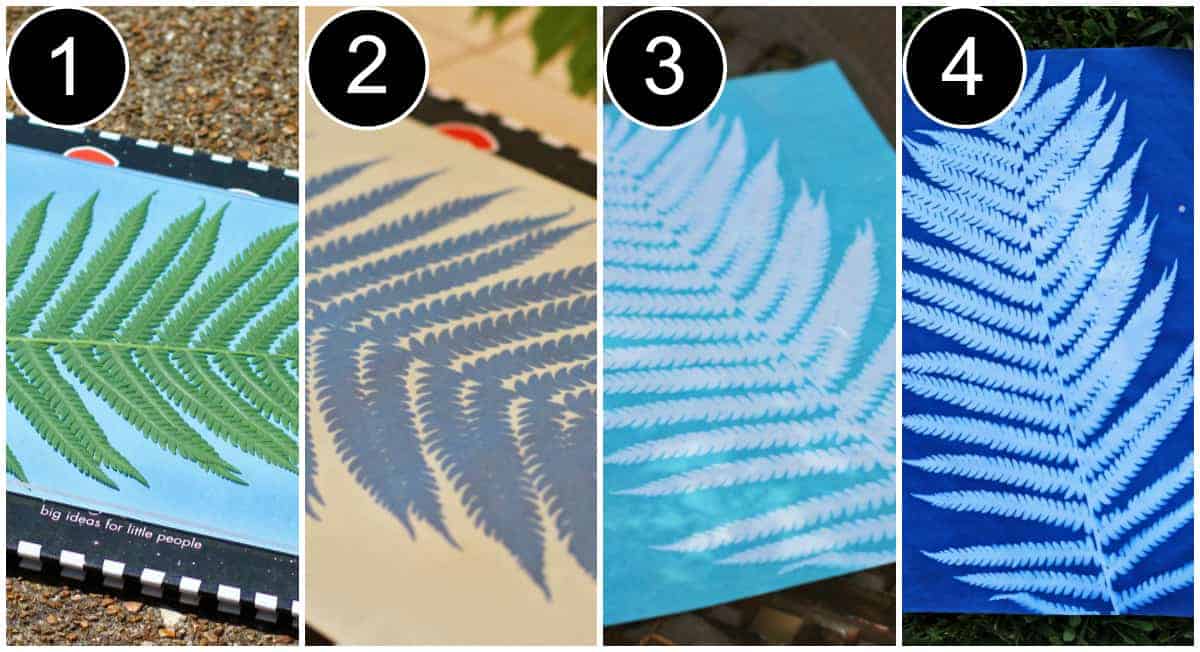
*There are two exciting things happening to the paper while it is underwater. First, the original blue compound is water soluble, so that when you immerse it in the bath, the water carries it away, leaving only the white paper base in those areas. Second, the colorless compound whose formation was caused by the sun’s energy is not water soluble, so it cannot wash away in the water bath. It is sensitive to the water in another way. Just as the sun’s light stimulated a chemical change in the previous step, the water stimulates another chemical change in this one. The water causes an oxidation reaction that turns the colorless compound into the deep blue of a finished sun print.
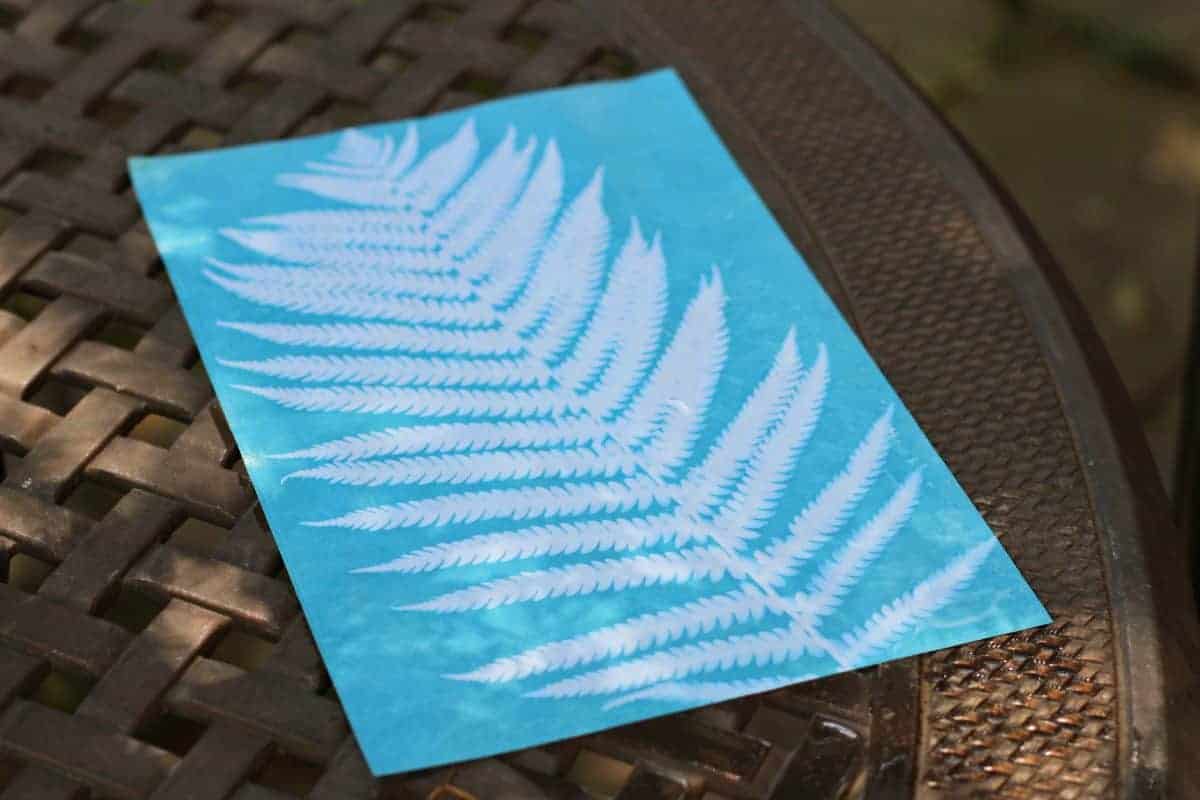
Step 6 – Lay your sun print flat and allow it to dry
Once rinsed, lay your sun print paper out on something absorbent and allow it to dry. You can use a paper towel or a piece of cardboard. Putting it on something absorbent will help to avoid the formation of water spots by drawing the water away from the paper and keep the paper from curling on the edges. When you take your paper out of the water, the active chemical will not have finished oxidizing. The water remaining in the paper will do the job before it evaporates. By the time it is all gone you will have a beautiful, deep blue sun print!
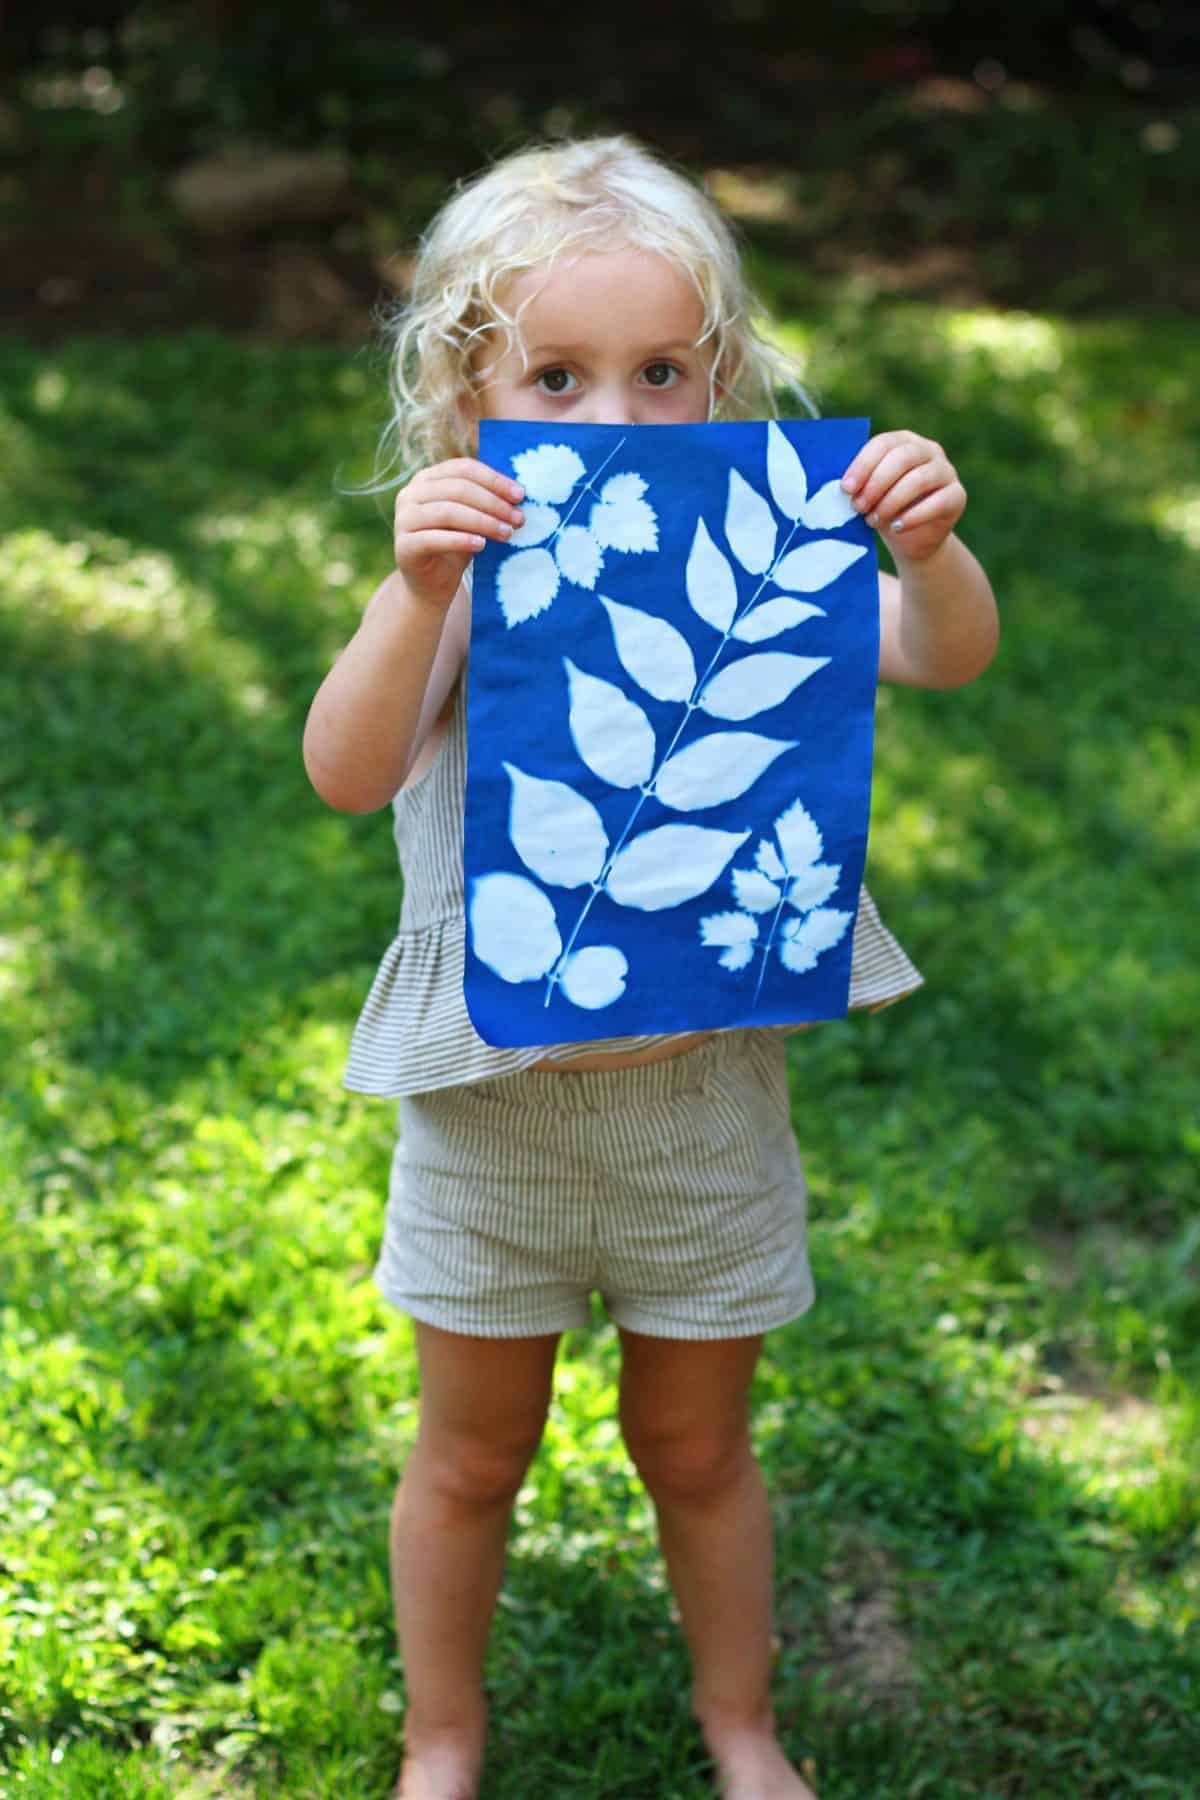
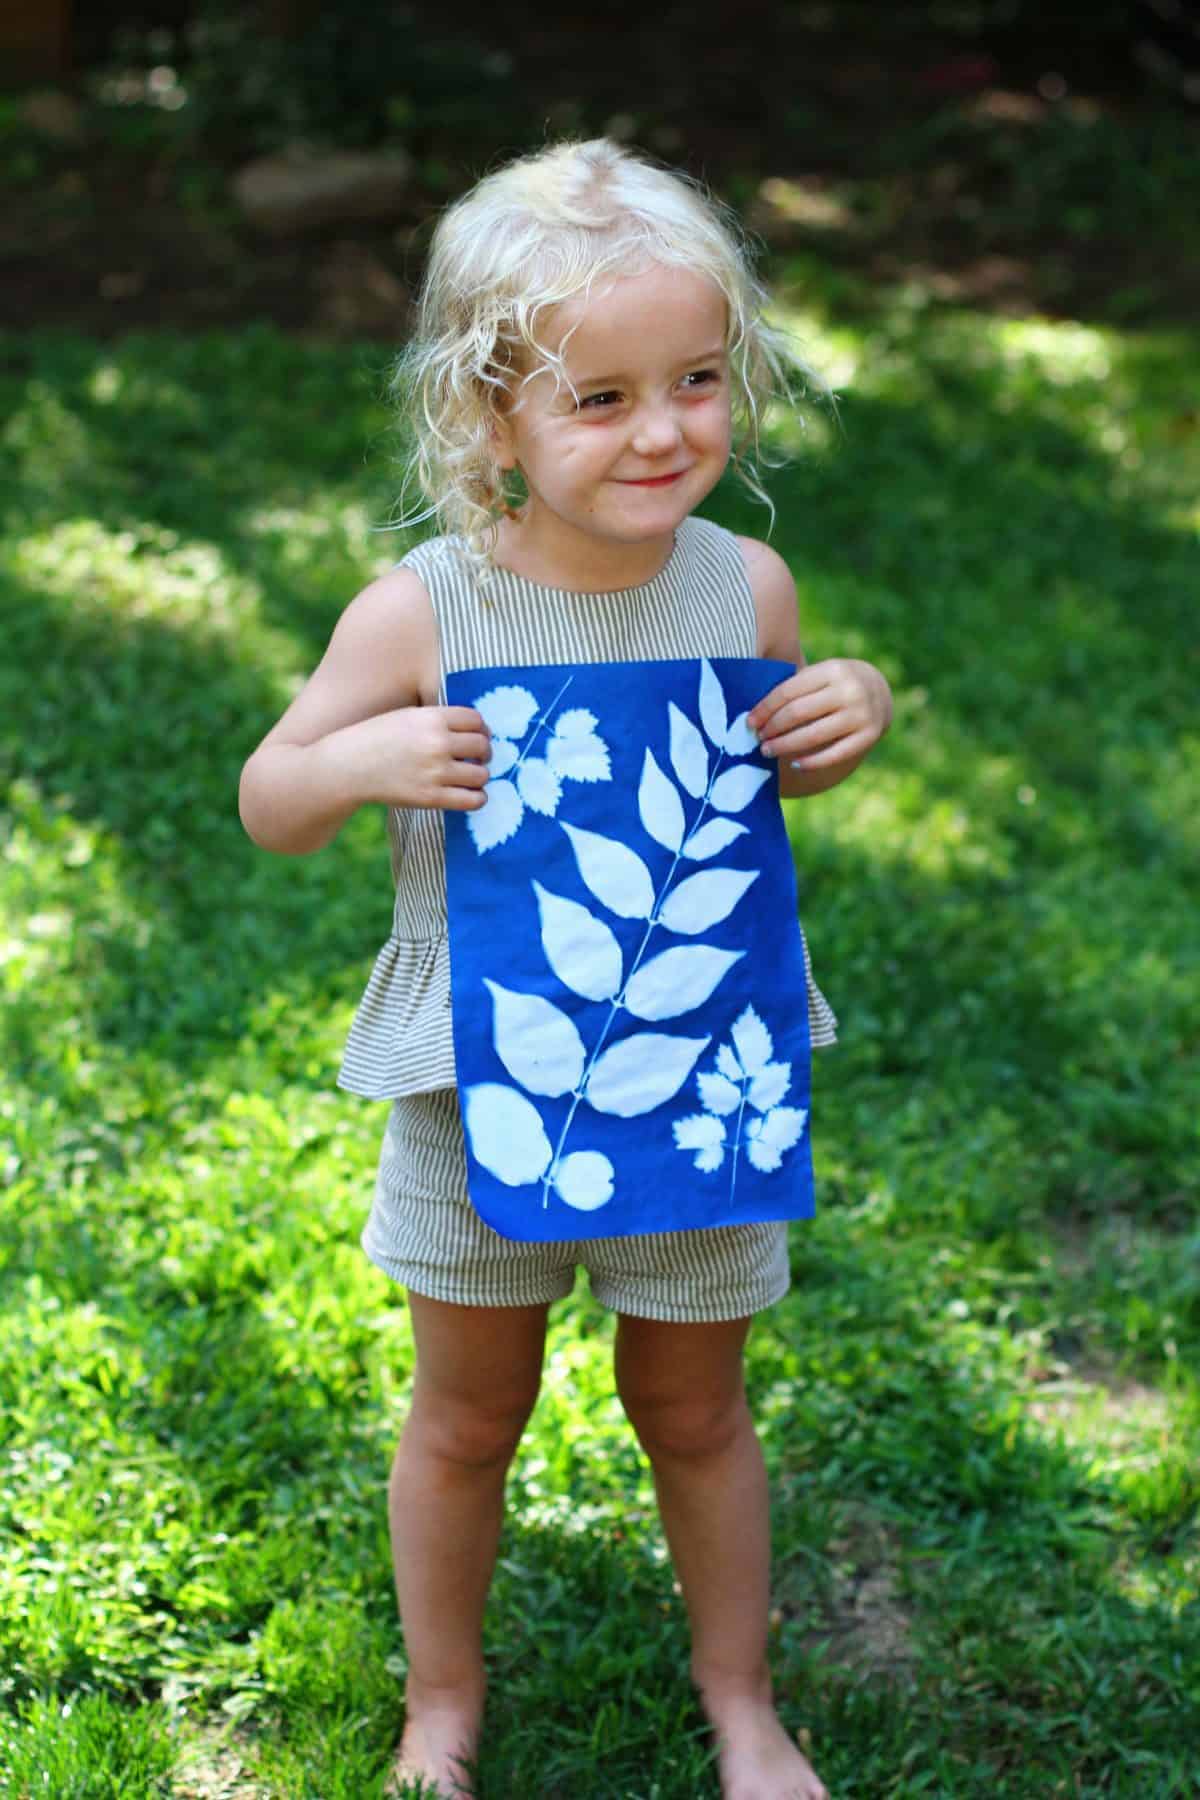
Put your sun prints to use
Once your paper is dry, there are so many things you can do with it. Frame them and make a gallery of nature art. Fold the paper and turn them into greeting or thank you cards. Use the paper as wrapping paper for small gifts and items. Cover a box with the paper and use it to keep small treasures safe. The possibilities are endless!
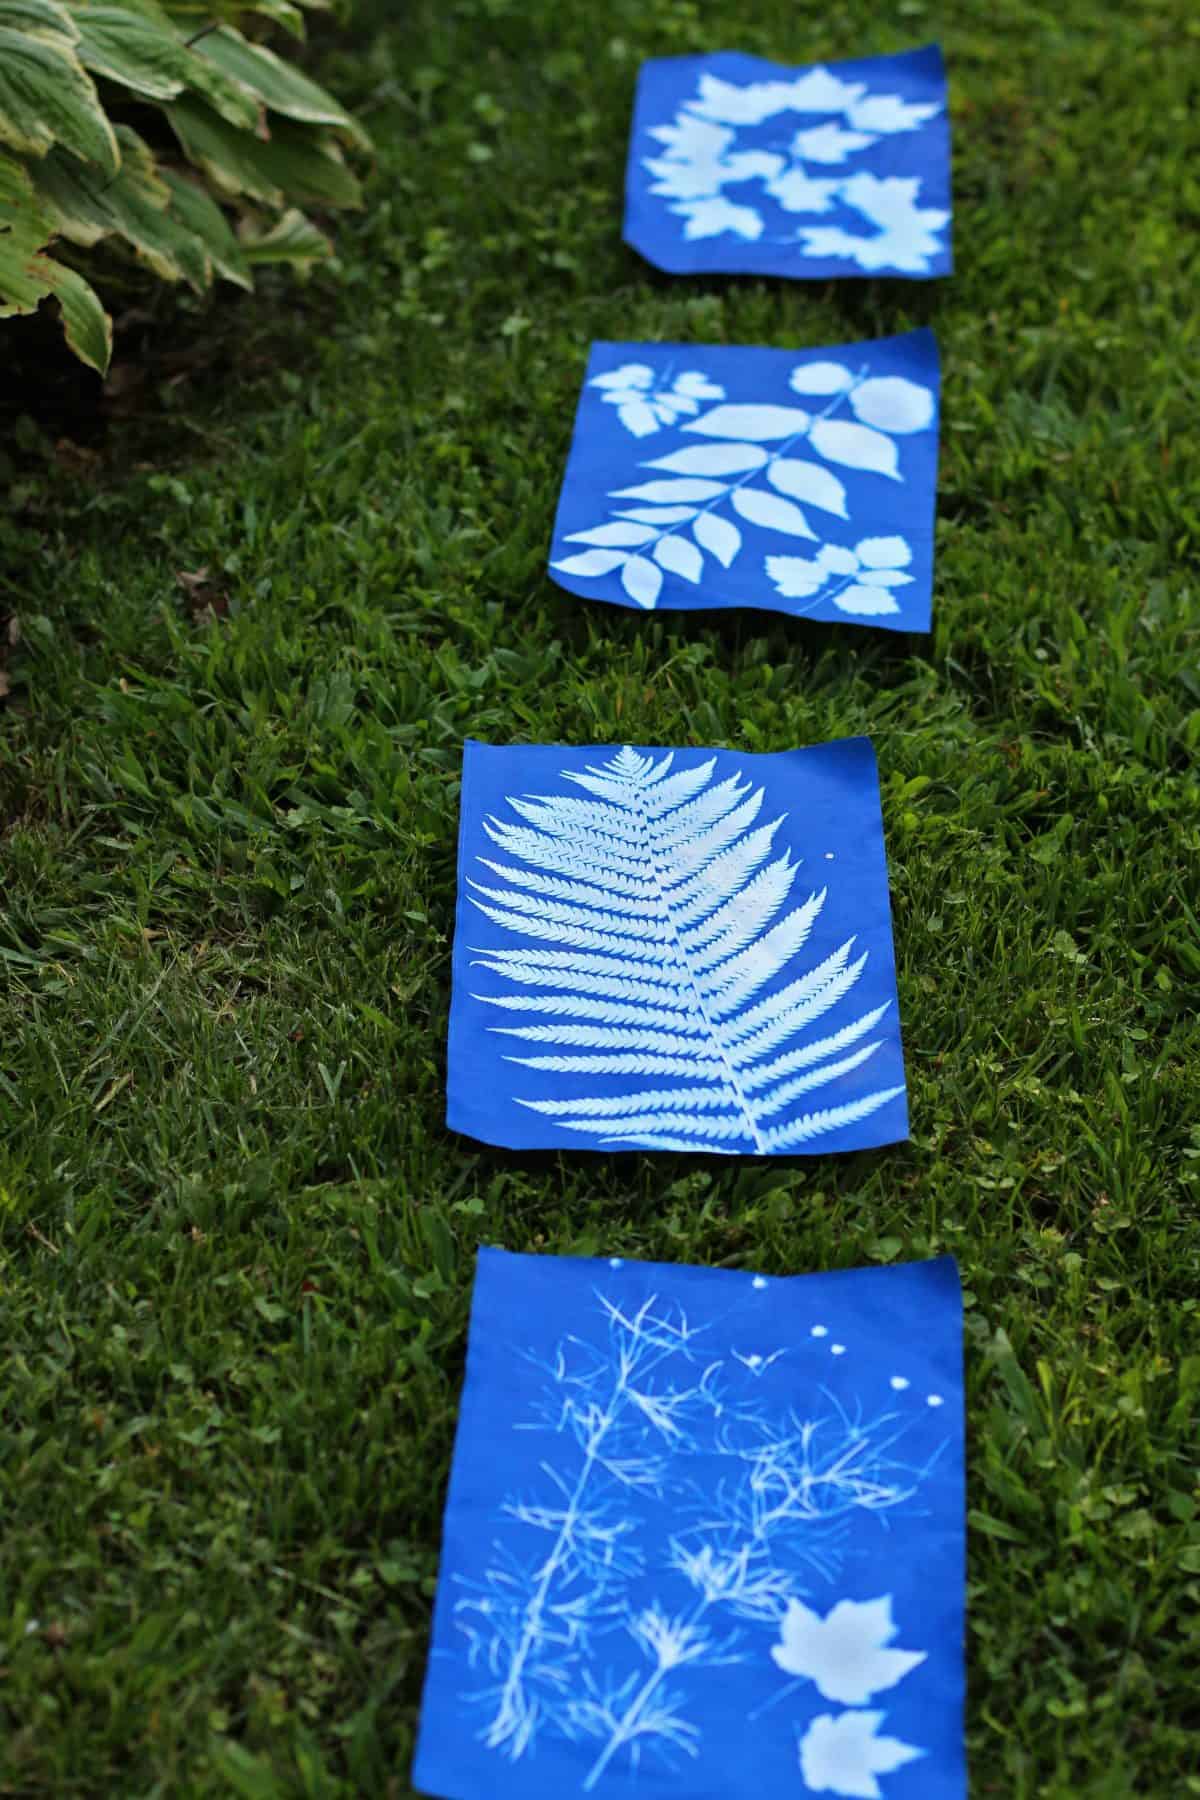

Have you ever experimented with sun print paper?
*Information contained in this post found on www.sunprints.org/how-it-works
Comments
17 responses to “Sun Print Paper Nature Art”
I still don’t understand..
I want an example of an indirect printing, using leaves[…] would look so pretty framed or turned into wrapping paper or greeting cards. See our full post on sun prints for more […]
[…] are lots of different ways to make them. Some use plastic wrap or plexiglass, while others use special photosensitive paper. I even found a fun experiment using […]
[…] Making Sun Print Nature Art with Kids – Run Wild My Child […]
[…] a flower crown, place some leaves and flowers on sun art paper to make a beautiful print, or try your hand at making a suncatcher out of tissue paper or […]
[…] Have you ever made a sun print? You can create your very own piece of art by using sun print paper, natural materials, and the sun. It is almost a magical process. Get step-by-step instructions from Run Wild My Child. […]
[…] summer holidays gameplans!) is science-meets-art activity making cyanotype pictures like these. You can buy paper from Amazon or Myriad (who sell solar cloth as well). There’s some […]
[…] you ever heard of sun paper? This awesome Sun Paper Nature Craft was brand new to me, and I love it! Have fun using the sun and elements of nature to make your own […]
I used to use these sheets with my students when I taught in a juvenile detention facility. Luckily we had big windows and I would bring in all the natural elements for them to choose from. We’d make them into cards for family. It was a nice way to bring a little nature into a cold place. Well worth the price.
[…] Solo tienes que seguir las indicaciones del papel de impresión solar para poder hacer unas preciosas impresiones naturales. Tu hijo o hija quedará fascinado ante este fantástico efecto y el resultado os gustará a todos. Solo tenéis que elegir los elementos que formarán parte de vuestra composición y ya tendréis un ilustración única de la primavera. Si tienes cualquier duda puedas consultar este tutorial. […]
[…] Source: runwildmychild.com […]
[…] Source: runwildmychild.com […]
[…] Learn more: Run Wild My Child […]
[…] Be taught Extra: Run Wild my Child […]
[…] Learn More: Run Wild My Child […]
[…] Be taught Extra: Run Wild My Child […]
[…] One of our favorite easy fall crafts for kids is making Sun Print nature pictures. […]

Leave a Reply