Your cart is currently empty!
How to Make 3 DIY Nature Crowns for Kids
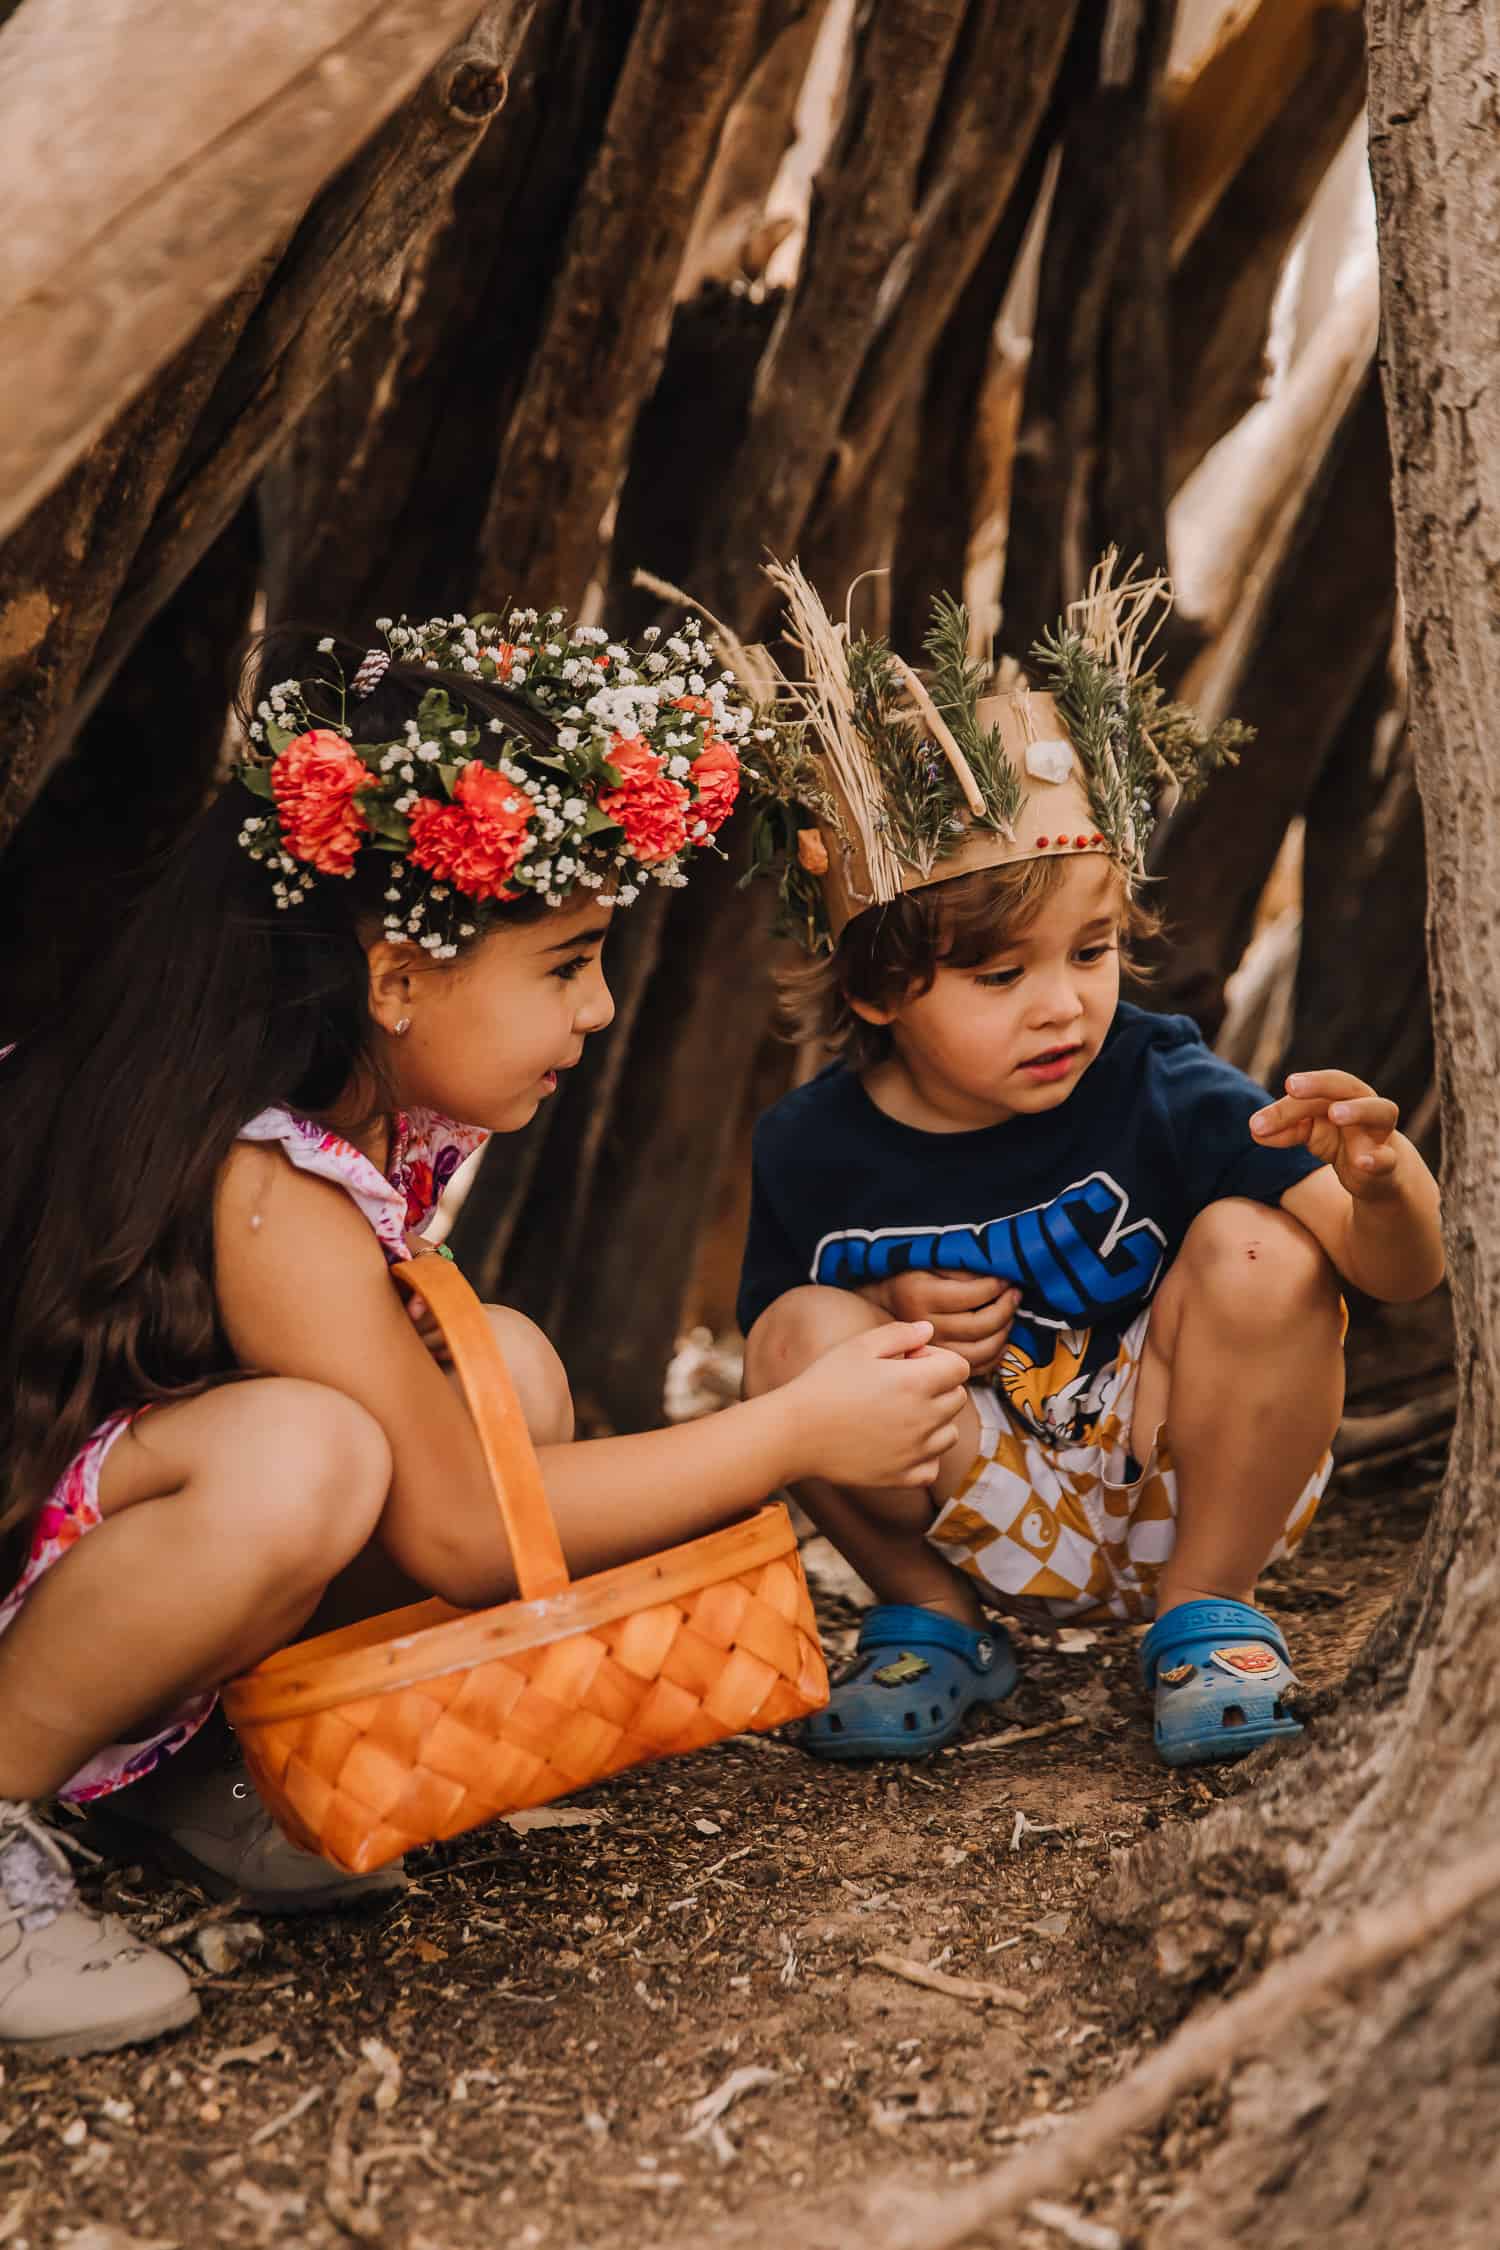
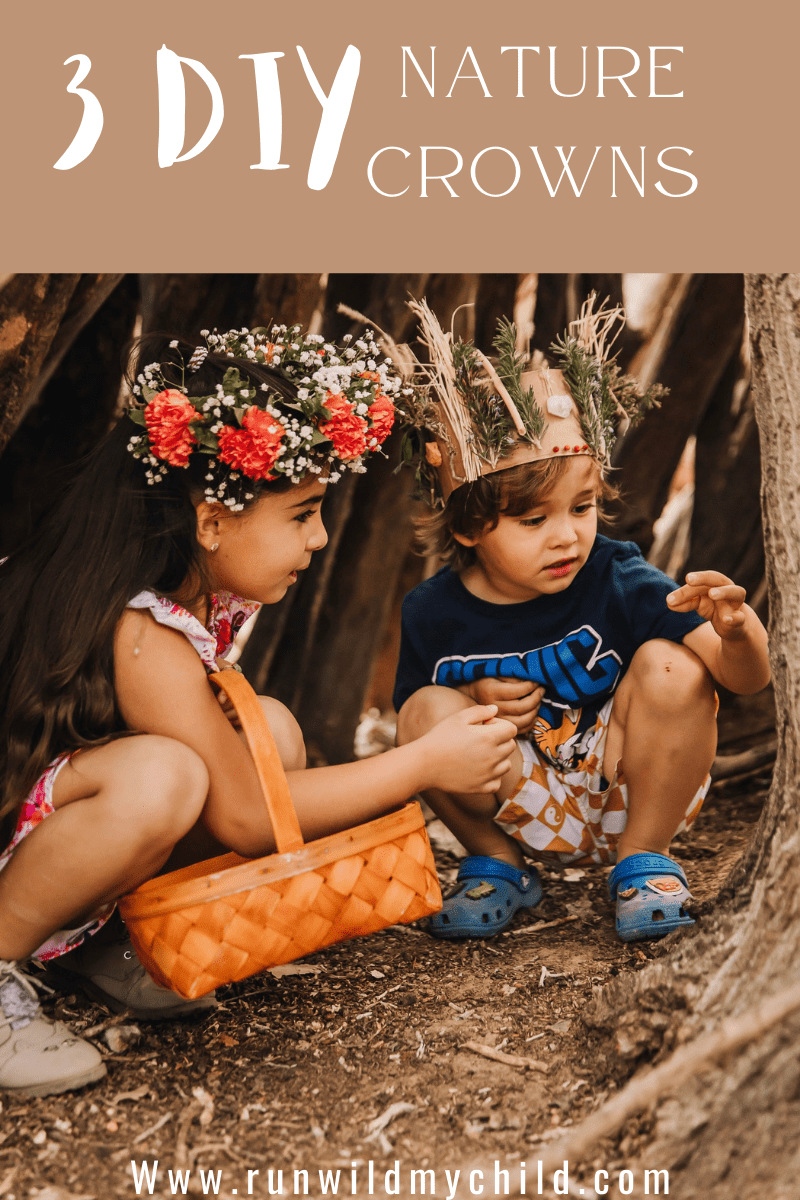
Nature crowns are so much fun to make and even more fun to wear! Making a DIY nature crown is a great way to encourage kids to spend time outdoors, collecting nature items, and then inspire their creativity and get crafty! Flower crowns can be made with all kinds of natural materials, most of which can be found right outside your door. Today, Lea Reynolds (New Mexico nurse, Army vet, photographer, and mom of two) is here sharing an easy tutorial for making three different DIY nature crowns for kids. Whether you’re looking for a gender-neutral crown for the king of the woods, a gorgeous colorful flower crown, or a simple crown using the flowers in your yard, there’s sure to be a nature crown perfect for you.
DIY nature crowns for kids
A beautiful nature crown should be a staple in any nature-loving child’s wardrobe. Nature crowns made from twigs and flowers can make your child feel like a wandering wizard or a frolicking fairy exploring the forest. Anyone who’s ever worn a crown before can attest to feelings of exhilaration, creativity, and mystical imagination. Not only are nature crowns fun and easy to make, but foraging for materials gets kids to spend time outside and piques their creativity.
Nature crowns are also a wonderful way to engage children in outdoor and imaginary play! Add a crown to any outfit, and you turn your toddler into a prince! If you really want to take your child’s imaginative play to the next level, add some butterfly wings (moth wings) or a wizard robe to their ensemble, and let your child’s imagination run wild!
There are three common types of crowns that can be made with natural materials: 1) nature crowns made with sticks, leaves, and foliage, 2) wildflower crowns made with just wildflowers, and 3) traditional flower crowns. Today, we will learn how to make all three of these fun nature crafts!
DIY cardboard nature crown
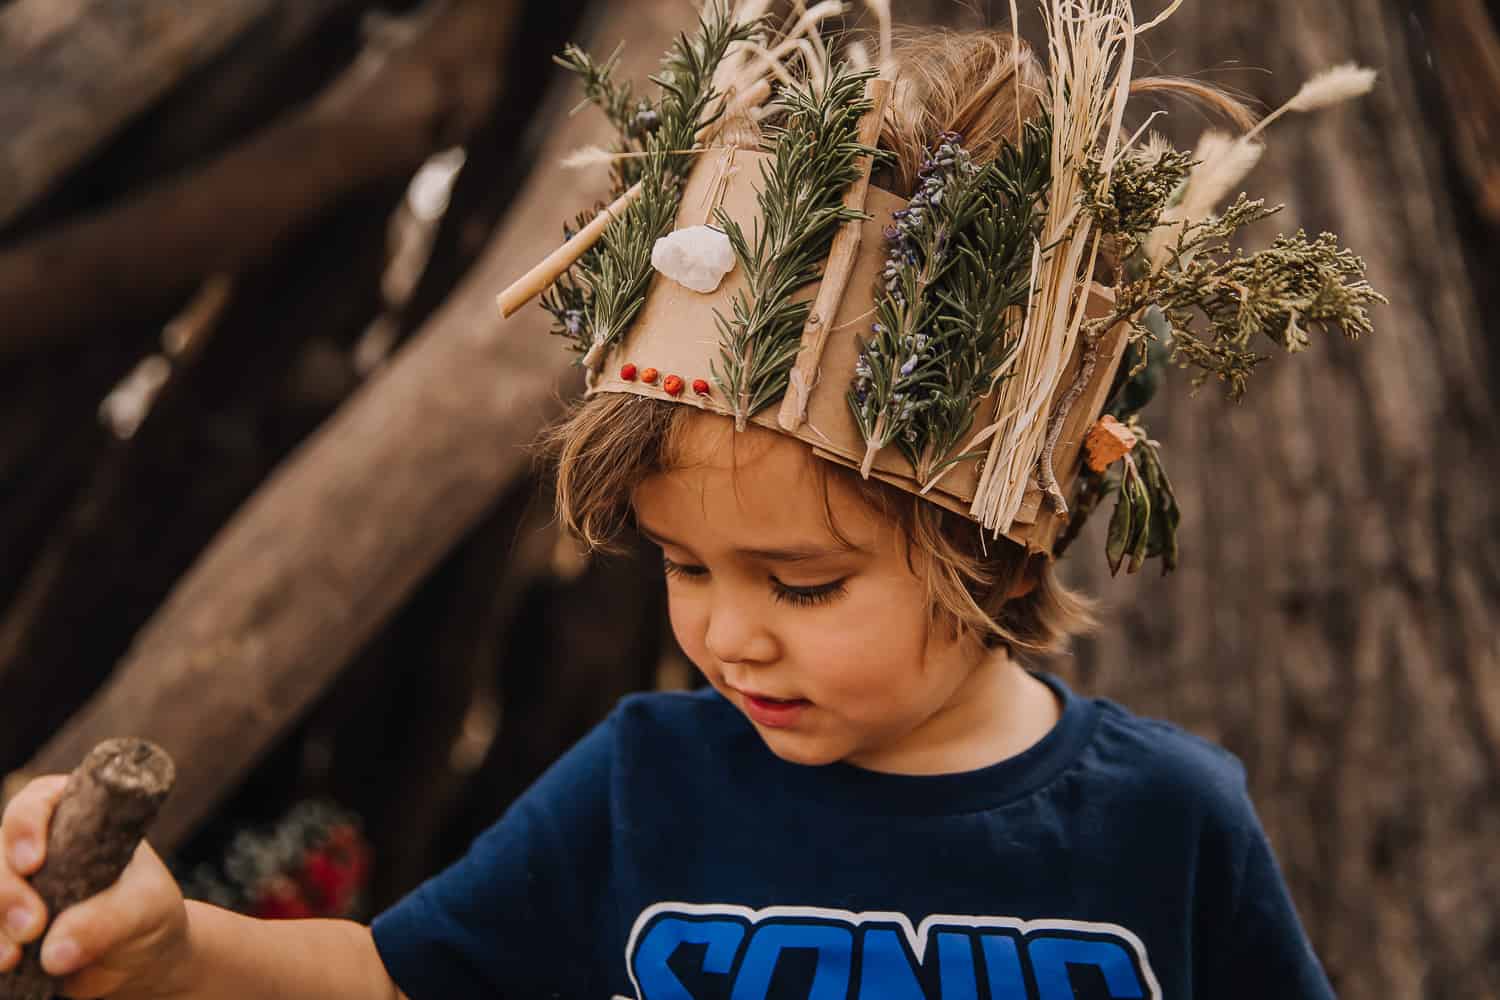
This gender-neutral nature crown is so fun to make and wear. Plus, all the materials can be found in your backyard and recycle bin! It’s an excellent option for creative kids that want to express their personality and display their favorite nature treasures and wild things. I love this type of crown because it helps teach our children the 3 R’s – Reuse, Reduce, and Recycle!
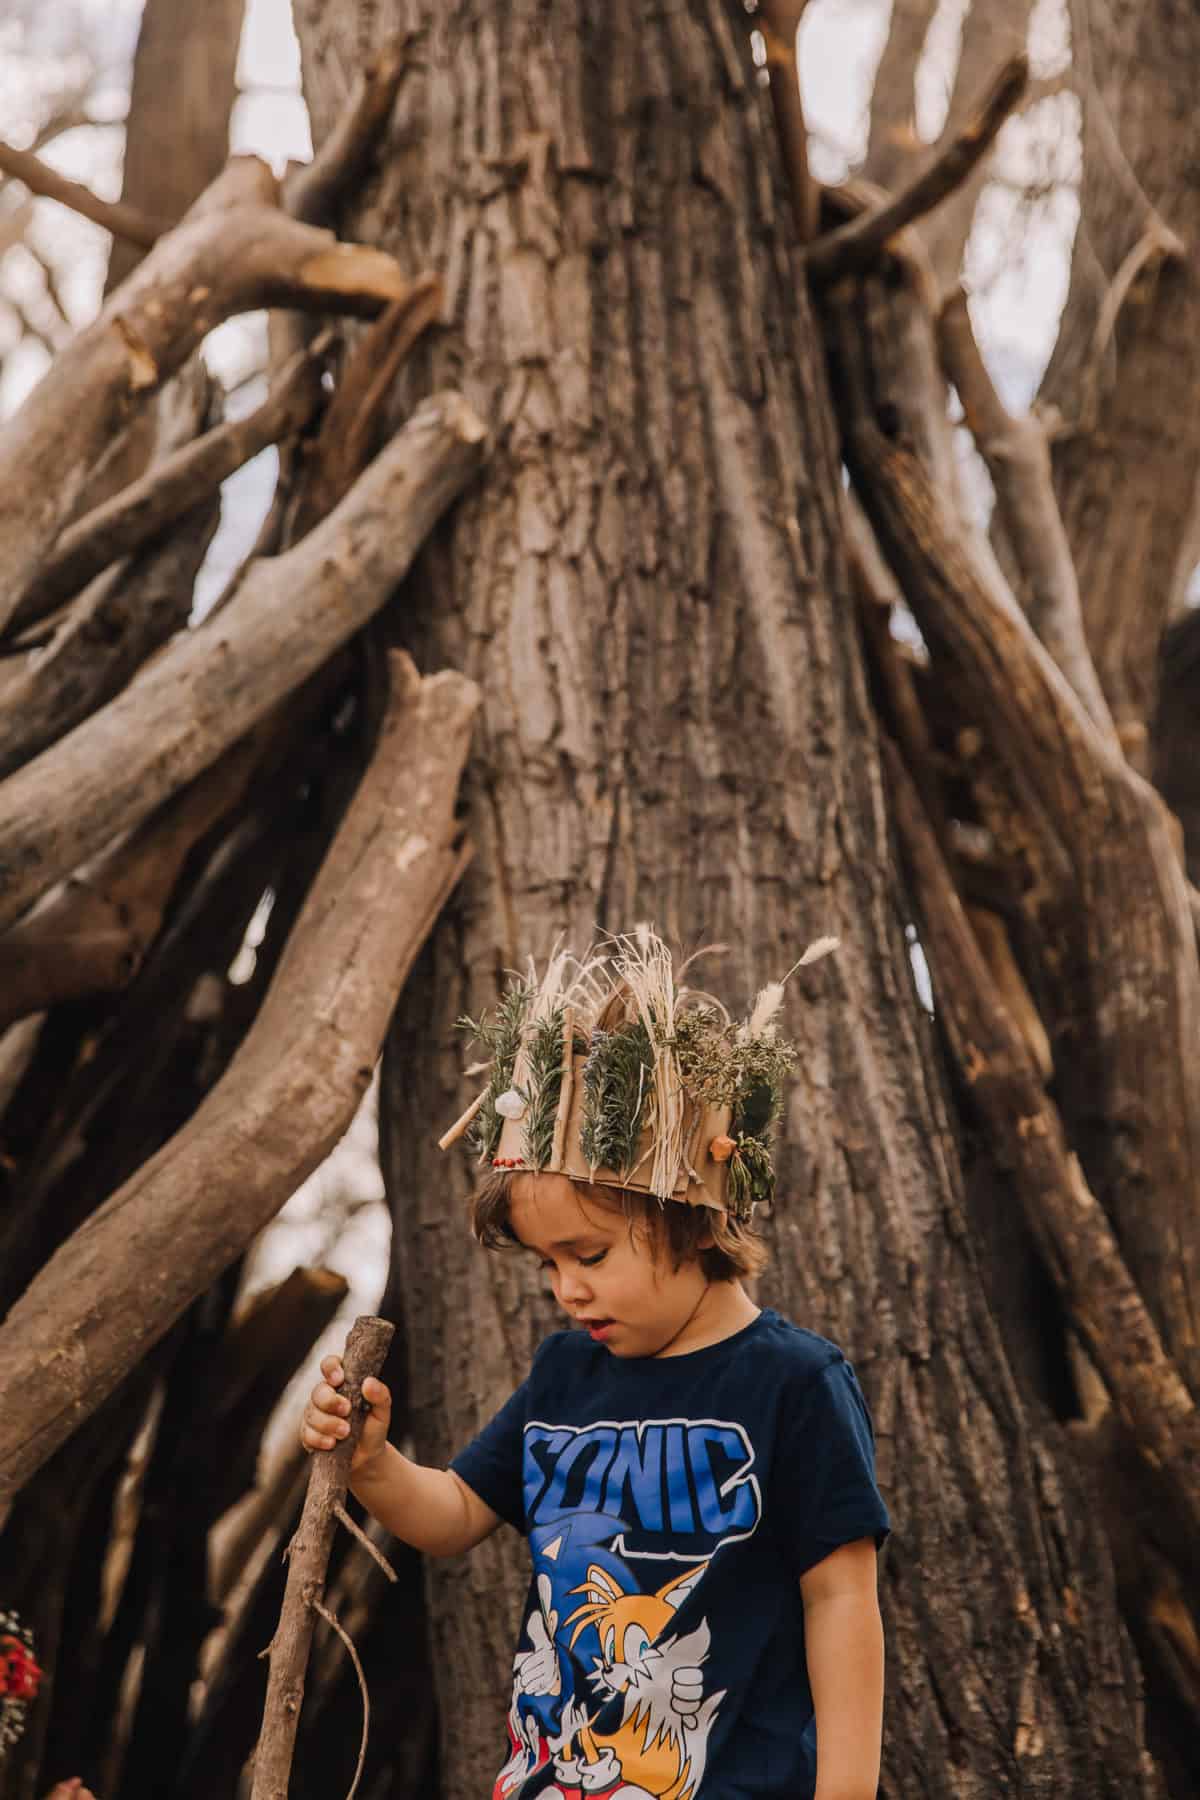
These DIY cardboard nature crowns can be made using nearly anything! We’ve used the same process with paper strips to make leaf crowns using only colorful autumn leaves and fall foilage. We also love adding other fun items that give the crown lots of color and texture, like evergreen twigs, berries, sticks, flowers, and shells.
My son had a blast making his own cardboard nature crown. We took a basket outside and frolicked through our yard, foraging for natural items to use for the crown. Once we had all of our natural elements, we gathered our craft supplies and sat down to create his crown. I helped him glue the pieces on, but he selected all the nature materials and created the patterns. It was so much fun to see what he picked and watch his vision come to life.
When we were finished, he wore his crown and played in the forest and pretended to be a wizard. It brought so much joy to my heart to see him use his imagination to play. We made a fort with sticks and logs, which added a whole new dimension to his pretend play. My niece wore the flower crown I made (see below for instructions), making her feel like a forest princess! They played for hours, creating fairy houses out of sticks and observing different types of insects local to our area.
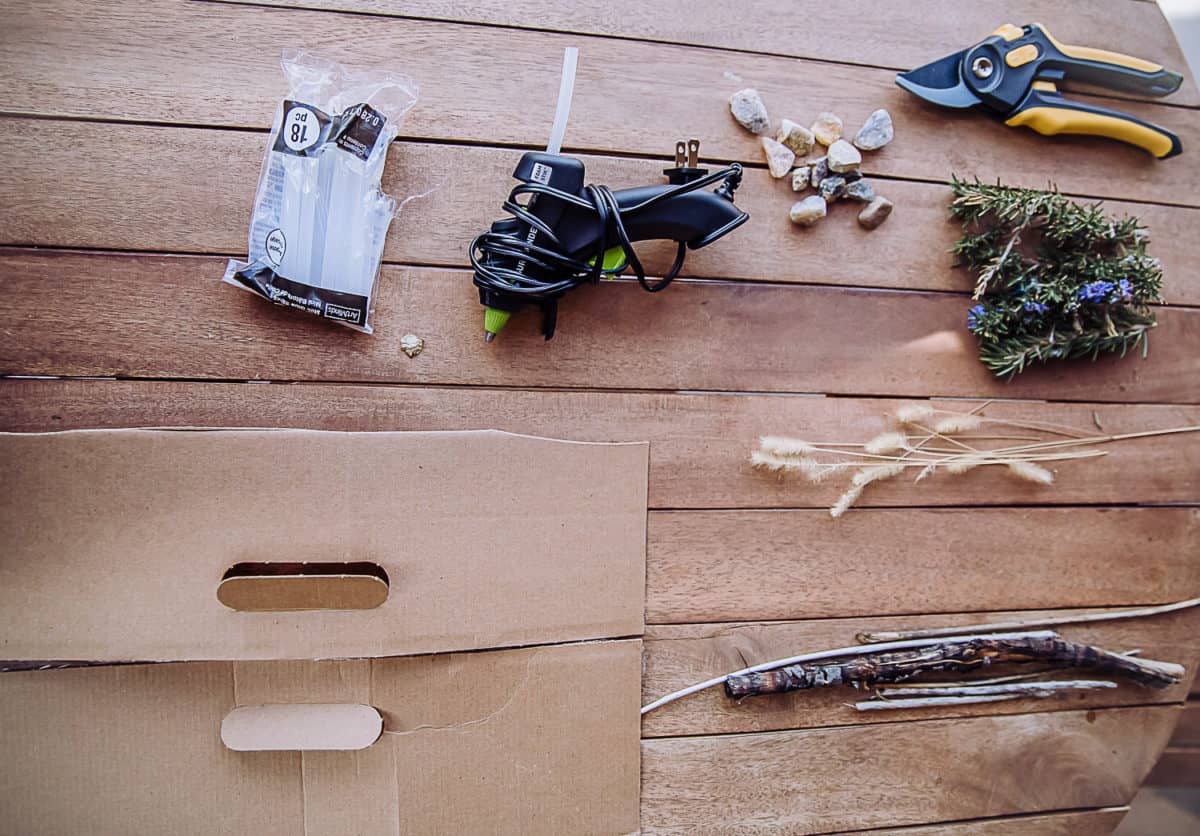
Cardboard nature crown supplies:
- Durable cardboard or card stock (I used cardboard from a soda box)
- Nature materials (e.g. sticks, leaves, foliage, pine cones, pebbles, shells, etc.)
- Hot glue gun
- Floral scissors
How to make a cardboard nature crown for kids:
- Cut a piece of cardboard about 3″ in width. Measure your child’s head for the length and cut your cardboard strips accordingly.
- Lay the cardboard flat and begin designing your crown. Take into consideration the items you are gluing. We added small rocks, which added a lot of weight to the crown, so I had to adjust the size.
- Next, take your sticks, leaves, and other natural elements and glue them to your crown. If your kids are old enough, let them do this on their own. It’s a great way for older children to work on fine motor skills. Younger children will need more help.
- When you are done designing your crown, glue the ends together.
- Wear your crown and have fun playing in the forest!
DIY flower crown for kids (Haku Lei)
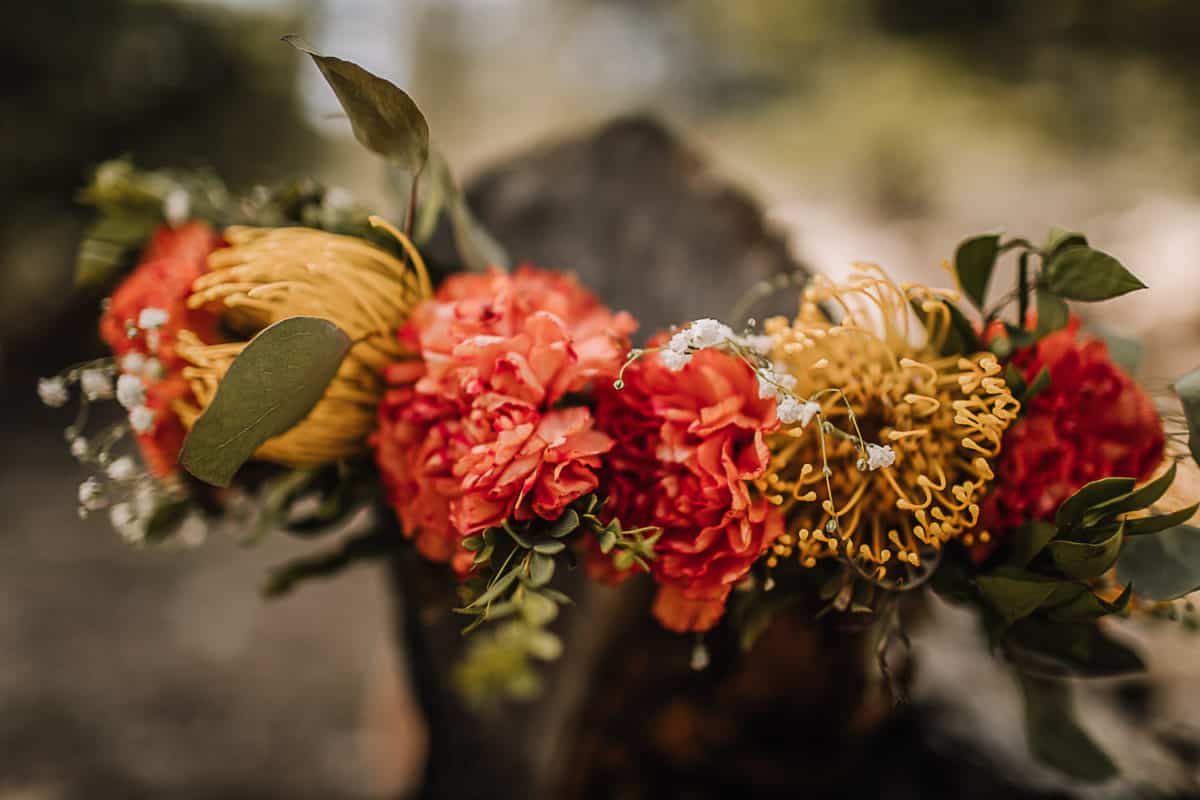
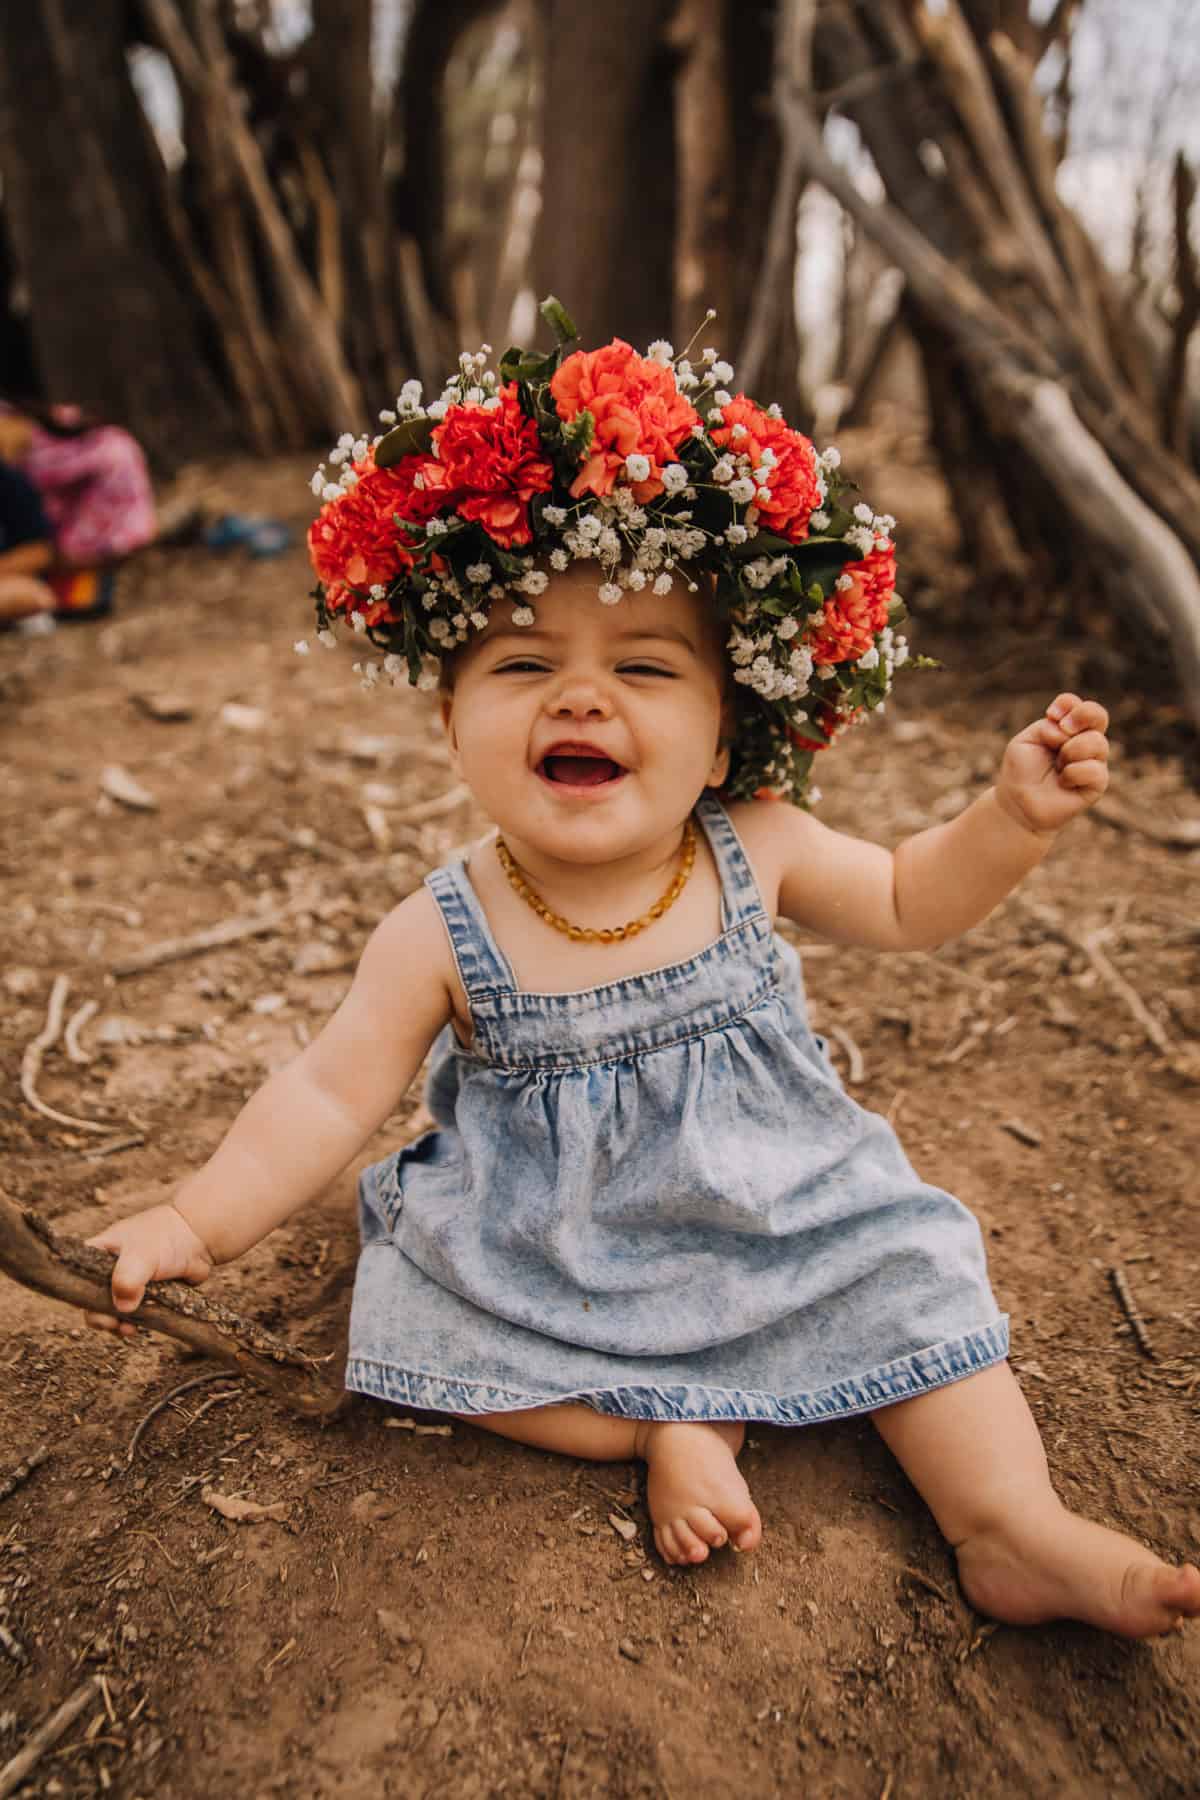
Traditional flower crowns are worn for a variety of special occasions and they have the uncanny ability to make you feel like a nature queen! In Hawaii, they are called Haku leis, and they are given to someone you love. These types of crowns are primarily seen at weddings, baby showers, and other special events. However, I like to wear them for holidays as well. History tells us that the circular shape of flower crowns represents power, glory, and eternity. When we add flowers and foliage, it represents love and celebration!
Making your own traditional flower crown is fun, easy, and opens up your creative outlets. This type of nature crown is perfect for the child in your life that loves color and flowers and likes to stand out in a crowd!
I tend to choose flowers that will last a little longer, are bigger in size, and really pop with color! Roses, marigolds, daisies, and protea pincushions are my favorite. Each one of these are found in excess here in the Southwest. For those living in tropical areas, I know you have access to beautiful tropical florals! If you don’t have access to pick these types of flowers, you could also purchase a bouquet from your local flower shop, farmer’s market or grocery store to use in your flower crown. Alternatively, if you want your flower crowns to last a LONG time, you could even use artificial flowers. The same instructions below apply to all variations.
So let’s get to it! Here are the steps and items needed to make a traditional flower crown. It should be noted these same steps apply for making flower crowns with artificial flowers.
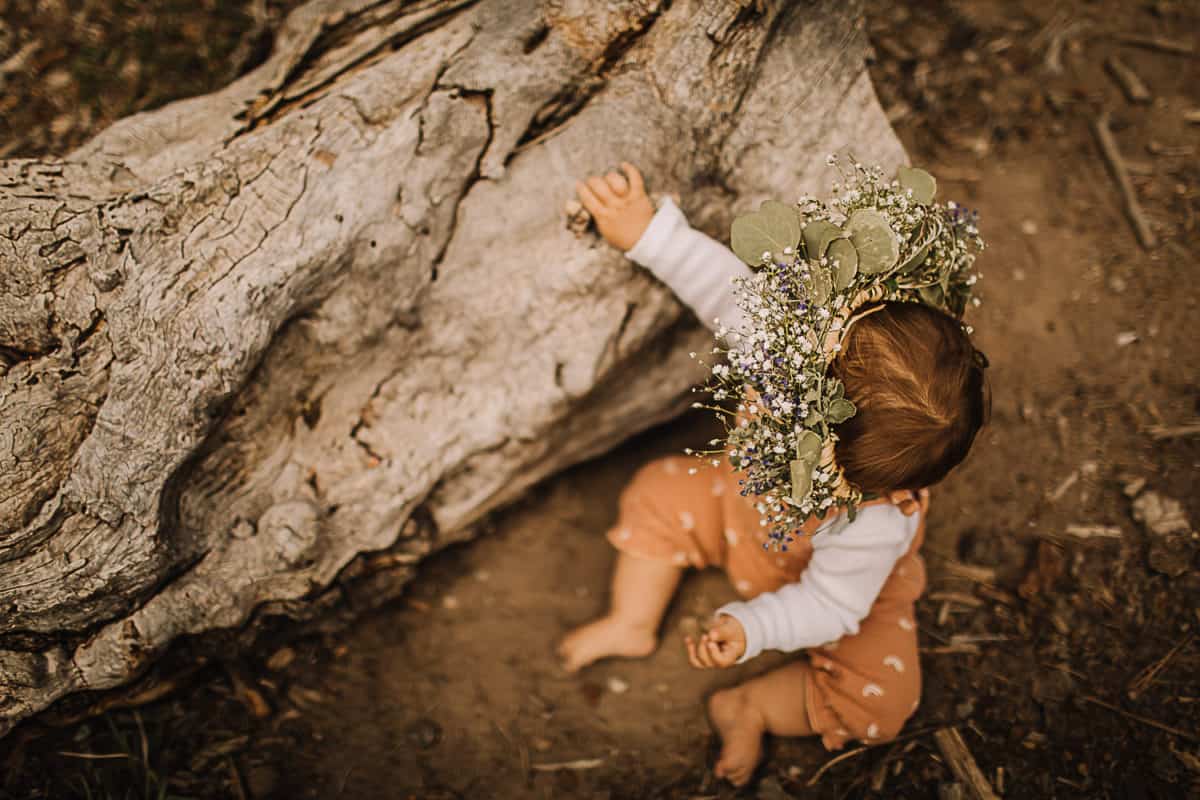
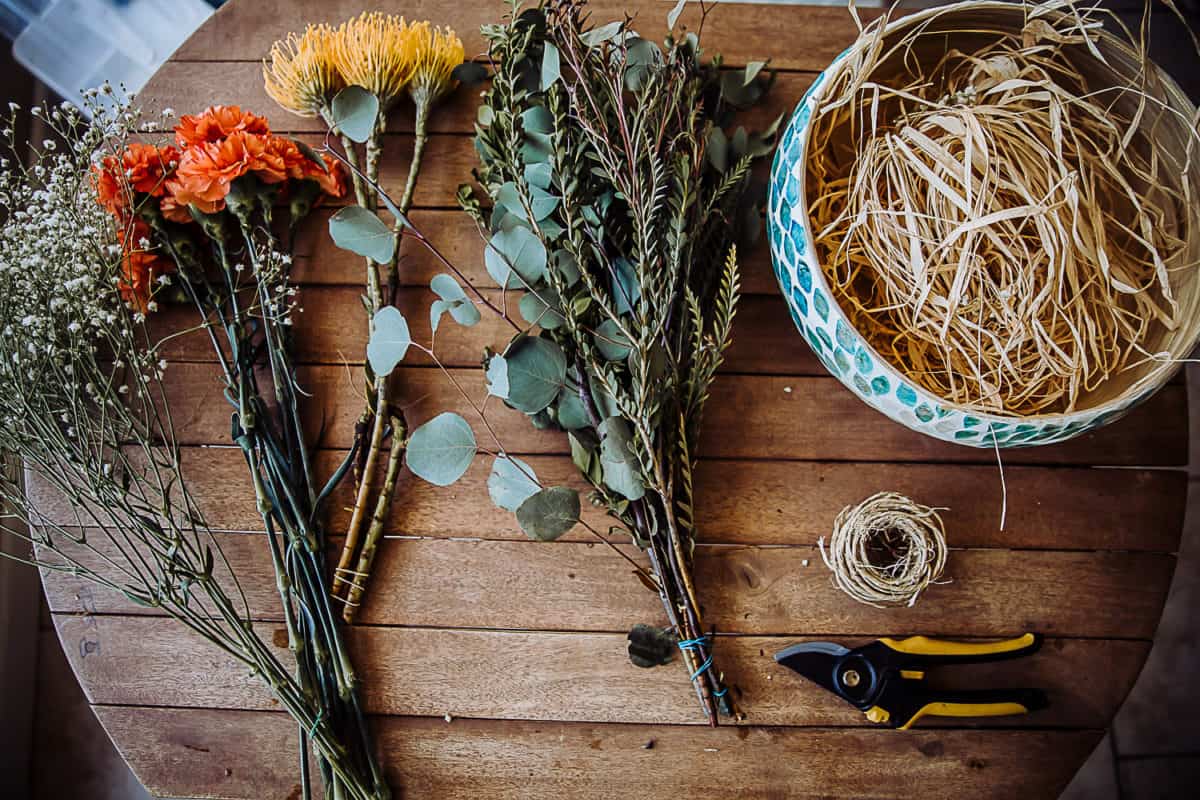
DIY flower crown supplies:
- Floral wire
- Floral scissors
- Floral tape or raffia (I like raffia because it is easier to control)
- Flowers
- Greenery (hardy leaves, fern leaves, eucalyptus).
How to make DIY flower crowns for kids:
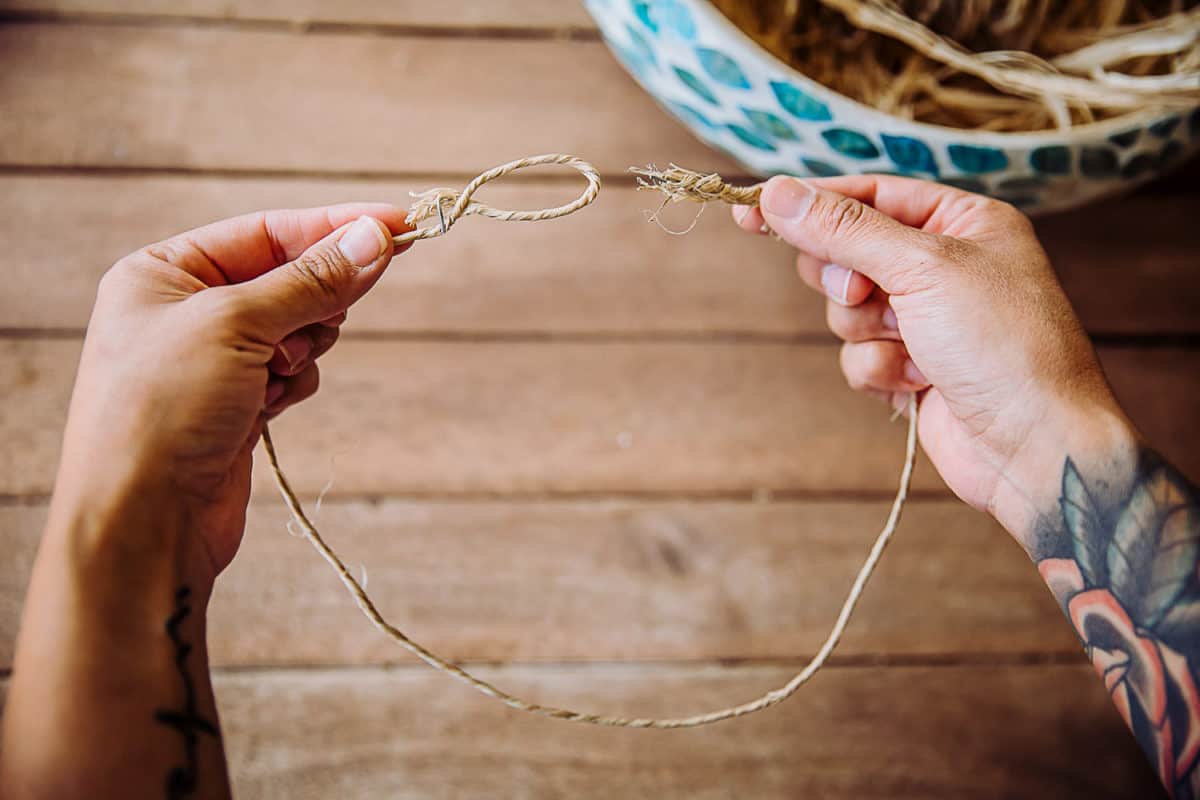
- Take your floral wire and measure the crown of your head. Add a few extra inches. Create a loop at one end and wrap the loop a few times for security. Leave a few inches at the other end to loop through when your crown is complete.
- Trim your flowers. I cut so I have just enough stem to wrap around the crown. Remove leaves and extra stems.
- Trim your greenery/filler. Remove extra stems.
- Start with greenery and place it parallel with your wire. Wrap floral tape or rafia around the stem. (I usually wrap 3-4 times and sometimes more if it’s a heavier piece of foliage.)
- Next, choose your flower. Lay it on the floral wire in the same direction as the greenery, wrap around the stem.
- Next, add another set of greenery and wrap the rafia.
- Continue this process until you finish your crown. Alternate between green leaves and flowers.
- When complete, loop your extra wire into the loop we made and secure it based on your head size.
- Twirl in the forest or on a beach and enjoy your flower crown!
Flower crown pro tips*
When making your flower crown, alternate between flowers and greenery. Think of the greenery as a frame and the flower as your photograph. Always place a flower in between greenery to frame the flower.
Place your flower crown on the bottom shelf of your refrigerator until you are ready to wear it. This helps to preserve it. When you no longer need your crown, don’t throw it away! Hang it up and let it dry out. They make beautiful art pieces for your home.
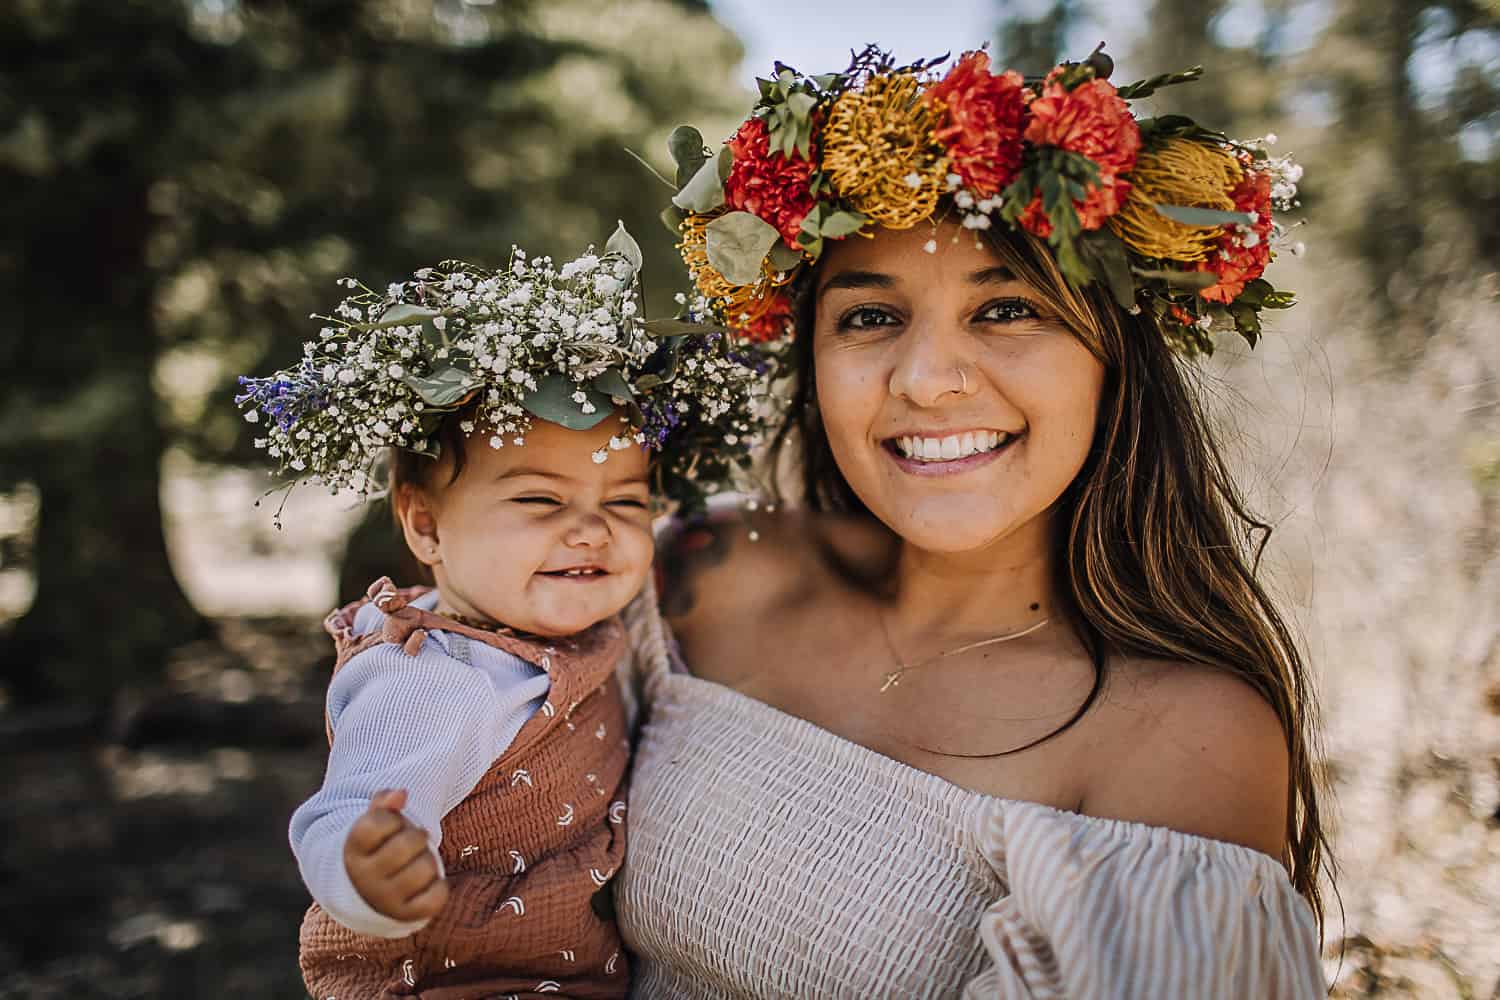
When it comes to making crowns for infants, I find it best to use very small flowers and lightweight foliage, like baby’s breath. I made the one pictured above, which was a little too heavy for my 10-month-old. Still, she had so much fun playing in the woods while rocking her flower crown.
*I should mention that I am not a florist or pro flower crown maker, or expert. I attended a few workshops when I lived in Hawaii, and now, I simply enjoy creating flower crowns for special occasions. Moreso, now that I have a daughter. Anyone and everyone can make them!
DIY wildflower crown (no supplies needed)
Ask a handful of nature-lovers about their feelings regarding kids picking wildflowers and you’ll get a handful of mixed feelings. Many of us nature-lovers live by the Leave No Trace principles. One of the principles is to leave nature where it’s found. No picking the wildflowers, as that’s evidence that you were there. Wildflowers are a beautiful, beneficial and necessary part of nature.
However, as parents, we know that in order to raise kids who love, appreciate and respect nature, they need to be able to feel it and touch it and understand it. It’s harder to love something from afar that you’re not allowed to touch or pick. There has to be a balance. Personally, I believe if you are picking the flowers to make something beautiful and are sharing in the appreciation of nature in a way that’s not harmful, overarching, or takes away from others, then why not.
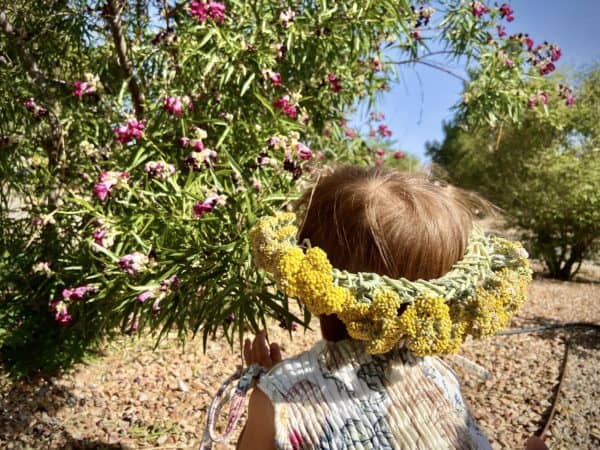
If you’d like to make a DIY nature crown from wildflowers, please only pick what you need in an area where it’s permitted and allowed. Dandelions are a great option for wildflower crowns, as they’re usually very prevalent in your own yard and public areas. They work well for nature crowns due to their strong stems and ability to survive for several days. However, I could not find any dandelions near me, so I used these wildflowers from my backyard (which I planted) instead.
DIY wildflower crown supplies:
- wildflowers (that’s it!)
How to make DIY wildflower crowns for kids:
- Frolick through your yard, a park, a forest, or somewhere that wildflowers grow.
- Make sure you have permission to pick the flowers, and it’s not against any rules or regulations.
- Pick just enough wildflowers to create your crown, making sure to leave plenty for the bees, butterflies, and others to enjoy.
- Gather your flowers and remove any leaves along the stems.
- See the photograph below on how to weave each wildflower. Little hands might need help with this process.
- Continue the process until your crown is complete!
- Let your kids wear their own nature crowns and take some pictures enjoying the outdoors!
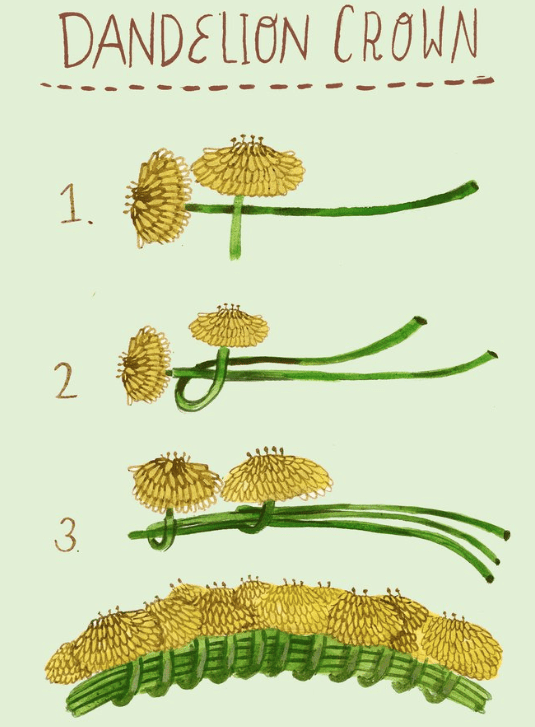
3 easy nature crowns for kids
And there you have it, three beautiful DIY nature crowns for kids that you can easily create! Whether you live in a city, near the mountains, or near a beach, you can create any variation of these nature crowns for your children. The next time you’re on a nature walk or hiking through the woods, take a look around you for potential nature items to use for this really fun craft. To this date, my son still asks to wear his nature crown any time we are headed for the woods. I am so excited to see what you can create! If you have questions, be sure to comment below or reach out. Tag us on social media (use the hashtag #runwildmychild), so we can see what magical crowns you create!
Have you ever made a nature crown with your child?
About the author
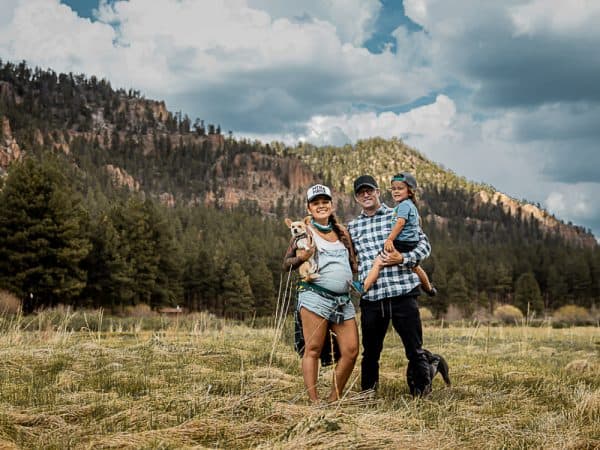
Lea is a dedicated wife, adventurous mother, Registered Nurse, and Army veteran. She is from New Mexico and strives each and every day to get outside with her wild toddler and newborn baby girl. She and her husband Brandon both served 8 years in the Army and it was during that time their love for the outdoors and seeing the world was born. When they had their son, that passion only intensified. They love to fly fish, overland in their Jeep, hike, surf, and capture these moments on camera. Lea is a professional photographer on the side and you can always catch her with her camera in her hand. Their goal is to influence more families in their rural state of New Mexico to explore the beauty of the SW while educating them on photography tips, medical tips like First Aid, outdoor safety and gear, etc.
You can find Lea online in the following locations:
Instagram: @wildstokefam
Website: Wild Stoke Fam
RWMC posts: Lea Reynolds
Comments
2 responses to “How to Make 3 DIY Nature Crowns for Kids”
[…] Make a nature crown for a king or queen. Run Wild My Child […]
[…] @runwildmychild.com […]
Leave a Reply