Your cart is currently empty!
Outdoor Skills: Teaching Kids How to Build A Fire & Fire Safety Tips
Having outdoor skills like knowing how to build a fire are important when you spend a lot of time outside. Teaching kids how to build fires isn’t very difficult, but it does take some thought, planning, and time. Plus, teaching your children basic fire safety tips and advice is something that may be invaluable and could possibly save lives. Today, Georgia homeschooling mom of three, SarahRuth Owens walks us through the basic fire safety skills and tips for teaching kids how to build a fire.
Teaching basic fire skills to kids
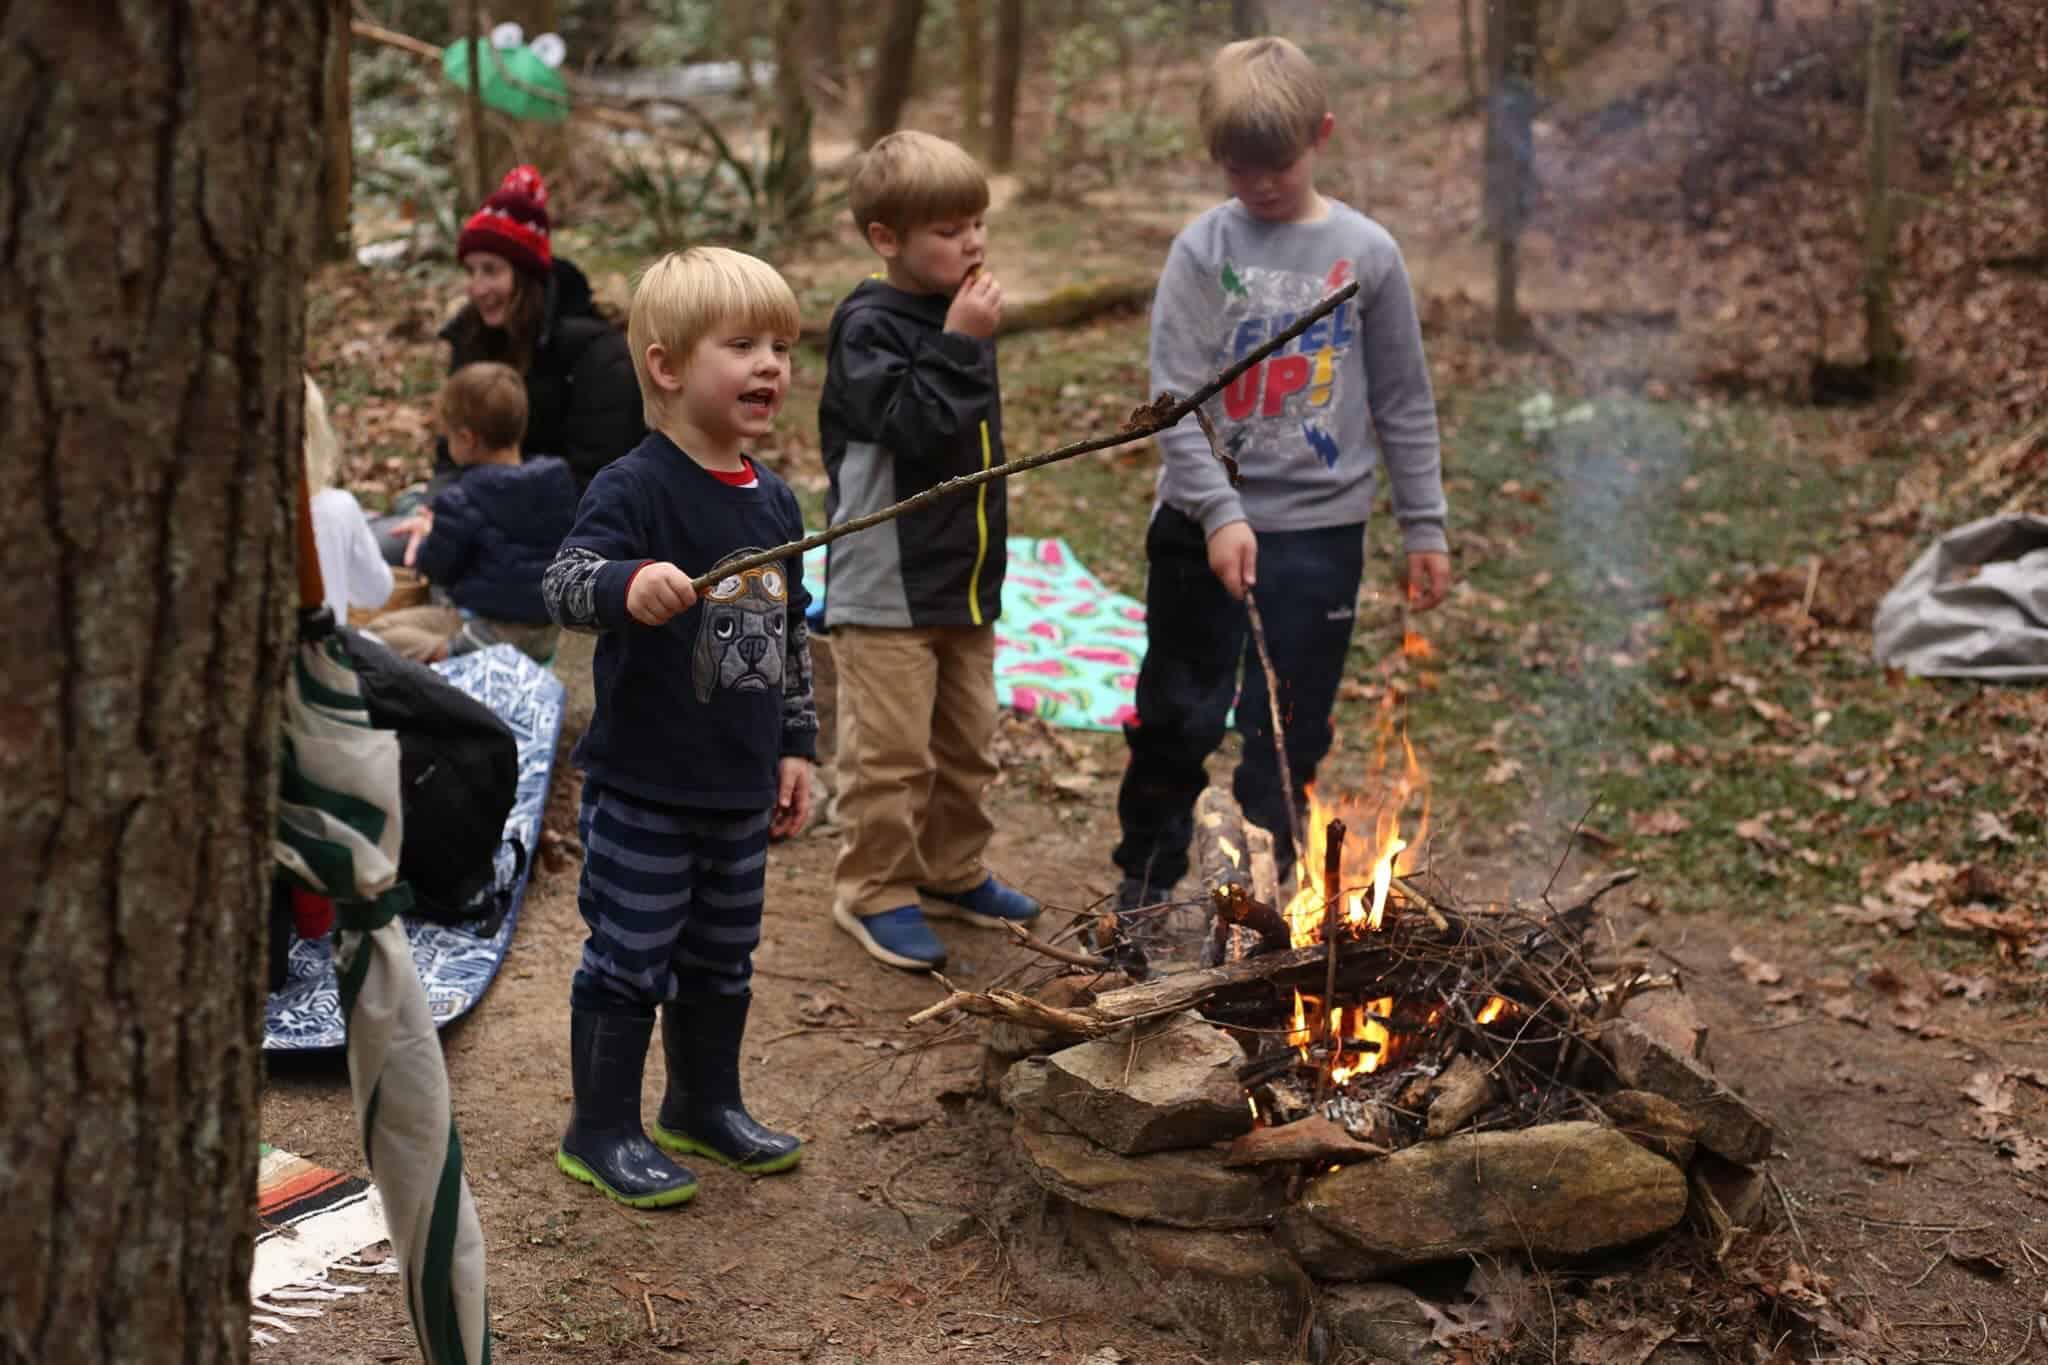
If your kids are like my boys, they love the idea of creating a fire, cooking over a fire, and even extinguishing a fire. Having a firestarter in your home is a fun journey. Kids learn so much as they practice following directions, caring for the environment around them, and more. Furthermore, they begin to feel responsibility and ownership of their time outside. When children have a buy-in, a role, they really want to be in that place often. So let’s get started; let’s teach our kids how to build fires.
Smokey the Bear says “safety first”
Conversations and practice are the best ways to teach kids how to build fires. When my boys were 2-3 years old, we began this process. As we were outdoors nearly daily, they sat around a fire, gathered kindling, and helped put out a fire from a very young age.
Let me begin by telling you that 6 years ago, I knew nothing about building a fire. Zero. Zilch. So do not be intimidated. You can learn just like I did. Go with a friend who enjoys building fires and knows how. Watch, ask questions, be like a kid learning to build a fire. In truth, I think this might be the best way anyhow. If you don’t have someone to show you how, you can always Google it! There are tons of videos and articles out there that will show you exactly how to build a fire.
Fire safety tips for kids
If you recently learned how to build fires, then you will remember the safety rules, the steps involved, etc. If it’s been a while, here’s a quick refresher of some important rules to establish when teaching kids how to build a fire and teaching children about fire safety:
- Location – Only build a fire in an area you know allows it.
- Fire ban – Make sure there are no fire bans.
- Check the wind – Windy days are not fire-friendly days.
- Clear the area – Make sure there’s nothing in the area where you’ll be making the fire. This is such a good project for littles, they can begin this in their toddler years.
- Wood only – Remind kids that the only thing that goes into a fire is wood. No fresh weeds or vines. No food. No plastic.
- Water supply – Have a working water hose or a vessel filled with water near your fire ring.
These fire safety tips can be parts of conversations you have while you build fires near your children. It can take months of this type of conversation before some will feel comfortable heading into fire building with a child. Eventually, your firestarter should be able to tell you these rules independently. Knowing this information and being able to implement it without reminders, is the first step towards autonomy when building fires.
Basic steps of building a fire
Once a child knows the basic safety rules, they’re ready to start building a fire. Teaching kids to build a fire occurs in steps. Dependent on the age of your kids, they can help with various tasks. Before the actual fire starting can begin, they’ll need to clear the area, gather kindling, and demonstrate that they know and observe safety practices near an active fire. Then, they are ready to begin to build.
The basic steps of building a fire go like this:
- Location – Choose a spot with at least a 10-foot circumference of clearing, there should be no overhanging branches.
- Clear the area – Remove all brush, twigs, leaves, etc. from around the fire area.
- Dig a small pit – Some sites recommend as deep as one foot. Our family chooses to not make so deep of a pit and instead focus on a larger fire ring.
- Create a ring – Arrange rocks around the space you will build an active fire.
- Gather wood – A fire needs three things: fuel, oxygen, and heat. Wood is the fuel. You want three types of wood: Tinder, kindling, and logs/large wood.
- Arrange the wood – There are a couple of different options for setting up your firewood. We go over the teepee and log cabin styles below.
- Ignite the kindling – Finally, ignite the kindling to get the fire started.
Looking at the list above, things might feel overwhelming. So, let’s move through the fire-building process step-by-step.
How to choose a safe fire location
Choosing a location is probably the easiest and most self-explanatory part of teaching kids how to build a fire. Kids should understand where are good fire spots and where are not. Having adults help with this is necessary and not something I would pass off to a child until they have shown their understanding many, many times. Practically speaking, I let my boys show me where they would like to build. They typically choose well, but, occasionally they need a reminder about being too close to a tree or other structure, or if there’s a limb hanging overhead.
Clear the area and make a fire ring
As I said earlier, clearing an area can be something even your youngest firestarters can help with. Having a space for your fire free from things that could burn is essential. In our family, digging a pit is optional. If you have properly cleared an area and created a ring with rocks, plan to maintain and remain with the fire, you can decide if you need a pit or not. They can be great for camping, as it creates an easily reusable space. One of my boys’ favorite parts of fire building is the ring itself. Something about hunting rocks and shaping the ring is just fun!
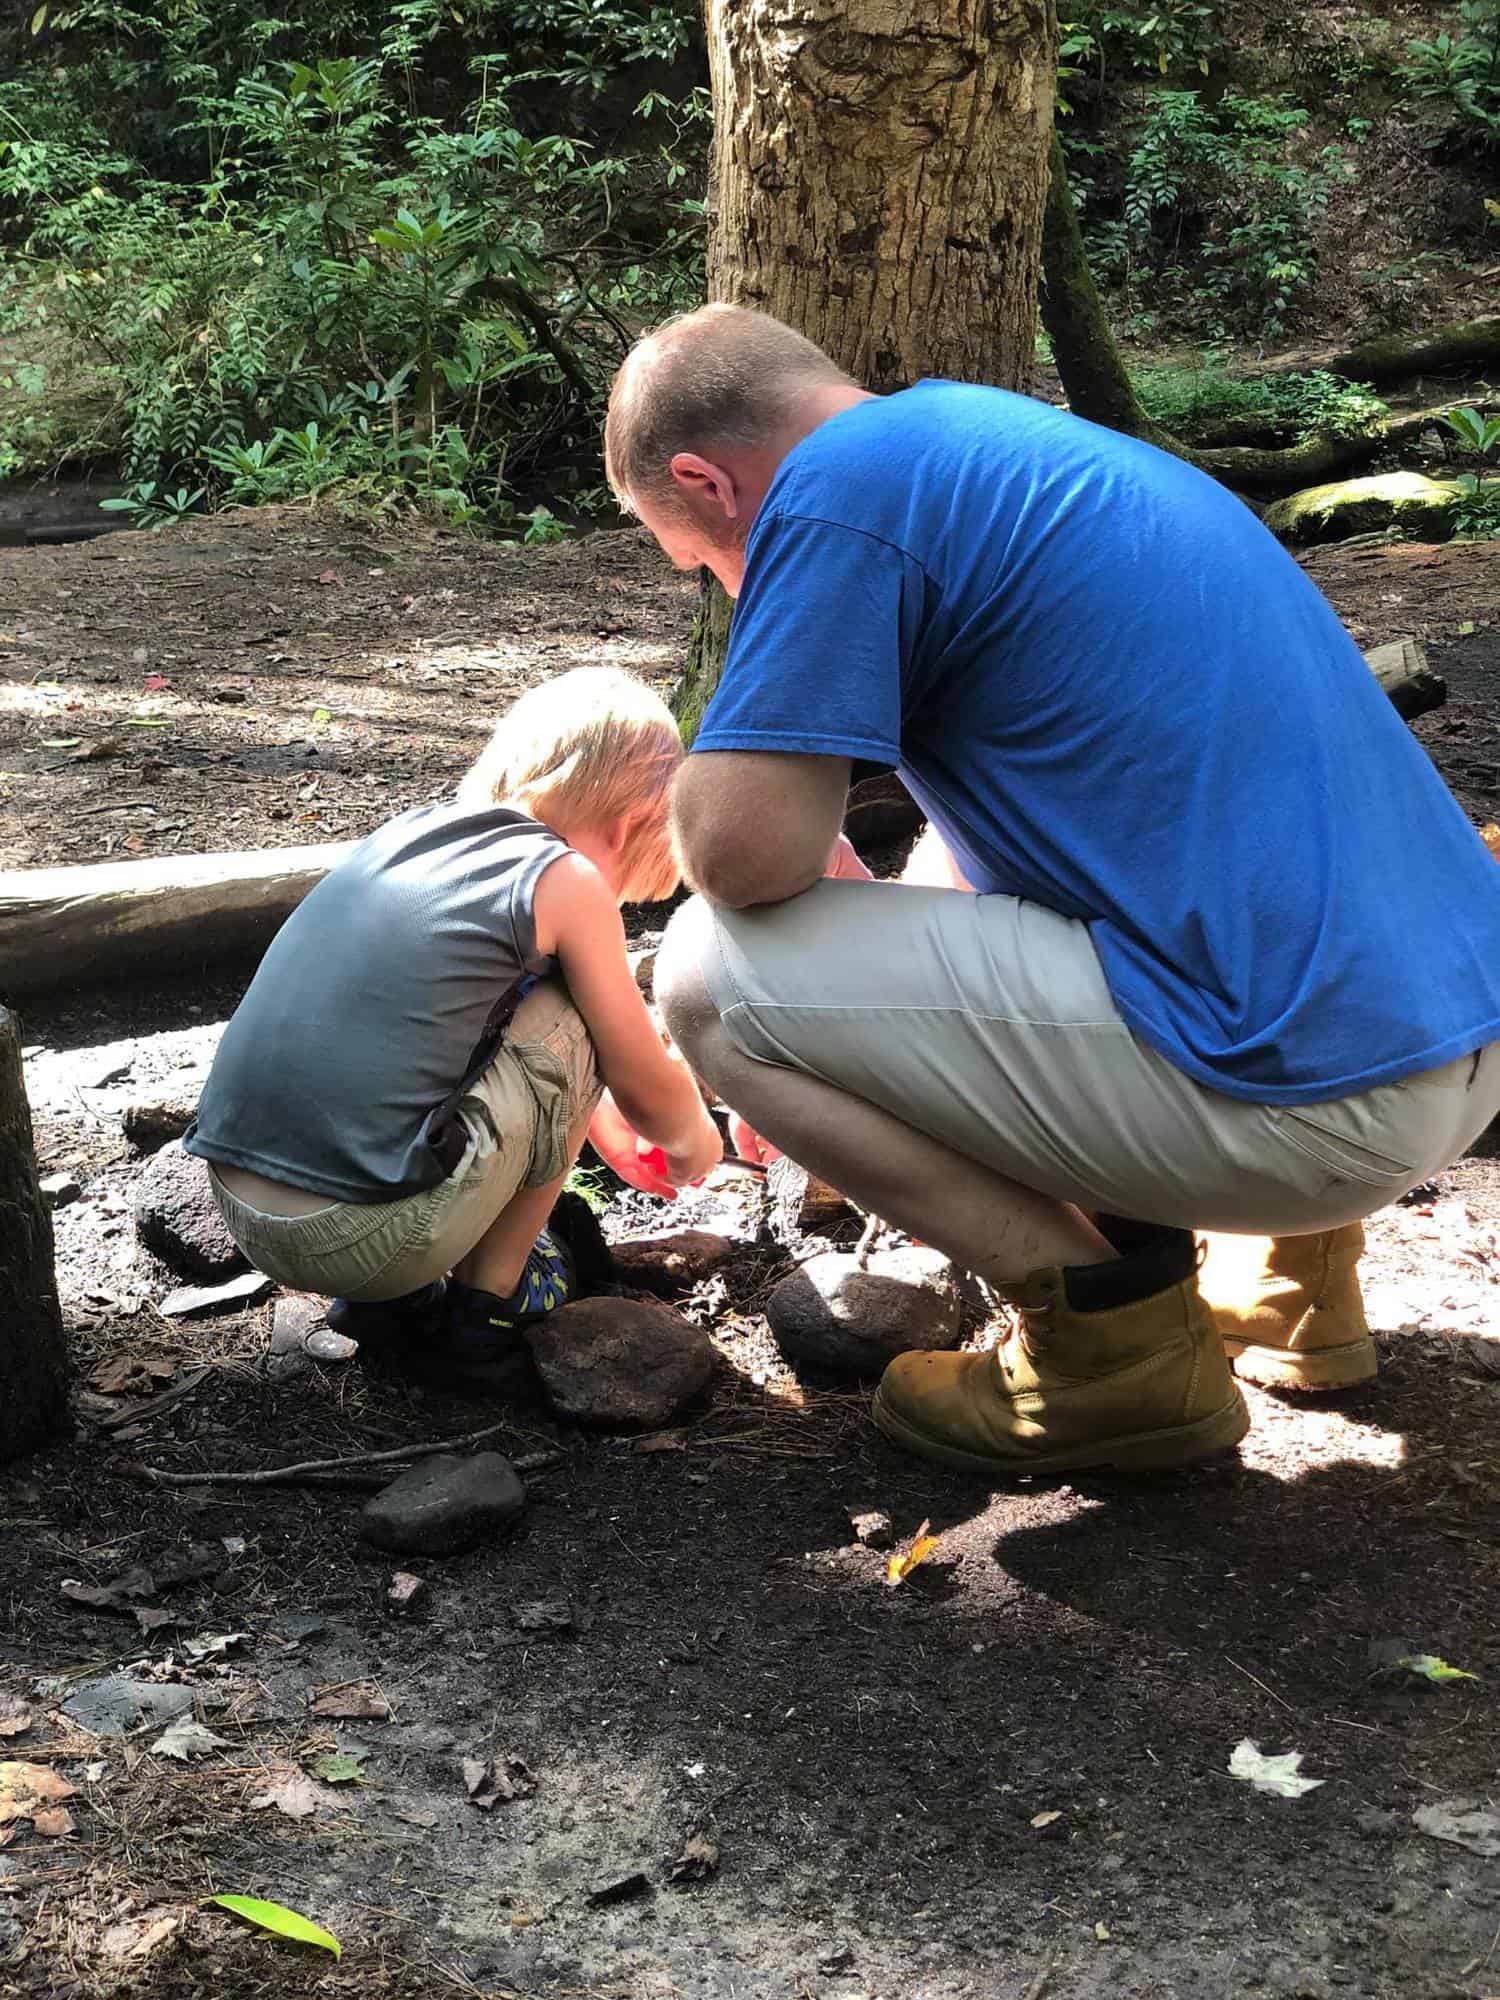
Gathering wood for a fire
When teaching kids how to build a fire, you’ll need three types of wood: tinder, kindling, and fuel wood. We actually like to bring our own tinder (see below). For those times when you have no tinder with you, it can usually be found in your immediate surrounding area. You can use dry bits of grass, pine, moss, lichen, and leaves. Focusing on finding dry, crunchy leaves is the best.
Once you have collected a good handful of tinder, you need kindling. It is fun to assign roles if more than one child is involved. Someone can be the tinder person, the kindling person, and the fuel wood person (of course, you’ll want to rotate). Kindling will be the small sticks and twigs you set up over the tinder. It will catch fire first and then ignite the fuel wood.
Choose your campfire style
There are a few different ways to stack your wood so that it gets proper aeration for a long-lasting burn. For this discussion, we’ll cover the basics of the teepee/cone method and the log cabin method. Both are easy for kids to understand and create.
A teepee tends to be a great and easy starting place. For the teepee/cone method, make a small teepee/cone of kindling around a few handfuls of tinder that are loosely piled in the center of the fire ring. Your tinder goes at the base of the fire and then your kindling is placed over it in a tent/cone shape. Once you have your kindling in place, you will build a larger tent shape with your fuel wood around your kindling. Light from beneath and blow as needed. Once the fire is going strong and the temperature increases, you can add larger logs a few at a time as needed. My boys love to build this and enjoy the challenge of getting it to stay upright.
For the log cabin method, place two larger pieces of fuel wood parallel to each other on the ground in the center of the pit. Leave some room in between the logs. Then, place two more pieces of fuel wood criss-crossed on top in the other direction (like you’re building a log cabin) to form a square. Place your tinder inside the square. Continue adding a few more layers of fuel wood around the perimeter, getting a bit smaller with each layer. Finish your log cabin with a layer of kindling and tinder across the top to make a roof. Make sure you leave some space between the fuel wood logs so the fire can get plenty of oxygen. This build is great for longer and slower burns.
Some additional info on firewood
Depending on where you’re making your fire, there may be restrictions on firewood. Usually, it’s recommended that you do not bring firewood with you if you’re traveling from more than 50 miles away or crossing large rivers. Some campgrounds may even ban bring-your-own firewood regardless of the distance you travel. This is to keep local insects out of certain areas and to prevent the spread of new (and possibly invasive) species into areas.
If you forage for firewood, make sure to show the kids how to gather only downed wood. Never cut live trees or break off branches from standing trees, even dead trees. Birds and wildlife make use of dead branches and snags. Fresh wood can also be an issue because sometimes it can be wrapped with poisonous vines that can cause reactions to the skin when burned.
Starting the fire
Matches are our favorite item for lighting our campfires. Kids can simply toss the match into the fire once ignited. Easy peasy. Just make sure to supervise and stay close to your kids at all times.
DIY firestarters
One of our favorite types of kindling is homemade firestarters. DIY firestarters are super easy to make and truly make the fire lighting process so easy. We gather our dryer lint and keep it in a bag in our kitchen along with any old candles (with that wee bit of wax in the bottom), used wax melts, string, twine, etc.
When you want to make some tinder, you can use an old cardboard egg carton. Simply put some of the dry burning things in, heat the wax you’ve saved, and pour it over the dry pieces. This makes amazing firestarters. You can break off the carton cups and use one section at a time to start your fire. This is also another way children can be involved in the whole process.
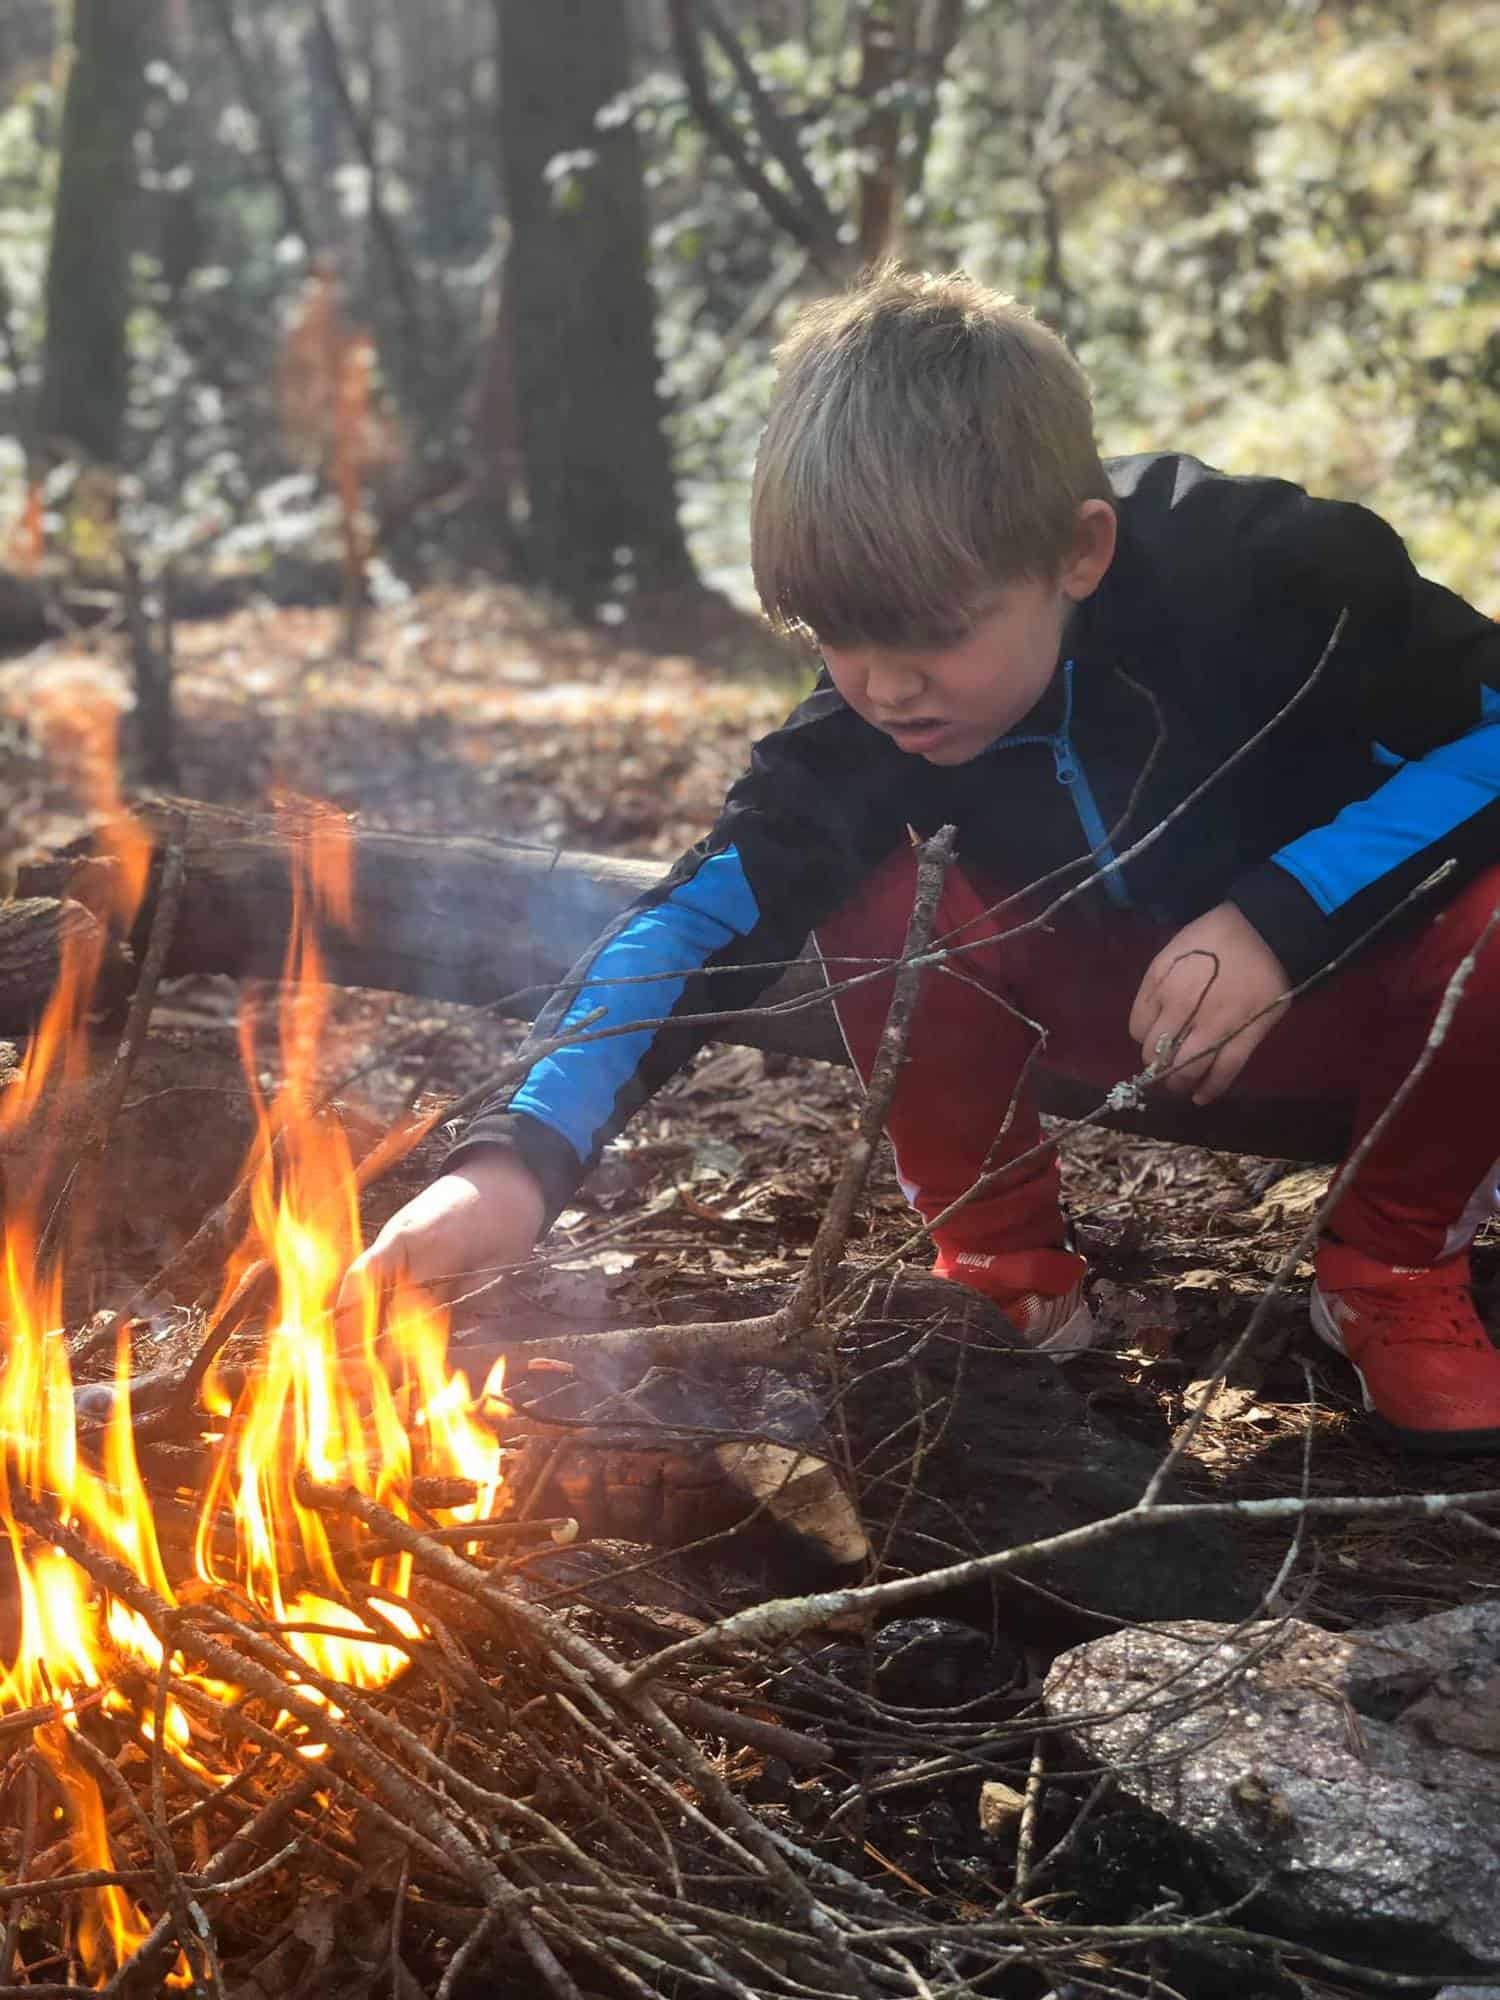
Putting out a fire
Possibly the most important part of teaching kids how to build a fire and about fire safety is to teach them the proper way to put out a fire. Having a shovel and a bucket is a must. Bring these with you any time you build a fire outside. The shovel is to toss some dirt and stir your fire. A fire must be cold when you leave a site. A person should be able to touch the coals and not feel any heat. If there is heat, repeat!
What do you repeat? Water, stir, touch. Adults only for touching, please (at least until you have a child who knows and understands when it may be too hot). Putting out a fire is a simple process, but teaching your kids to be sure it is stirred and cold it where it’s at.
Teaching kids how to build a fire is fun
There is something truly magical about outdoor campfires. I love cooking over a fire, roasting marshmallows, and sitting beside a fire and crocheting. Teaching my kids how to build a fire has been an important outdoor survival skill. Seeing my sons take pride in a fire they built and can now enjoy, is the icing on top! There are so many fun things to do with a campfire. Once they can build a fire, they can practice making food in the campfire! They can catch fish and roast them. Kids will love the responsibility, the wonder, and the memories made!
Don’t forget to ALWAYS use common sense and safety practices with fires. Especially as your children are learning.
Do you have tips for teaching children to build outdoor fires?
Show us your campfires!
Use the hashtag #runwildmychild and tag us on Instagram!

About the author
SarahRuth is a homeschooling mother of three boys. She was raised in cities across the East coast, but now resides in the Appalachian Mountains of Georgia where her husband grew up. Passionate about inspiring others to shift from the status quo of Western indoor life, she launched a local Free Forest School chapter in 2017. Her family clocked over 2k hours outdoors in 2019 and believes that outside time as a family is vital to a joy-filled life. She collects books, stray children, and as much coffee as her body will permit. When not foraging, chasing waterfalls, or camping with her crew, you can find SarahRuth crossing the globe from her laptop, teaching English full time online! She has two bachelor’s degrees in Education and is passionate about teaching children to love learning through outdoor adventures.
You can find more from SarahRuth in the following online locations:
Instagram: @kindle_togetherness
RWMC posts: SarahRuth
Comments
9 responses to “Outdoor Skills: Teaching Kids How to Build A Fire & Fire Safety Tips”
-
[…] you choose, practice with it! Make sure you know how to use it! Here’s a great post about teaching kids how to build fires from another creative team […]
-
[…] 2: Before we move on to cooking, let’s learn an important life skill: fire building! Read this article for tips and tricks, and then get outside and build a fire of your own. (Parental supervision is […]
-
[…] Campfires are great for summertime fun. You can sit around the fire at night and roast marshmallows, enjoy a nice fire for warmth, and tell stories. If you’re going camping or spending a night outside under the stars, make sure to learn how to build a good fire. […]
-
[…] there is not an existing campfire ring, use some rocks/bricks to make one. We have a great post on how to build a campfire with kids. This is a great time to teach your kids fire safety and caution. This is also a great time during […]
-
[…] for kindling and help build the fire. It’s a great activity to do all together (here’s how to teach your kids how to build a fire and fire safety tips). I recommend bringing a small handsaw to help cut some of the larger pieces. Just collect some […]
-
[…] Source: runwildmychild.com […]
-
[…] © RUN WILD MY CHILD • […]
-
[…] © RUN WILD MY CHILD • […]
-
[…] explore basic cooking techniques. Think foil-wrapped veggies or s'mores. Additionally, teaching fire safety promotes responsible handling of fire and instills a sense of ownership in […]

Leave a Reply