Your cart is currently empty!
Conker Crafts for Kids
Have you ever found a conker? Conkers are the nuts from the horse chestnut tree (not to be confused with the chestnuts that you can eat). Also called buckeyes, conkers are ripe and ready for fun in the fall. Today, UK mom, teacher, and YouTube host Hannah Martin shares her family’s favorite conker crafts for kids. She’ll tell you where to find conkers, when to look for them and how to use them for fun fall crafts that you can do with your little ones. Let’s get crafty!

Conker season
It’s that time of year where we lose the warmth of summer and the long evenings. But, nature has a lovely way of reminding us of the beauty of the next season. Autumn appears and shows off her loveliness, with colours changing every day on a woodland walk, cool crispy air, fewer pesky bugs, and so many treasures falling from trees.
Our favorite fall nature treasure by far the round, brown shiny balls called conkers! (In the US, you may call these “buckeyes” or “horse chestnuts.”) Conkers are not only good for the fun traditional game of “conkers” but are great for fall-themed crafts and activities with your children. Once you think of one idea, if you are like us, you will get carried away in creating an array of conker animals, insects, reptiles and spooky decorations for your house or garden!
Finding conkers
One of the best things about using conkers for crafts is that it’s basically a whole day’s activity! Before you can start crafting, you have to get outdoors to discover and collect the conkers. Finding them is definitely a big part of the fun! And Autumn is by far the best season for woodland walks and exploring. There is so much to entertain little minds; colorful leaves, piles of crispy brown leaves to stamp in, fruits, nut,s and seeds from trees.
Horse Chestnut trees
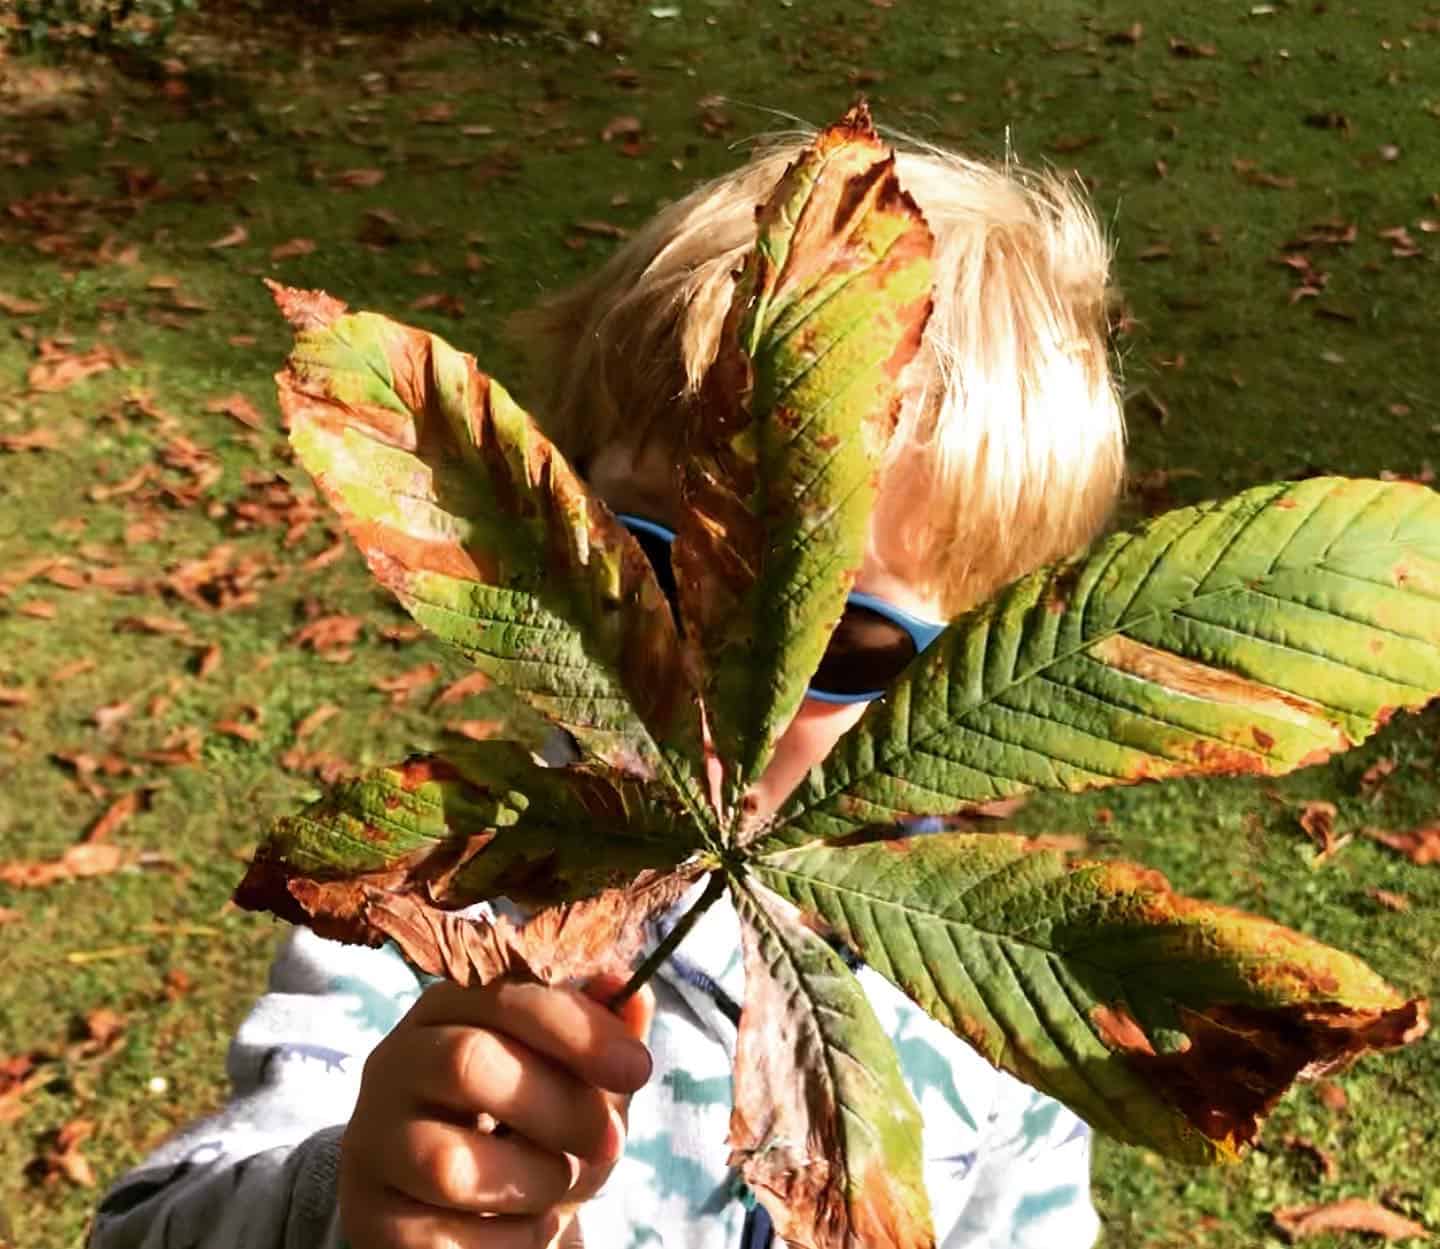
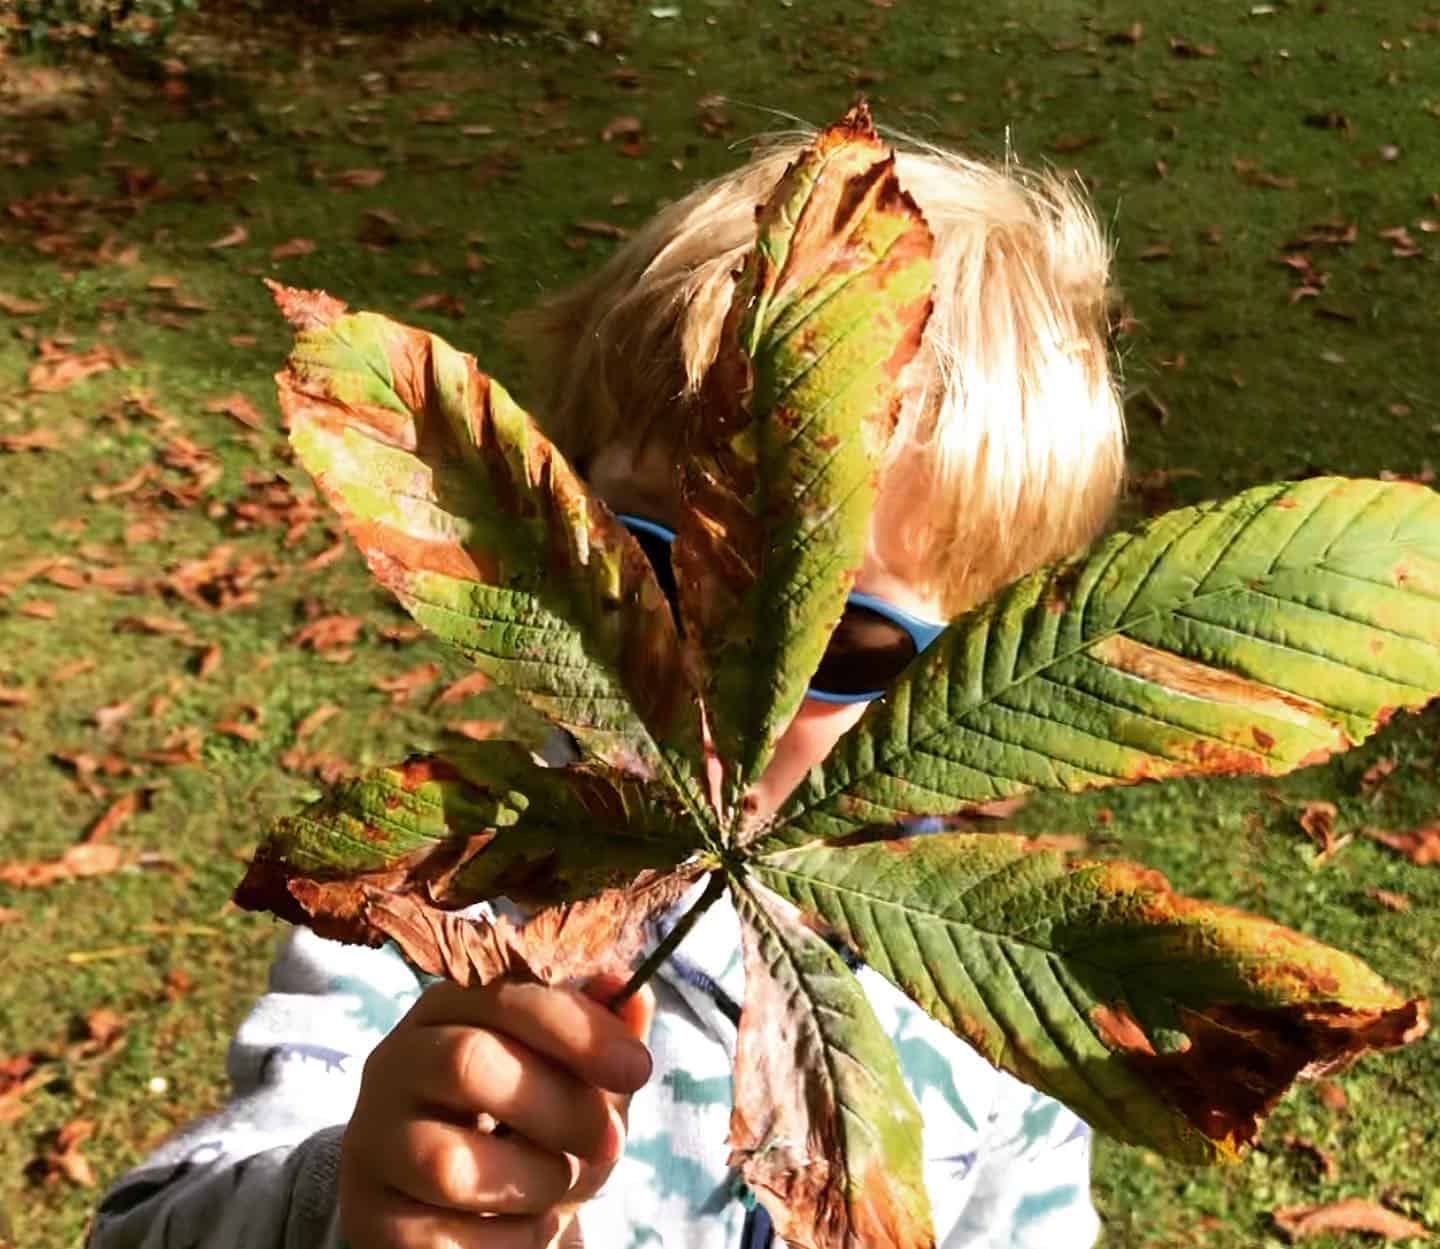
Your first mission is to find the right tree. Horse Chestnuts trees are easy to spot in the autumn, as they are one of the first trees to change colors. Horse Chestnut tree leaves turn brown slightly before all the other trees around them, which is a great way to get kids paying attention and observing the colors. This is especially the case if there has been a wet spring. Horse Chestnut trees are usually pretty big, growing up to 25m tall and in their own space. They’re frequently planted along roadsides. The Horse Chestnut leaves have five or more lobes whose midribs come from one point.
When and where to find conkers
In the UK, conker season starts in August and continues through September and October. However, the climate and weather in any particular area can have an effect on the conkers and when they’re ready.
The best place to spot conkers is looking at the ground for their green, spiky capsule close to Horse Chestnut trees. Conkers are ready when fall from the tree. This is when they’re harden and ripen in the middle. But if you leave them on the ground for too long, conkers can become weak and soggy.
On our conker quest this year, we discovered that we were quite late to the party. By the time we went out, lots of the Horse Chestnut trees in our area had already dropped their conkers and had been found and collected by someone else. We had a very dry, windy summer, so we think they dropped their nuts earlier than usual.
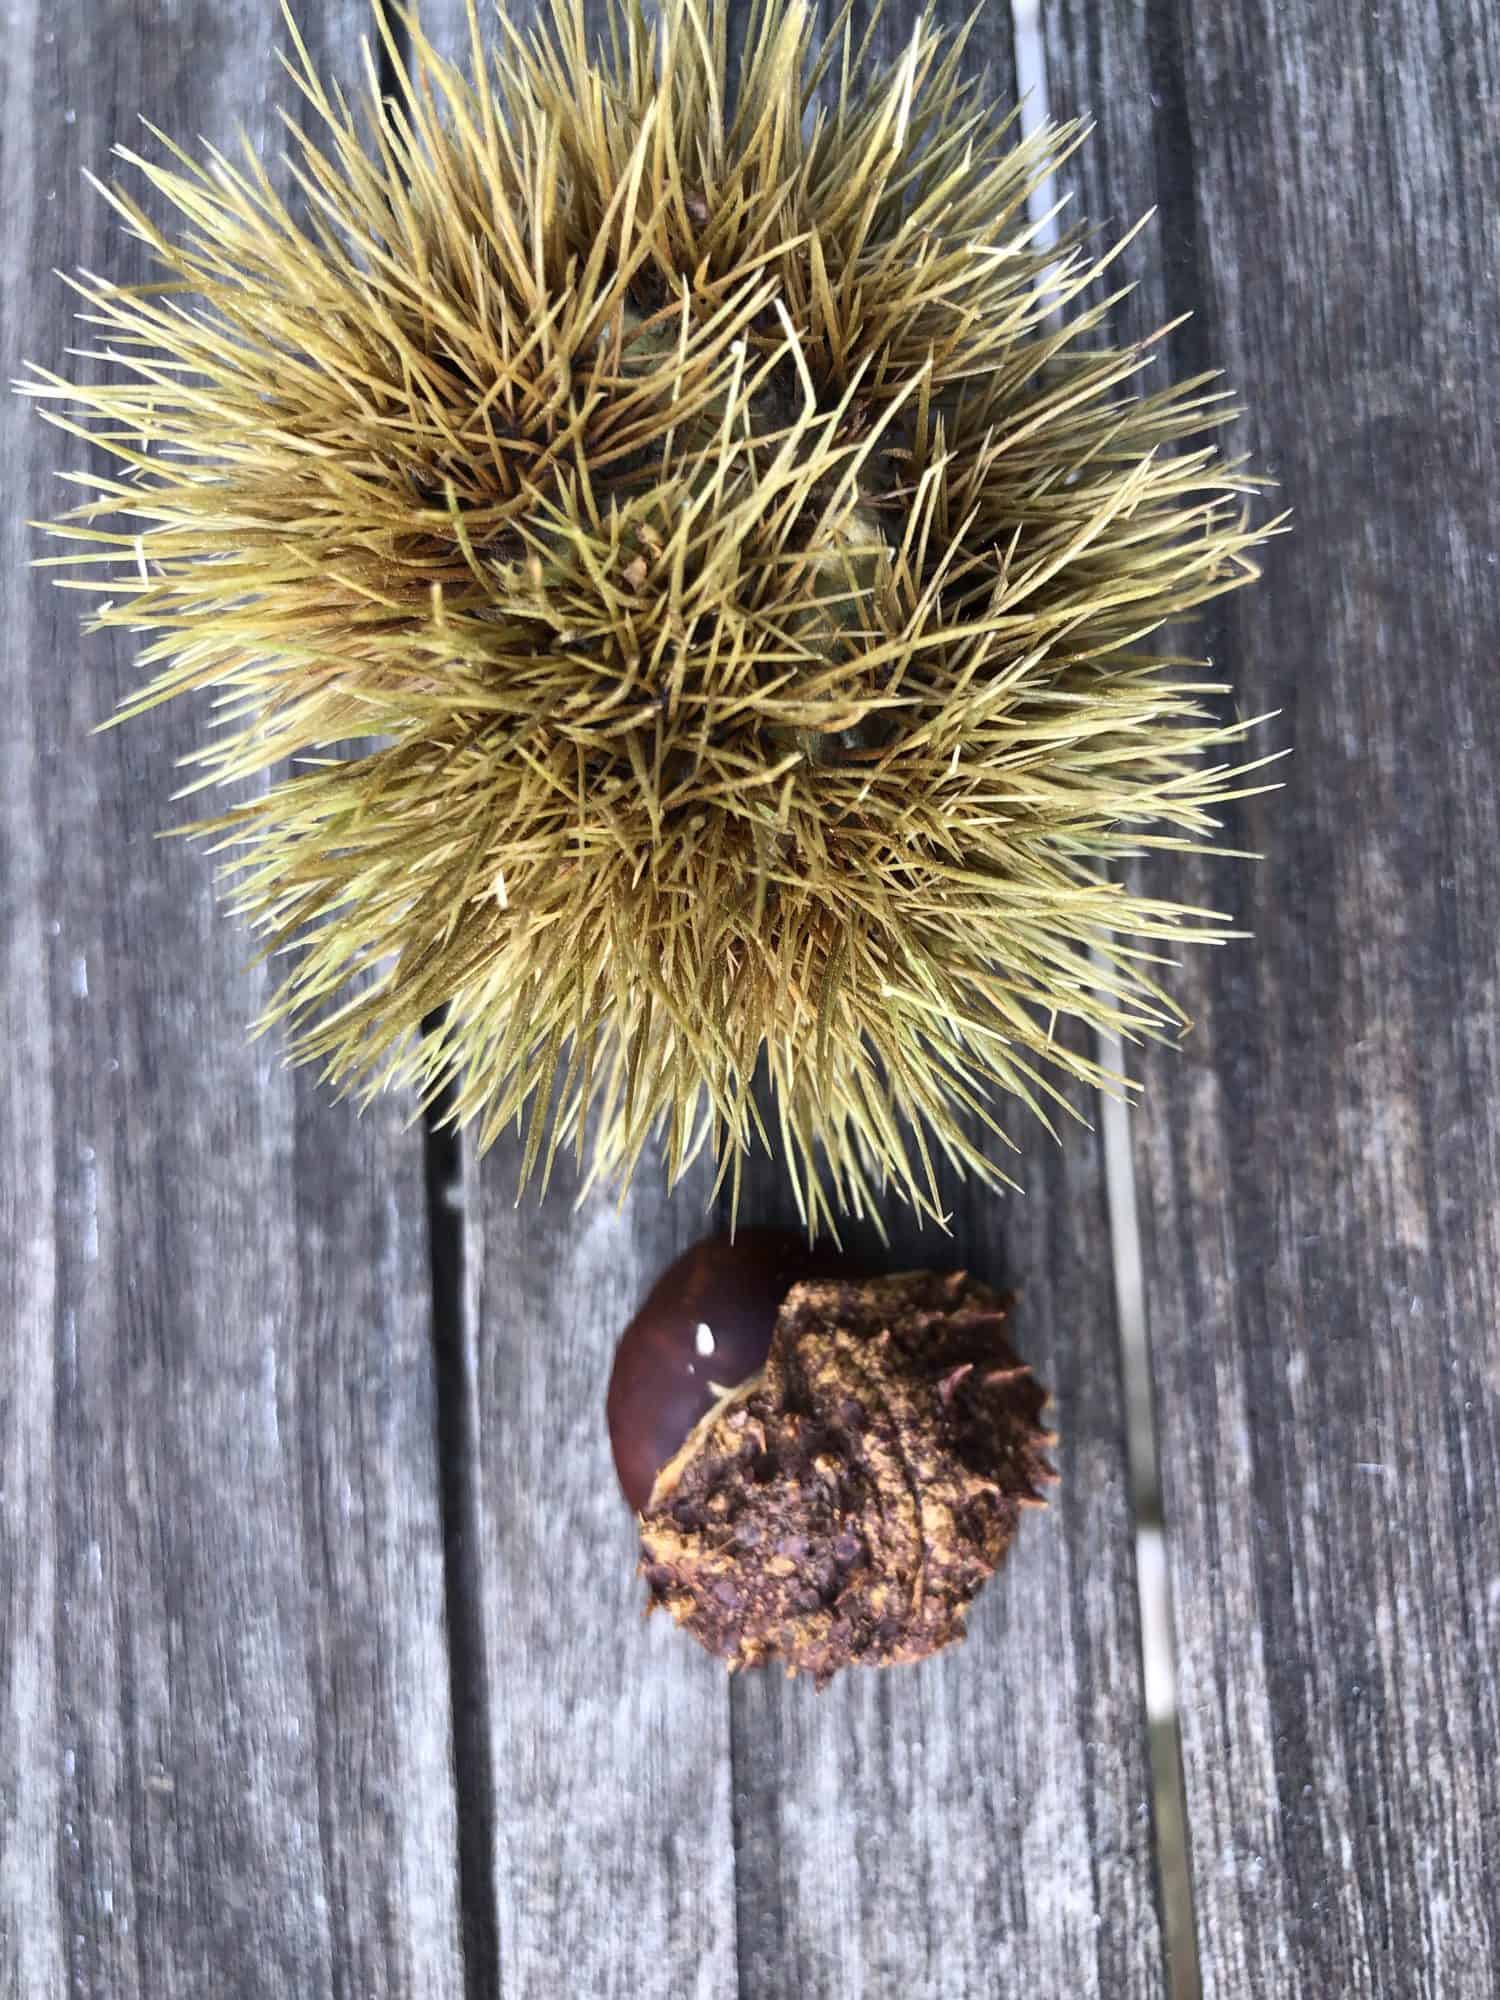
*Note: Don’t get confused by a Horse Chestnut and a Sweet Chestnut. Sweet Chestnuts are the nut that once cooked you can eat (a la “chestnuts roasting on an open fire”), they have a much softer, pricklier shell than conkers. Conkers are not edible. Both come in green shells, but conker cases have short, stumpy spikes all over.
Make collecting conkers fun
Finding and collecting conkers on it’s own is a really fun outdoor activity for kids and families. We always like to spice things up a bit, so sometimes we’ll make concker collecting a competition! Who can collect the most conkers in a set amount of time, or who can find the biggest or smallest conker. While collecting, we also start imagining what we will make each one into. It’s so interesting seeing all the different shapes and sizes that you collect.
Conker craft supplies and safety
When you do crafts with children, it’s important that the child gets to be hands-on for the majority of the activity. This means you should choose tools that are safe, or just ensure you give clear, simple instructions for safe use.
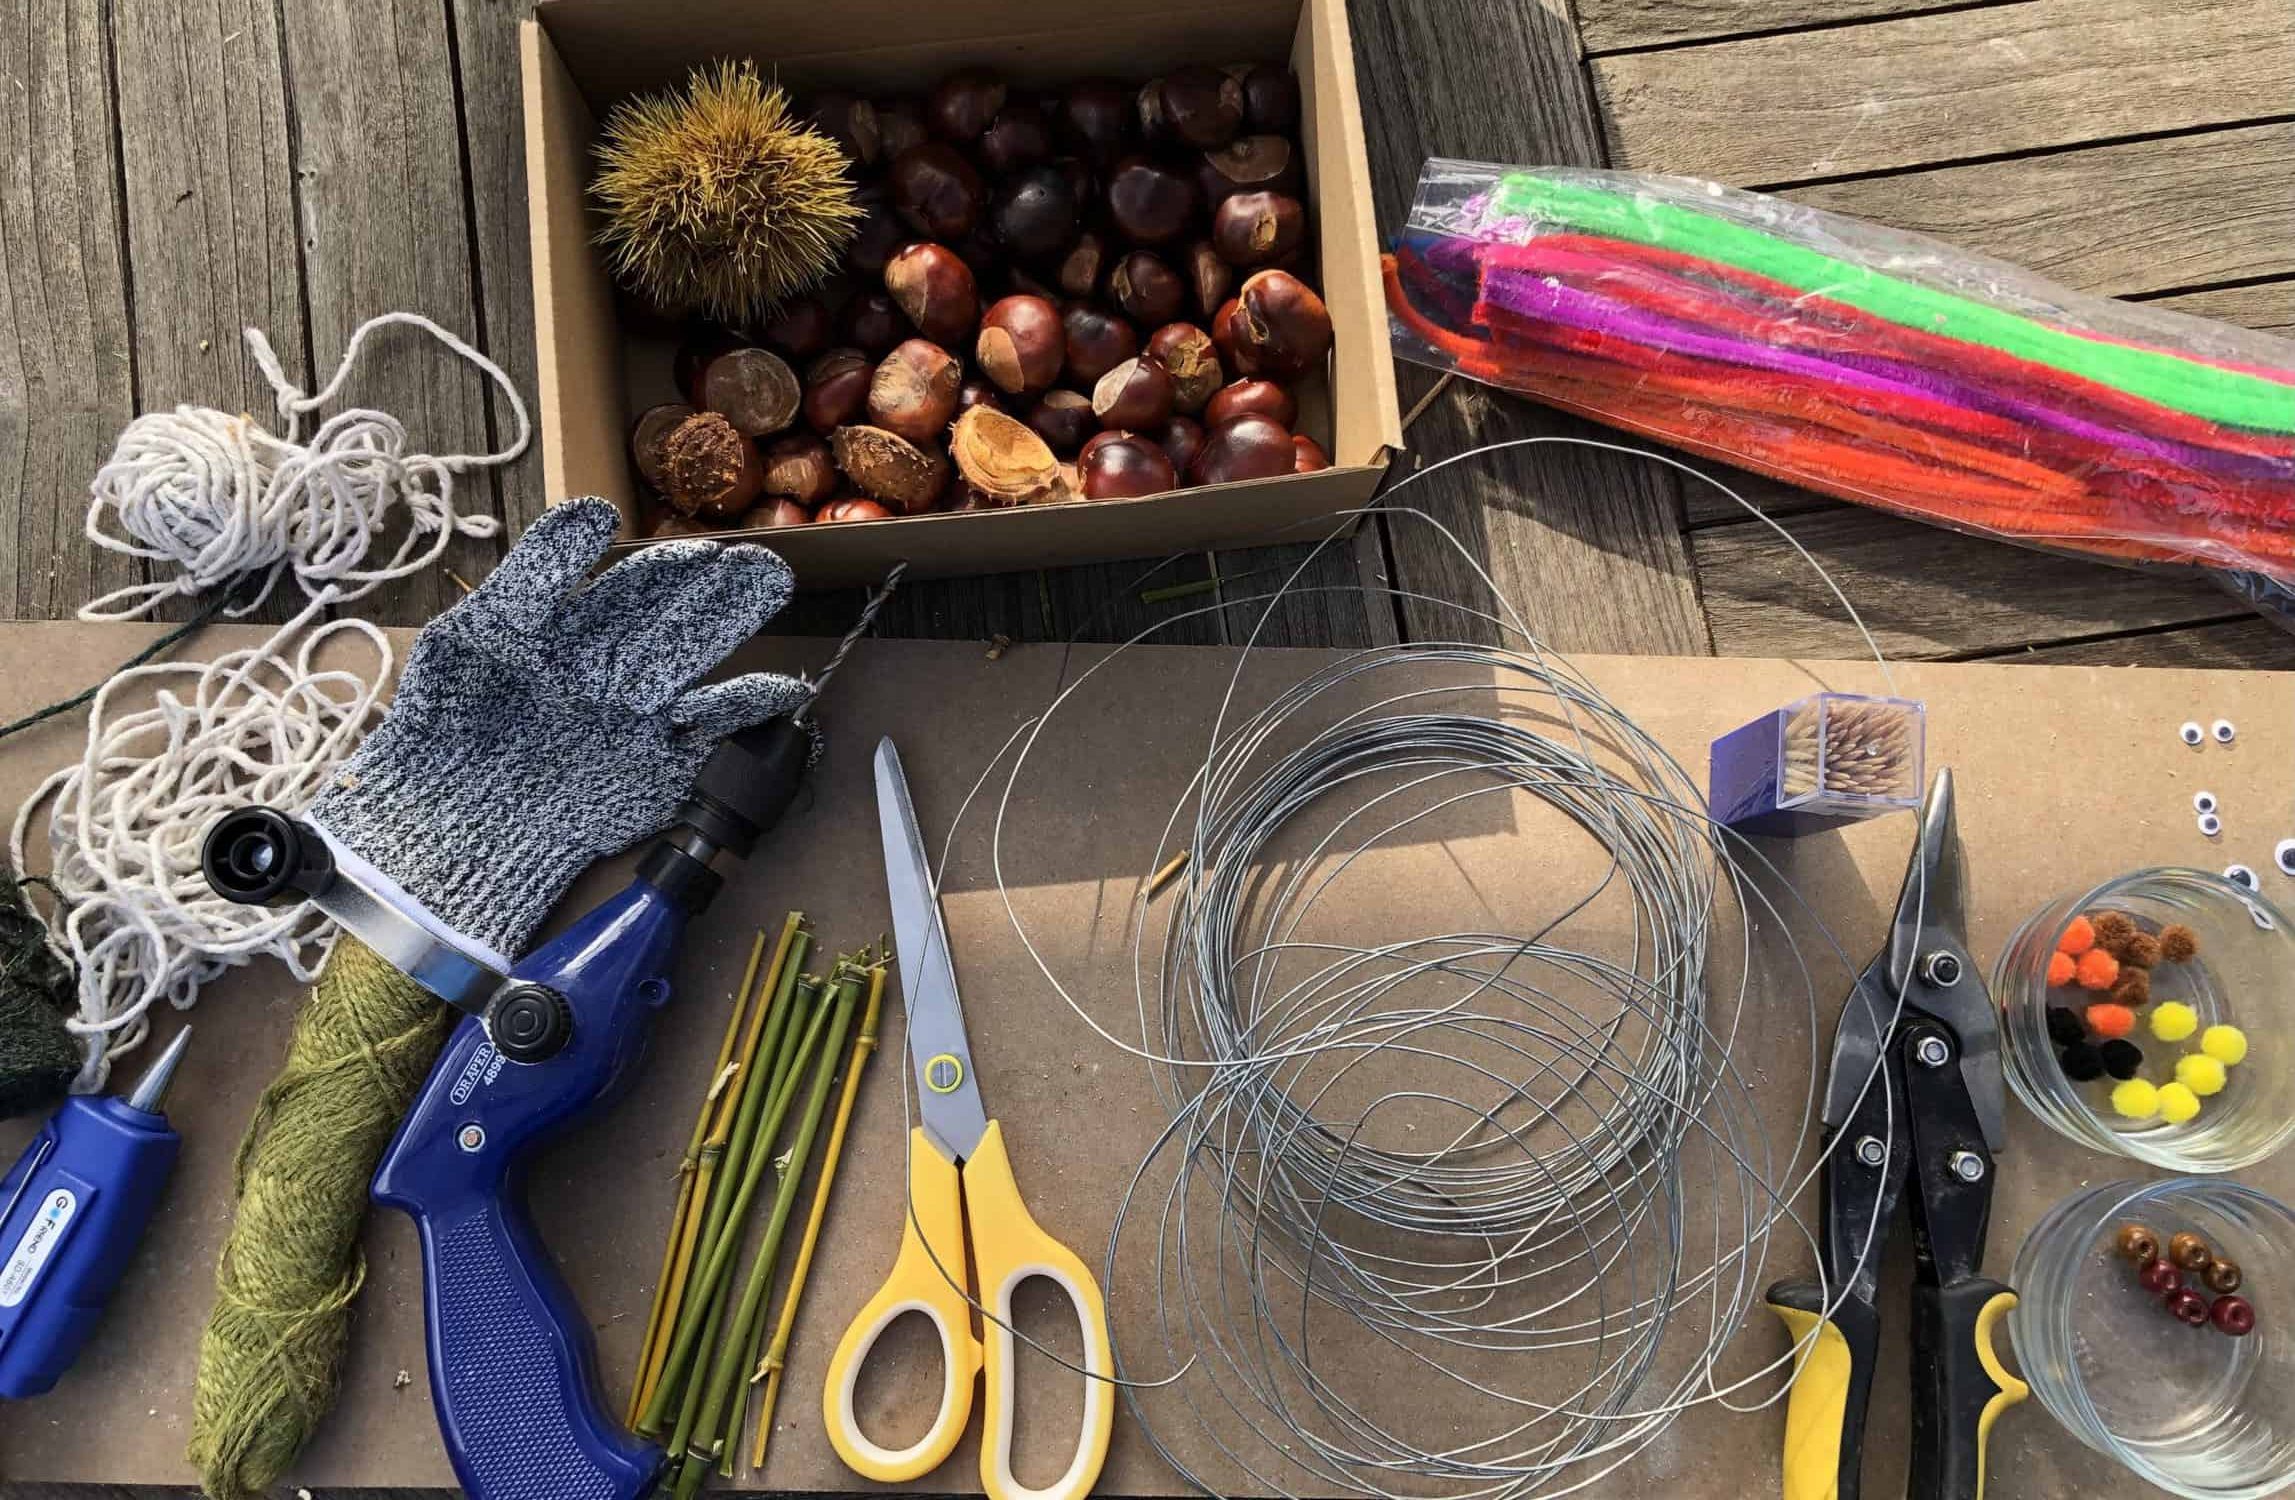
When working with conkers, the hardest part of the crafting activity is usually making a hole in the conker. We find a child’s hand drill the easiest and safest way. Howver, you can also use a palm drill or just a skewer. Be advised that this requires strength and risk awareness, particularly thinking about hands in the right place and eyes if leaning over.
Conker crafts for kids
Conker crafts are fun for the whole family and really easy to make! You can turn conkers into so many different things; your only limit is your imagination! Today, we’re sharing a few of our favorite conker crafts for kids. All of these conker crafts have been tried and approved by my 5 year old! And the good news is, you don’t need much in the way of supplies other than what you can find in nature! So, let’s get outside, find some conkers and start getting crafty!
Conker spider
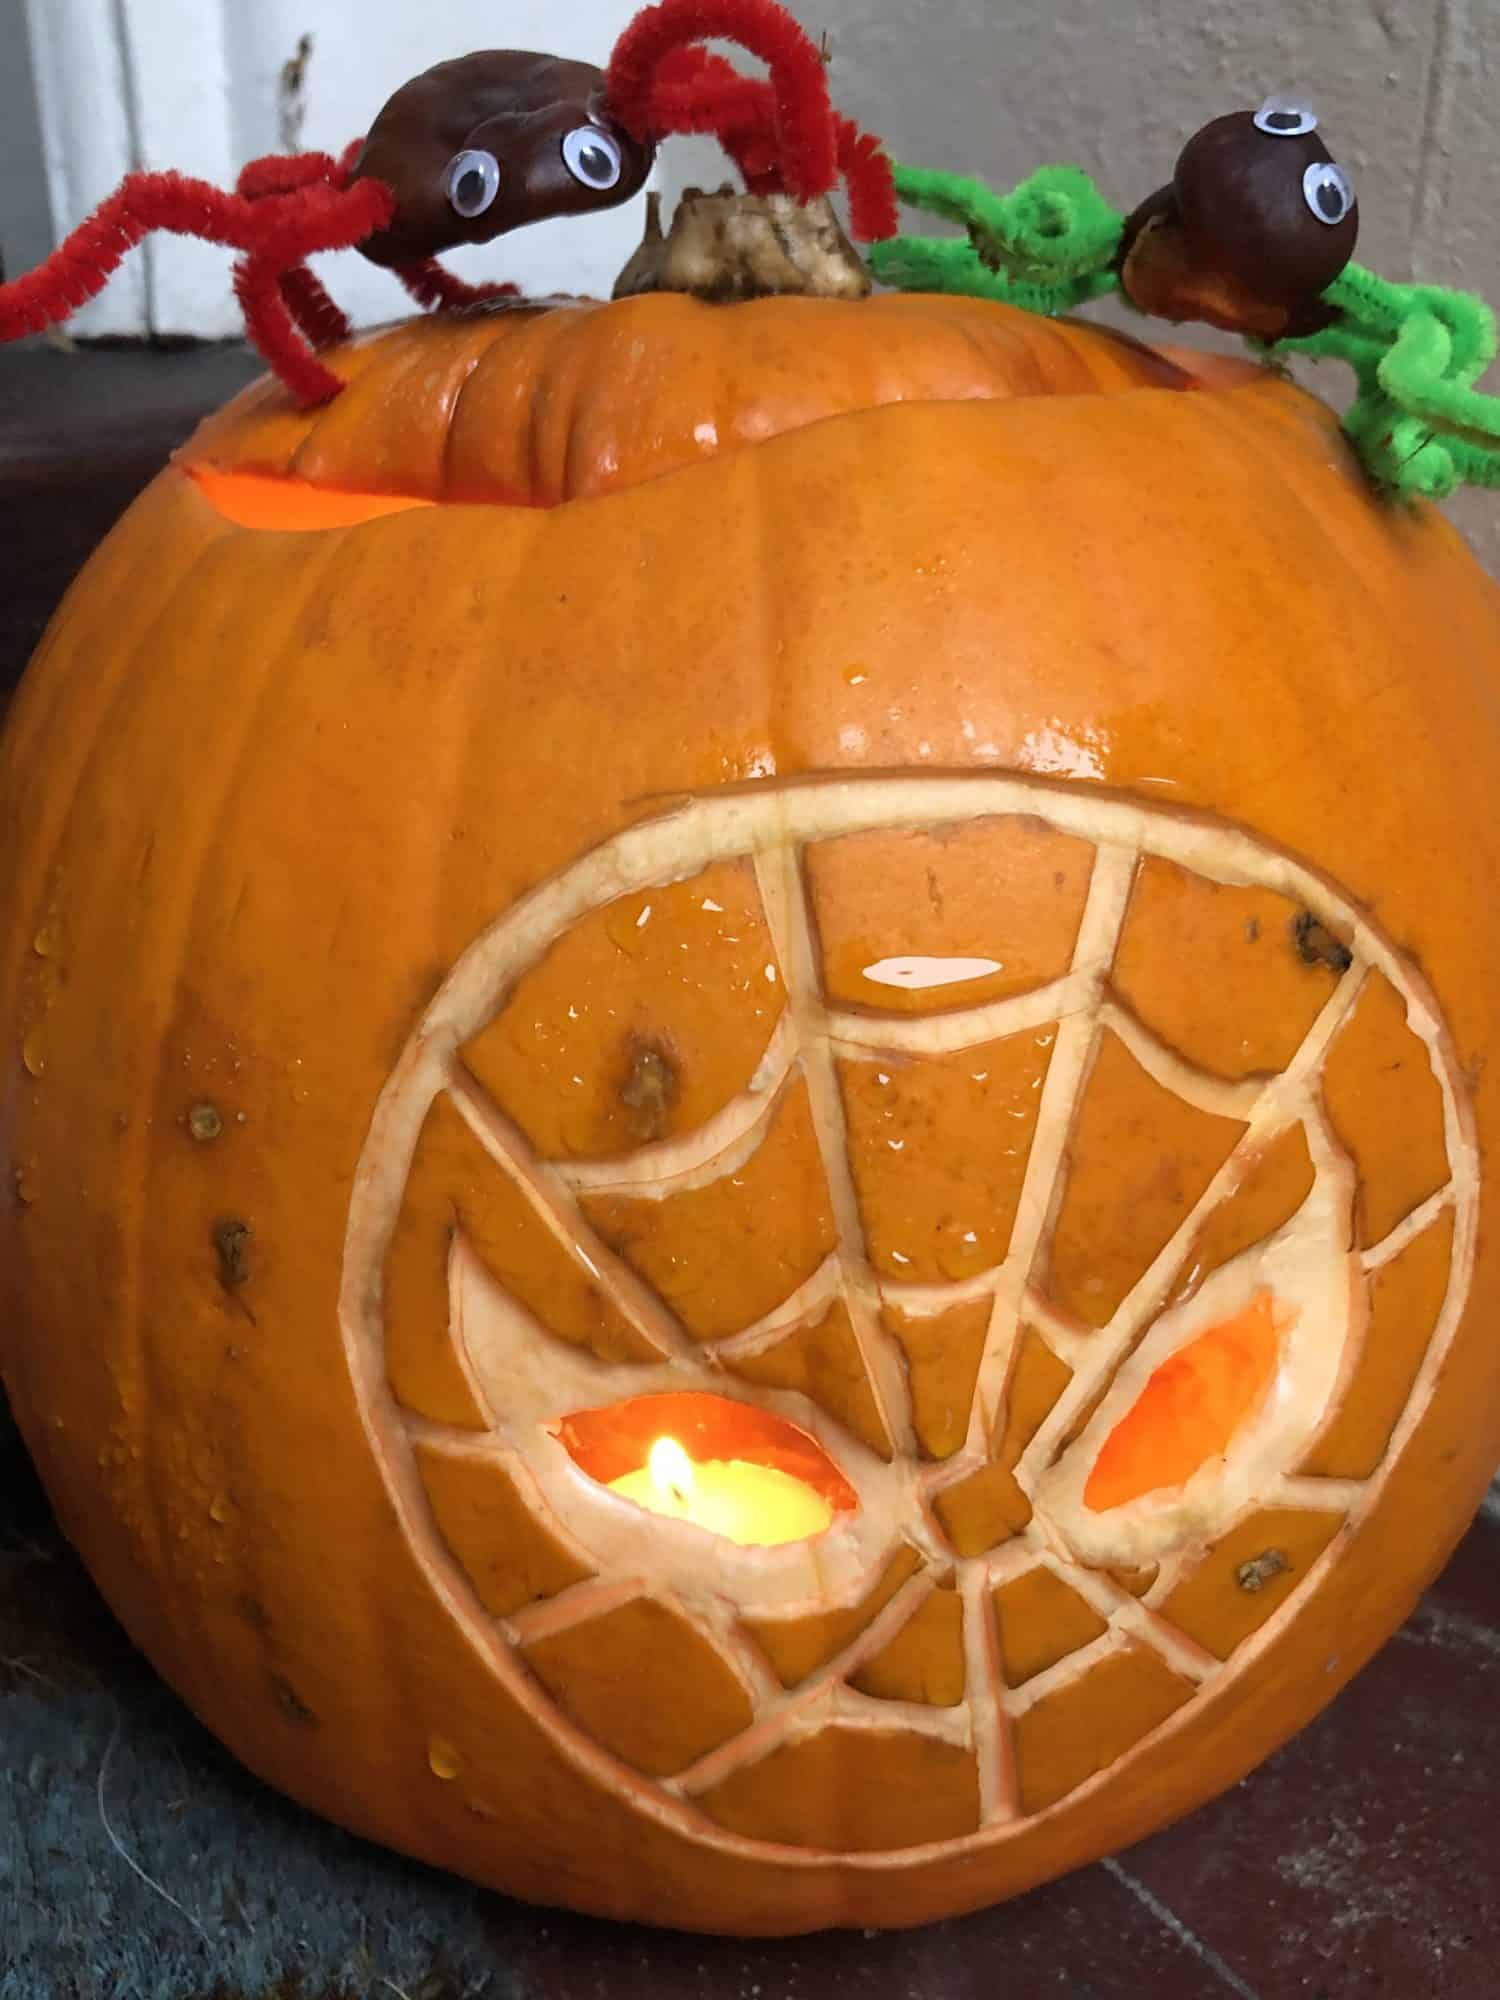
For our first conker craft, we are going to make a creepy conker spider! This is a really simple craft activity (and quite ironic, as old wives tales say that spiders hate conkers). These crafts make cute decorations for the corner of your house — and who know, maybe they will scare the spiders away!
Conker spider supplies:
- 2 conkers
- 1 cocktail stick/toothpick
- hot glue
- 1-2 pipe cleaners
- wire cutter
- goggly eyes
Conker spider instructions:
- Use your drill or skewer to make a hole in the head of the spider and the body. Cut the cocktail stick in half and put it into the hole on body. Squirt with some hot glue and attach another (smaller) conker as the head.
- Make 4 holes on either side of the spider’s body. Decide how long you want his legs to be, and cut pipe cleaners to size. Squirt glue into the hole one at a time and insert the pipe cleaner legs. (Use parental supervision/help, as the glue is hot!)
- Stick on your googly eyes and decorate your spider as you wish.
Conker spider web
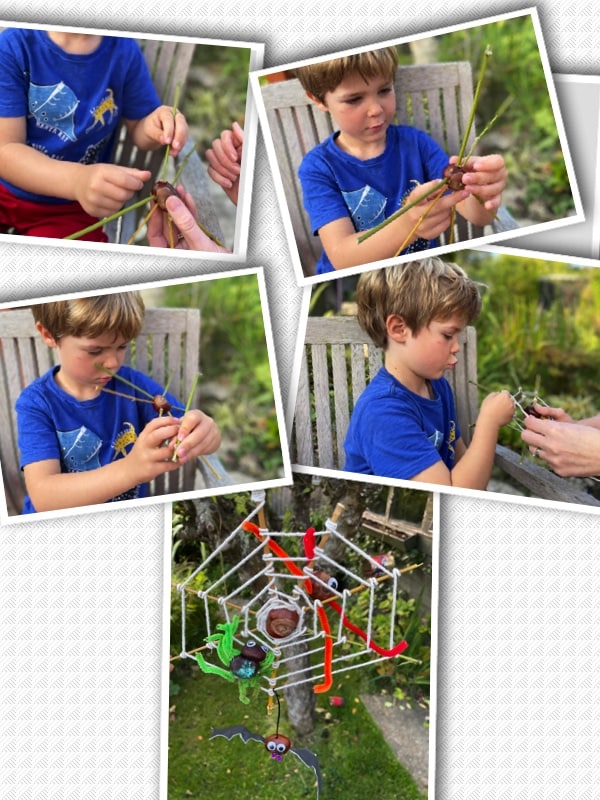
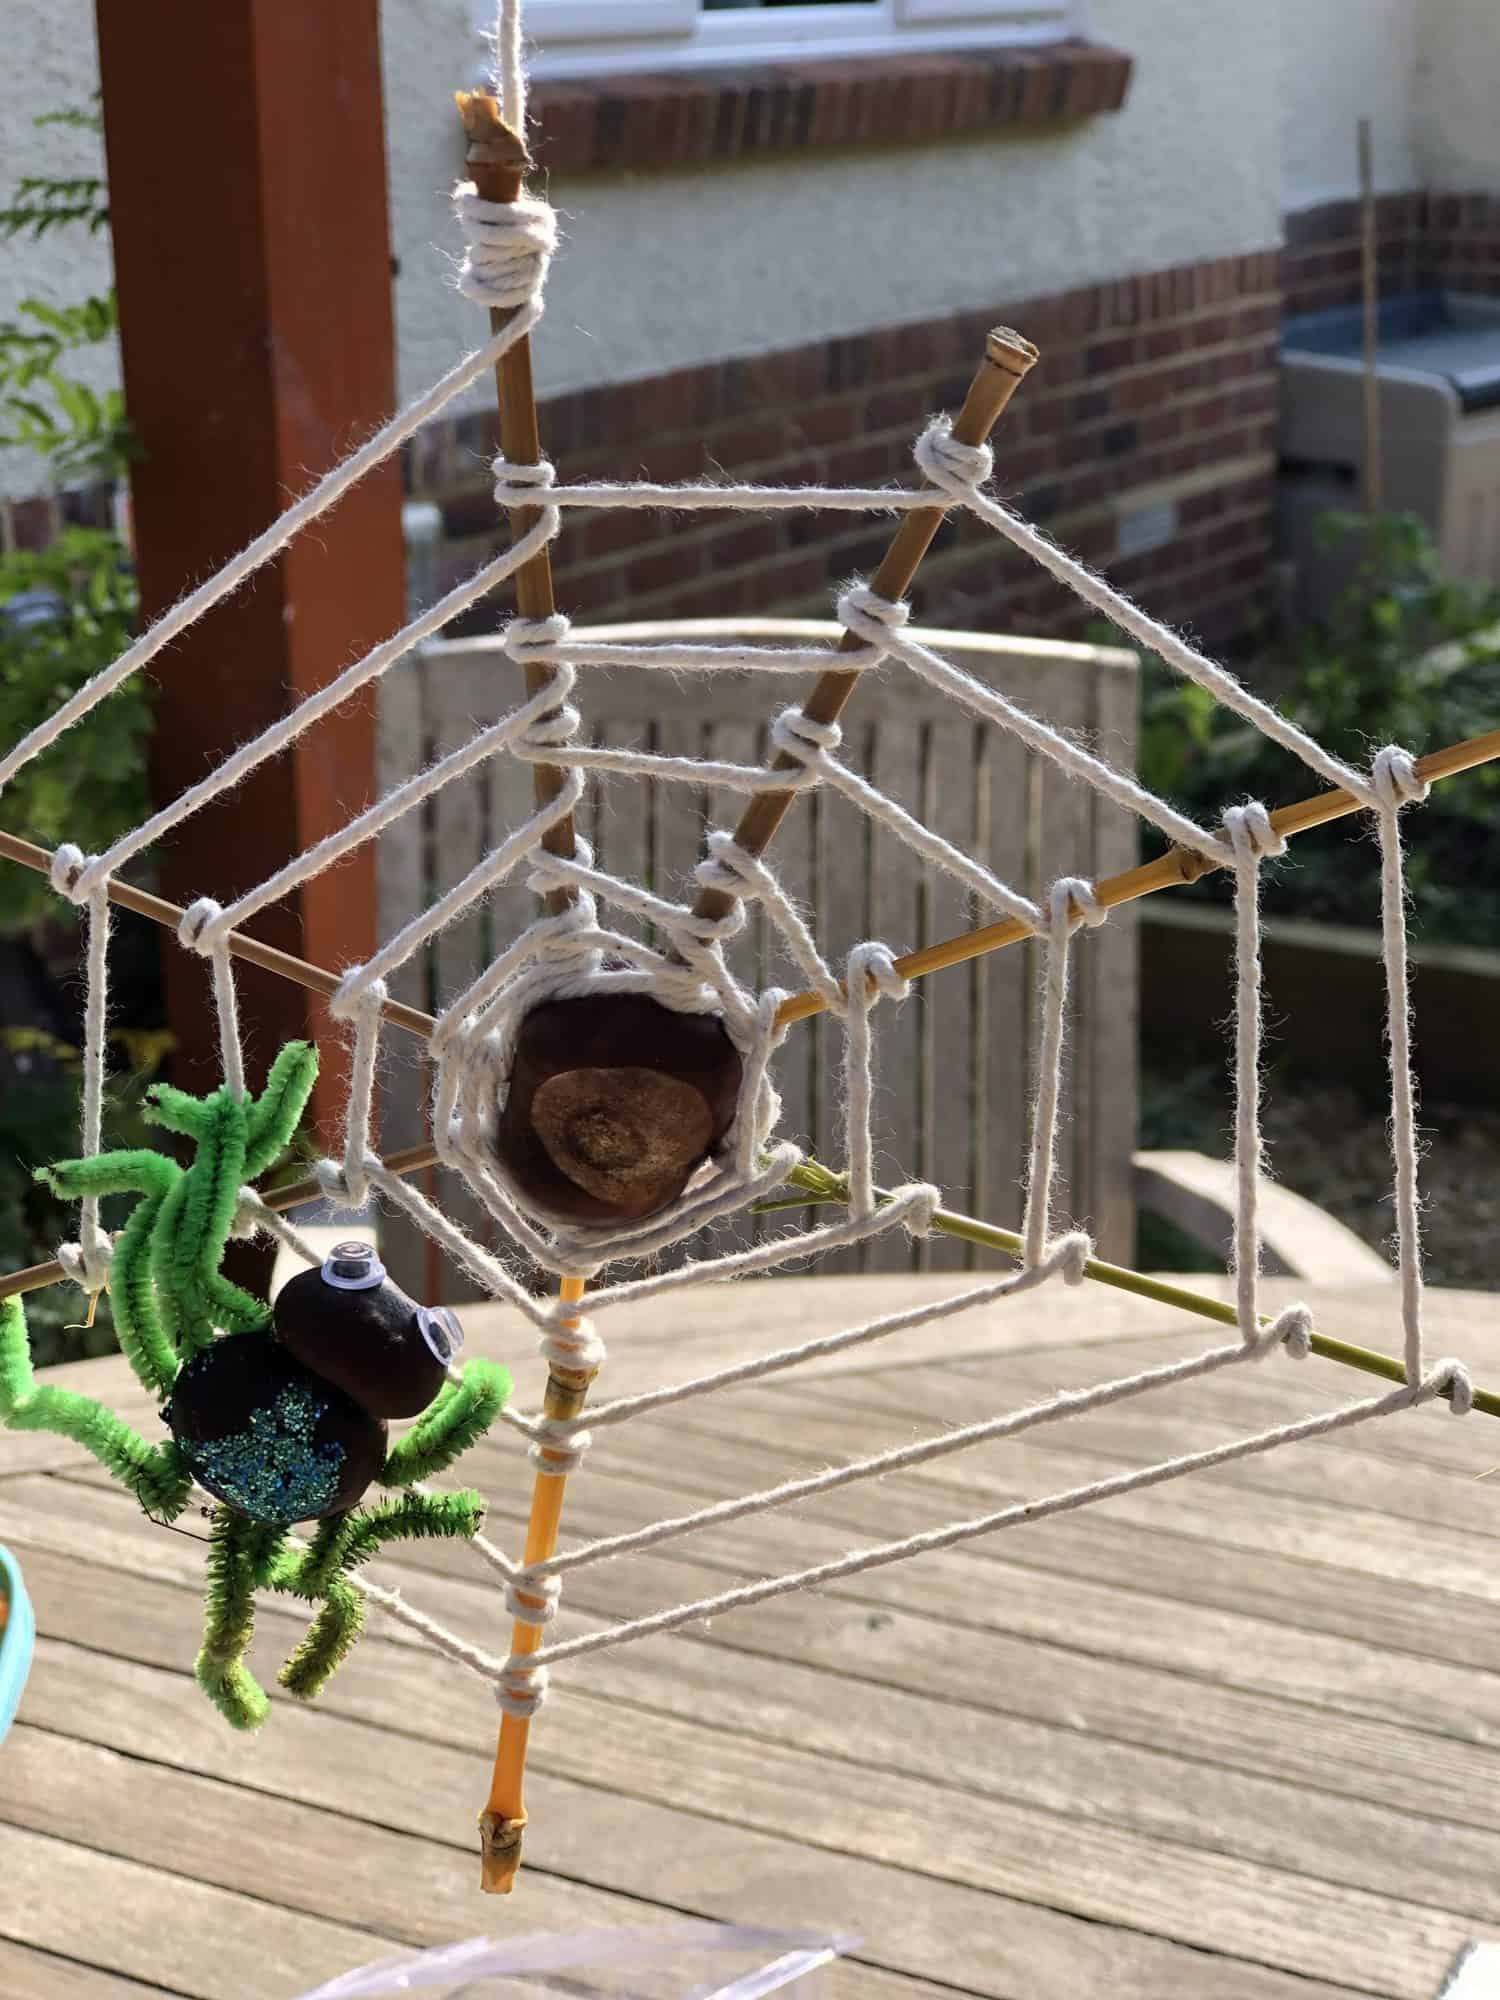
Every spider needs a web so we decided to create our little conker spiders a home.
Conker spider web supplies:
- 1 large conker
- 8 sticks (you could use wooden skewers, whittled sticks or bamboo)
- white string; twine
- glue
Conker spider web instructions:
- Make 8 holes the size of your sticks, equally spaced out around the perimeter of the conker.
- If the sticks are slightly smaller than the hole, fill the hole with hot glue.
- Tie one end of the string to the bottom (near the conker) of one upright stick.
- Take the string and wrap it around the next stick once and on the second turn pull it tight and cross over the first wrap so the string stays in place.
- Continue doing the same in a circular motion. When you get back to the first stick move up slightly and continue to wrap around each stick twice.
- When you get to the outside end of the sticks on the one you started, tie off the string leaving a length to hang.
It’s that simple, but looks very effective, especially when you attach your conker spider and hang it from a tree or ceiling!
Conker bat craft
Conker bat supplies:
- 1 conker
- black cardstock paper
- half a pipe cleaner
- googly eyes
- string
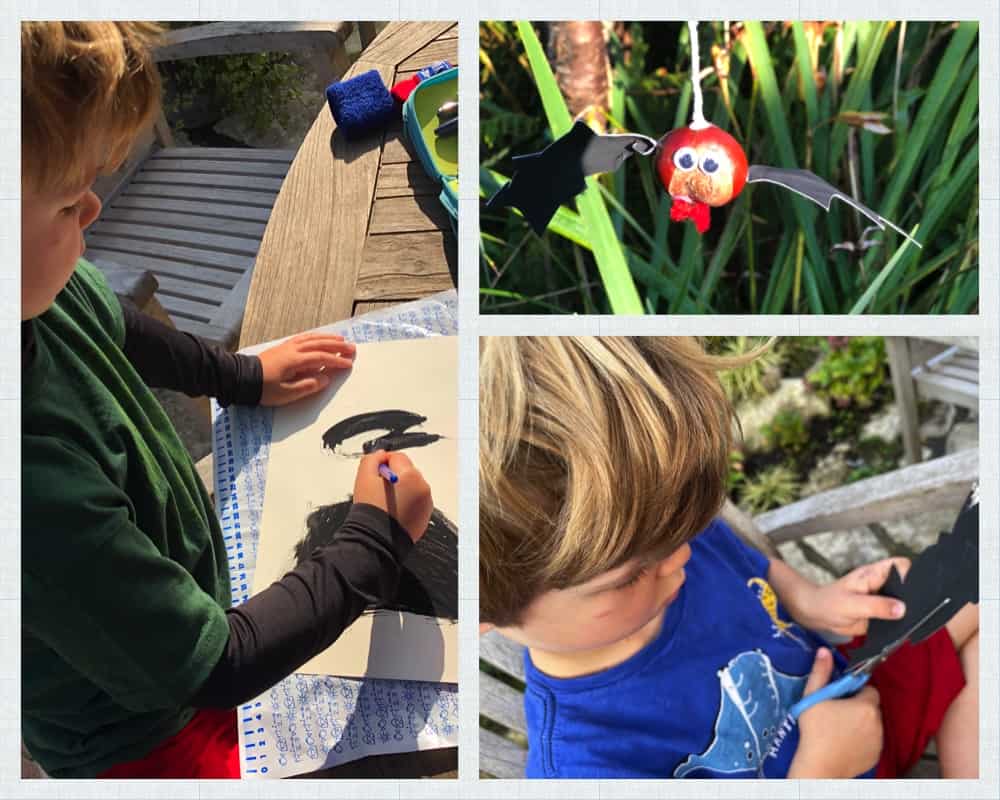
Conker bat instructions:
- Make two holes on either side of your conker for the bat’s wings.
- Make two smaller holes on the bottom of the face of the conker for bat teeth.
- Make a hole all the way through your conker and using string or wire insert a length and tie a knot at the bottom. This is to hang your bat.
- Cut your wings out of the black cardstock paper making sure one end is narrow enough to fit in the holes. Gently create a crease long ways and fold in half widthways to make it look like a batwing.
- Squirt glue into the holes and insert one end of the wing.
- Cut your pipe cleaners for the size teeth you want, squirt glue into the holes, and insert pipe cleaners.
- Add your googly eyes and using paint pens or permanent markers add any decorations.
We have our bat hanging from the web on a tree in the garden.
Making conker animals
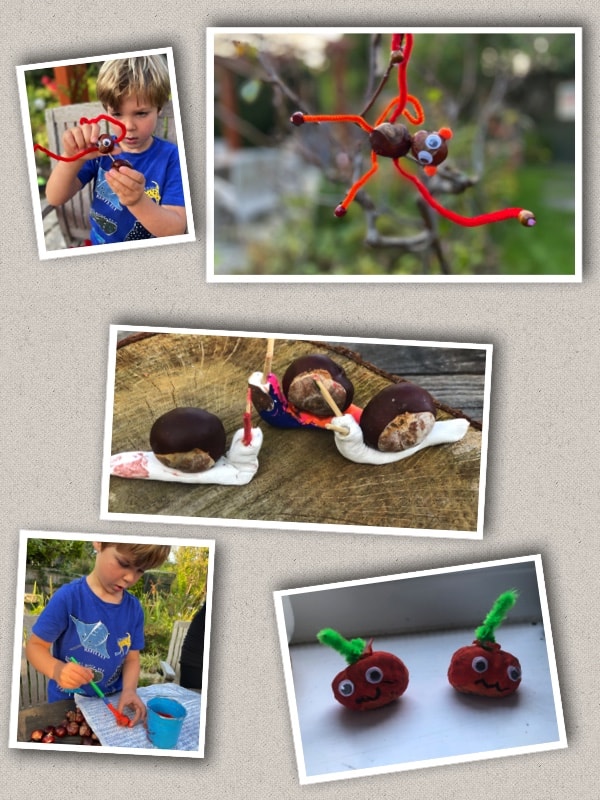
As soon as you get started making conker crafts, I guarantee that your children will start coming up with their own imaginative ideas! My son wanted to carry on the “creepy” theme and do his own monster. That lead to us making conker pumpkins.
Next, we moved on to other animals. He has been studying the jungle at school, so his next idea was for the monkey, which I love. We just added some beads to his hands to give him some weight to hang.
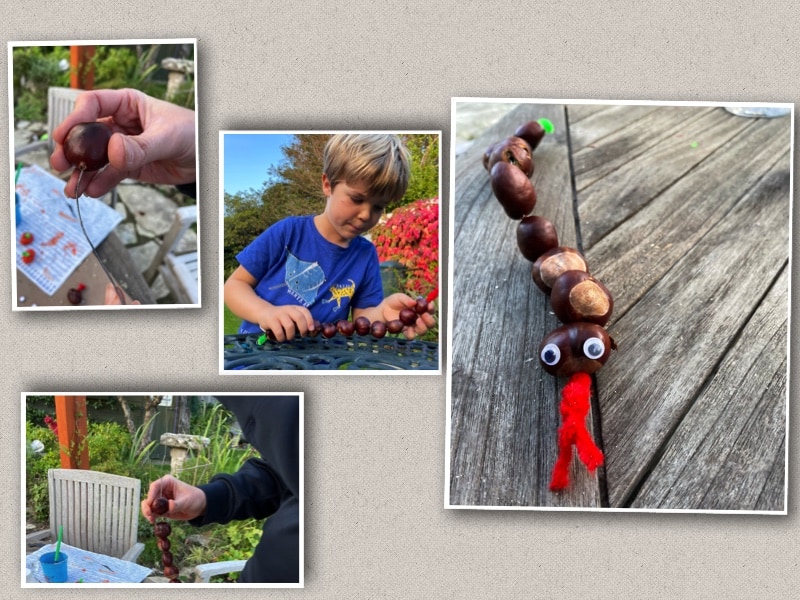
We made porcupines with toothpicks. We made snails with playdough. We still had a lot of conkers leftover, so we made snakes! For the snake, you will need quite a lot of conkers. We used wire to thread them onto so that it would bend. We now use this snake as an arithmetic bead string when adding and subtracting up to 10.
Pro tip: If you want to paint the conkers, just add PVA glue to the paint mixture. 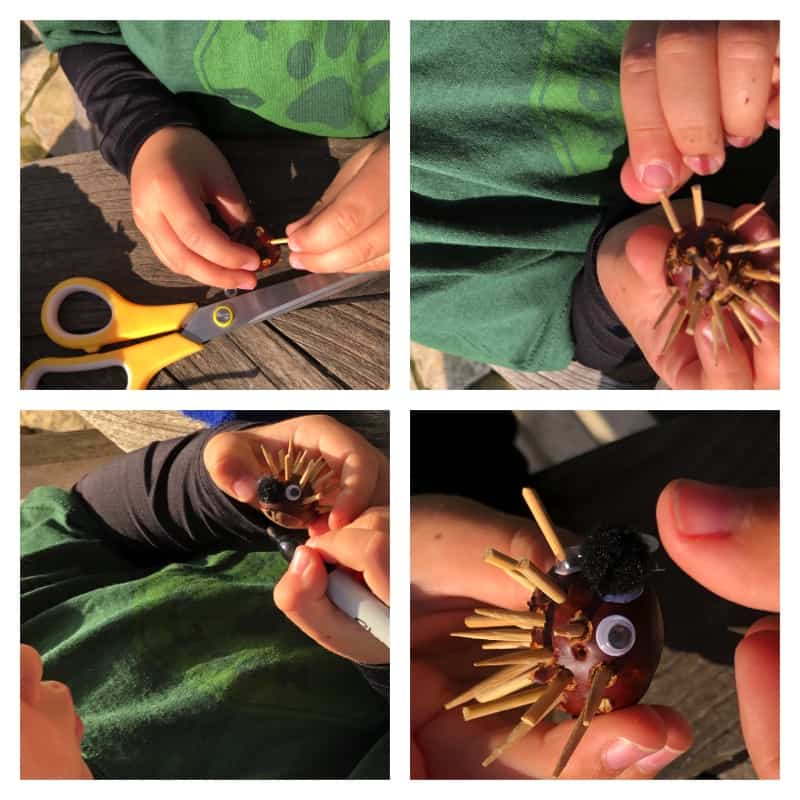
Conker tic-tac-toe
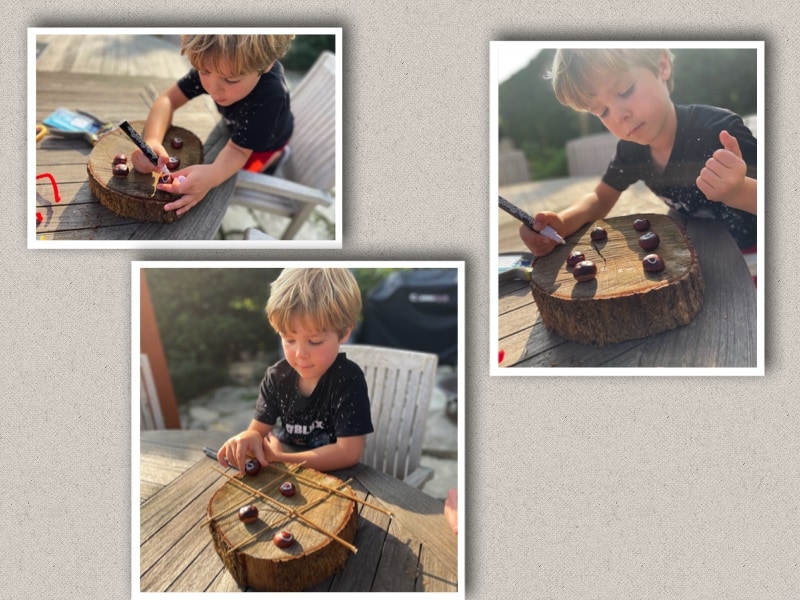
Our last conker craft idea was to create a game of noughts and crosses (or tic-tac-toe). All you need is a solid base (we used a sliced stump of an old tree) and 4 sticks. Mark up to 5 conkers with a “O” and 5 with an “X.” We used acrylic paint pens for this. Place two sticks parallel and two stick perpendicular and your tic tac toe board is all set up and ready to play!
We love having this fun and easy game board at our disposal. It’s great for keeping outside and being able to access at any time with the family. We pull it out anytime we’re outside and have some time to play. BUT! Beware of squirrels stealing your conkers!
Conker crafts for the win
There are so many fun ways to use conkers. They’re fun to collect, fun to play with, and a lot of fun to use in crafts. So, next time you are out on a family, autumn woodland walk, don’t forget to keep looking down for conker treasures and enjoy making your conker crafts and creations together.
Have you created any other conker crafts?
Share your photos on Instagram and use the hashtag #runwildmychild to be featured!
About the author
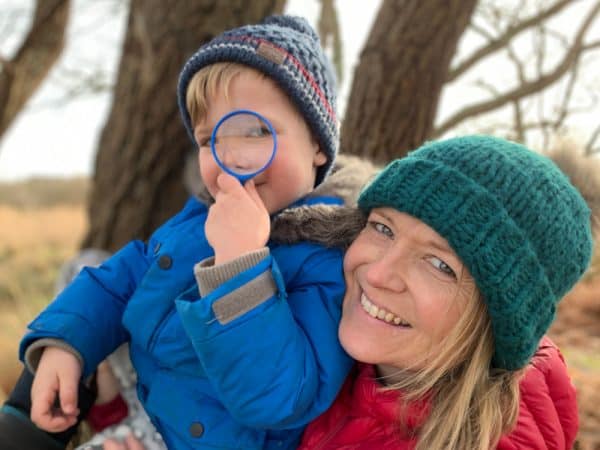
Hannah Martin has worked as a PE Teacher in the UK for 15 years. She has always loved being active outdoors. However, she discovered a new passion for nature and appreciating the environment when she had her son Hobie (now 5 years old). Hannah and Hobie’s vision is to inspire parents to spend time doing fun, creative, nature activities outdoors with their children; no matter where they live and whatever the weather. They believe spending time together outdoors as a family will encourage future generations to love and care for the world, wildlife, and environment.
Find more from Hannah (and Hobie) in the following locations:
Instagram: @hobies_nature_club
Website: hobiesnatureclub.co.uk
YouTube channel: Hobie’s Nature Club
RWMC Posts: Hannah Martin
Comments
One response to “Conker Crafts for Kids”
[…] was so mesmerized by how slick and beautiful they were. My dad kept one in his pocket for years! There are all kinds of fun crafts you can make with conkers and games to play with them, but merely collecting them and playing with them was my favorite thing to […]

Leave a Reply