Your cart is currently empty!
How To Design A Backyard Dinosaur Garden & Mud Kitchen
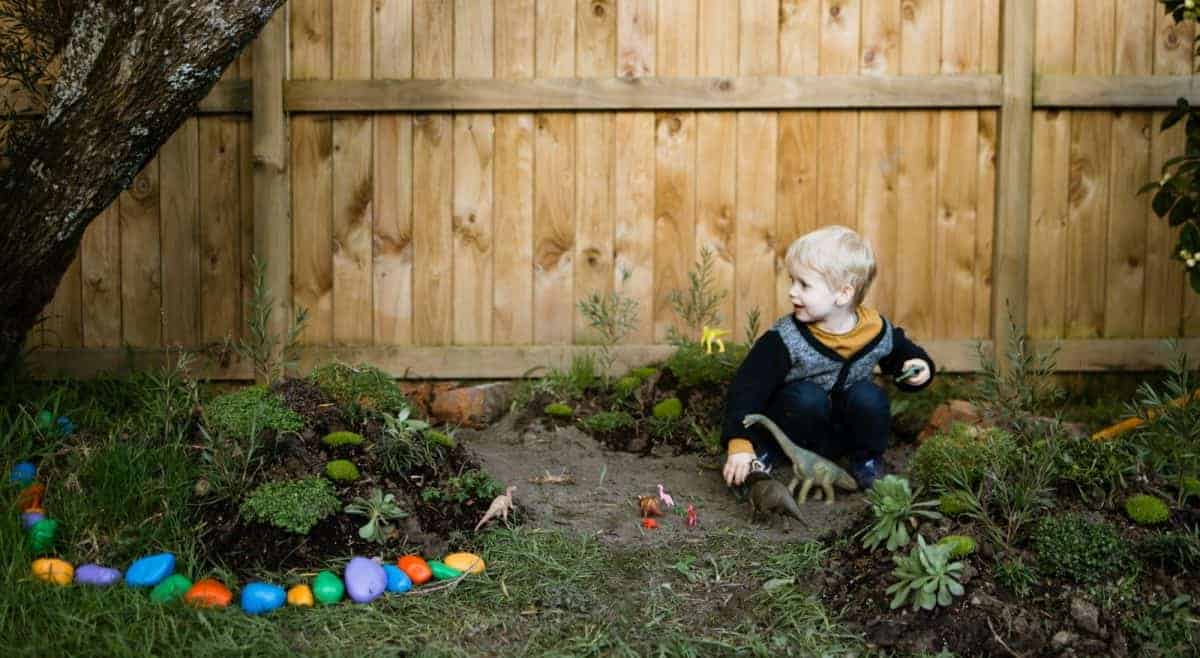
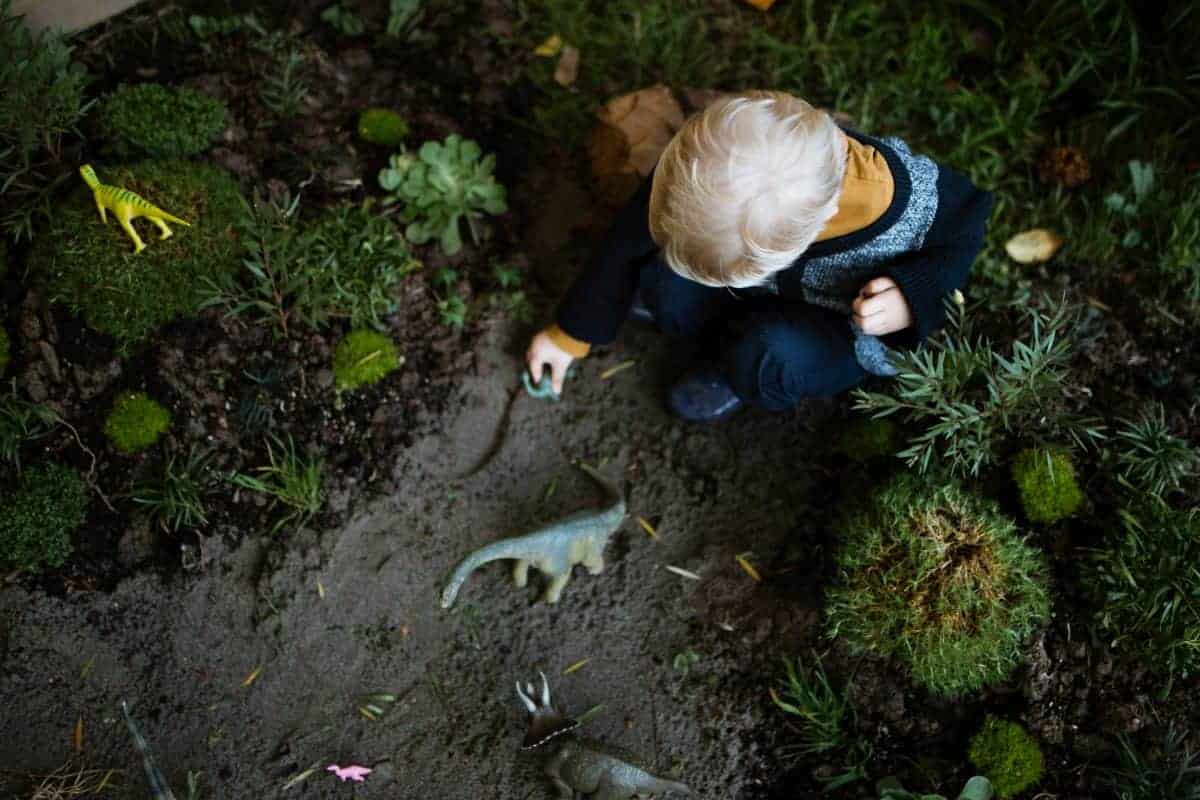
Have you ever wanted to create an outdoor play area for your children? Today we have an incredibly creative New Zealand mom of two here giving us all the details on how to design a backyard dinosaur garden and mud kitchen for kids. From idea inception to reality, Catherine and her husband designed and built a fun and unique space for their son to play. This dinosaur garden and mud kitchen combines his love of dinos with getting dirty. It incorporates natural elements and fosters independent play and creativity. Perfect for kids of all ages and can adapt as the kids get older.
Creating a dinosaur garden
When our son was turning 3, we wondered what to give him for his birthday. Our family values experiences and gifts that are not just toys. In theory, this a lovely idea. However, in reality, it can often leave us scratching our heads to come up with a special gift to mark the occasion. My husband and I focused on our son’s areas of interests and the things that have been quite sustained in his play. While there are many things our busy, curious 3 year-old is interested in, we decided to hone in on two of his favorite things: dinosaurs and playing outside in the water and mud!
We wanted to combine these two passions into a flexible play space that could evolve and grow with him, but we weren’t quite sure how to go about bringing those ideas together. I turned to good old Pinterest to do some research and create an inspiration board. I found some beautiful images of sensory gardens and natural play spaces for children. Many of these spaces incorporated the same elements we were thinking about. Thus, the idea for a dinosaur garden with mud kitchen was born!
Coming up with a plan
In our vision for a flexible play space we wanted to encourage:
- imaginative play
- sensory experience
- exploration of natural resources (e.g. wood, rocks, plants, water, dirt, etc.)
- language development
- independence in his play (not relying on us to play with him)
- social play opportunities (when friends visit)
Planning began in earnest, which to be fair was the exciting part of the process for me. I love dreaming, researching, collecting inspiration and drafting plans! Our budget for this project was fairly tight (under $200) for the entire space and all materials. While we were really inspired by the elaborate setups we saw online, we knew that we had to be resourceful with things we already had or that we could buy cheaply.
Location, location, location
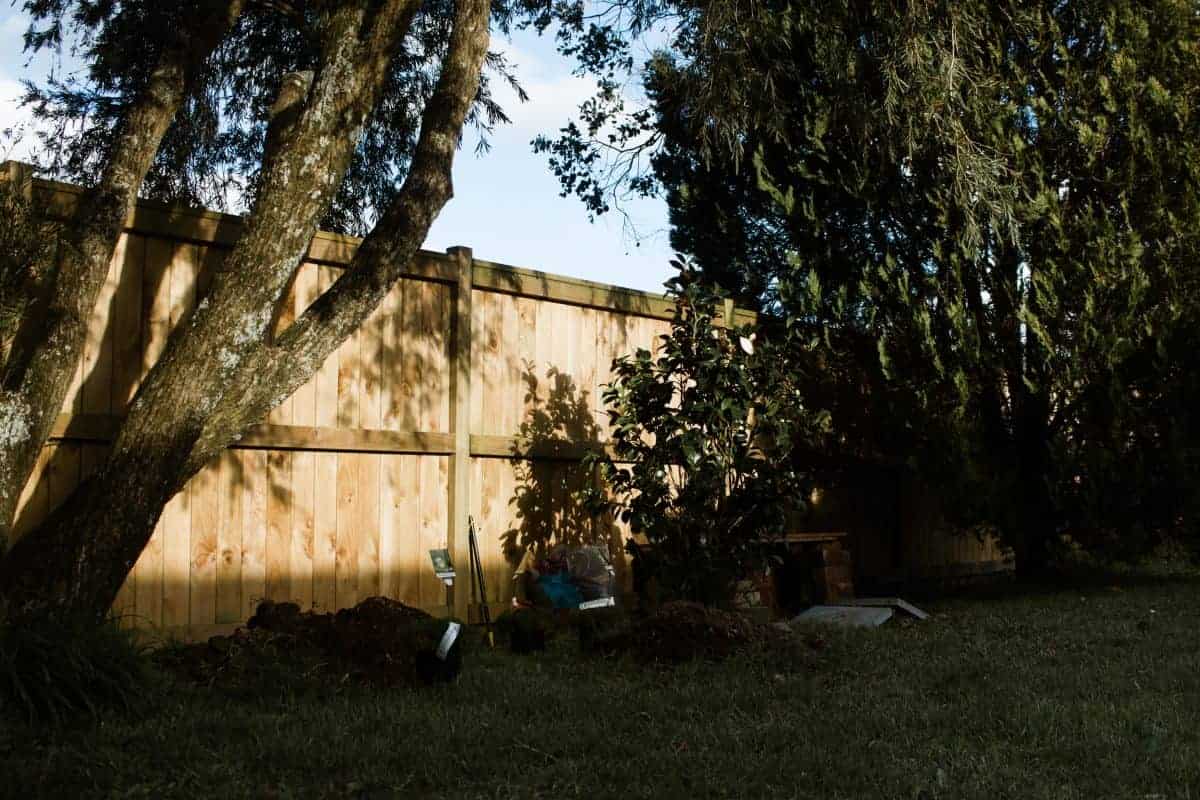
One of the first things we did was to pick out a location for the dinosaur garden. I think this was a really important part of the process because the size and scale of the space guided our decision making on the design of the garden. Originally, I envisioned a large scale garden, complete with water feature and all the bells and whistles. However, we quickly realized that this would encroach too much of the rest of our yard and would go beyond our budget. We reined in our design to fit the space we chose and planned accordingly.
Designing our space
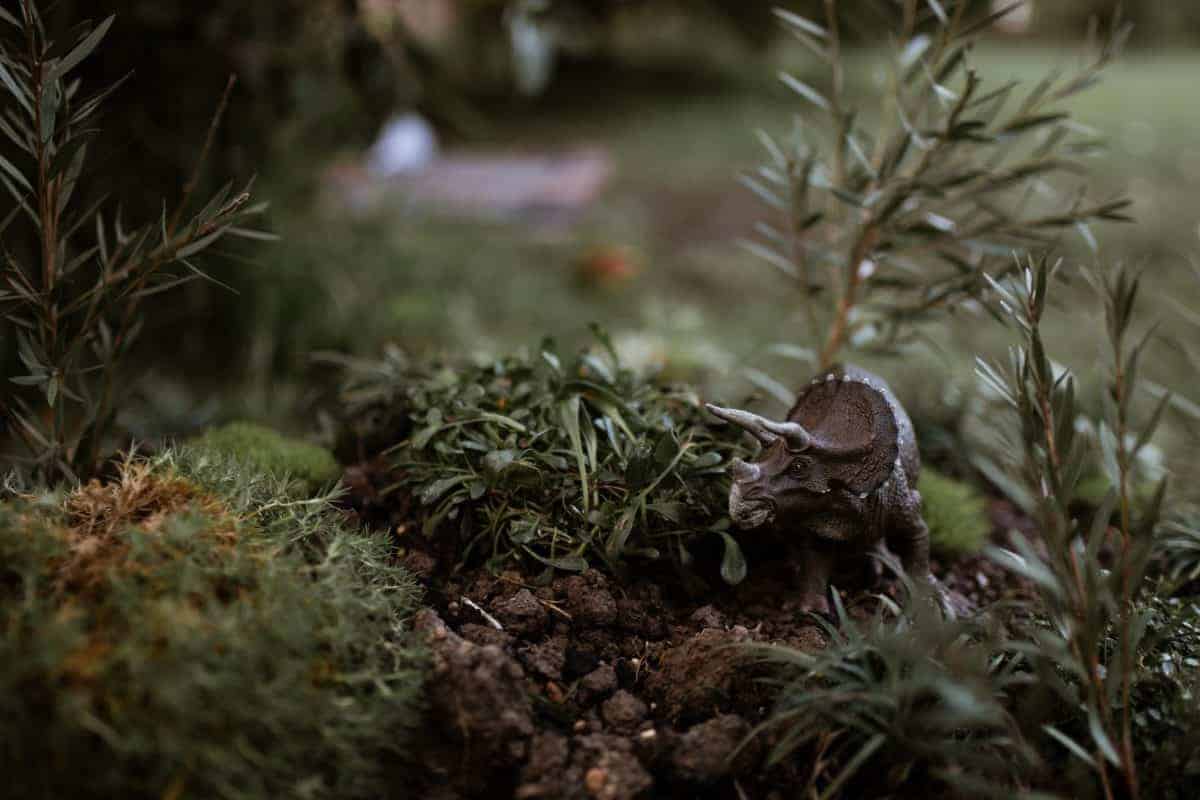
After we picked out the location for the garden I drew up a design plan. We knew we wanted to have varying levels, greenery, mud, and water. We also wanted to include open-ended resources such as rocks and tree stumps in the space to encourage imaginative play. This sketch was the first of many plans we drew up as we talked through the practicalities of bringing our vision to life.
Adding natural elements
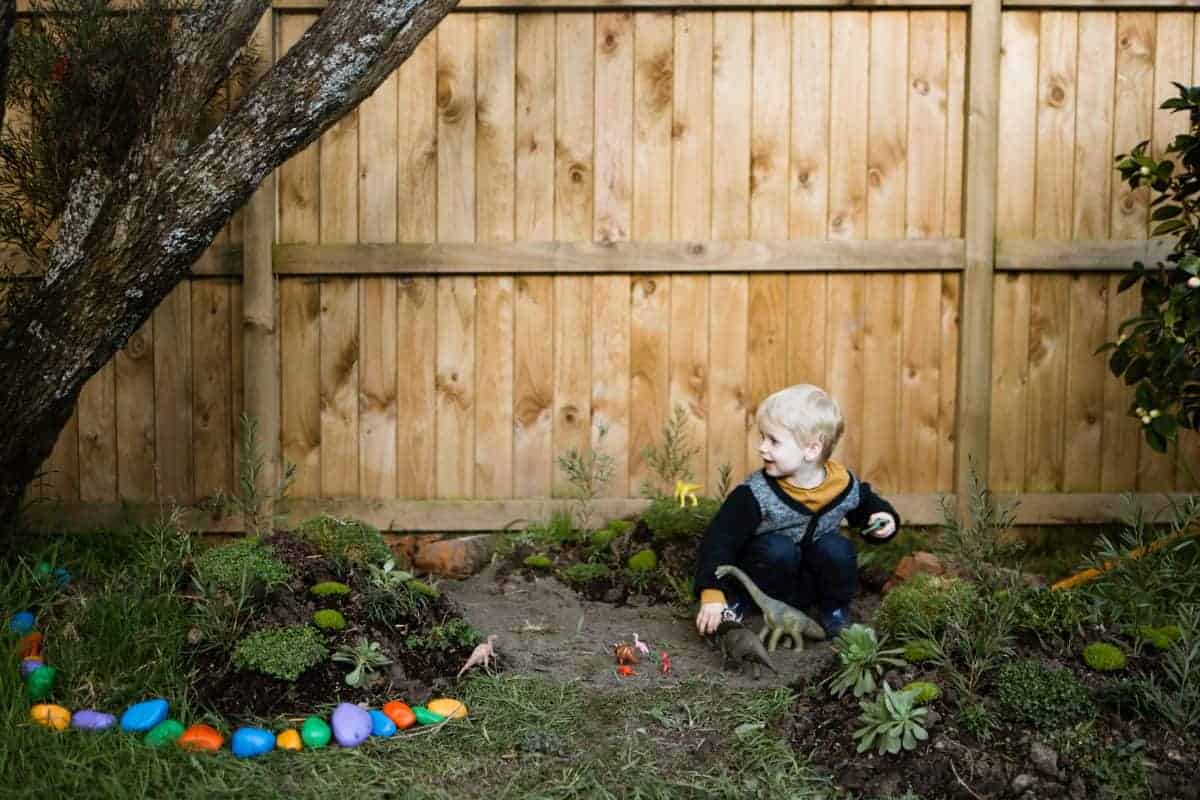
Once we had a rough idea of the design, it was time to get resourceful. We looked through our garden and garage to see what materials we already had that we could incorporate into the garden. Around our property, we have many large pebbles and stones. We decided to paint them and use them in the garden. The rocks promote color recognition, counting, physical strength (moving them around) and imaginative play (i.e. they could be used as dinosaur eggs). We also found old bricks that we could use to build a mud kitchen. This would compliment the dinosaur garden.
Our final list of materials for the dinosaur garden and mud kitchen included the following items:
- pebbles
- bricks
- plants (ground cover)
- sheet of wood
- wood pieces
- soil
- sand
- paving stones
- acrylic paint
- coat hooks
- kitchen utensils
- dinosaurs
Prepping the garden
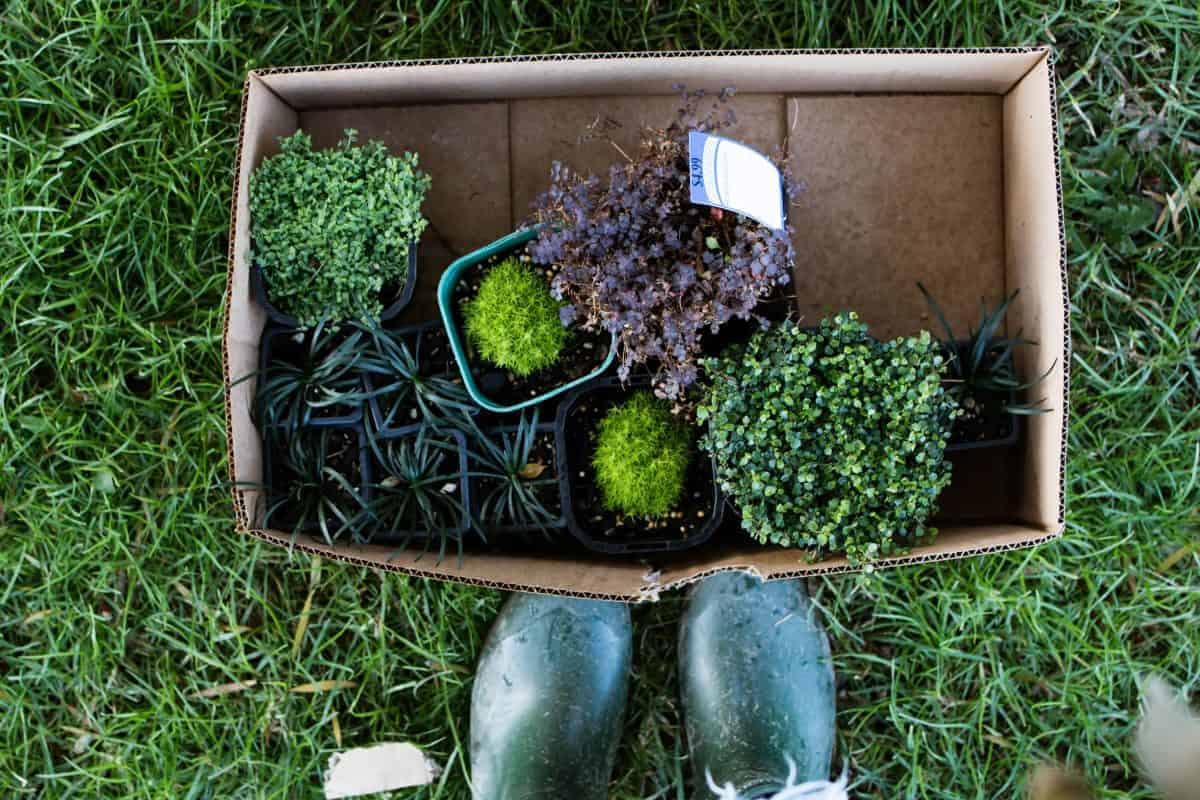
My husband created 3 mounds of dirt onto which we planted various types of moss and ground covering plants. We visited our local garden center and easily found the types of plants we were after. We bought about 15 plants (5 per mound) of various sizes. Some plants were more expensive than others. We tried to purchase the cheapest, hardiest ones we could.
Around each of the 3 mounds of dirt, my husband created a central space and miniature pathway. These paths wound around the mounds and give our son plenty of space to be in amongst the garden. He covered this small pathway with sand to create a different texture and to combat the issue of the space becoming overly muddy or waterlogged.
To paint the rocks, I bought 5 test pots of paint from our local hardware store. I asked at the paint counter for advice on what kind of paint to use. They recommended a general purpose acrylic paint. I didn’t want to have to use multiple products to paint the rocks, so this was an easy one-step solution. My only preparation was to wash and dry the rocks, then apply 2 coats of paint!

Adding a mud kitchen
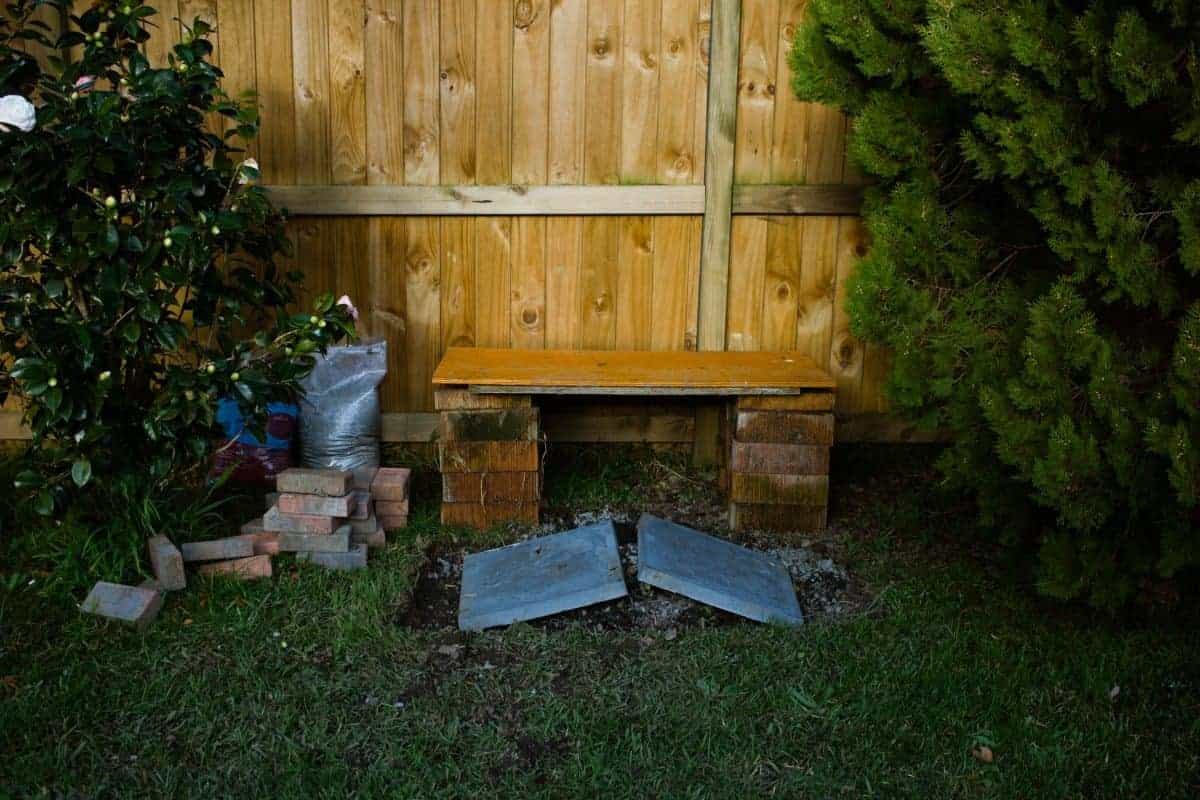
We decided to create a mini mud kitchen next to the dinosaur garden so that water and mud could be used in the imaginary play. To create the mud kitchen, we built 4 stacks of bricks approximately 5 bricks high and placed a sheet of wood over the top to create a table top. Above the mud kitchen “sink,” we screwed a coat hook rack to the fence to hang various utensils. In front of the mud kitchen, my husband laid 2 large stone pavers with a brick border. This stable surface is perfect for the children to stand on and prevents the area from getting water-logged.
Future plans
We wanted to create a space that our son could enjoy and get a lot of pleasure out of right now, but also give ourselves the opportunity to add and adjust the garden as he gets older. The structures and creations are not permanent and everything can be moved or added to in the future. We have a large tree next to the dinosaur garden that I would like to encourage the children to use more in their play. We may try to incorporate the tree into the space (a small platform perhaps) as we see how it’s used. Over winter, we plan on creating and adding some bird feeders to hang in the trees to attract bird life to our garden. We have also thought adding other sensory elements to the space such as a natural wind.
Words of wisdom
If you’d like to create your own outdoor play space for your child, my parting words of encouragement to you is to go for it! I suggest you start by considering the age and interests of your child and come up with an idea that is “unconventional” and customized for your little one. There are so many possibilities and the inspiration is endless! Overall, our project was straightforward and simple to execute. At the end of it, we felt like we had created something really unique and special for our son. It gives us so much pleasure seeing his genuine love and enjoyment of the space and will provide endless hours of unstructured outdoor imaginative play.
Have you ever considered creating an outdoor space for your child?
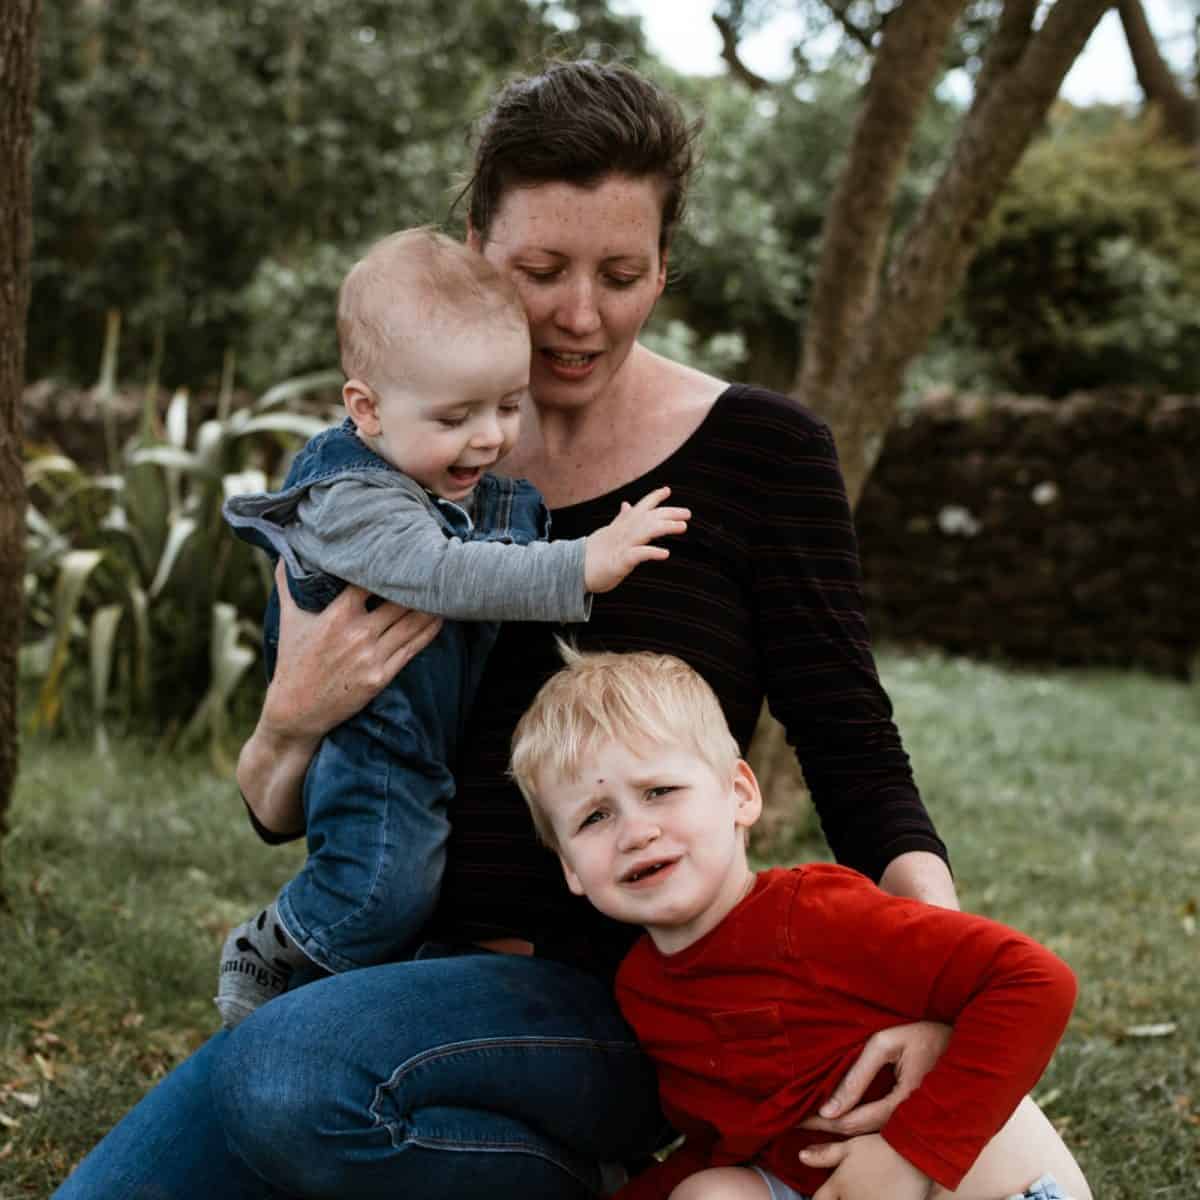 I’m Catherine, wife and stay at home mum to two beautiful boys who are 3 years old and 10 months old. We live in New Zealand and spend our days outside playing in the garden, reading and visiting the zoo. I’ve dabbled in photography since I was 17, but I’ve been properly using my Canon DSLR camera for about 2 years now. You can find me most days on Instagram @everydaymamma sharing my thoughts on photography and being a mum, come and say Hi!
Comments
One response to “How To Design A Backyard Dinosaur Garden & Mud Kitchen”
Amazing! such a cute idea. I just back my childhood.
Leave a Reply