Your cart is currently empty!
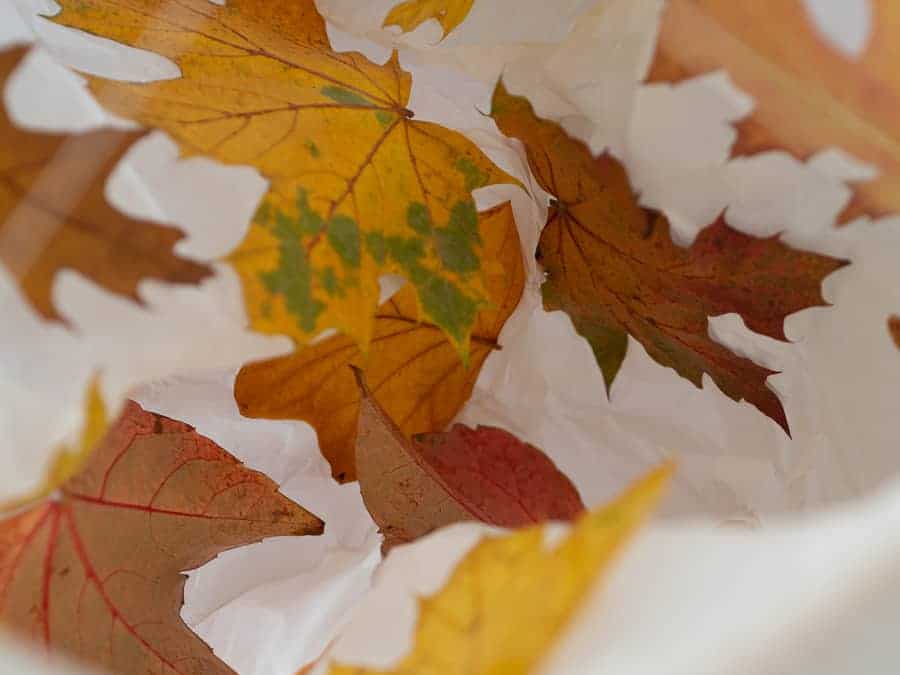
How to Make an Autumn Leaf Lantern
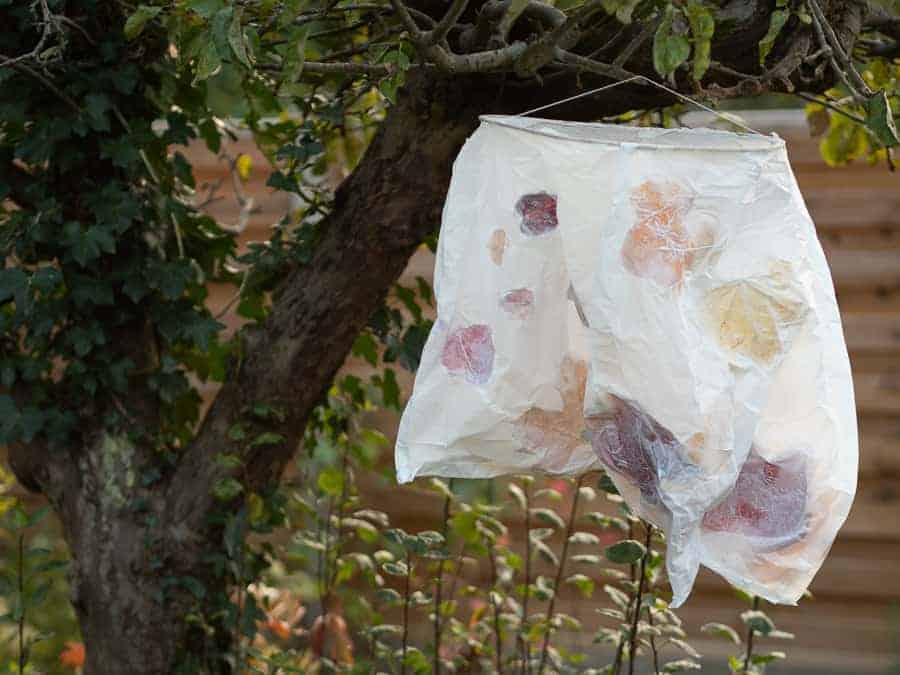
If you’re looking for an easy fall craft to make with kids, you’ve come to the right place! Today, the amazingly crafty mama and teacher Jemma, of Thimble & Twig, is here to show you how to make an autumn leaf lantern with your kids. These autumn leaf lanterns are a fun and easy nature craft to make with kids of any age. They look fantastic on a window sill or as part of a fall decor display. You can even take them with you to light your way on a night hike in the woods! Kids love collecting the leaves and the gluey, messiness of it sticking it all together. They also love taking their own little lantern on a trip outside or hanging it in their garden to light their way at night.
DIY autumn leaf lanterns
Making an autumn leaf lantern is a relatively easy project to make with kids (particularly older kids). In addition, these lanterns use real leaves found in nature, in your backyard, local park or found on a walk. So not only to do inspire creativity, they encourage kids to get outside and explore! There are a few complicated steps to make these autumn leaf lanterns (plus, the tissue paper is very delicate), so adult assistance is probably required. But, they’re guaranteed to keep little kids busy and excited to use their lantern for night-time exploring!
Leaf collecting with little ones
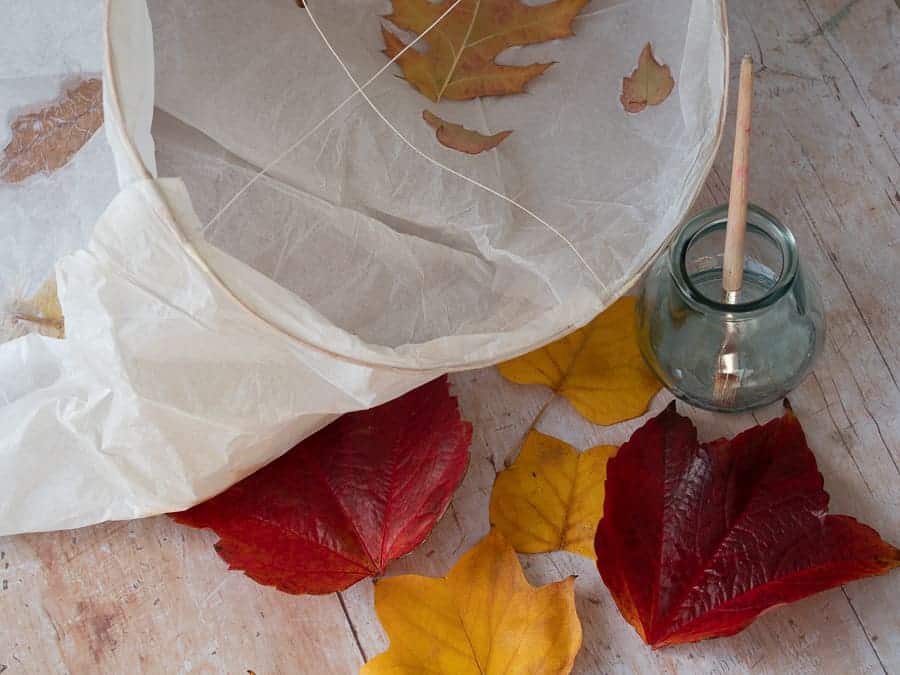
The first step in making a leaf lantern is to collect the leaves. Take your little ones on a walk around the neighborhood when the leaves are looking pretty and colorful. Give them each a paper bag to fill with leaves they like. To mix it up, you could assign each kid different color, size or specific tree to collect leaves from. This will help ensure you get a variety of colors, sizes and styles.
Prep your leaves
Once you’ve collected all the pretty leaves, you’ll need to get them prepped for crafting. In addition, leaves need to be dry and flat. Lay a couple paper towels on the kitchen table and spread the leaves out on them to dry for a little while (a few hours or a few days). The glue won’t stick if the leaves are wet, so make sure they’re completely dry. If you have some large wrinkly leaves, try flattening them under some heavy books to make them easier to glue!

Supplies for making autumn leaf lanterns
You will need the following supplies to make your leaf lantern. All of these supplies can be found at your local craft store or online.
- Bamboo circular frame (or you could use a wooden craft or embroidery hoop)
- White or cream tissue paper
- Glue or Mod-Podge (the best is the type of glue that is clear when it dries)
- String
- Battery operated tea lights
- Autumn leaves

Autumn leaf lantern instructions
STEP ONE:
Take your hoop/frame and cut two pieces of string long enough to stretch from one side of the hoop to the other (plus a little extra for tying). Tie the ends of the strings to the hoop to make a cross (X) shape and secure the knots with masking tape. This is the handle of your lantern.
STEP TWO:
Take 3 large sheets of tissue paper lay them out flat. Carefully glue your autumn leaves onto one side of the tissue paper. Be very careful, as the tissue paper is very delicate. It will feel strange, but be sure to put the glue on the side of the leaf that is the most colorful. This ensures that the pretty colors shine through the tissue paper. Remember to leave some white tissue paper showing so your light will shine through. Allow the tissue paper to completely dry for at least an hour.
STEP THREE:
When your leaf covered tissue paper is fully dry, carefully glue the seams of the tissue paper together so that you have a circular lantern.
STEP FOUR:
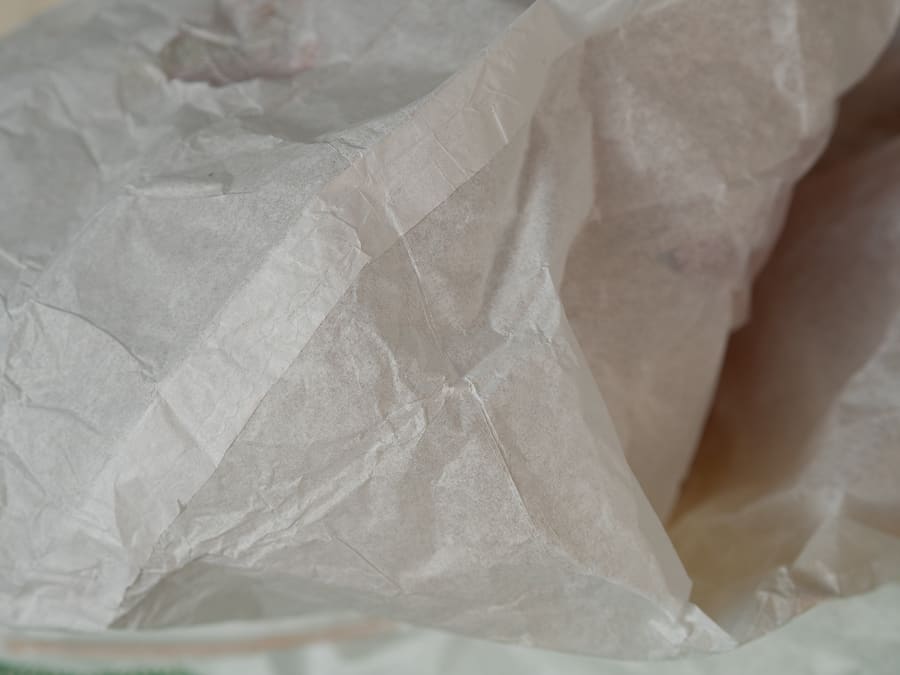
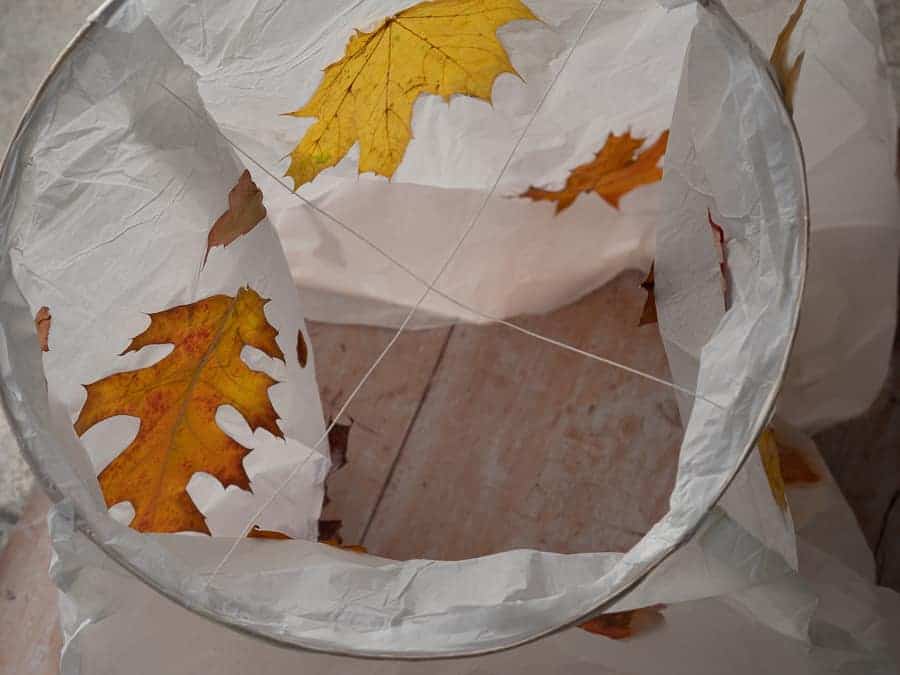
Cover the rim of the circular frame with glue. Lay the hoop/frame on its side and and carefully line the rim of the from with the white tissue paper, leaving an inch or two at the top. Glue the top of the tissue paper onto the frame, leaving the sides and bottom hanging open. Fold the top down over the hoop, all the way around.
STEP FIVE:
Cut the bottom of the tissue paper to the size required and fold it onto itself a few times. Add a layer of glue so that the paper overlaps, creating a bottom to close your lantern. Be sure to fold it several times in order to make a strong base.
STEP SIX:
Cut a small piece of cardboard into a circular shape which will be used to line/support the bottom of your lantern. Carefully use a little bit of sticky tape and stick 2-3 battery operated tea lights to the cardboard. Place the piece of cardboard gently into the bottom of the lantern with the tea lights secured to it.
Go on a lantern-lit night hike
Why not use your autumn leaf lantern to go on a night hike? Kids love adventuring out in the dark when they’re usually inside. It’s so exciting to visit even a familiar place in the dark! Darkness transforms the natural world into a different place. And by helping children to discover the mysteries of the night they might come to enjoy the dark and not be fearful of it. Take your leaf lantern with you on a nighttime walk in the woods. Or venture out to a grassy place to have a sit down and do some star spotting! To really appreciate the stars or the moon on a clear night, go out to an open space with as little man-made light as possible, bring a star constellation chart and see which ones you can spot!
* Please note that these lanterns are made from a very light tissue paper and therefore you should NEVER use use real candle tealights with them because it could start a fire. Try not to leave your battery lights on for too long so they do not overheat.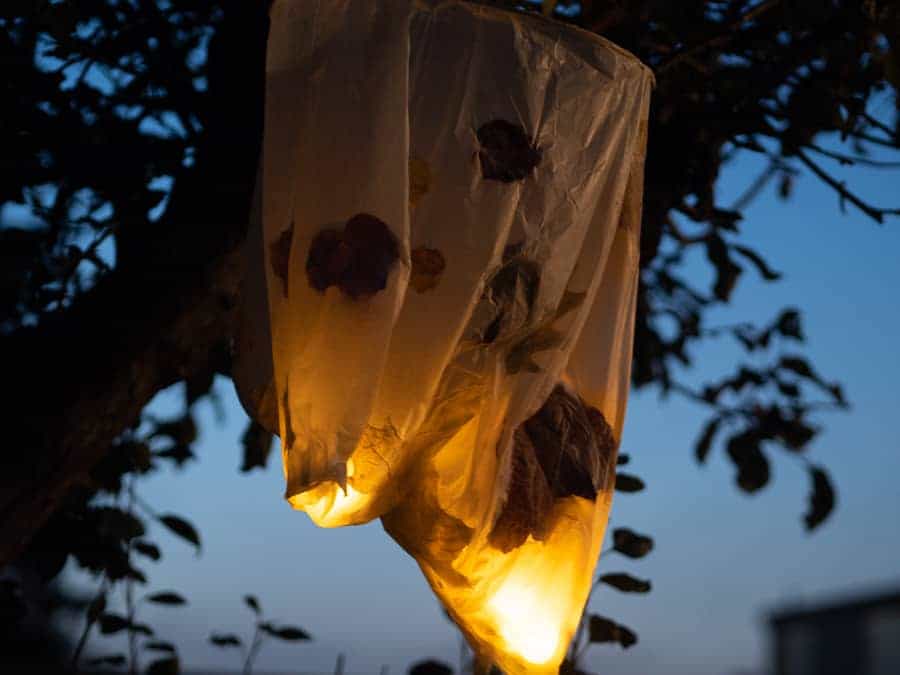
Additional nature-inspired crafts for kids
If you are interested in crafts, we’ve got lots more ideas for fun nature-inspired crafts to make with your kids! So try some of these easy ideas from my website, Thimble & Twig and here on Run Wild My Child.
- Hapa Zome – Flower Printing – Hapa zome is the Japanese term for beating (or tapping really) leaves or flowers with hammers, pounding their natural pigment into cloth.
- Making Journey Sticks – Incorporate elements of your hikes, adventures and outings into beautiful physical storytelling devices.
- DIY Moth Wings – These can be made from materials you probably already have in your craft closet and yard. While the moth wings are a perfect project for fall, this tutorial can also be changed and adapted for any season based on what’s available in your location.
- Woodland Crafts for Kids – There are lots of fun woodland crafts for kids to make from the brimming baskets of treasures that they will inevitably find and collect. This post contains three simple leaf crafts for kids.
 About the author
I’m Jemma and I live in London, England with my husband and 4 kids. My all-time favorite thing to do is take photos and capture memories of my family. I’m on a mission to ensure parenthood doesn’t rush by so quickly by creating mini family outdoor adventures and hopefully some big adventures too one day! I’m a mum to four and an English teacher to many; my passion for storytelling, adventures and nature crafts is packaged up into my blog www.thimbleandtwig.com. You can also find me on Instagram at @thimbleandtwig.

Leave a Reply