Your cart is currently empty!
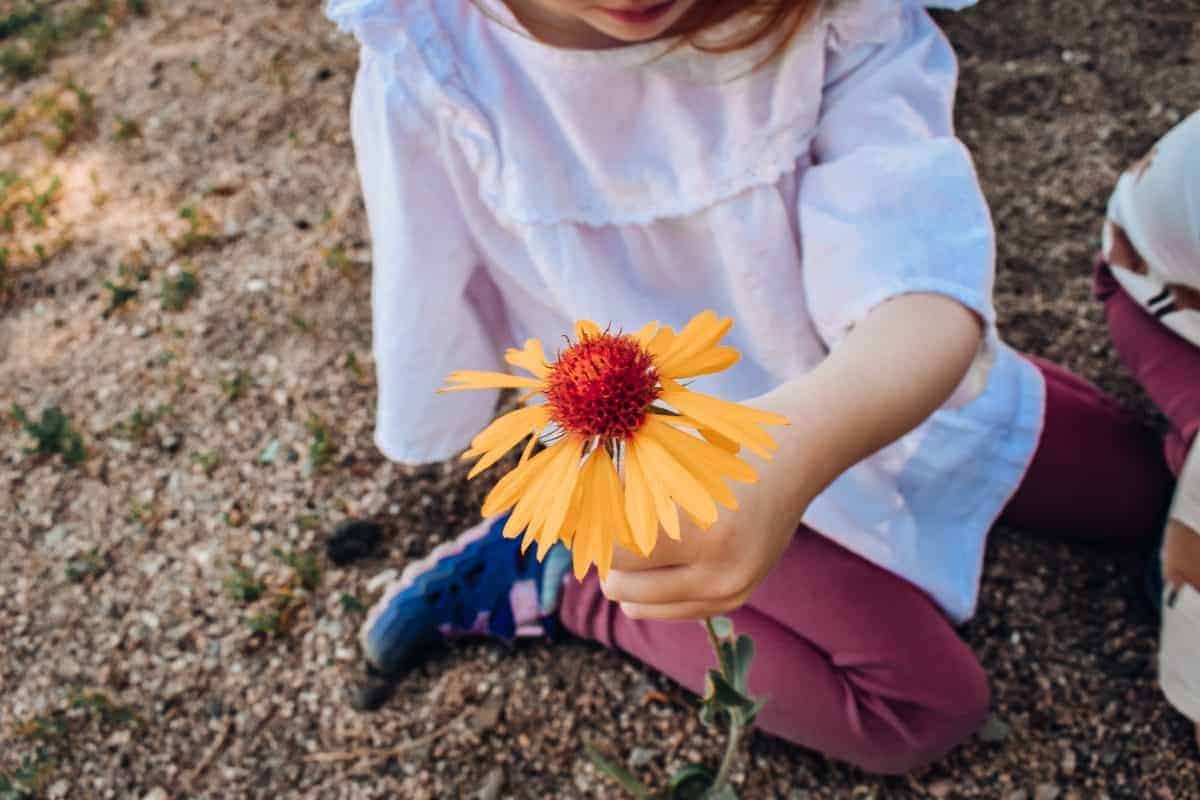
Wildflower Hike and Homemade Bookmarks
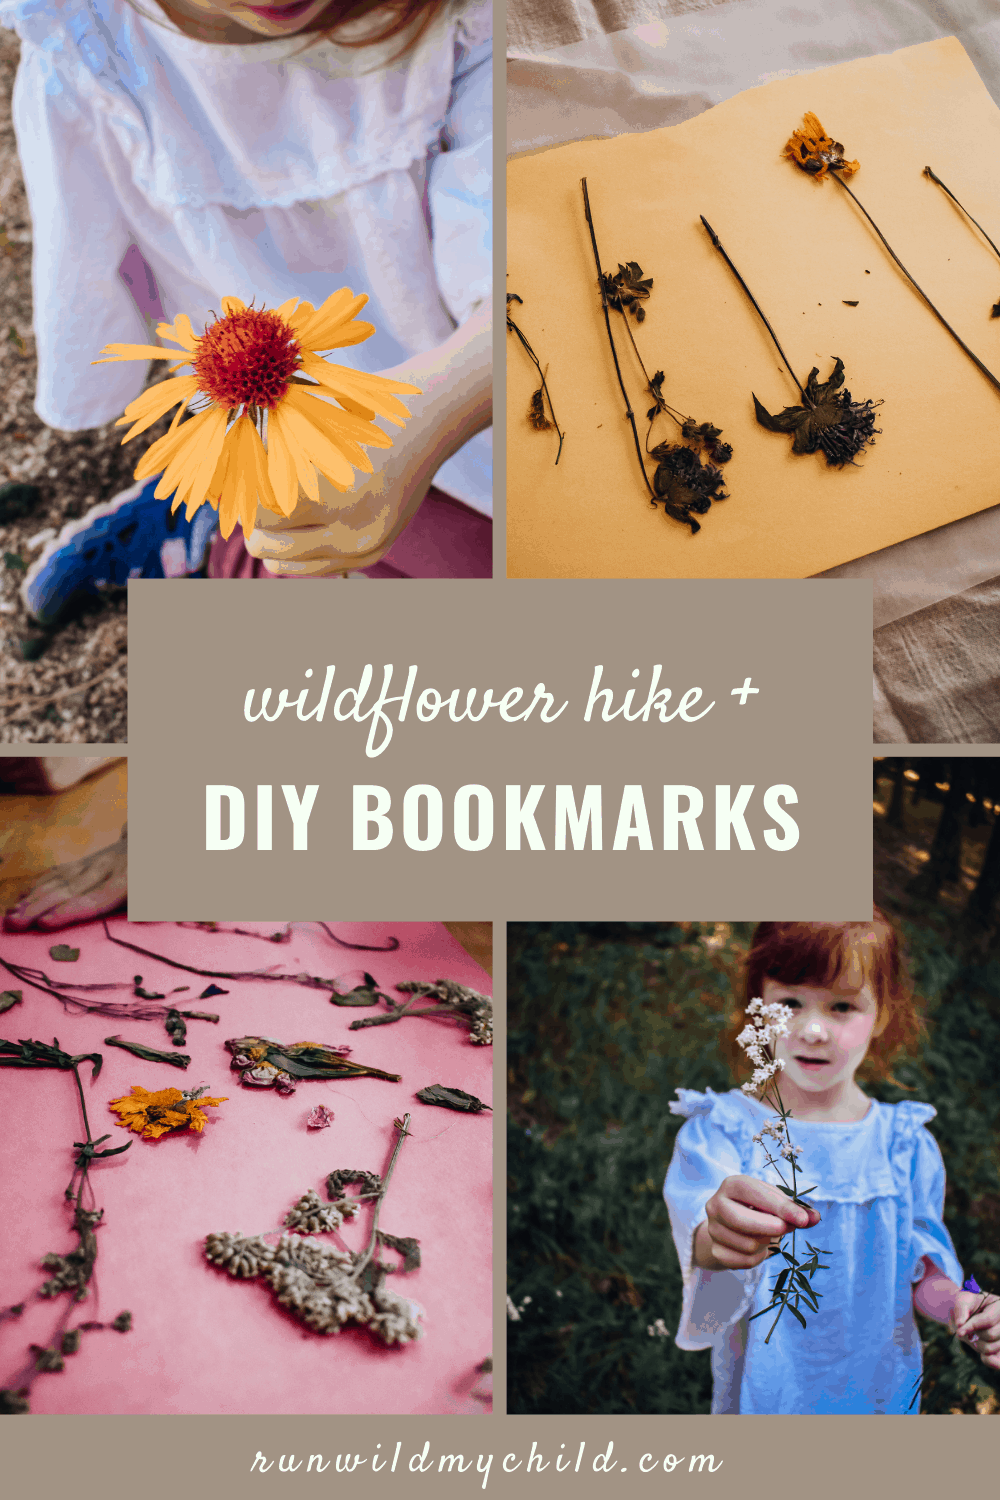
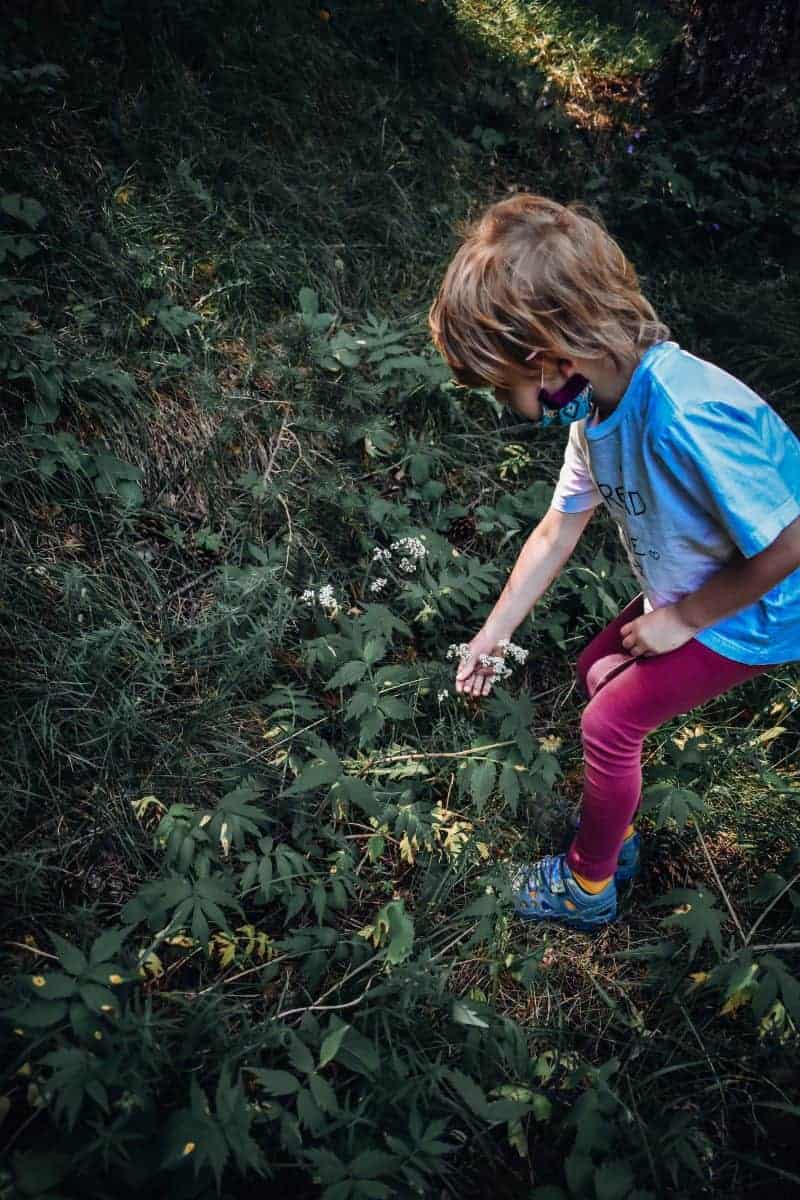
Have you ever gone on a wildflower hike with your kids? Not only is a fun way to get outside and explore, but wildflowers can also be used in so many fun crafts and projects! Today, we have Robin Lloyd, Colorado mom of three, here sharing tips on how to make the most of your wildflower hike and how to turn your wildflower treasures into beautiful bookmarks with your kids. Enjoy!
Wildflower hike expectations
One of the most important lessons I am learning as a parent is that we can do great things on a small scale. For so long I’ve been wanting to take my children on a wildflower hike and collect wildflowers to make beautiful bookmarks. However, I wanted our experience to be just right; the perfect winding path chock-full of vibrant wildflowers set against stunning mountain views and dappled golden light. I didn’t want to go until I had researched exactly what types of wildflowers we’d find so I could amaze my children with my wildcrafting knowledge. I wanted to be able to name and teach them about each unique bloom was as we placed them carefully in our beautiful handmade flower press. In my mind, I could picture it so vividly and wanted desperately our adventure to look just like that.
But, the reality was that these ideals of a perfect moment were holding us back from having the actual experience. We’re all busy and sometimes it’s more important to have any experience rather than wait for the perfect one. I realized I didn’t want my perfect vision of our outing to keep us from having fun and creating memories.

Have the adventure anyway!
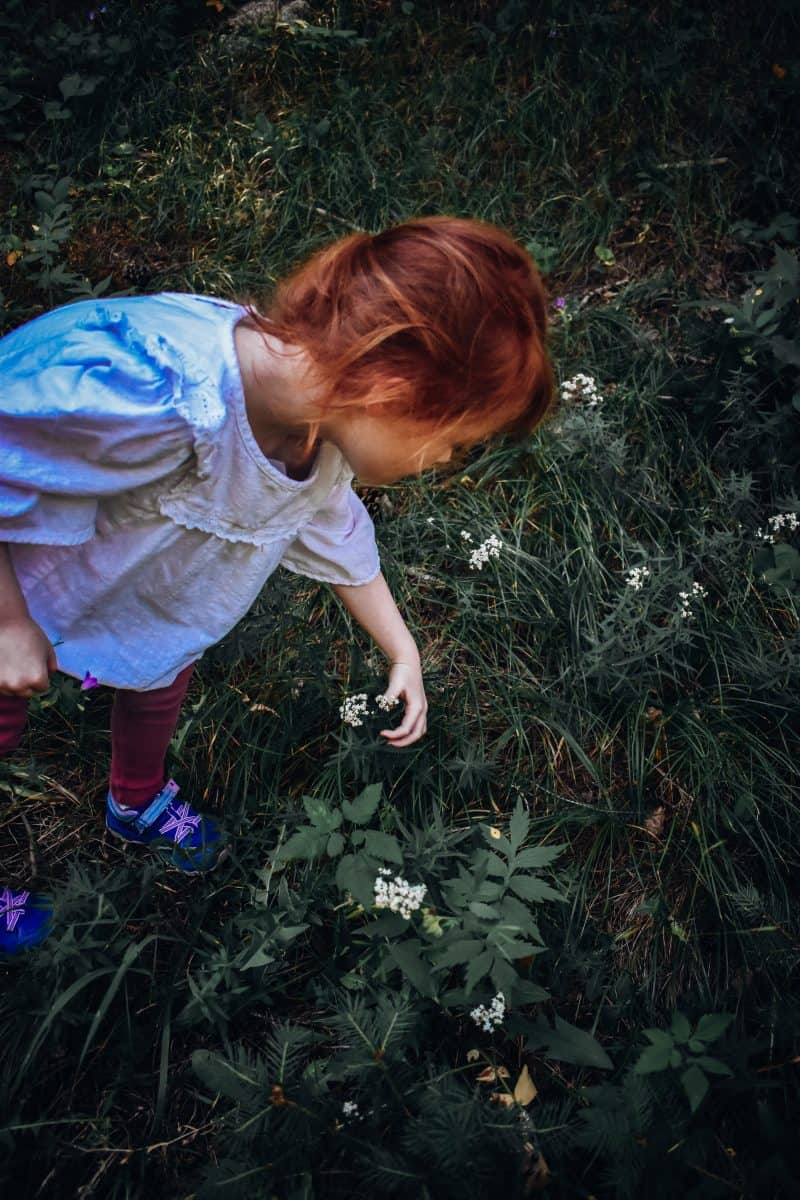
Finally, I was tired of waiting for the time to make our wildflower hike perfect. One evening I did some quick research on my AllTrails app, and found a nearby trail that mentioned wildflowers. The next morning I threw prepackaged snacks into our backpacks and a cooler pack for the flowers and we took off. (I will say that I highly recommend doing a little trail research as there are unforeseen closures during this time due to COVID!)
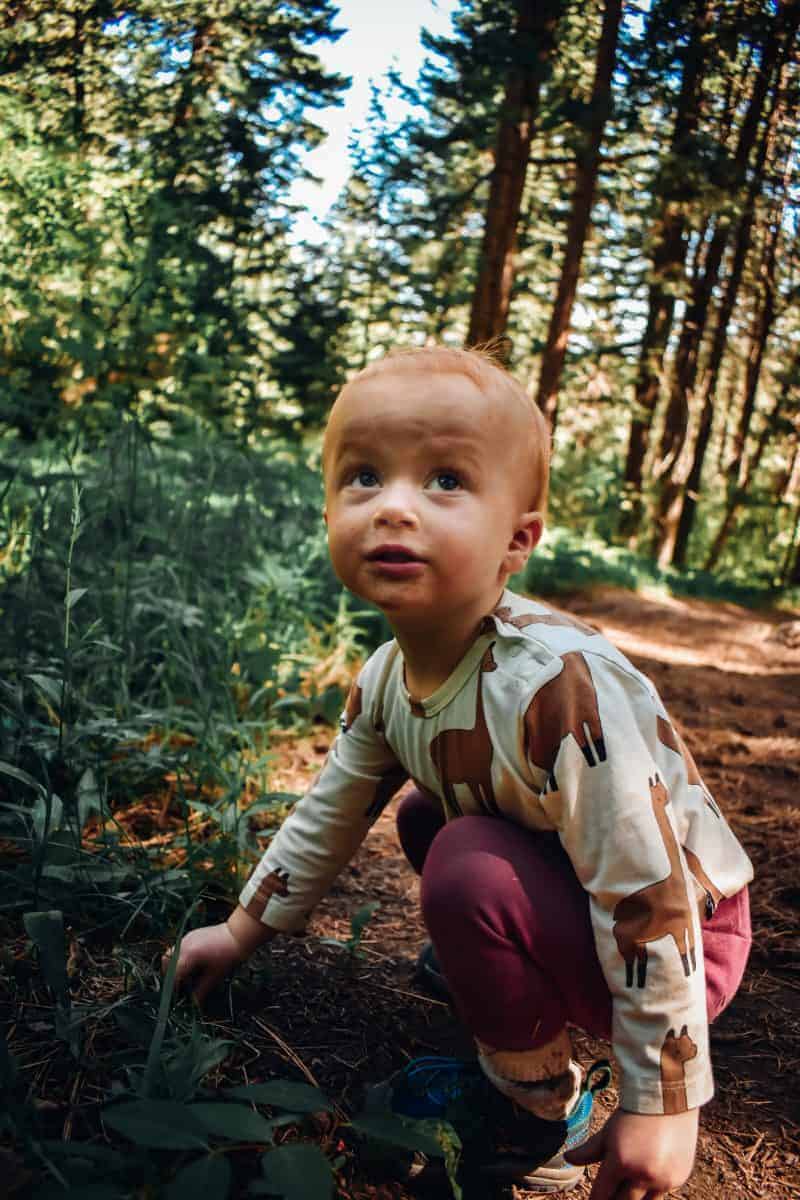
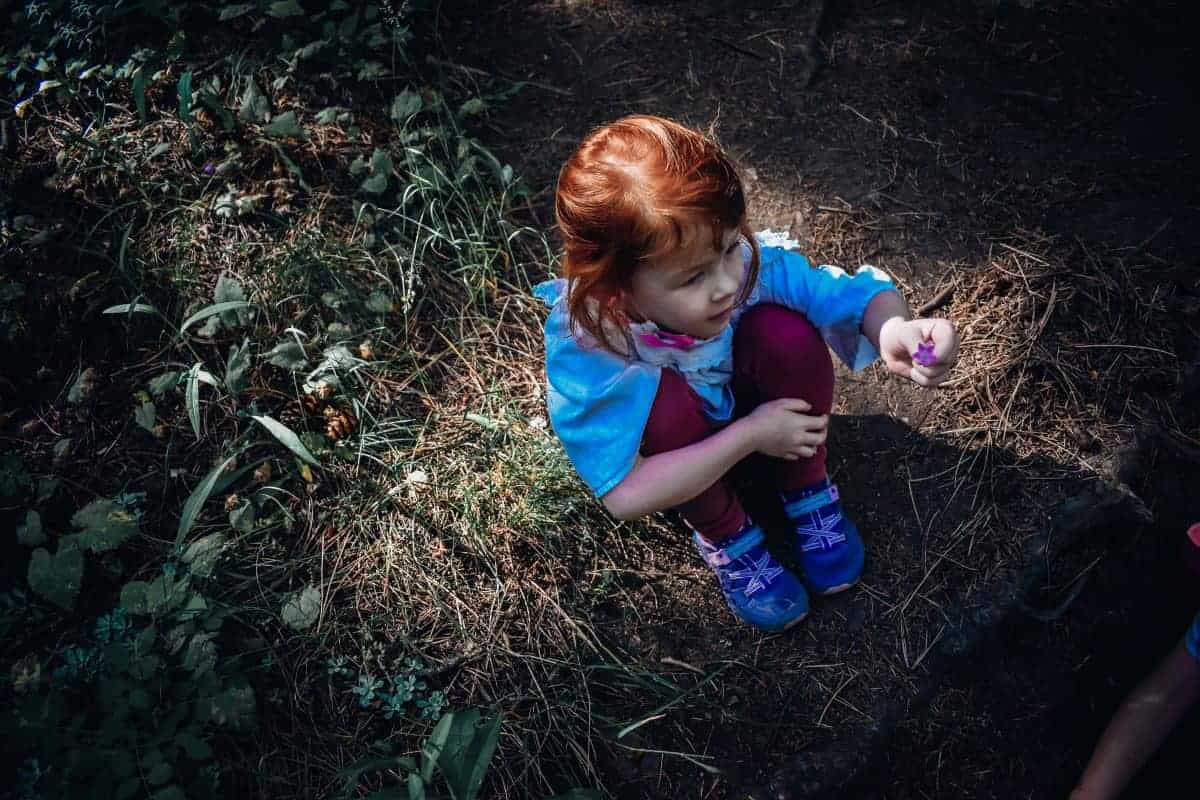
The next day, we went on our wildflower hike and had a wonderful time! No, I didn’t know all the flower names, but that was ok! We looked them up later (which was really fun for all of us). I believe it’s important to also do the big adventures, but don’t let the fear of an adventure not being perfect hold you back from enjoying all the little ones! We opted for action over perfection and now we go on intentional wildflower hikes quite regularly. Sometimes every couple of weeks! Once wildflowers are no longer in season, we collect leaves and grasses. I have found a few things that help us make these hikes fun and easy and I’m excited to share them with you today.
Wildflower hike tips for parents
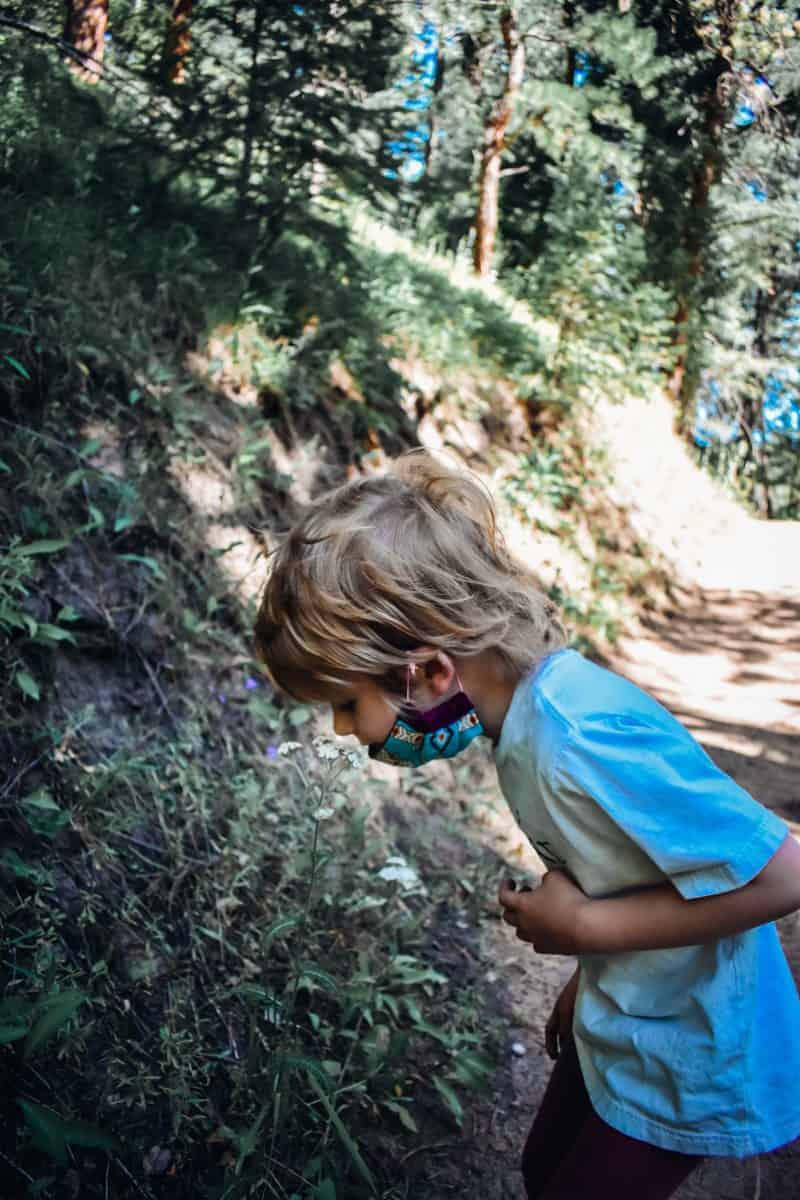
Cooler – Bring a soft cooler pack or reusable silicone bag for the flowers you collect on your wildflower hike. If you have young children as I do, your flowers are going to get squished. It’s ok, it doesn’t affect the outcome of the bookmark keepsakes.
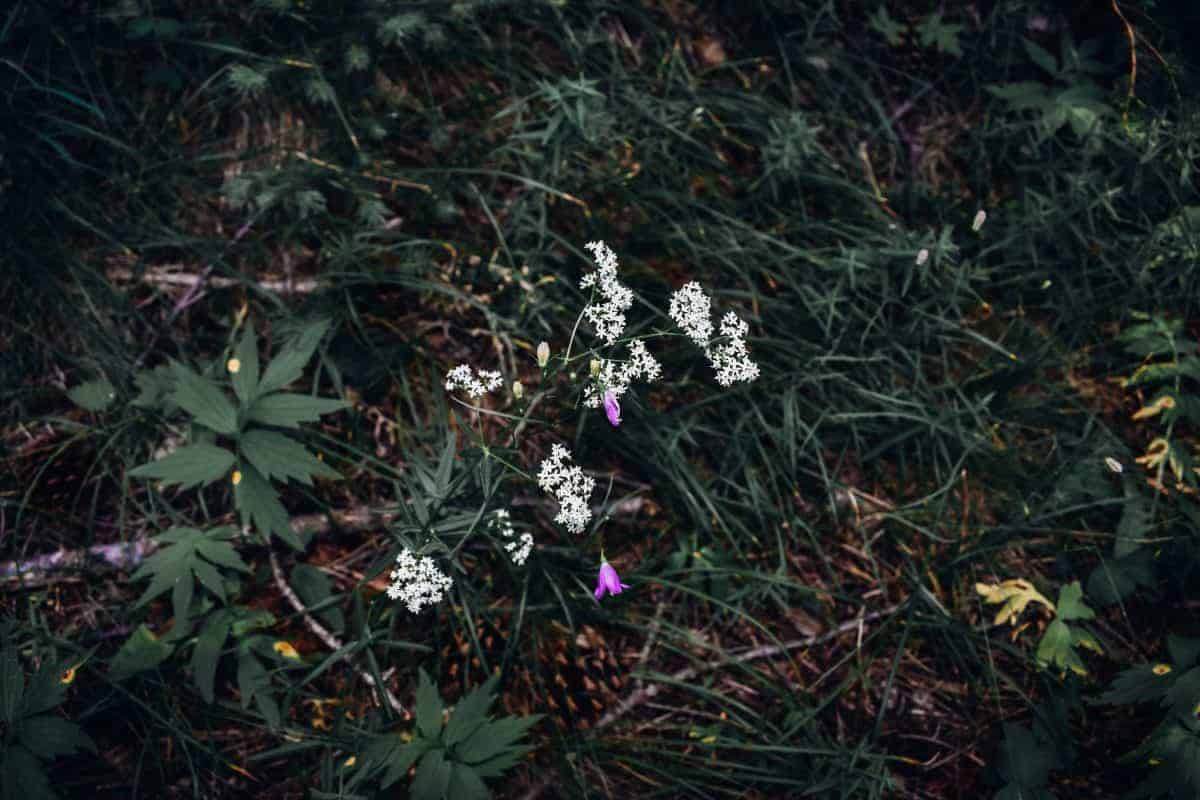
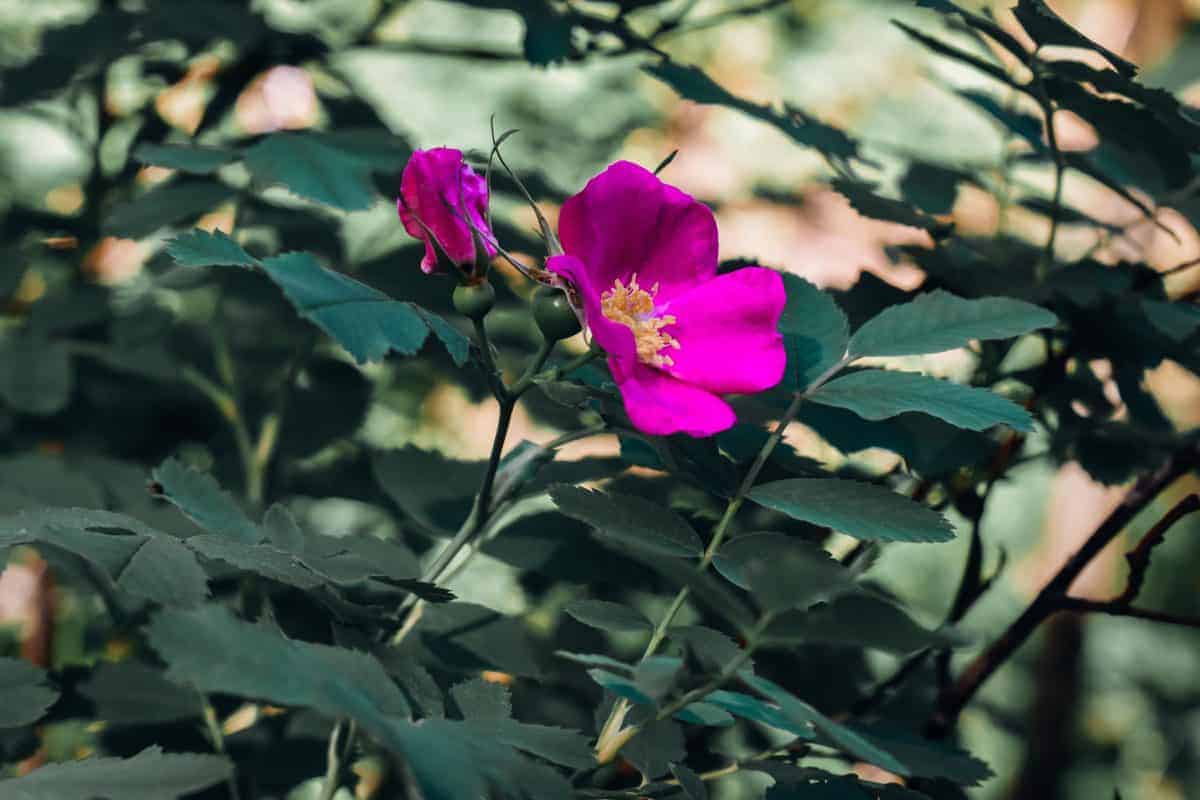
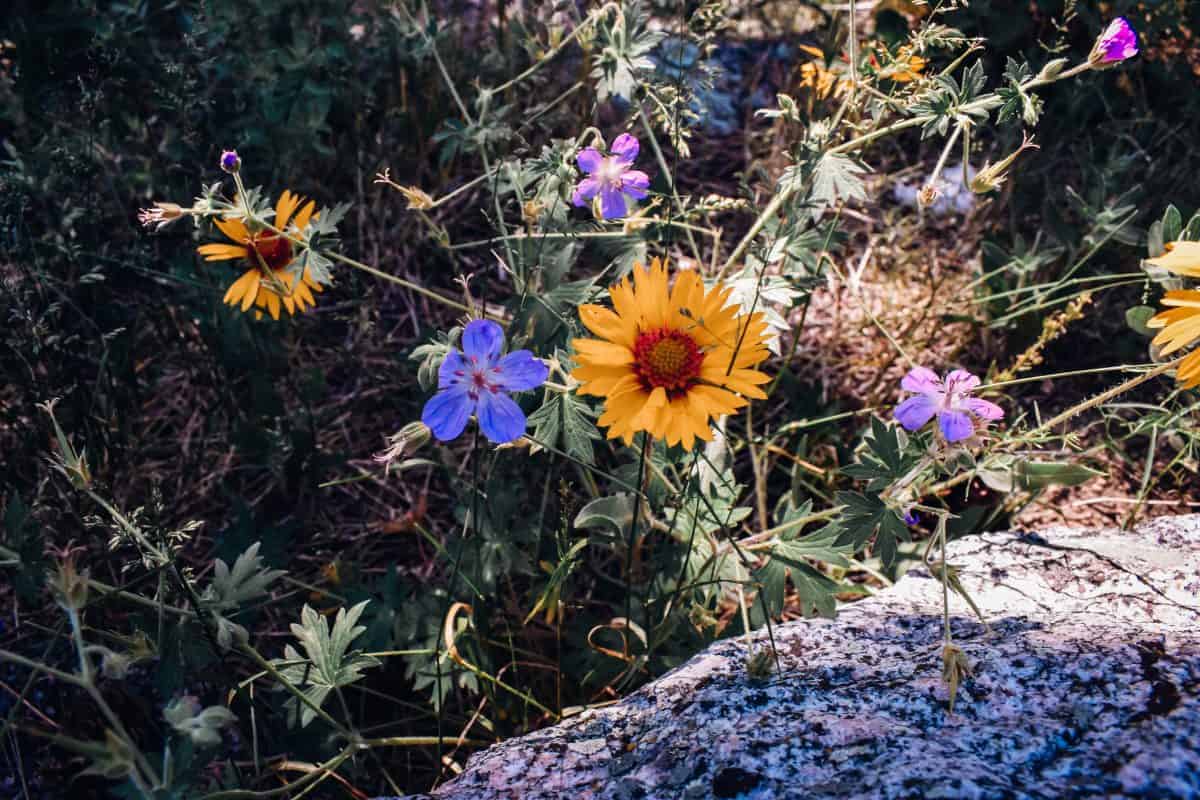
Photos – Take pictures as you collect your blooms! I am learning wildflower knowledge right along with my kids, and it’s much easier to look up and identify pictures of intact blooms than the “well-loved” specimens we take home with us.
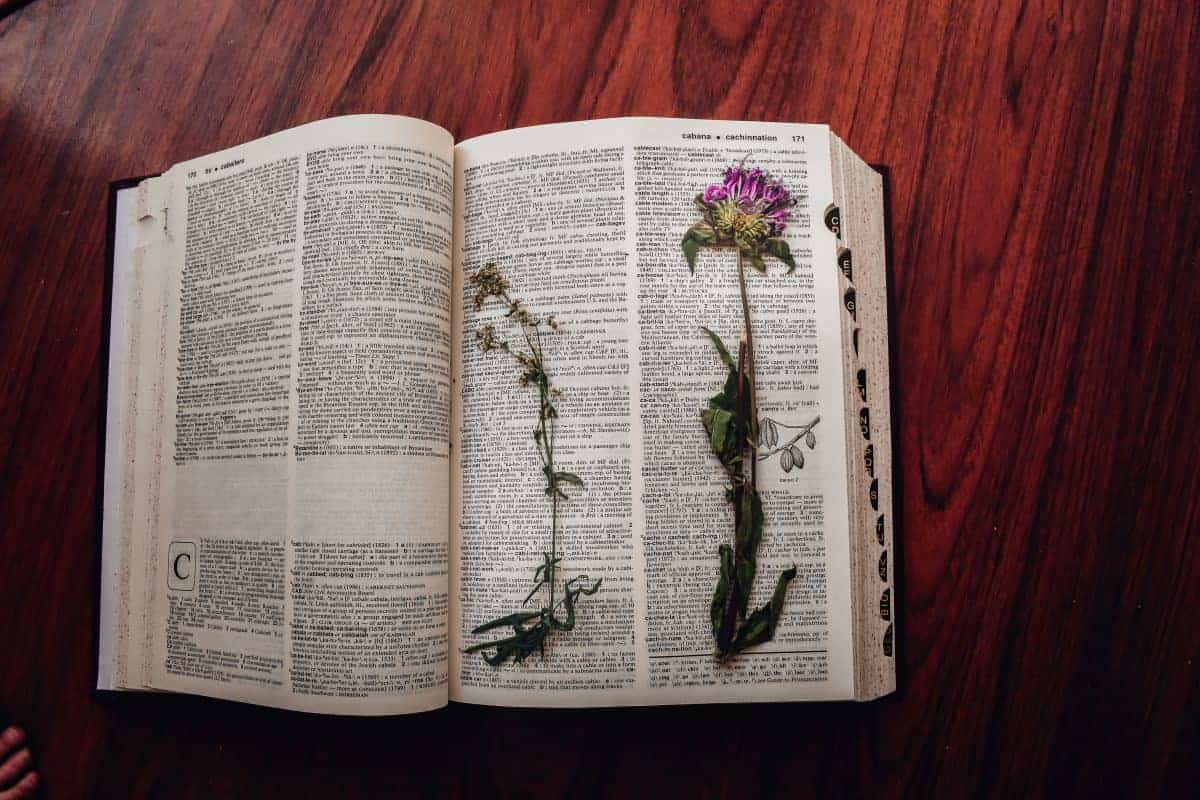
Press – Use a flower press or book to place flowers into upon returning to the car. I use our giant Webster’s dictionary. Every time I go to order a flower press, I decide to wait. Maybe one day I will order one (or make one), but for now, our Webster’s has never let me down. A handy tip is to keep it in the car, ready for spontaneous pressing of treasured finds! In complete honesty, I have often forgotten to place our flowers in the book before driving home and ended up digging them out of various backpacks upon our return. They still turned out fine. Fair warning, you might find some crawling friends in there as well.
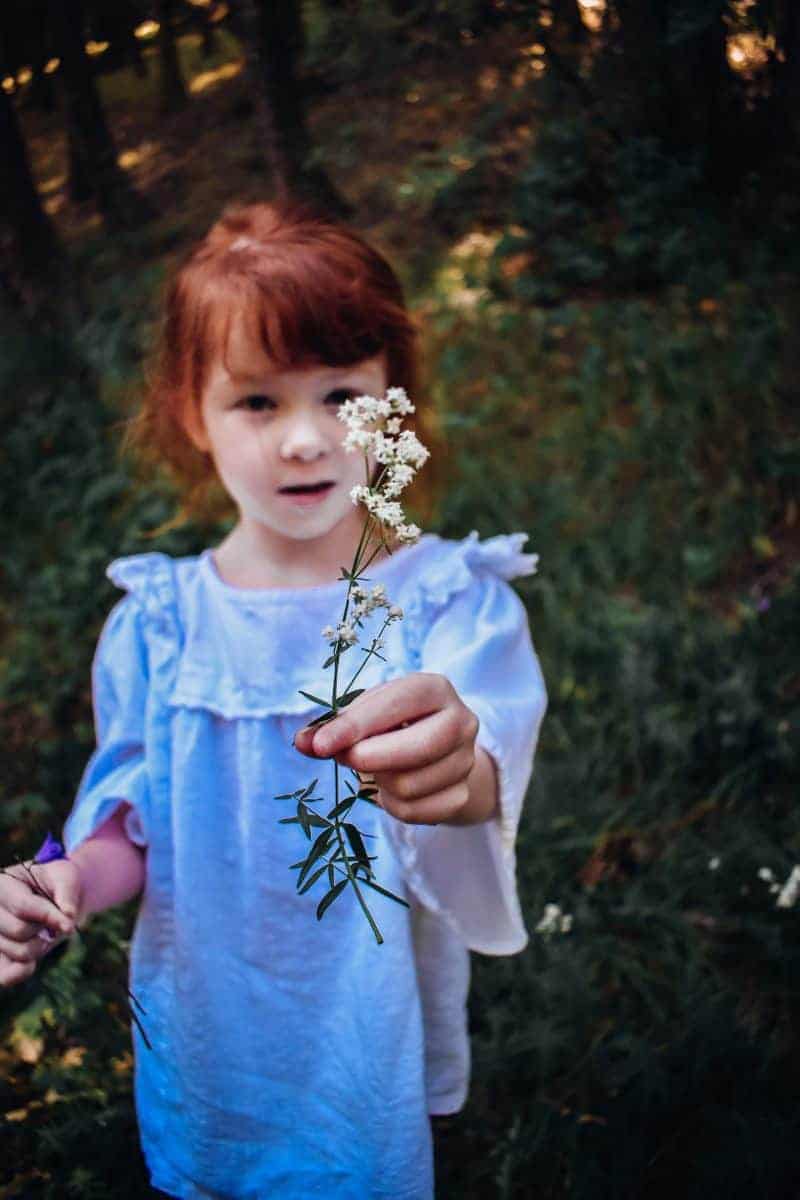
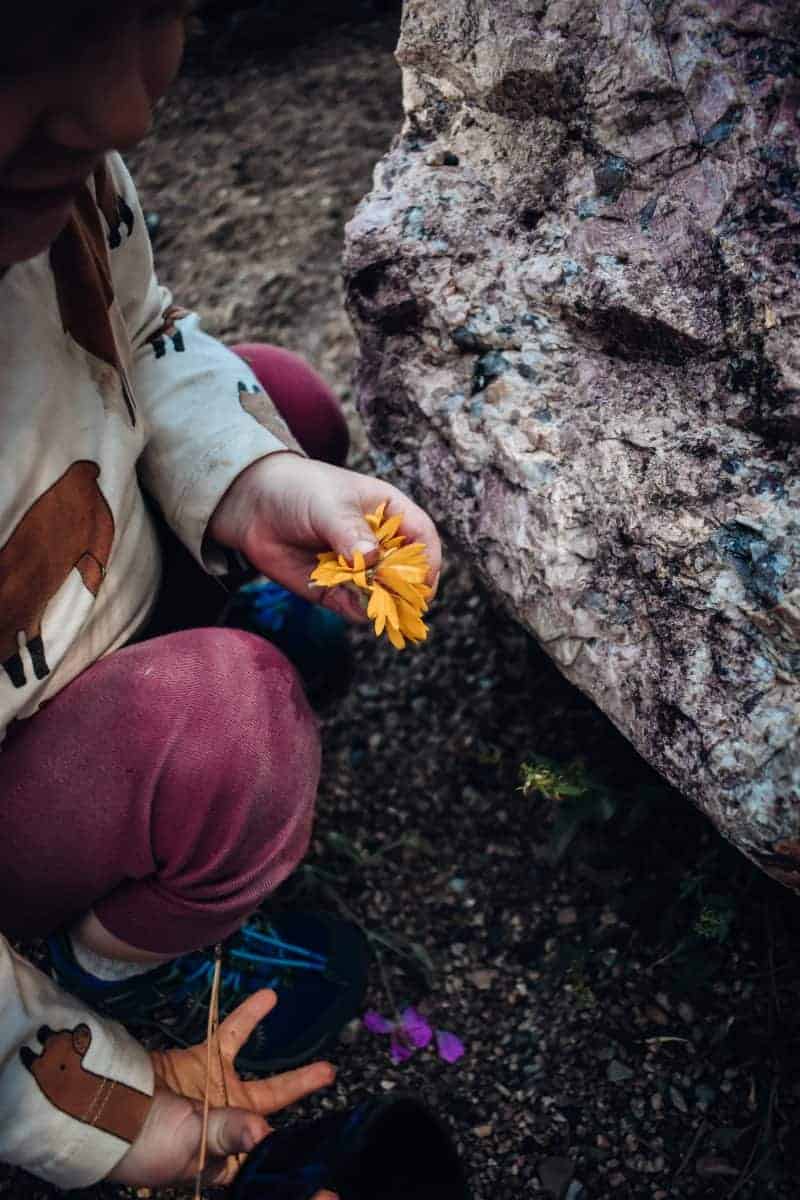
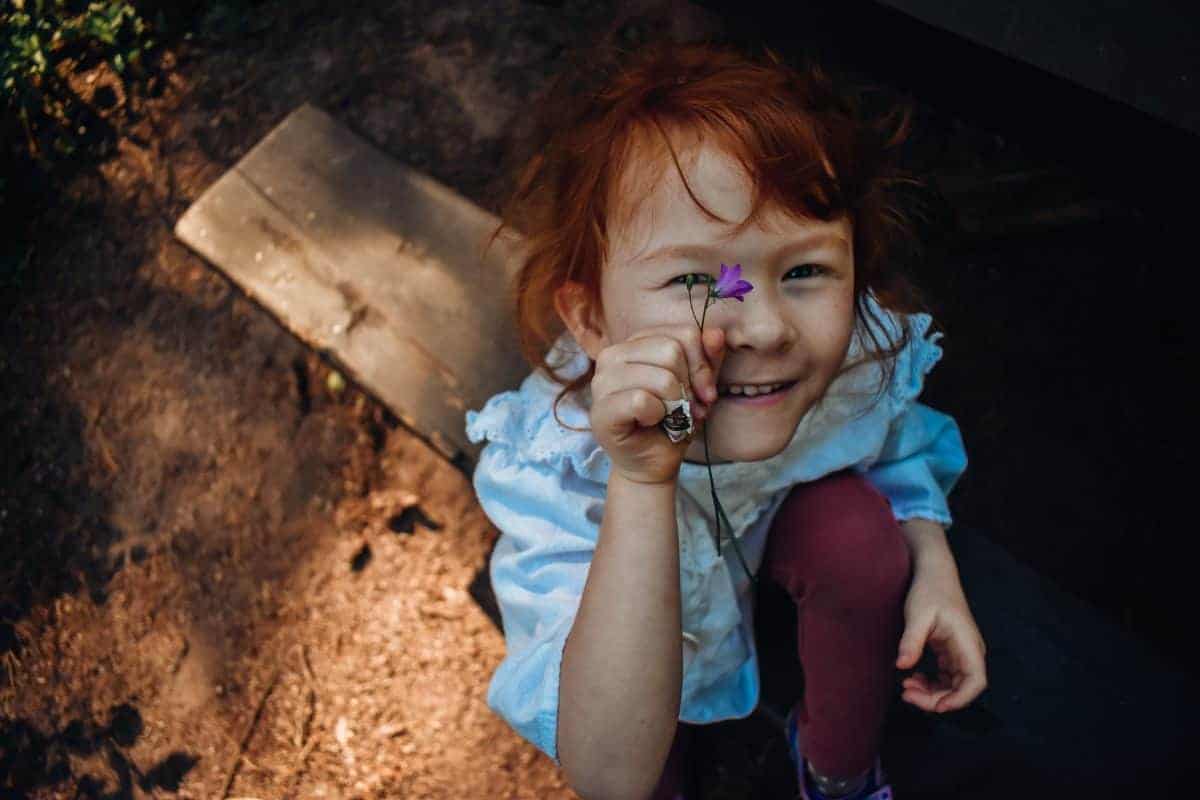
Scissors – Bring small scissors along on your wildflower hike. We don’t always remember these, but occasionally they help when trying to take just a bloom and not the whole plant. A great part of the fun is picking the flowers, and I like to let them do it themselves. I carry these in my personal backpack.
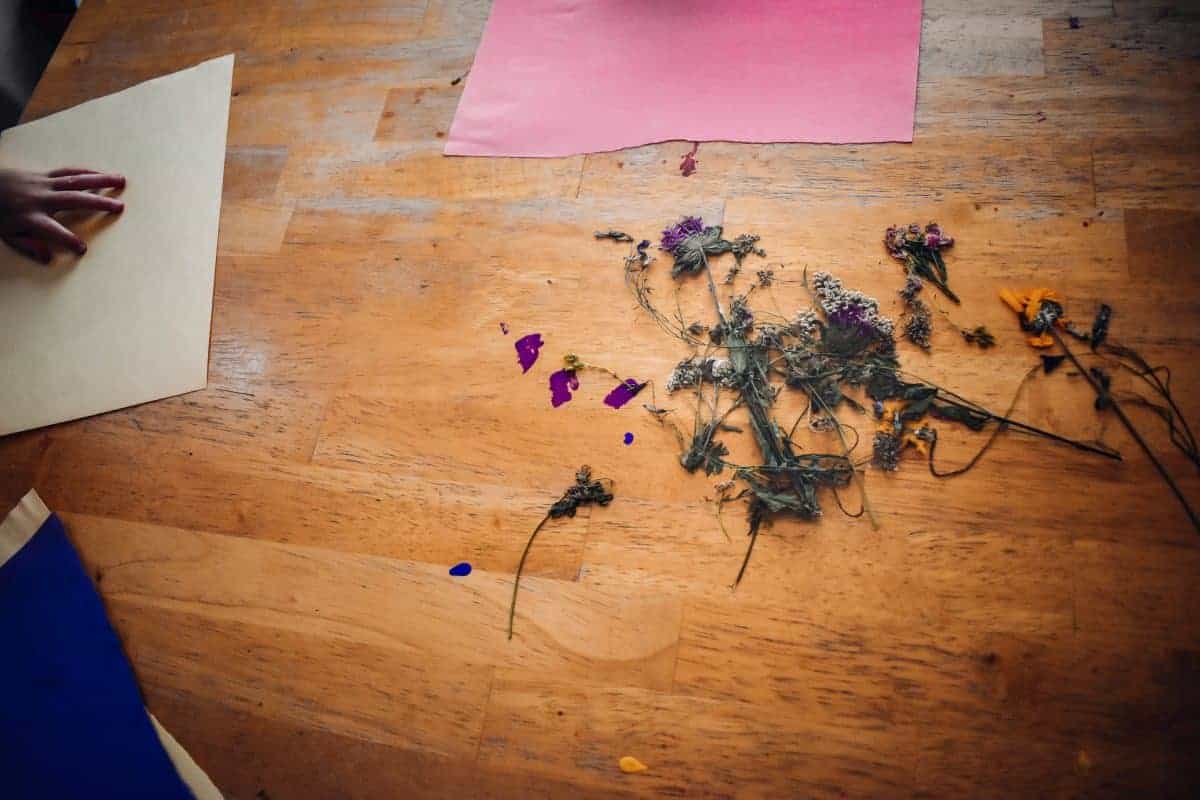
More – Collect just a few more flowers than you think you’ll need (but please don’t take them all). See above about flowers being well-loved! Not all flowers will make it home, and that’s ok. Petals will fall off, and stems will get crushed. This does not always render them unusable! We typically use our “leftover” bits and pieces to make collage bookmarks. Make sure that you’re allowed to collect/pick/keep wildflowers in the area that you’re visiting (not all parks or nature preserves allow you to pick or take anything). And be sure to leave plenty of flowers for the birds, bees, and butterflies (and other people to enjoy).
Anything! – You don’t have to only use wildflowers. We collect and make bookmarks with all kinds of things we find on hikes, like leaves and feathers. You can find all kinds of different items and objects on your hikes any time of year. Anything remotely flat will work!
Let the flowers dry out first
If you want to turn your wildflower hike treasures into bookmarks, the first thing to do is to let the flowers dry out. If possible, let them sit for a couple of weeks to remove all moisture. Sometimes the colors will fade a bit. That’s to be expected. I’ve heard of people microwaving their flowers to dry them out and preserve the colors, but we haven’t tried that yet.
While the flowers are drying, we use our photos from our wildflower hike to identify which species we found. It’s a lot of fun to see the kids learn new things about the plants and flowers in their area. A lot of times they remember a flower name from our last outing. Sometimes we will write the names of each flower on the bookmarks, sometimes little quotes, and sometimes nothing at all!
Making wildflower bookmarks with a laminator
When we first started making wildflower bookmarks, I used my laminator for this process. However, after a while, it resulted in a ton of plastic waste. Since we do this activity frequently, I wanted an option that was less wasteful. So, I started using the wax paper method. Using a laminator is easy, however. And you’ll get no judgment from me if you choose to use that method. It is far less messy and results in a much “tidier” finished product.
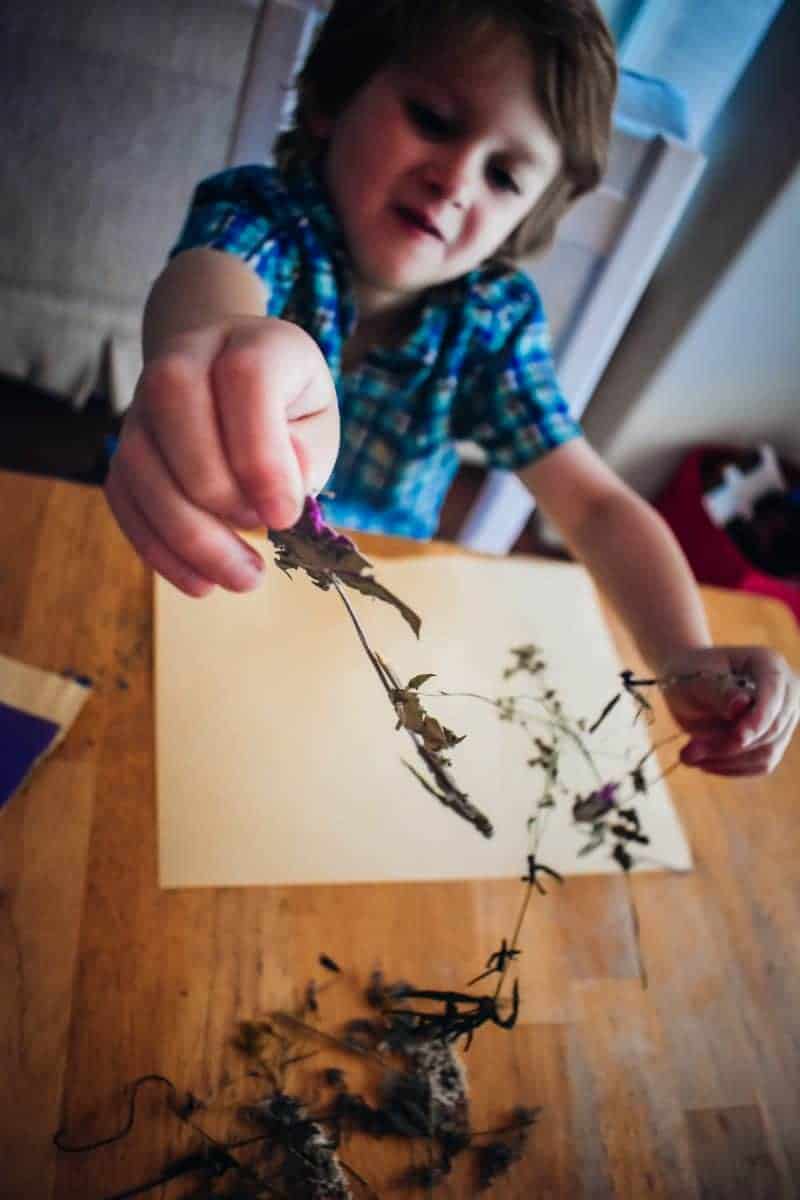
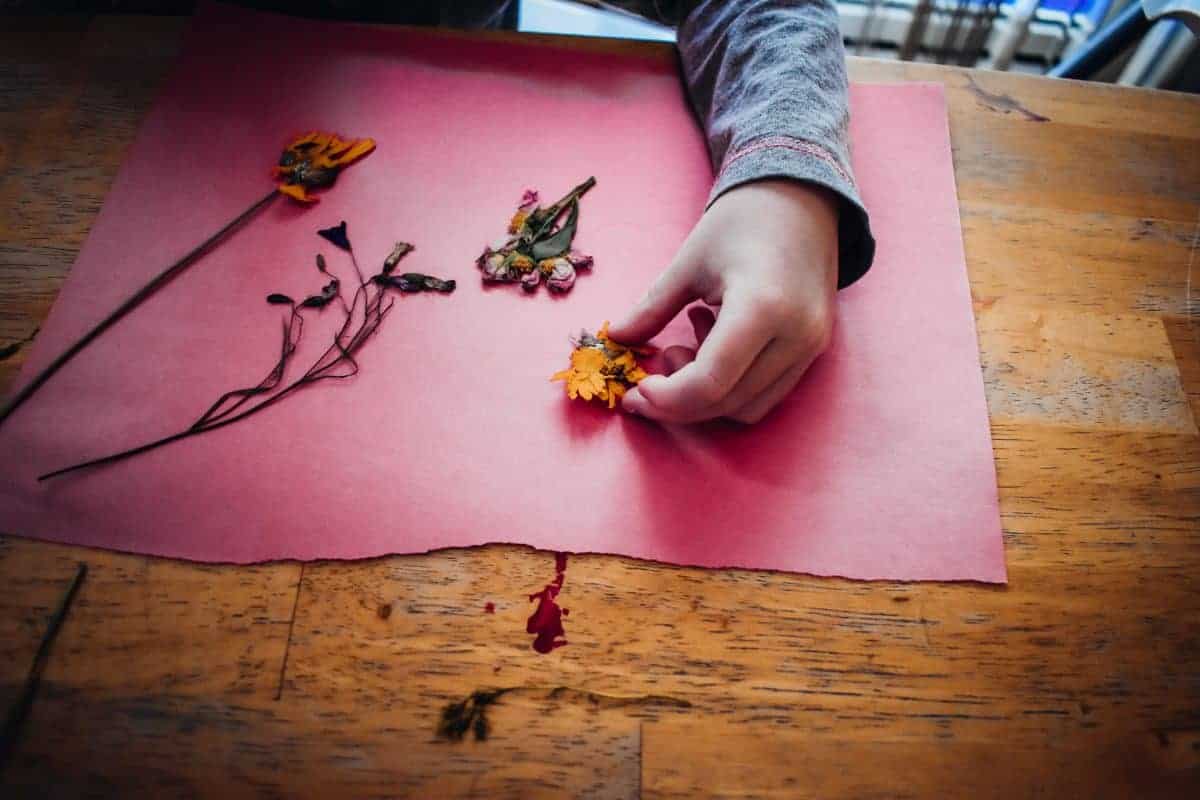
If you do choose to laminate, simply have your kiddos arrange the flowers on construction paper. Slip each flower-covered piece carefully into laminating sheets and run them through the laminator. Have the kiddos cut out when cooled!
I will say, if I am sending bookmarks to distant friends or family we will still use our laminator as it makes for a sturdier bookmark. The wax paper laminating method does eventually fall apart, but in my house, that’s a good thing. We would have far too many treasures if everything we collected lasted forever!
Waxed paper wildflower bookmarks
Now, instead of using the laminator, we make our wildflower bookmarks using wax paper and glue. They’re not quite as study, but they do just fine and the kids get to be very hands-on throughout the process. Here’s what you’ll need:
- wildflowers
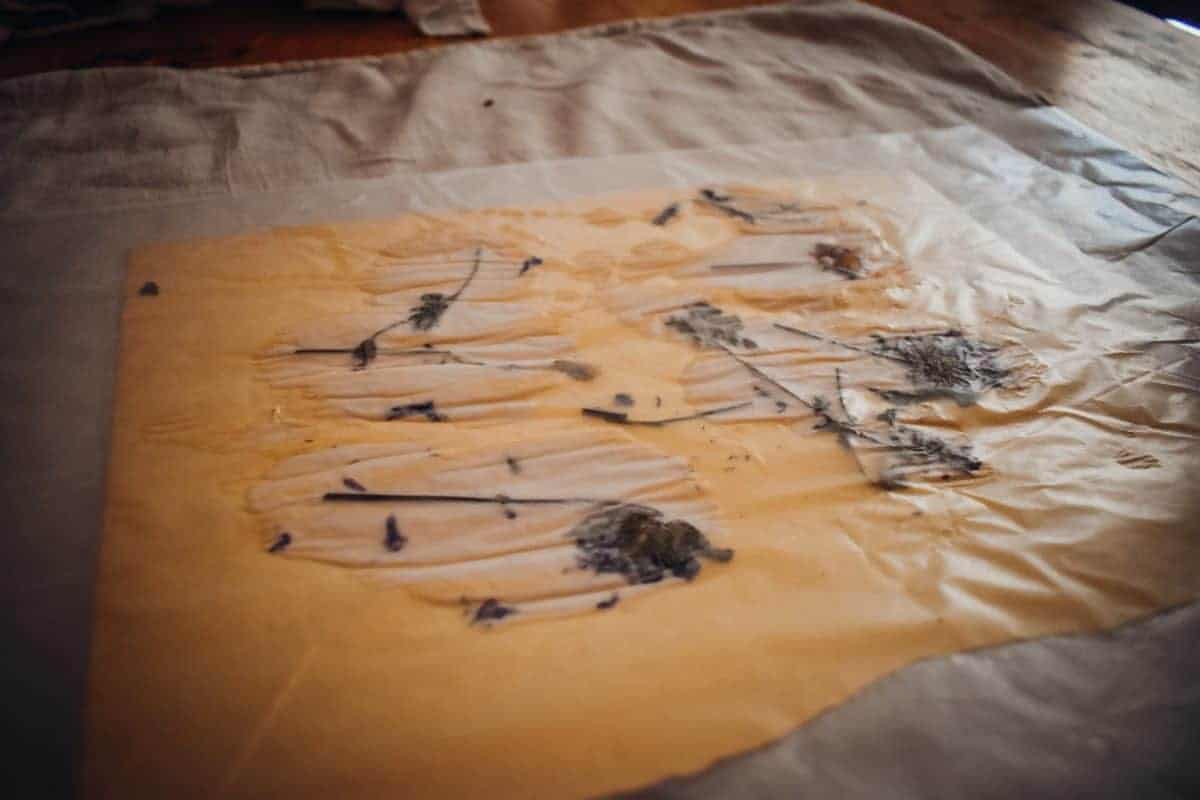
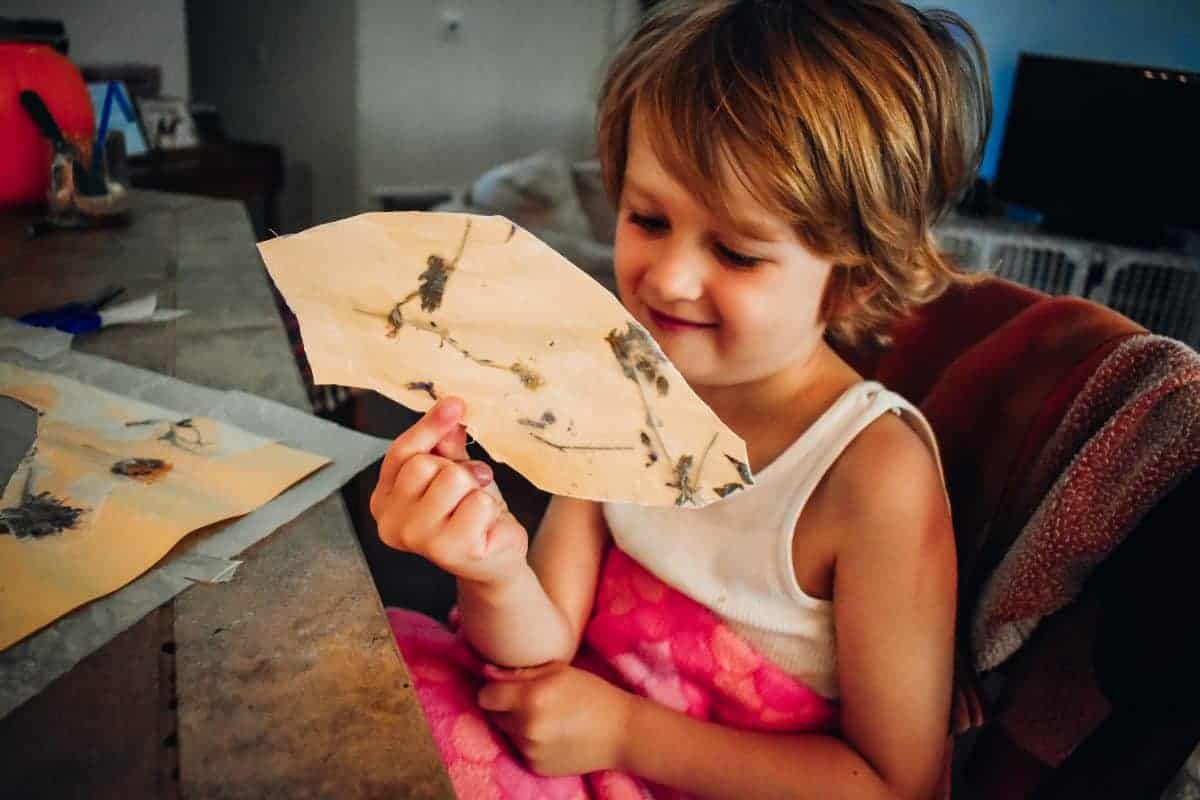
- clear waxed paper (I have used the brown natural kind too, it makes for a vintage-looking bookmark!)
- plain paper (we love using colored construction paper so everyone can personalize their own)
- washable glue
- kid-safe scissors
How to make wax paper wildflower bookmarks
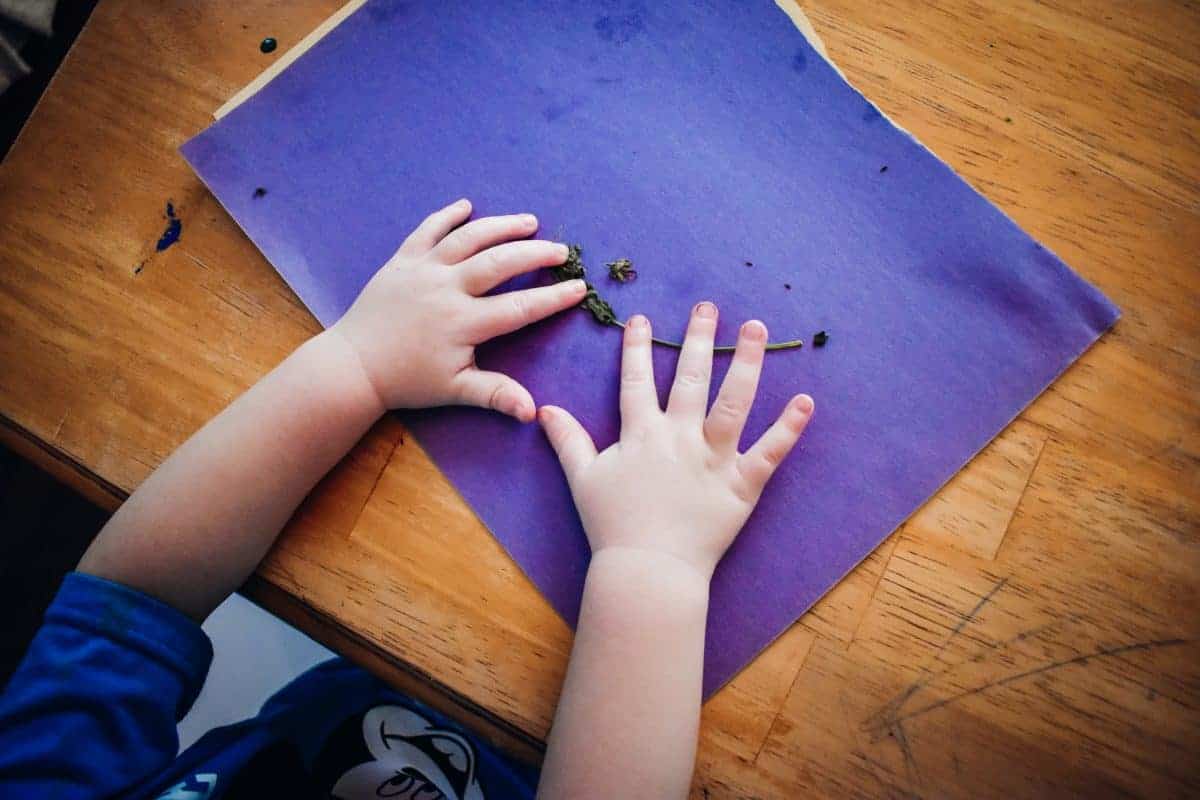
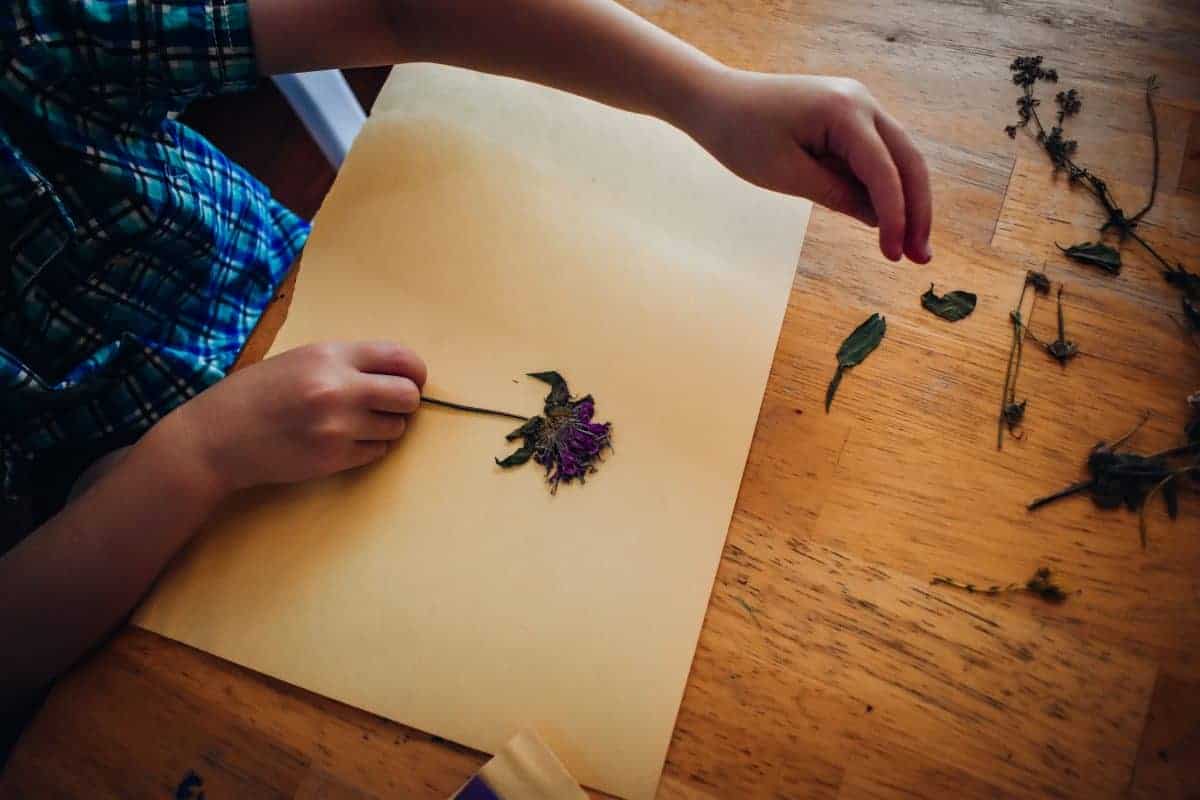
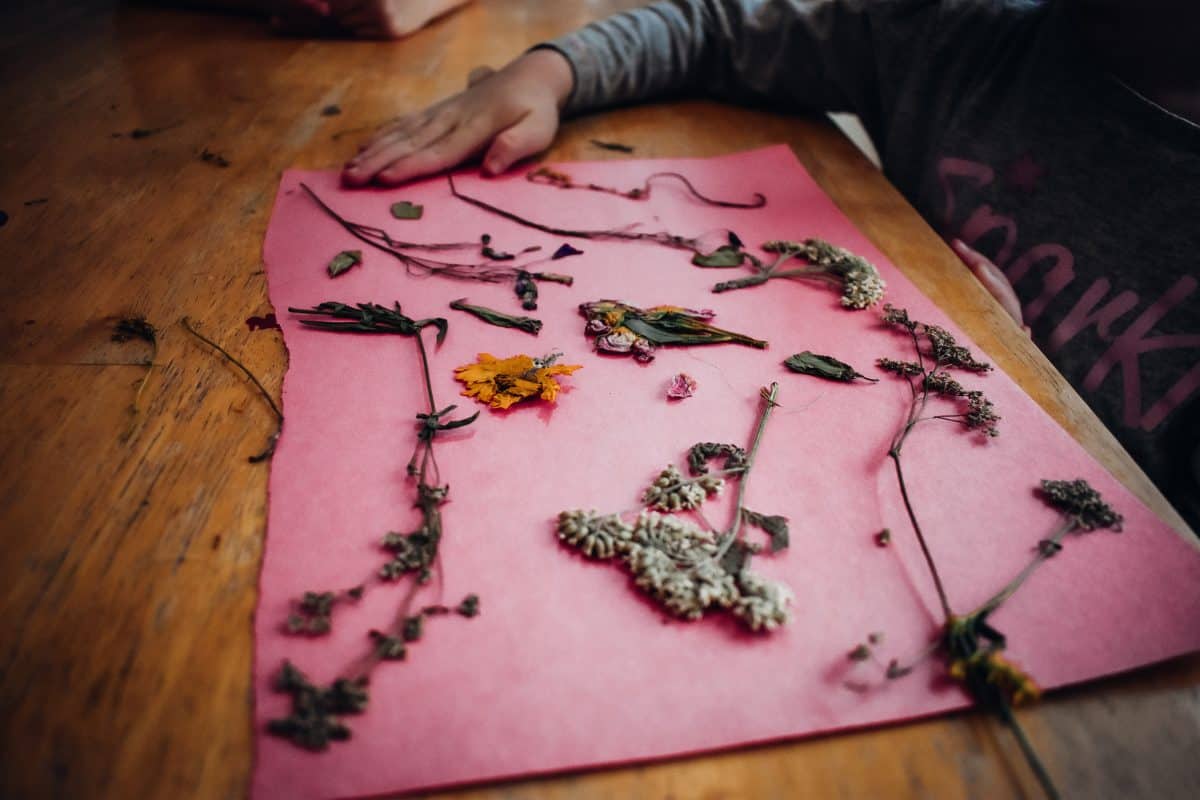
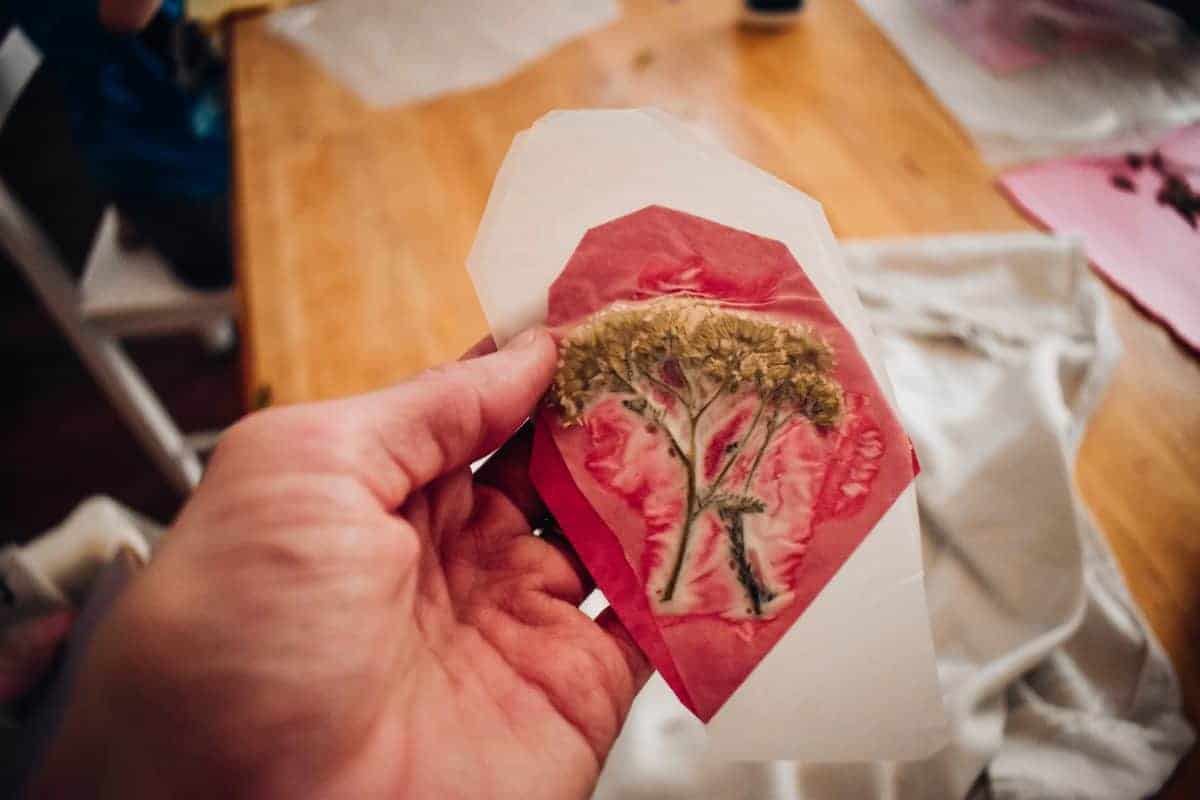
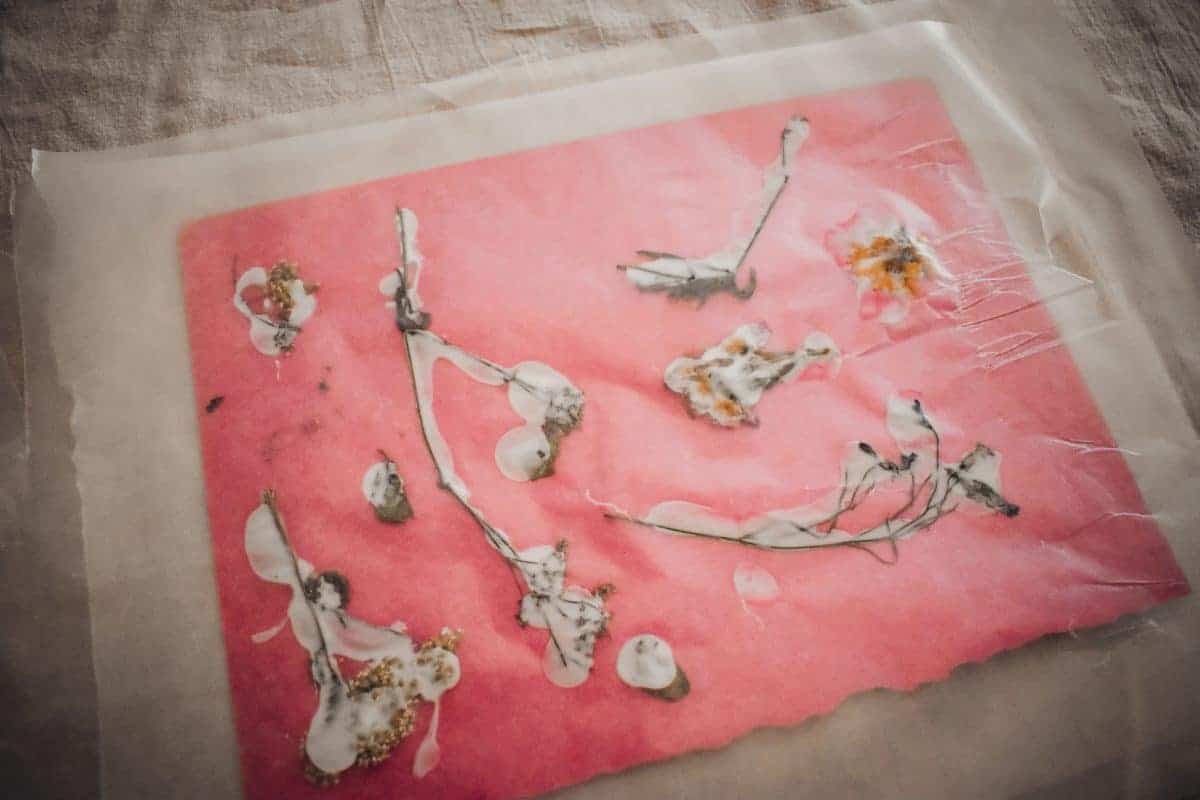
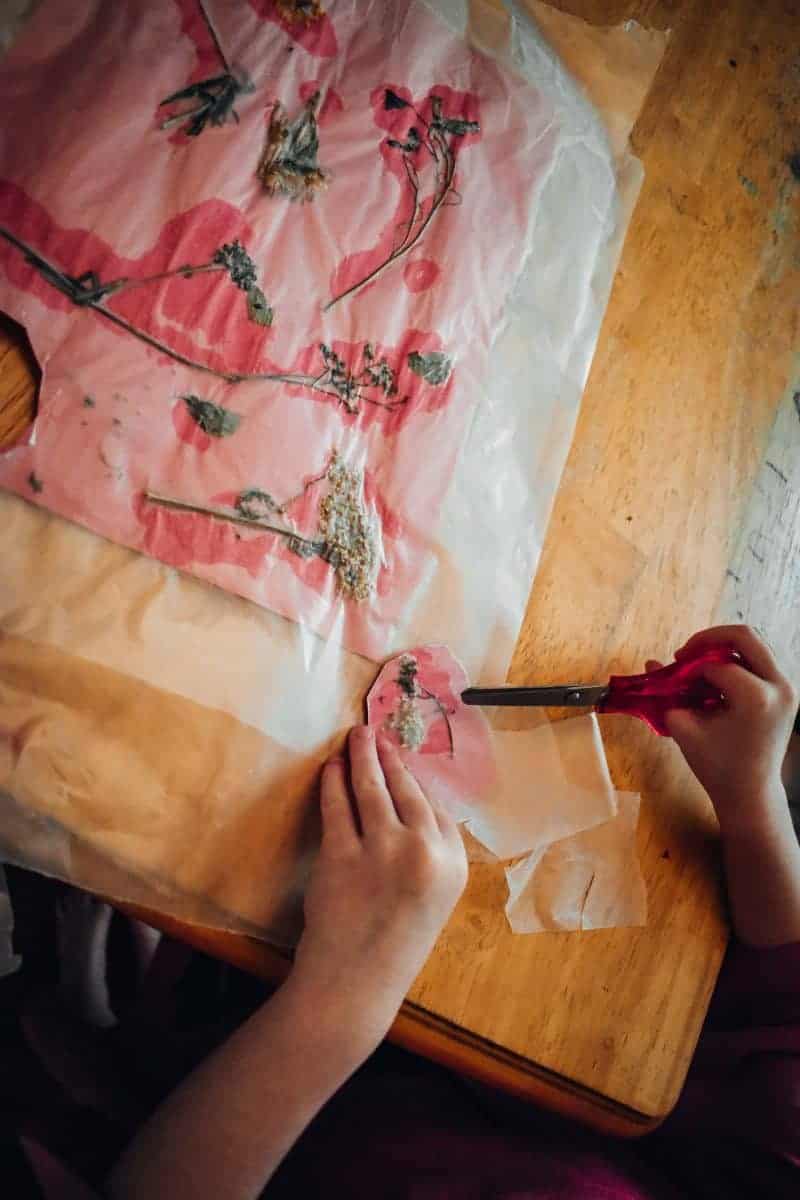
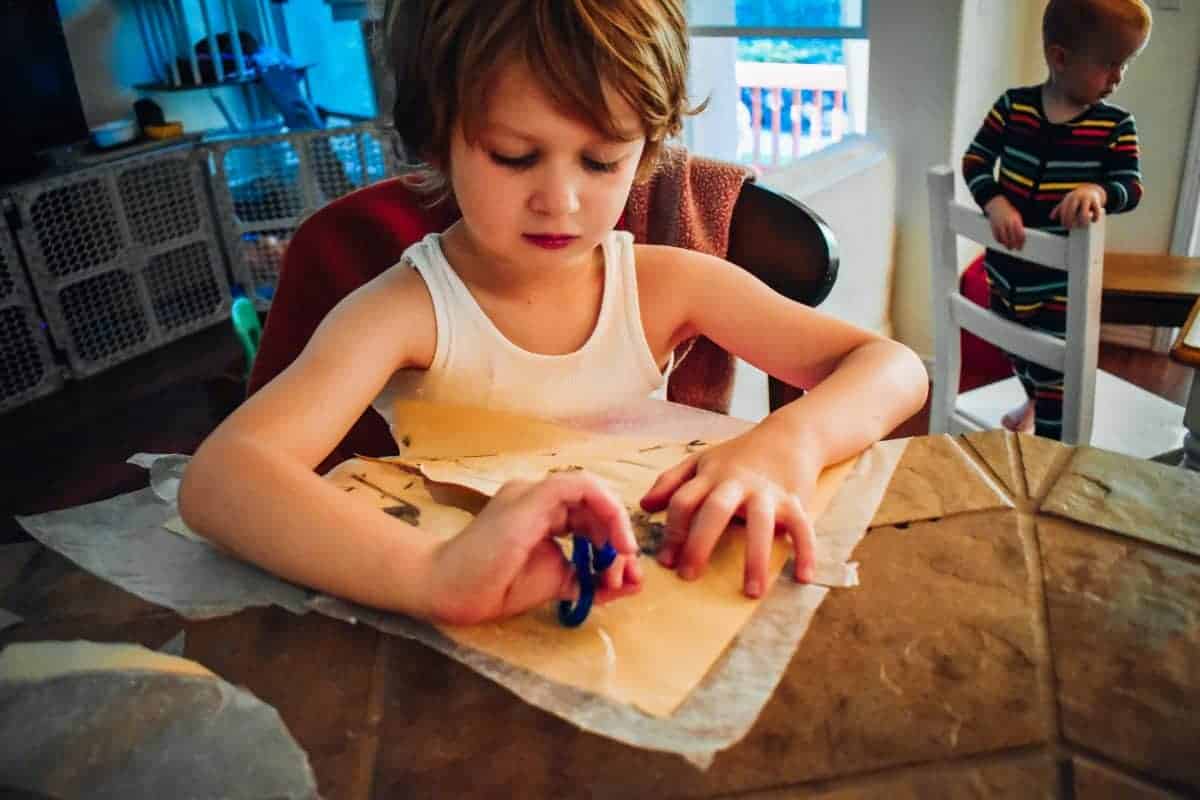
Have each child arrange their flowers on a piece of construction paper. I have them cut out the flowers AFTER laminating. You can draw outlines on the paper first, but I prefer to let them just have at it! We end up with very interestingly shaped bookmarks, and that is part of the fun!
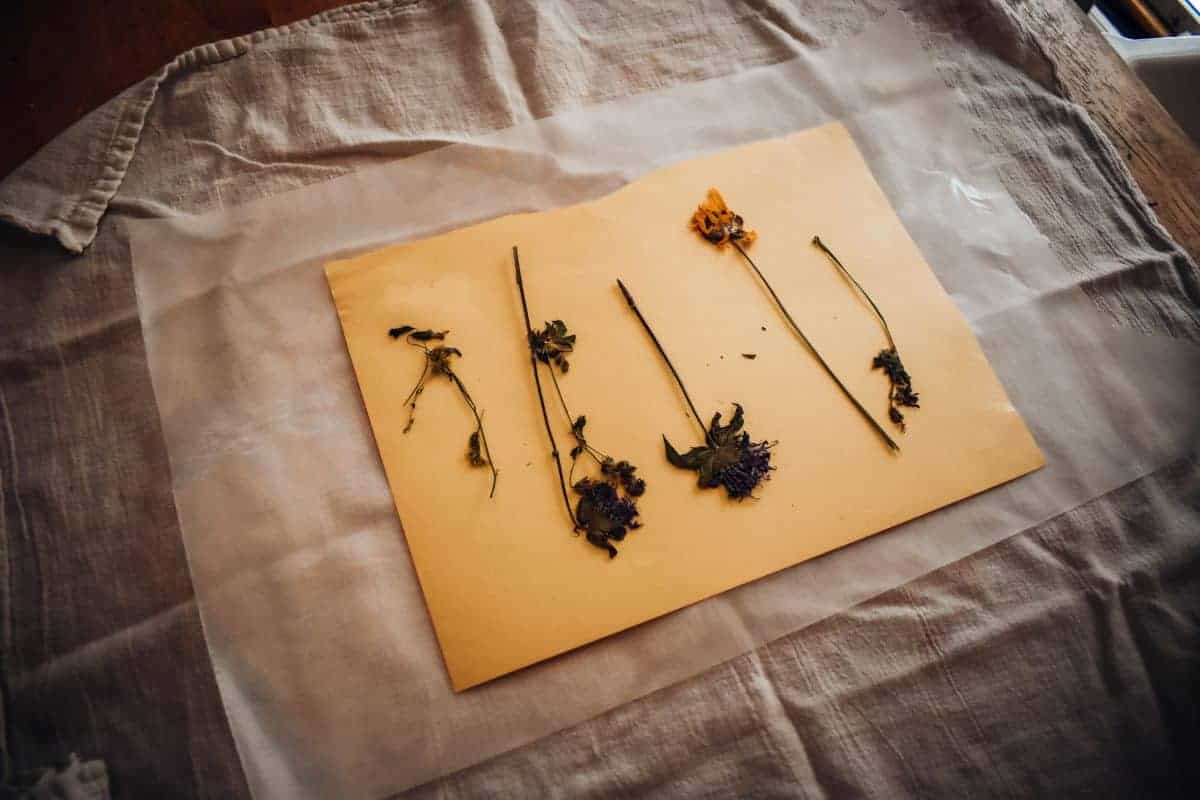
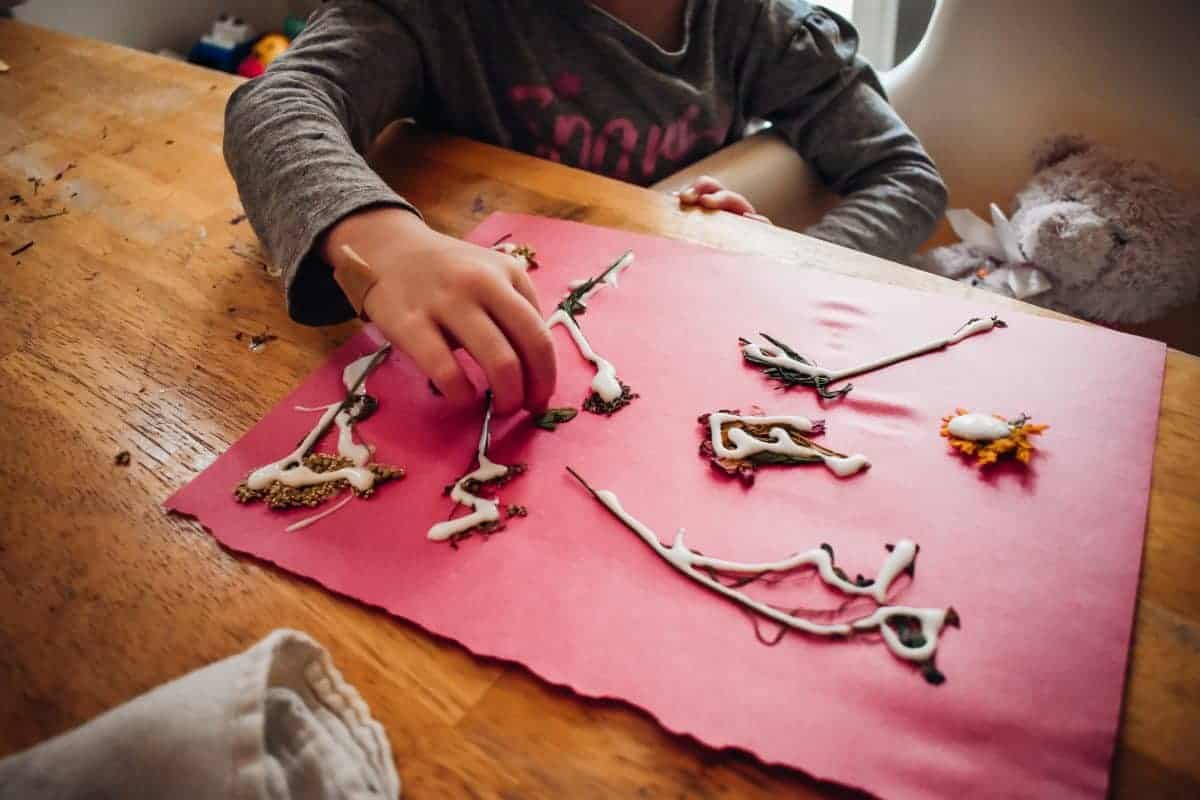
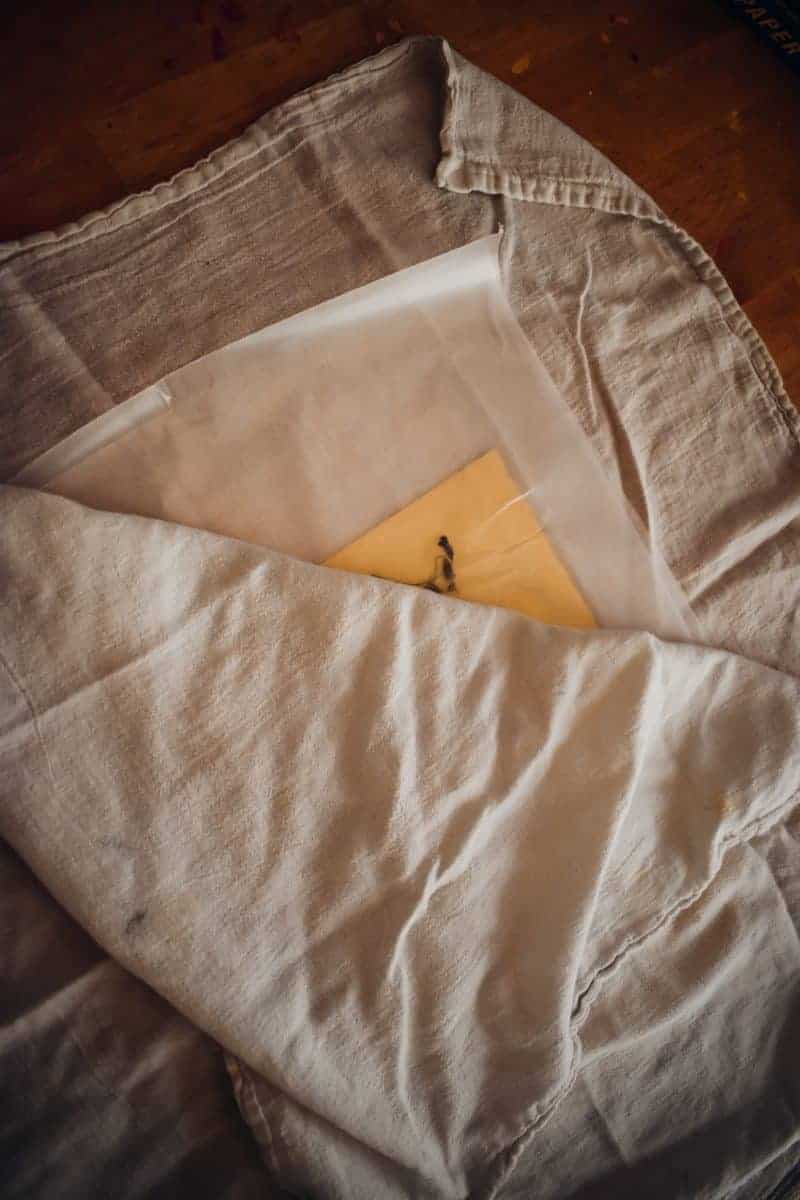
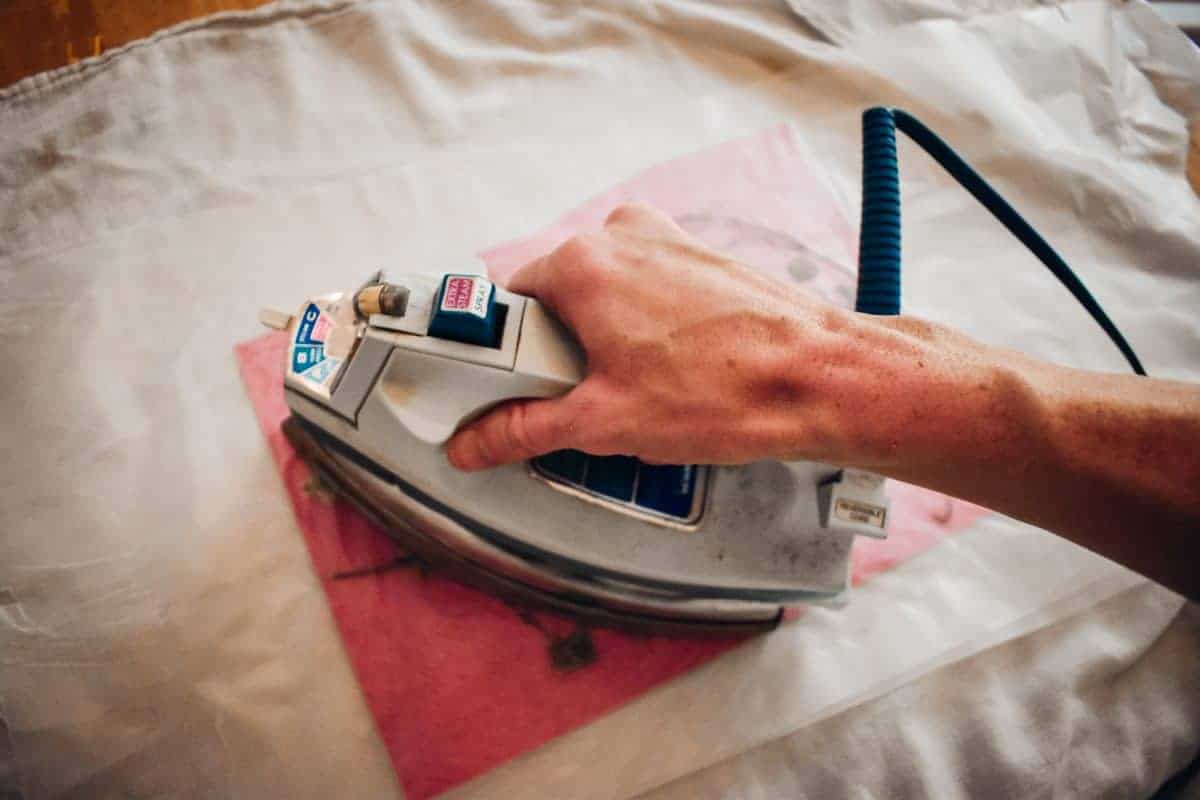
Drizzle glue* over the flowers on the paper and then place waxed paper under each piece of flower-covered construction paper.Place another piece on top, (right on top of the glued flowers) and then set the entire thing on an iron safe surface covered with a thin towel (I like using tea towels).
*We did try it without the glue, and it didn’t work as nearly as well. The waxed paper does melt to the flowers and paper, but without fail it falls apart when little hands try to cut out the flowers.
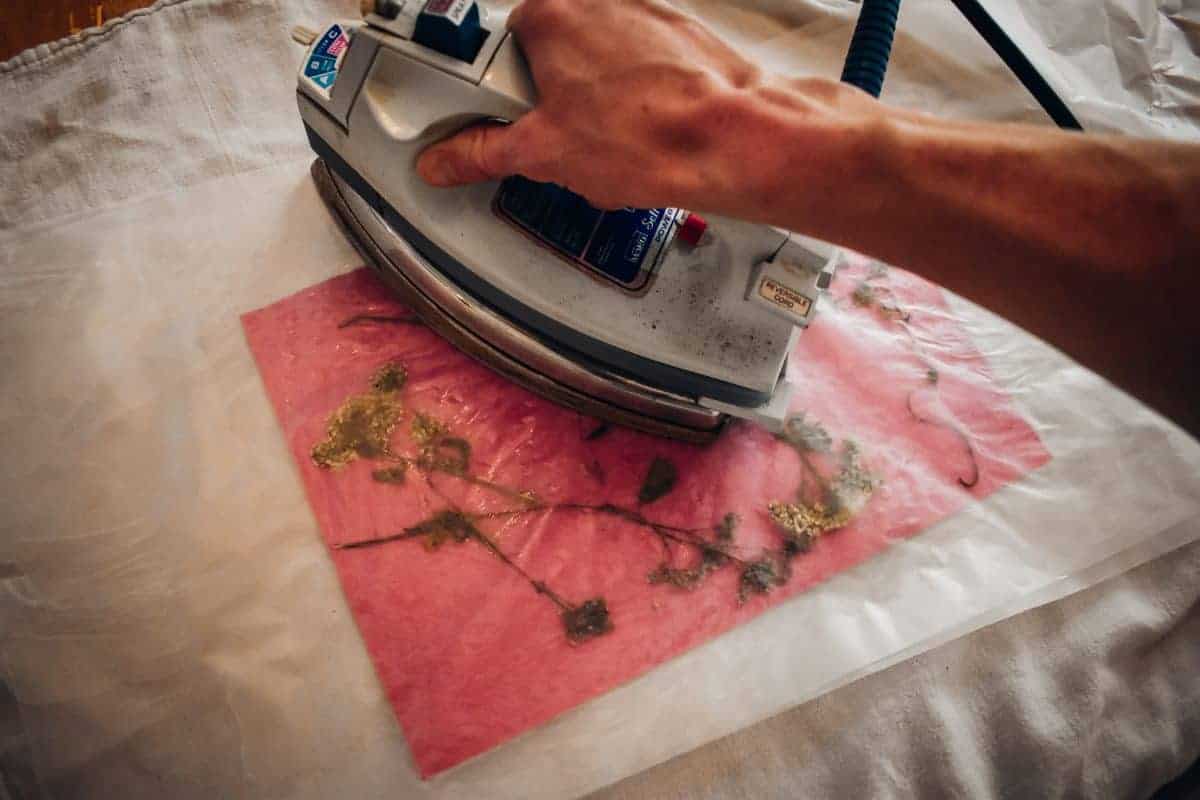
Place another tea towel on top. Iron the flower-covered side of the paper first. Iron on medium to high heat for a few minutes until the wax has adhered to the paper, checking periodically to make sure it’s not burning. Flip over and repeat the process. A delightful smell of wildflowers will waft from the papers!
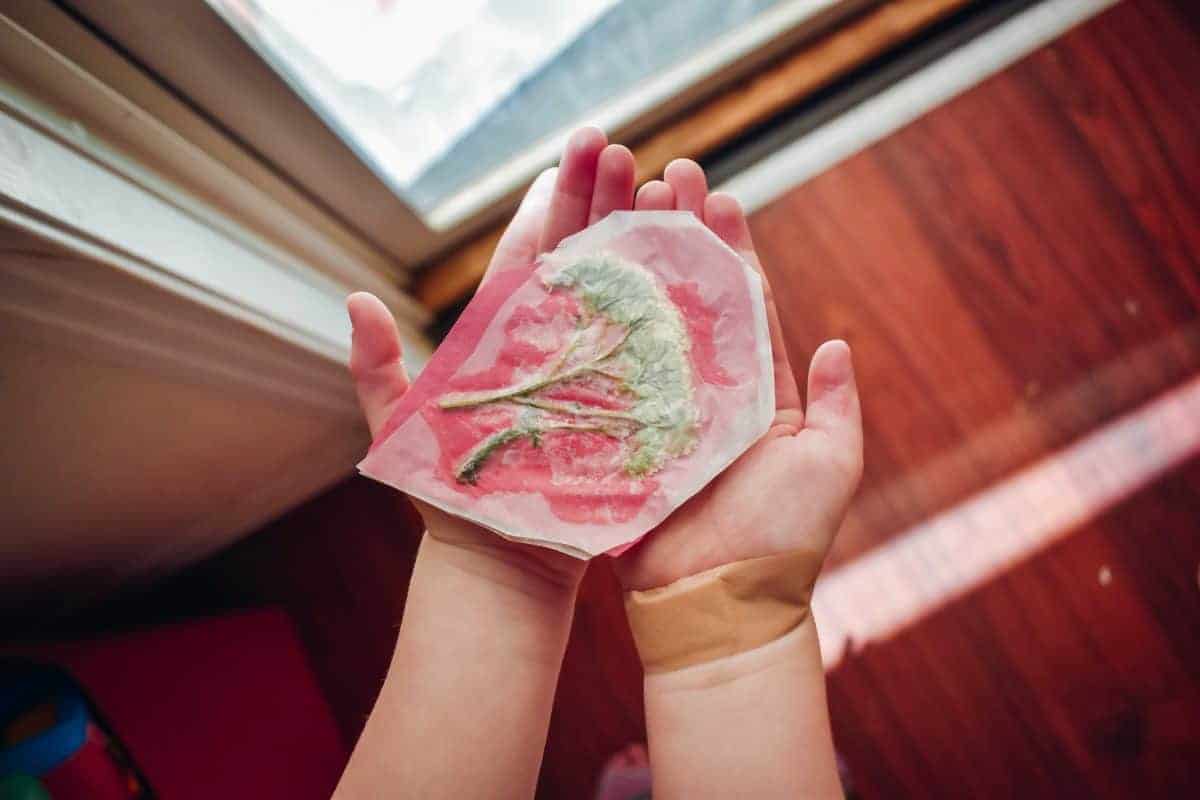
Once the glue has dried to clear and the papers have cooled, let the children cut out their wildflower bookmarks! We usually let them dry overnight, or place them in the sun to speed the drying process.
Now, if you’re like me and somehow always manage to leave them out in the rain, just hang the flower papers up overnight and they’ll be fine in the morning.
The beauty of a bookmark
These lovely little bookmarks are so fun to make and have so many great uses. They are easy to slip into envelopes and mail as surprises. They make wonderful gifts for grandparents, relatives, teachers and friends! You can hang them on walls as decoration. My kids love having them over their beds where they can see them every day. Hang them on windows and let the light shine through them like stained-glass. And of course, they’re perfect for using as bookmarks in your favorite nightly read! The flowers and the bookmarks stimulate exciting “remember when” conversations about our adventures every time we look at them.
Have you gone on a wildflower hike with your kids?
Are wildflower bookmarks in your future?

About the author
Robin Lloyd is a Colorado mama of four year-old boy-girl twins and a one and a half year-old boy. Her family are second-generation homeschoolers and strive to spend every moment possible outdoors!
You can find more from Robin in the following locations:
Pinterest: @ThisLittleMustardSeed
Website: The Mama Playbook
Facebook: @
Comments
One response to “Wildflower Hike and Homemade Bookmarks”
[…] Flowers are everywhere you look during the summer! Take advantage of the abundance and preserve some for a cold rainy day. Collect flowers on a sunny day when they’re not wet or damp. Place the flowers between sheets of parchment or wax paper and lay a heavy book on top. Let the flowers dry for 7-10 days. Use the flowers for art decorations, cards, journals, luminaries or anything your heart desires! We’ve tried this flower press kit and made beautiful art! And here’s a great post on how to make a pressed wildflower bookmark. […]

Leave a Reply