Your cart is currently empty!
Winter Outdoor Activities: DIY Frozen Suncatchers
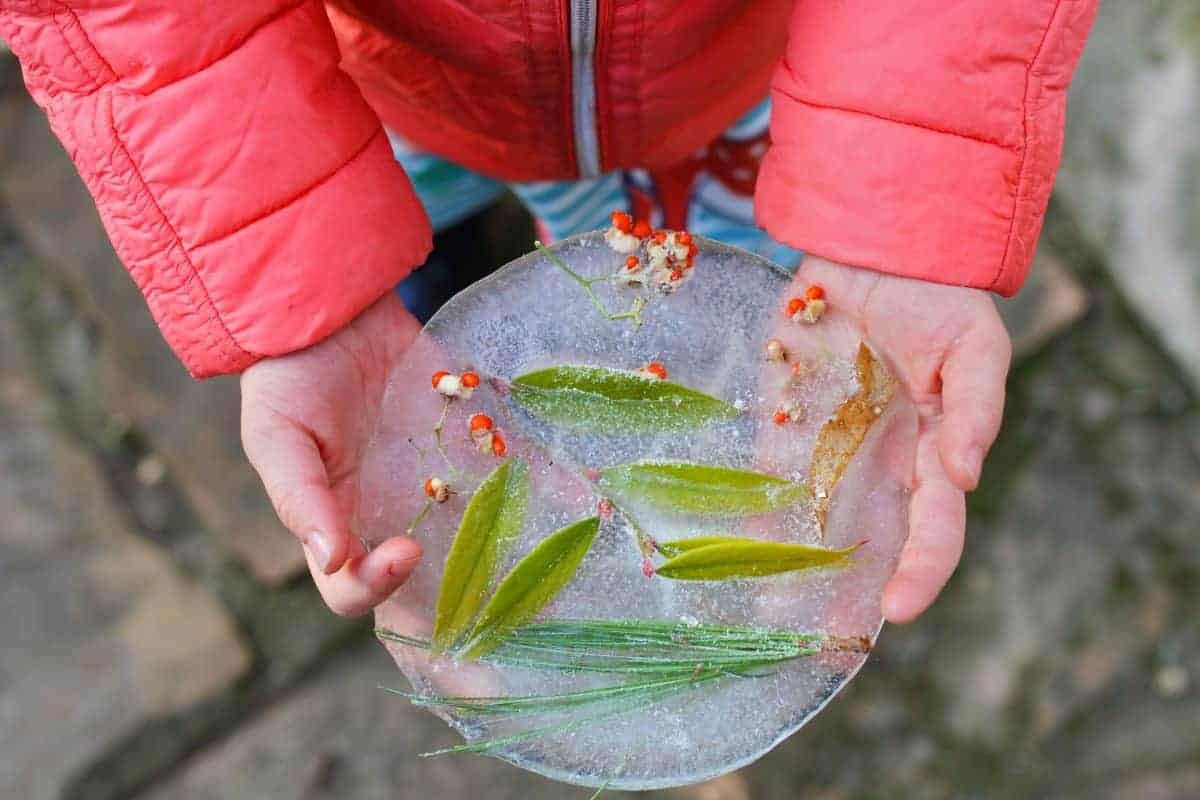
Ice is both beautiful and fascinating to children and adults, alike. It’s amazing that something as simple as water can turn into a glassy solid in any shape. Kids are easily wowed by the freezing process and mesmerized by the beauty and texture of ice. Today, we’re sharing an easy outdoor winter activity that involves turning water and a few simple natural items into beautiful frozen suncatchers that gleam and glisten in the sun. This activity will not only give your child a chance to explore your outdoor area for fun natural items to incorporate into their suncatchers, but will also teach them about temperature and the freezing process.
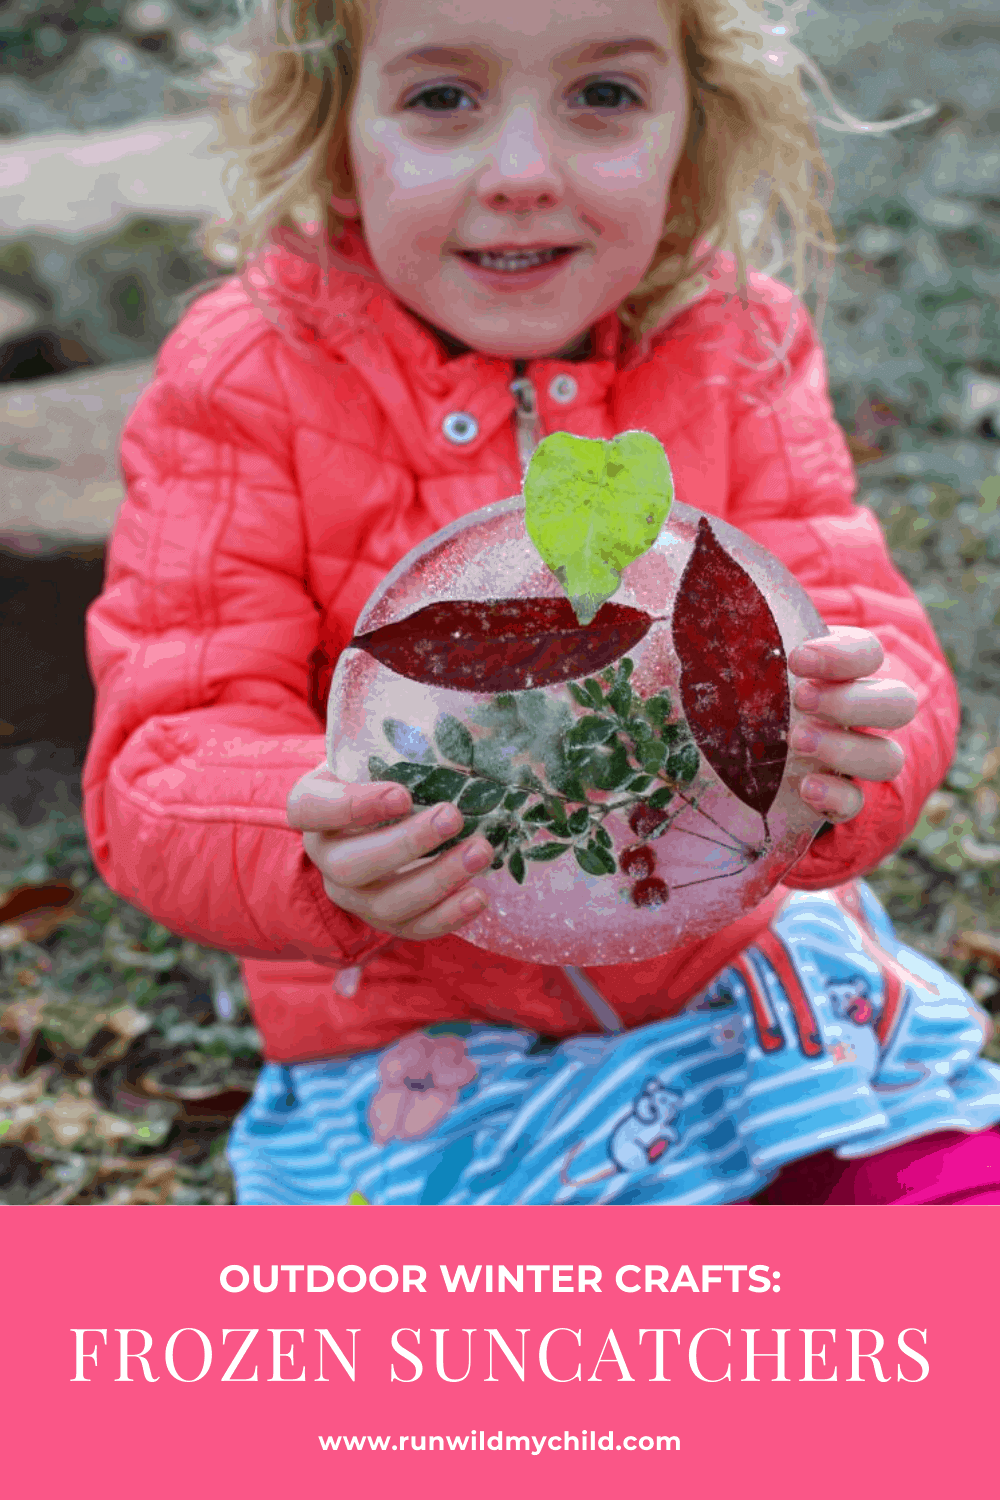
How to make DIY frozen suncatchers
DIY frozen suncatchers are a super easy craft that you can make outdoors in the winter. There are so many great things about this craft. Not only does this project get your little ones outside and exploring in the cooler weather, but it also requires little to no prep work and no fancy or expensive supplies. These ice suncatchers can be made anywhere at any time, using any variety of supplies and ingredients from your home and outdoor area. All you need is a little imagination and some patience!
Start by exploring outside and collecting
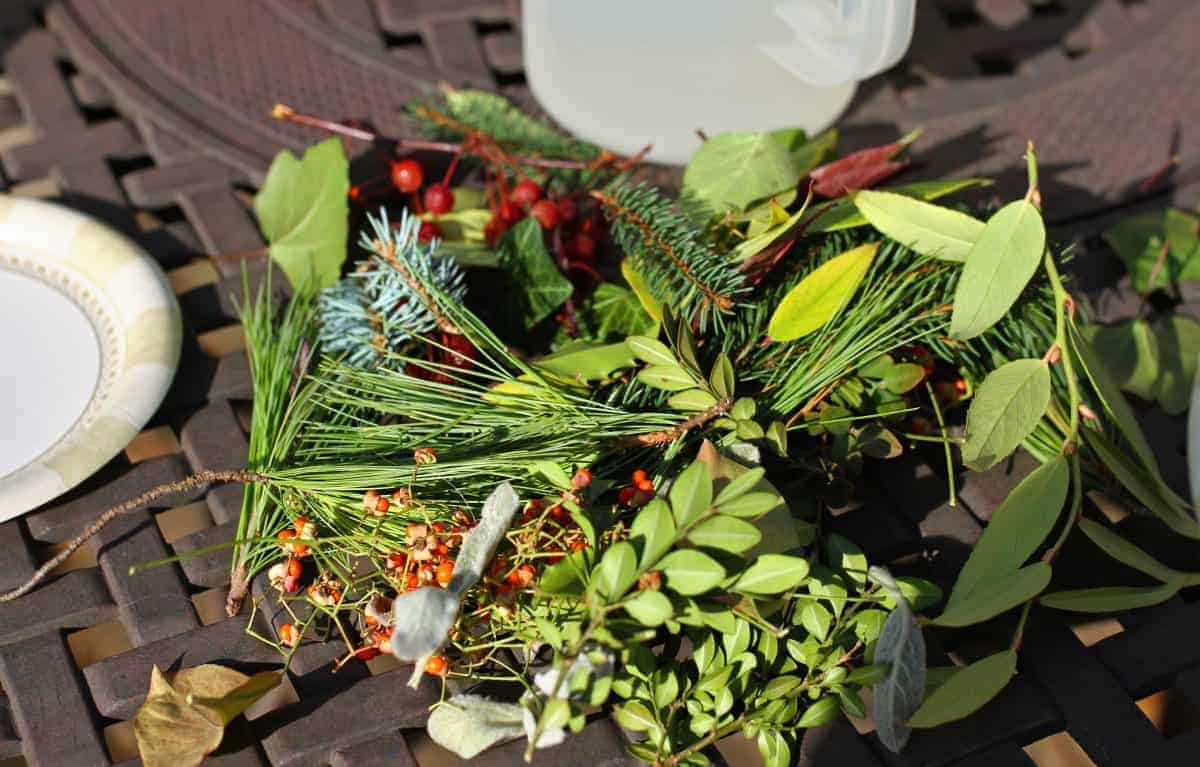
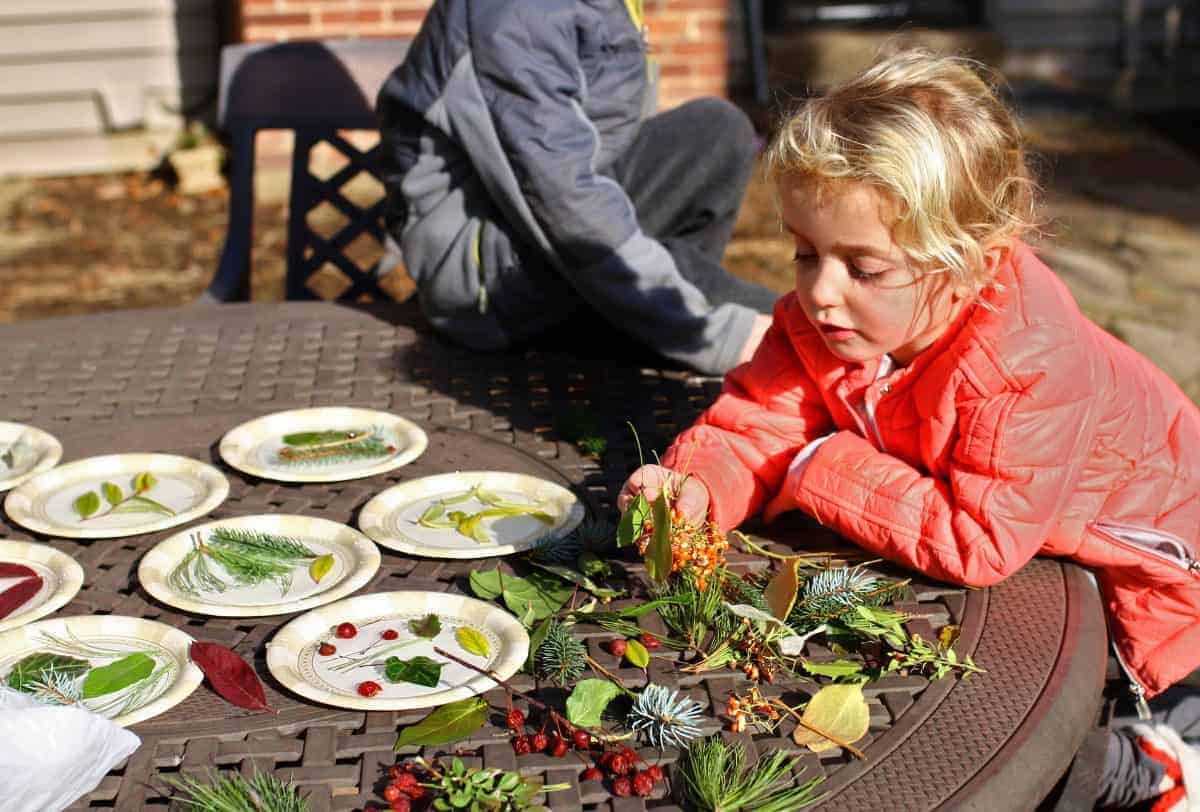
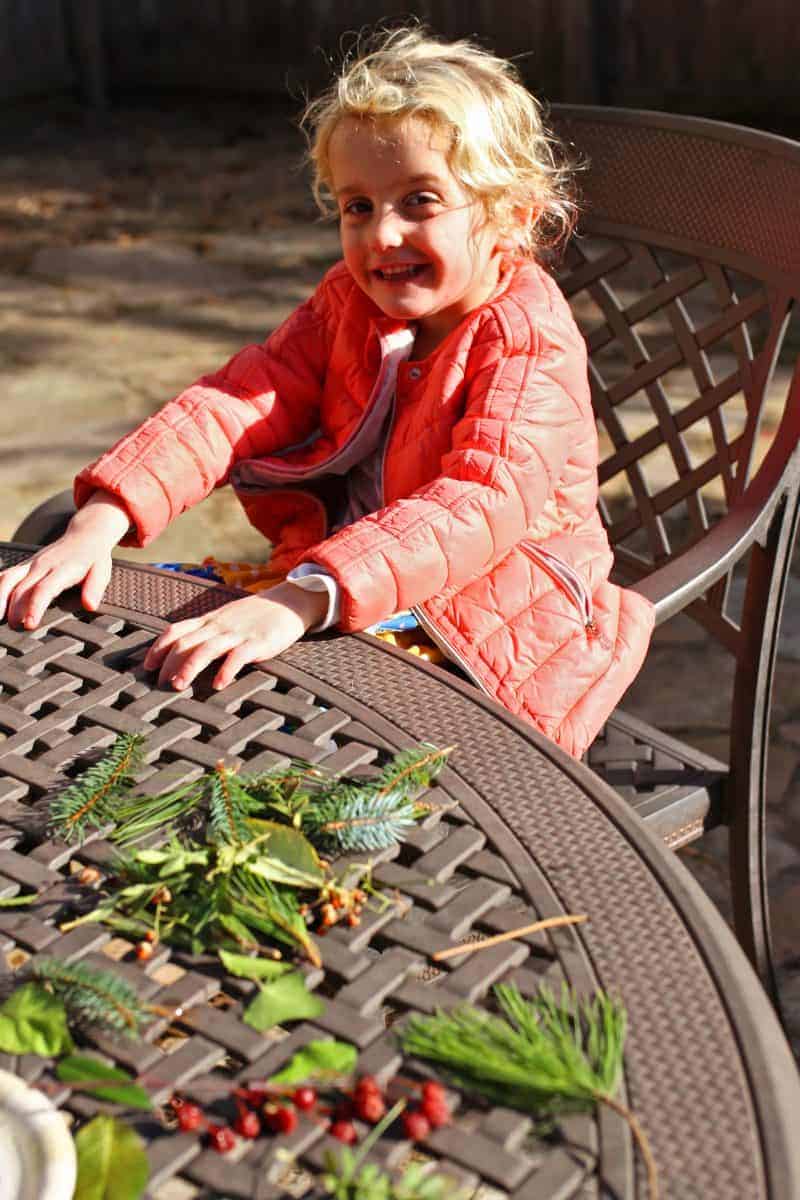
There are three main things you need to make DIY frozen suncatchers: water, a container and natural ingredients for decoration. The water and containers can be found in any kitchen. It’s the natural elements that your children collect and include in their suncatchers that will make them each unique and individual. Start this project out by allowing your children to explore your area (yard, neighborhood, local park/woods) and collect small natural items to include in the frozen suncatchers.
Give each kid a bag or collection box to hold their supplies. Explain that they’ll need a variety of shapes, colors, and sizes of objects to include. Then let them choose what to collect. This not only gets them outside in the fresh air but gets them thinking about the variety of plants, leaves, flowers and natural elements in their area.
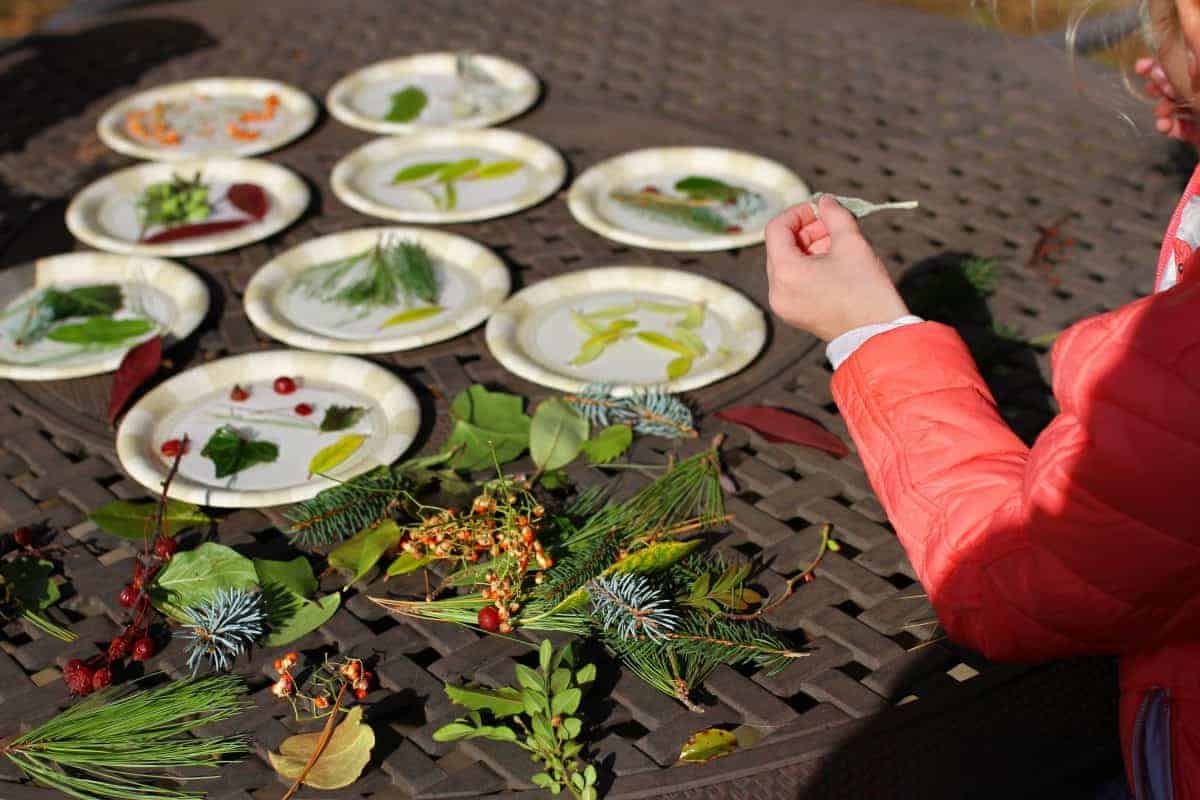
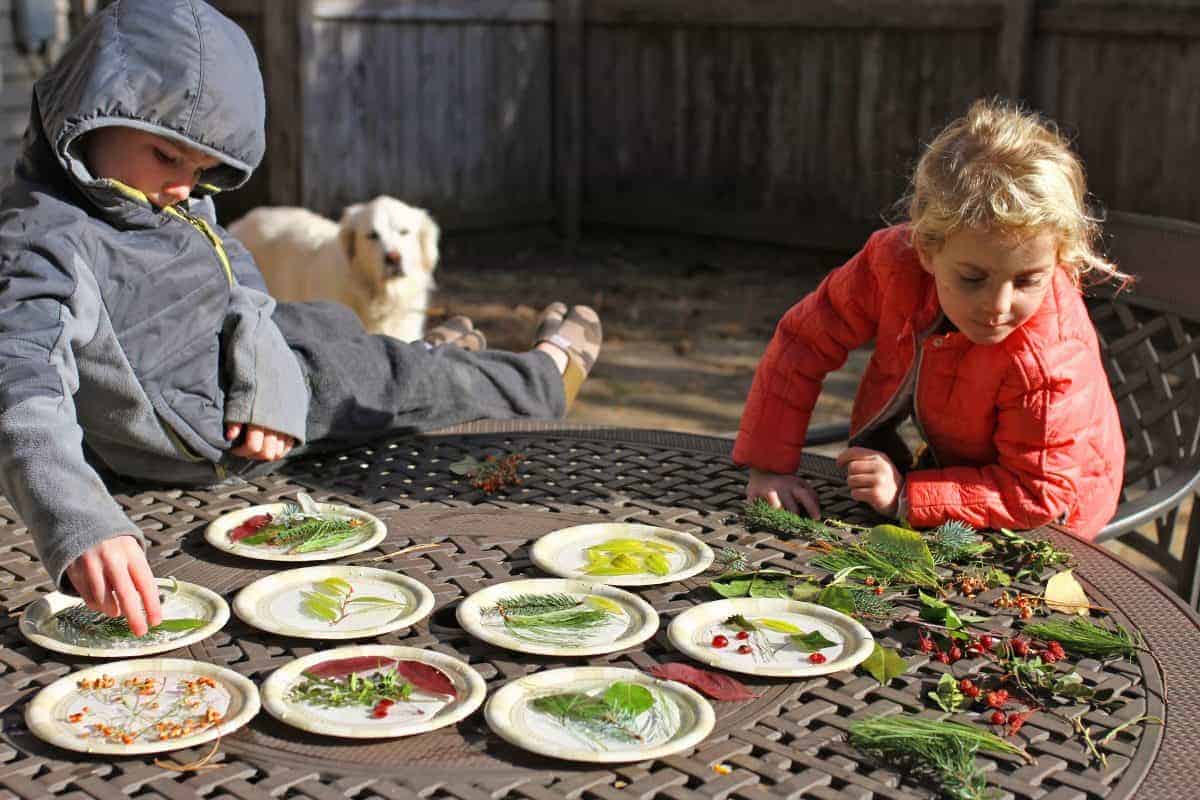
DIY Frozen Suncatcher natural ingredients
You can use absolutely anything in your DIY frozen suncatchers, as long as it’s small enough to fit in the ice! We highly recommend only using natural supplies that will naturally decompose over time and not cause any issues for animals if they consume them. Now is probably not the time to use marbles or coins or anything plastic. Here’s a list of a few items we’ve included in our suncatchers from a walk around our suburban neighborhood.
- Pine needles
- Leaves
- Flowers/petals
- Twigs
- Acorns
- Pebbles
- Pinecones
- Birdseed
- Orange or lemon slices
- Berries
- Evergreen branches
- Nuts
- Ivy
If you don’t have access to a place to collect natural supplies or want to get extra fancy, pick up a small bouquet of flowers from your local grocery store and use the petals. You’ll be amazed at how gorgeous a frozen suncatcher you’ll get using a variety of colored flower petals.
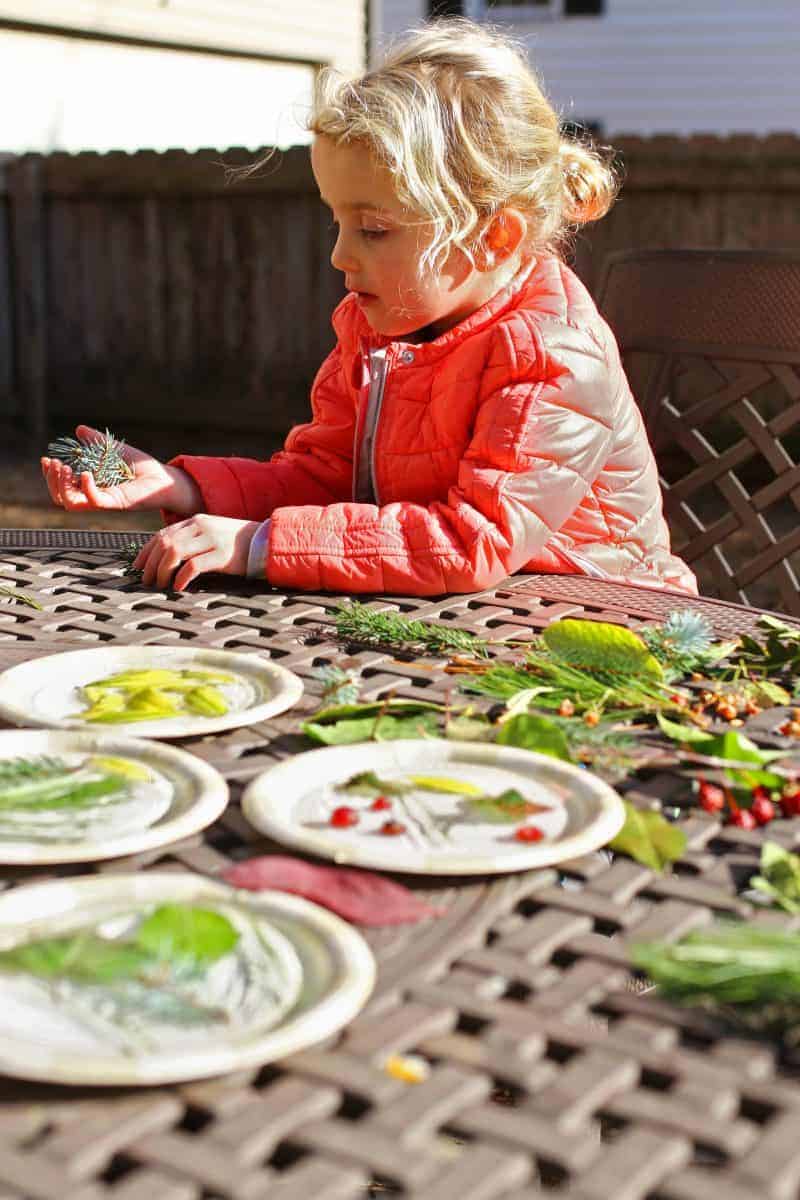
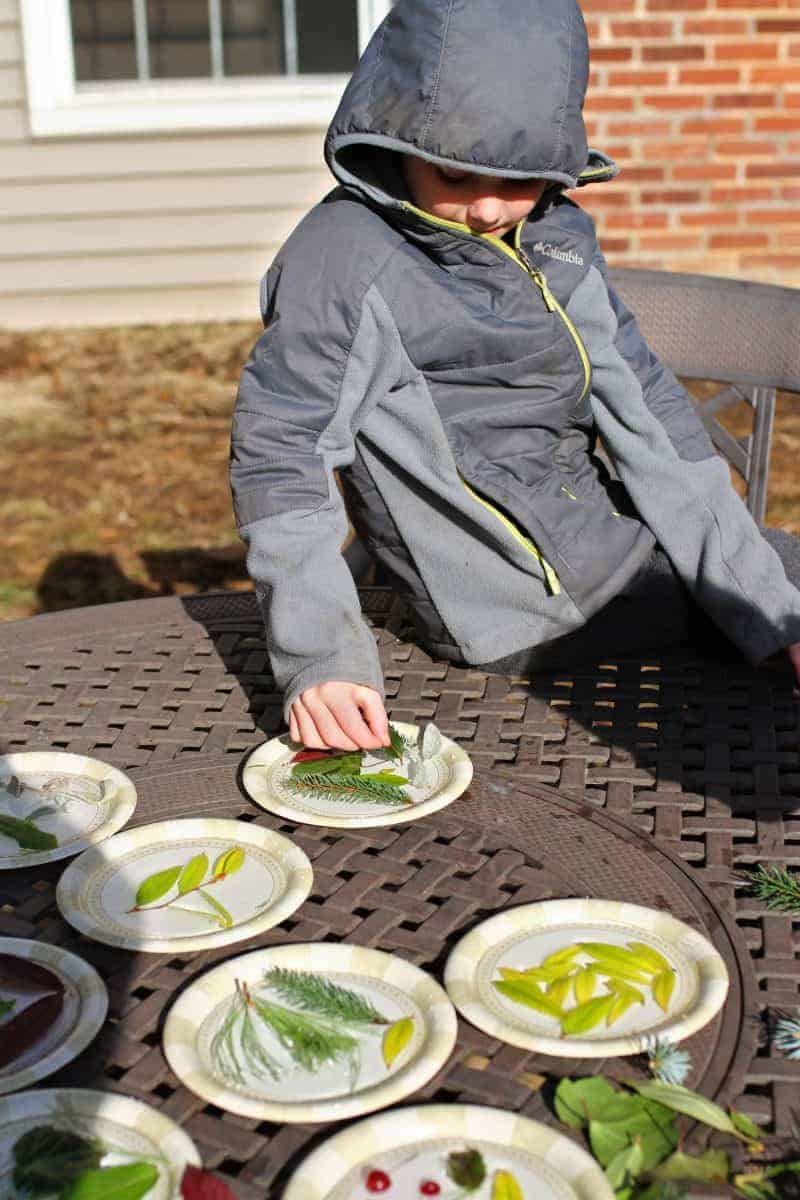
Choose the right container
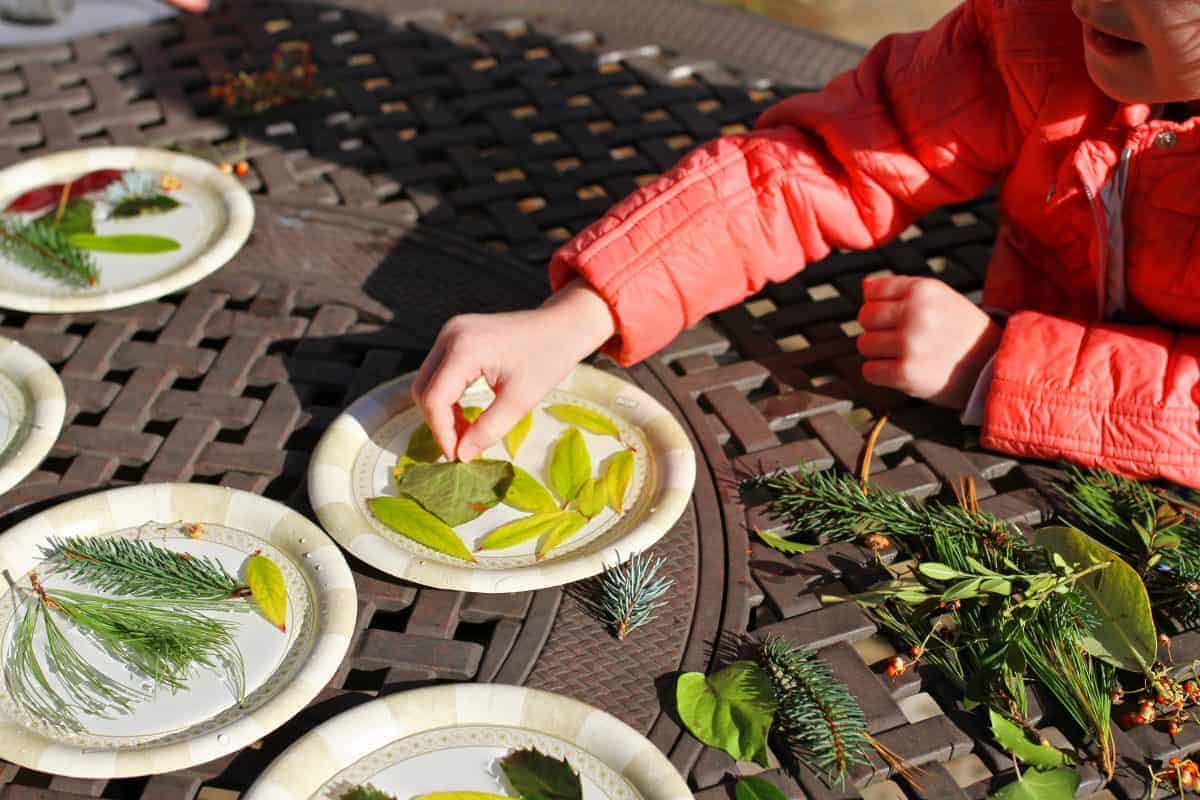
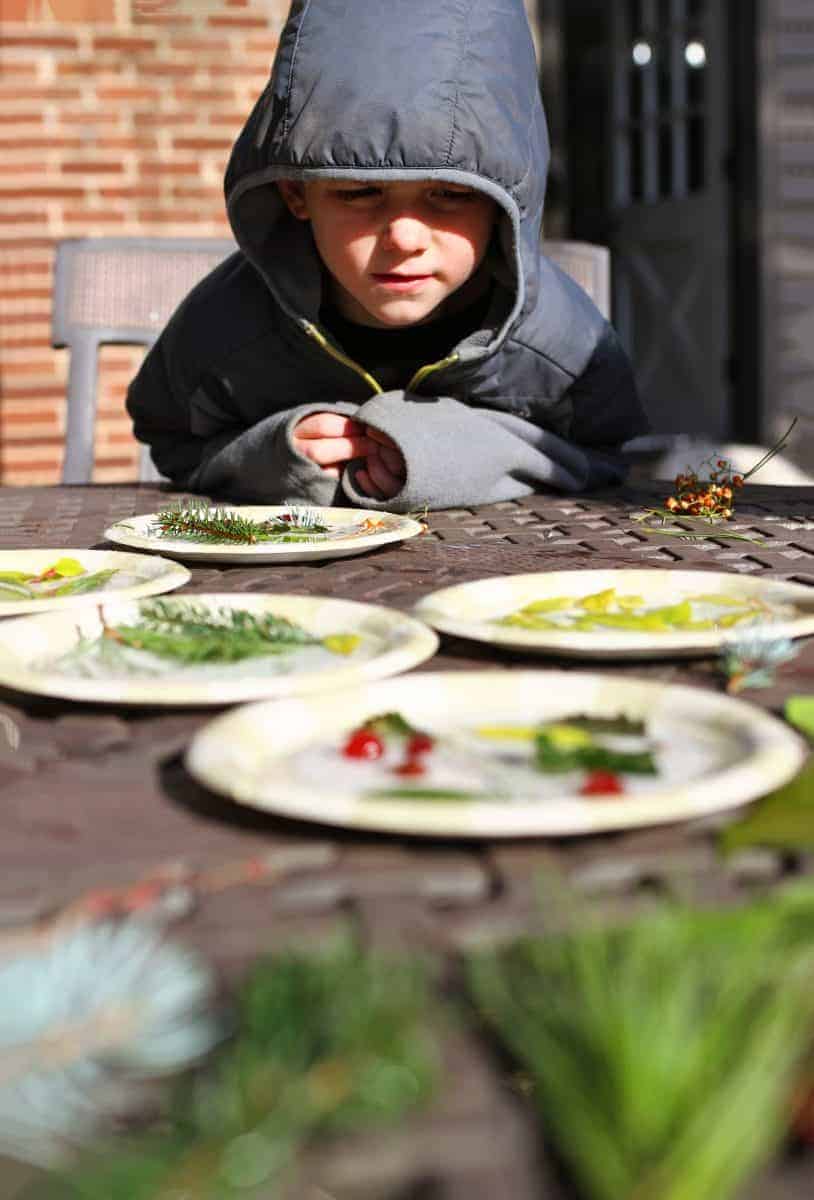
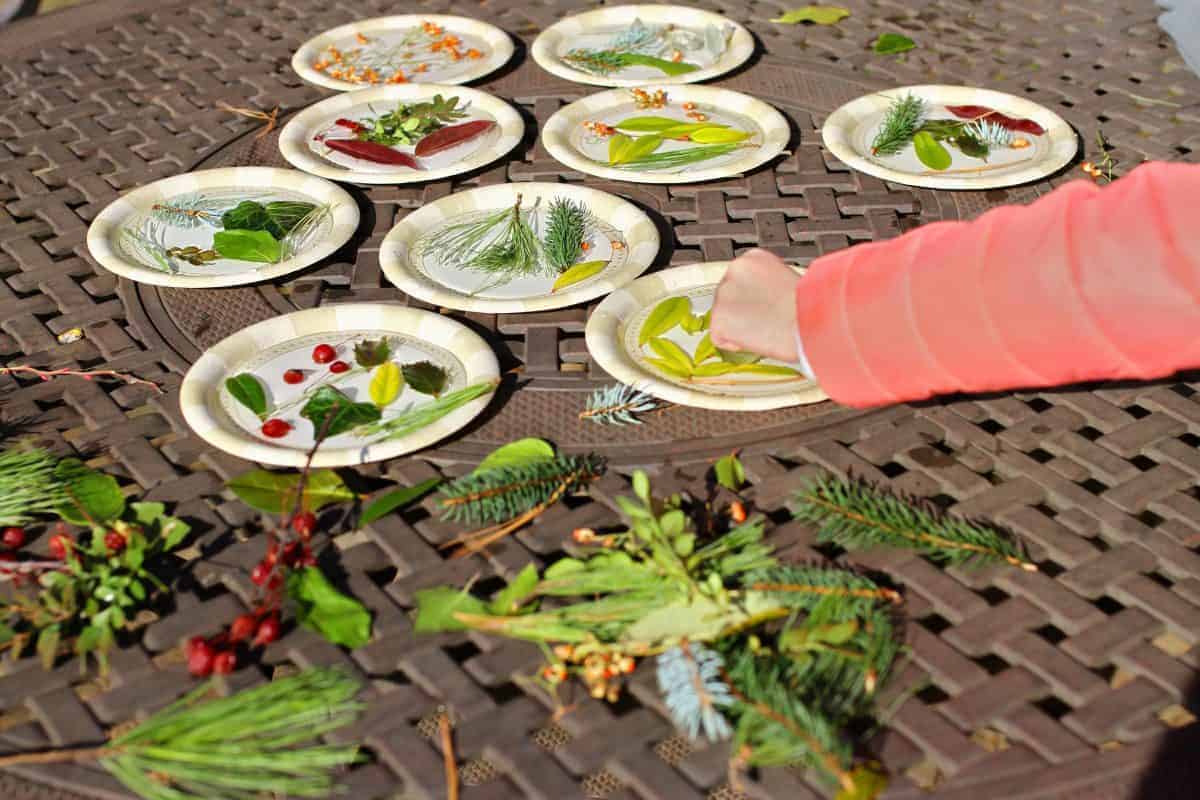
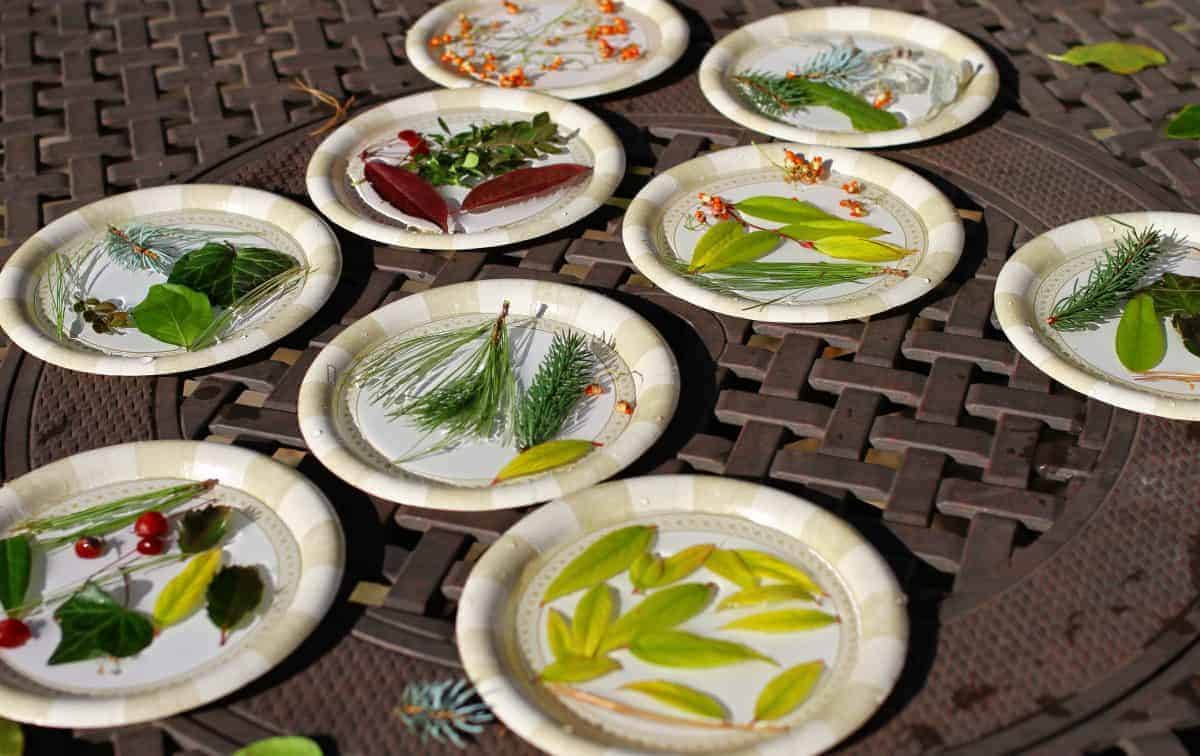
Once you have your ingredients collected, you’ll want to choose your containers. You can use plastic lids, paper/plastic plates, pie plates, pans, bowls or silicone molds. No need to buy anything new – get creative with what you already have at home! You can use anything from cupcake tins to bundt cake pans! Teacups to ice cube trays. Be advised that the bigger and deeper your container, the longer it will take to freeze. We used a handful of small shallow paper plates, which worked perfectly. If you’re using anything made of paper, I suggest a thin coating of nonstick spray on the paper to keep the ice from sticking.
Add the water and natural elements
Fill your container with the required amount of water. Try to keep the water shallow so that the suncatchers freeze faster, aren’t too heavy to hang and are thin enough to allow sunlight to pass through them. Once you have water in your container, let your kids add the natural elements they collected to the water in any design of your choosing. Let them create shapes with the items or lay them out in any design of their choosing. Just be aware of shifting items if you have to move them. If possible, make the suncatchers in a place you can leave them to freeze.
For extra fun, add a few drops of food coloring to make a rainbow of beautiful colors in your frozen suncatchers! And if you want to hang these gorgeous creations from tree branches or on a window sill, make sure you add a small piece of string or ribbon half out of the ice in a loop so that it will freeze in place giving you a built-in hanger for your suncatcher.
Pro tip: I’ve heard that if you boil the water before you use it in your suncatcher, the ice will be clear and less cloudy! I haven’t tried this, but that would really make these suncatchers extra beautiful!
Let them freeze
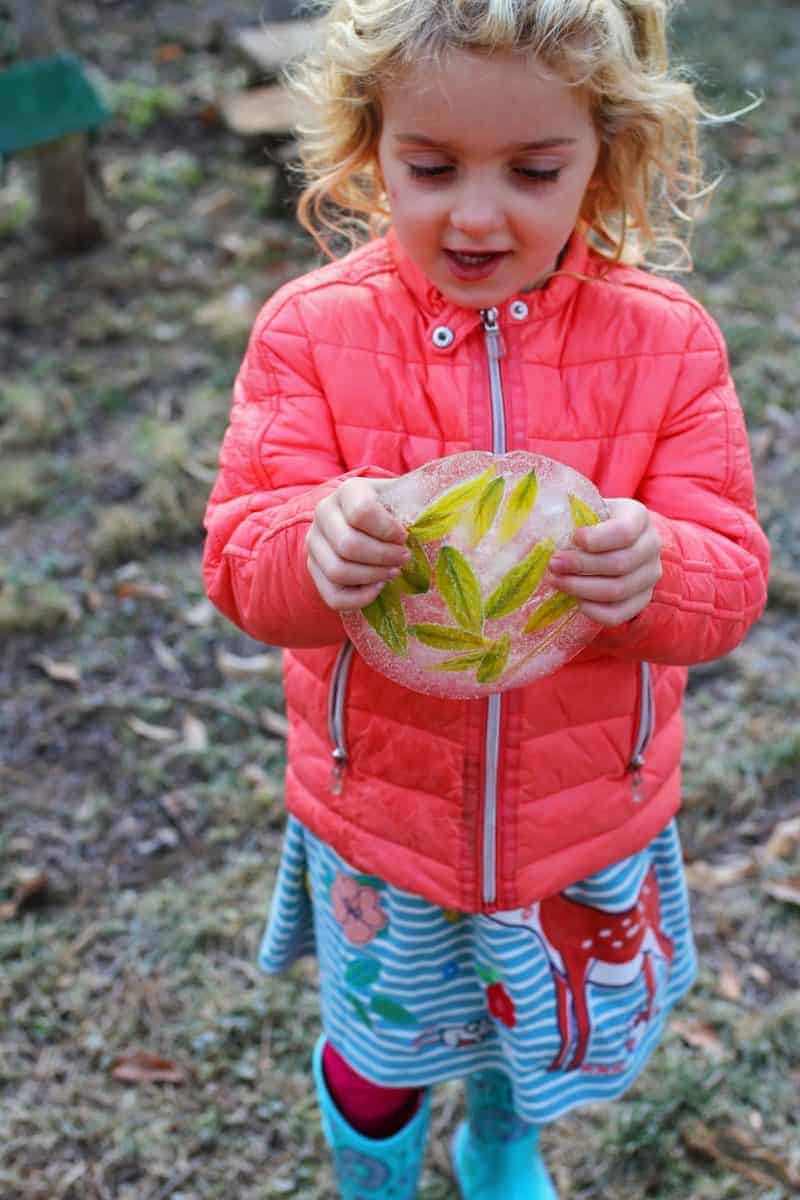
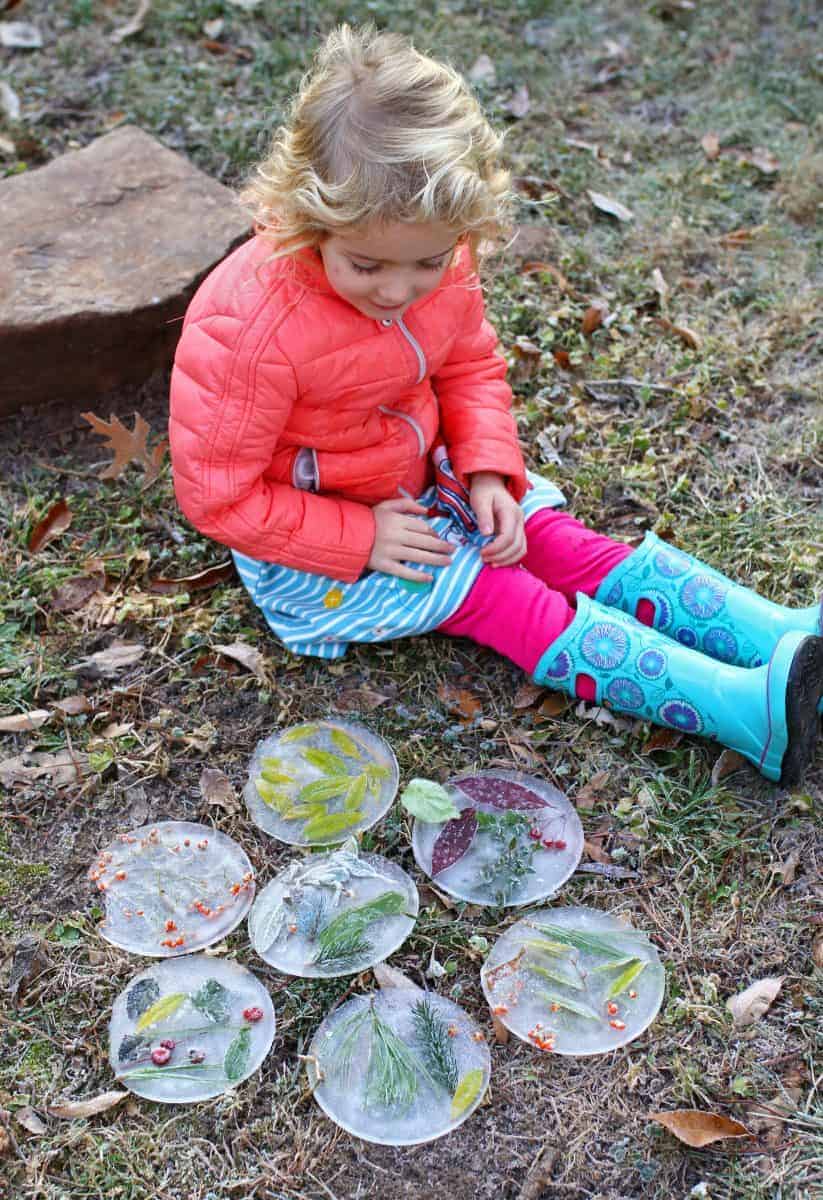
Now comes the hard part for kids…being patient while they freeze! If you live in a place where it’s cold enough for the water to freeze outside, then leave your suncatchers outside in a safe place (where they won’t be disturbed) a few hours or overnight to freeze. If it’s not cold enough in your area, you can place them flat in your freezer until frozen. Just be extra careful when moving them not to shake or disturb the designs.
Learn while you wait
While you’re waiting for your suncatchers to freeze, take the opportunity to educate! Talk to your child(ren) about the temperature at which water freezes and what happens to the water as it solidifies. Discuss the temperature outside and take a guess as to how long it will take for the water to freeze. Check on the status of your suncatchers and note the changes taking place. Note the temperature outside and compare it to the temperature in your fridge or freezer.
Hang and enjoy!
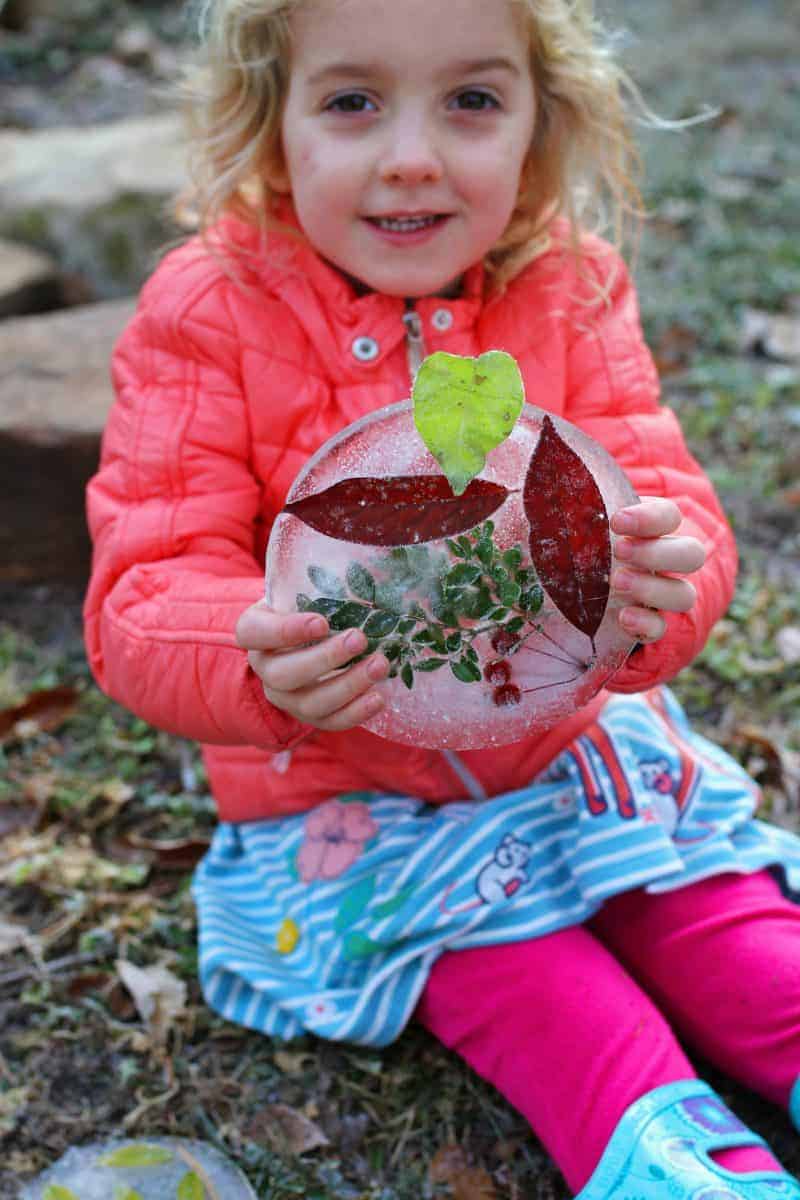
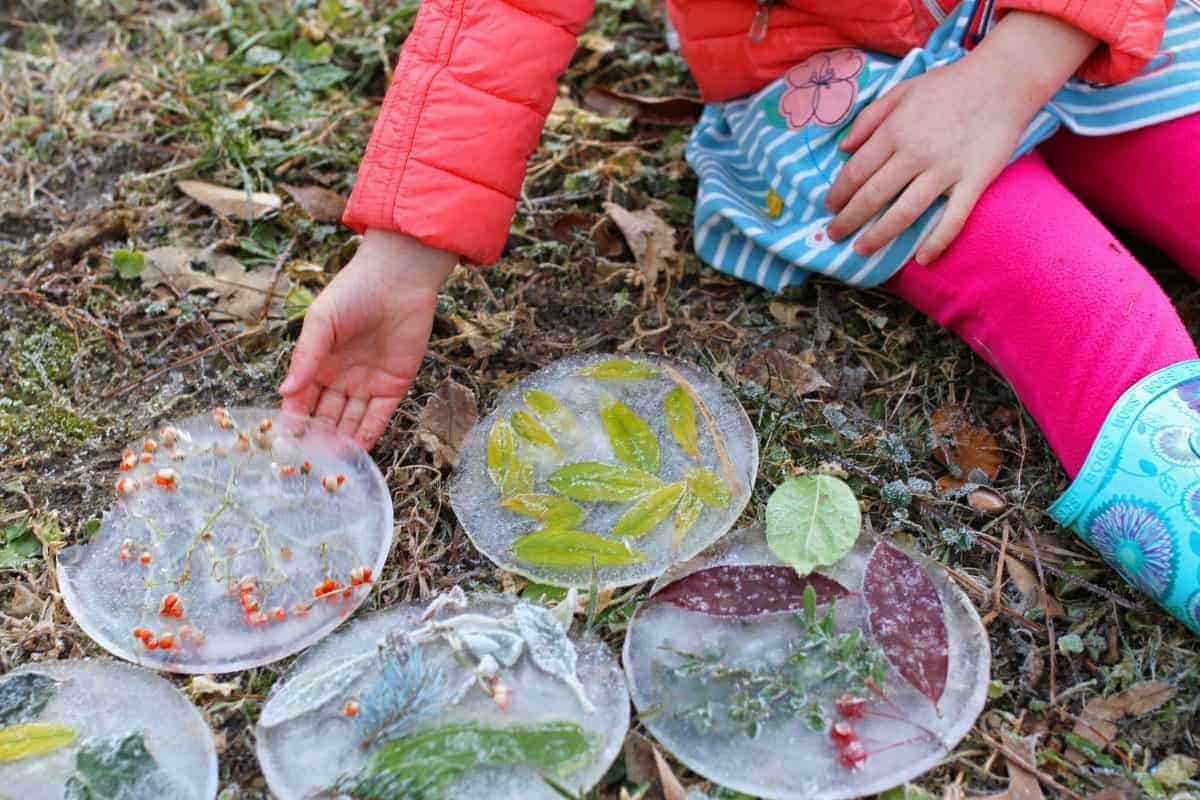
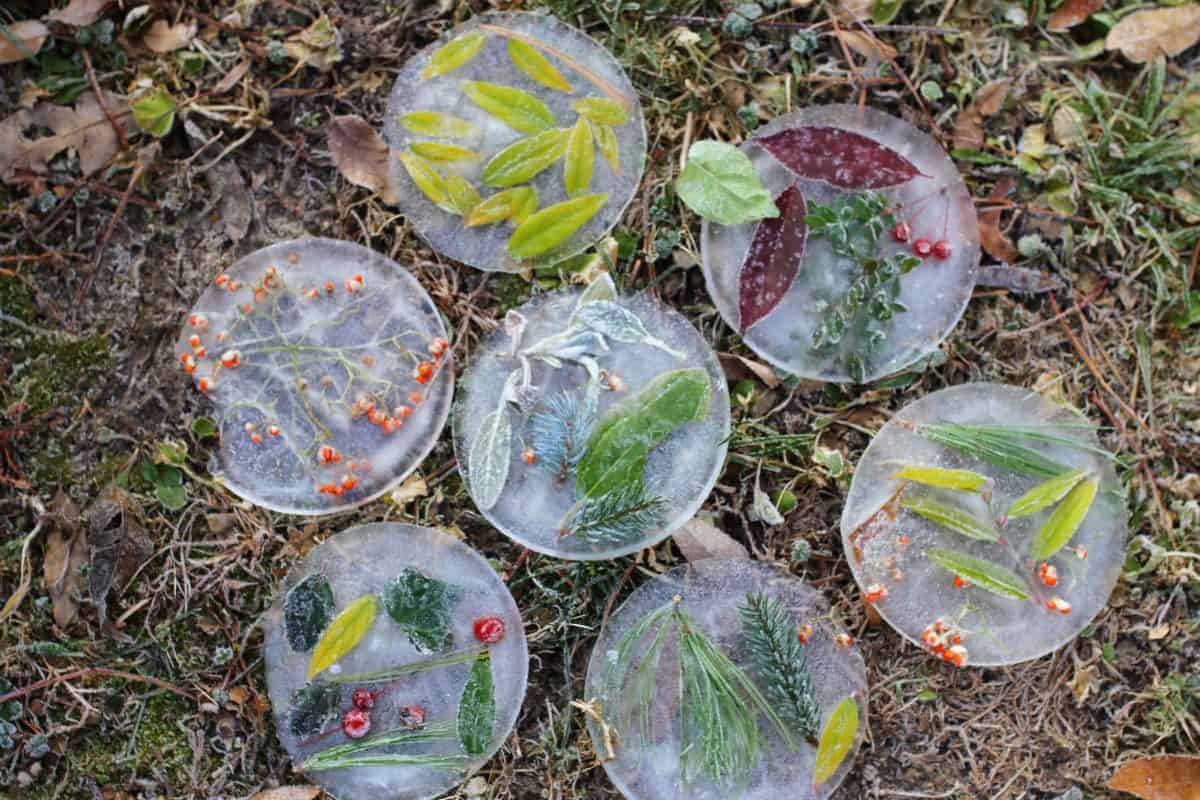
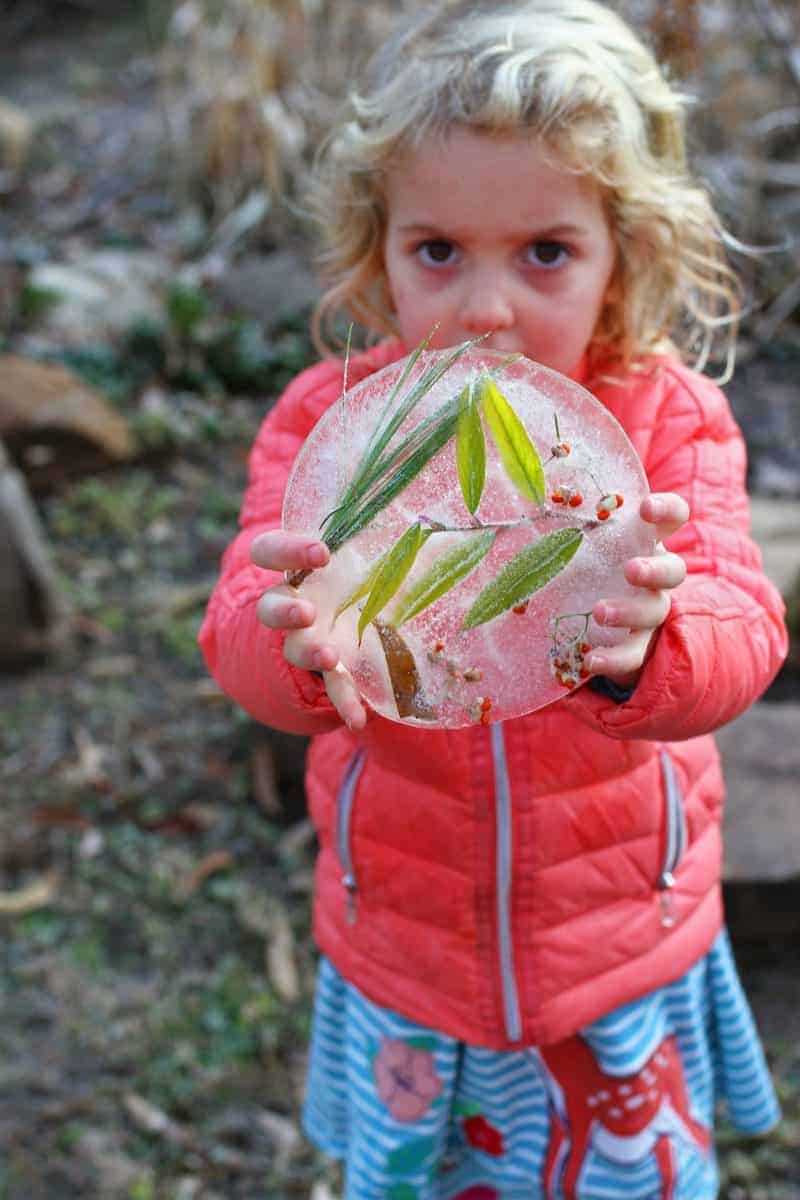
After the water turns to ice, gently remove the ice suncatcher from the mold and examine your frozen suncatcher creation. Hang your sun catchers from a tree branch or window sill. Let your kids use them to decorate a tree or bush in the backyard. The sun shining through the ice will create such a beautiful outdoor sight you’re going to want to do these year-round!

Have you ever made frozen suncatchers?
If you’re looking for more outdoor winter activities and ideas for kids, make sure to check out our post with 100+ Outdoor Winter Activities for Kids.
Comments
29 responses to “Winter Outdoor Activities: DIY Frozen Suncatchers”
[…] Suncatchers made from ice are not only beautiful, but super easy to make! Spend some time outside gathering natural items to use in your suncatchers. The more colorful the better. Examples: branches, berries, twigs, flowers, buds, leaves. Lay out a plastic lid, paper plate, pie plate or silicone mold to use as the mold for your suncatcher. Fill the mold with water and add your natural elements to the water in any design of your choosing. Leave outside for a few hours or overnight to freeze. Gently remove the ice suncatcher from the mold and hang from a tree branch or window sill. Pro tip: Rumor has it that if you want your ice to be crystal clear, boil the water first! For a full tutorial, check out our post on how to make frozen ice suncatchers. […]
[…] ice is the best way to bring learning about states of matter to life. Check out these gorgeous frozen ice sun catchers —so easy to make with paper […]
[…] ice is the best way to bring learning about states of matter to life. Check out these gorgeous frozen ice sun catchers —so easy to make with paper […]
[…] sun catchers are a fun craft to add to your winter bucket list, and they look beautiful hanging up outside […]
[…] Geographic Kids provides step-by-step instructions on how to create one here. Or you can follow these instructions to make them slightly […]
Thanks for the resource! I did this activity with kindergarten/Grade 1 at an outdoor School in Ontario. We left them in the woods overnight. The only thing we needed were the plates. We also had small loops of twine that served to create a loop that we could hang them up like ornaments in the woods. Solid overnight temperatures below -5 work well! The students had an absolute blast.
[…] Suncatchers made from ice are not only beautiful but super easy to make! Spend some time outside gathering natural items to use in your suncatchers. The more colorful the better. Examples: branches, berries, twigs, flowers, buds, leaves. Lay out a plastic lid, paper plate, cups, muffin tin, pie plate or silicone mold to use as the mold for your suncatcher. Fill the mold with water and add your natural elements to the water in any design of your choosing. Leave outside for a few hours or overnight to freeze. Gently remove the ice suncatcher from the mold and hang from a tree branch or window sill. Pro tip: Rumor has it that if you want your ice to be crystal clear, boil the water first! For a full tutorial, check out our post on how to make frozen ice suncatchers. […]
[…] ice is the best way to bring learning about states of matter to life. Check out these gorgeous frozen ice sun catchers —so easy to make with paper […]
[…] ice is the best way to bring learning about states of matter to life. Check out these gorgeous frozen ice sun catchers —so easy to make with paper […]
[…] ice is the best way to bring learning about states of matter to life. Check out these gorgeous frozen ice sun catchers —so easy to make with paper […]
[…] ice is the best way to bring learning about states of matter to life. Check out these gorgeous frozen ice sun catchers —so easy to make with paper […]
[…] ice is the best way to bring learning about states of matter to life. Check out these gorgeous frozen ice sun catchers —so easy to make with paper […]
[…] ice is the best way to bring learning about states of matter to life. Check out these gorgeous frozen ice sun catchers —so easy to make with paper […]
[…] ice is one of the best ways to convey studying about states of matter to life. Try these beautiful frozen ice solar catchers —really easy to make with paper […]
[…] maddenin halleri hakkında öğrenmeyi hayata geçirmenin en iyi yoludur. Bu muhteşem göz atın donmuş buz güneş yakalayıcılar -kağıt tabaklarla yapmak çok […]
[…] ice is the best way to bring learning about states of matter to life. Check out these gorgeous frozen ice sun catchers —so easy to make with paper […]
[…] ice is the best way to bring learning about states of matter to life. Check out these gorgeous frozen ice sun catchers —so easy to make with paper […]
[…] and have your little ones arrange leaves, twigs, acorns and other natural items on it. You can even add a few drops of food coloring to make rainbow suncatchers. Hang them from tree limbs or place them on a windowsill to enjoy until […]
[…] frozen suncatchers – A beautiful decoration to make together outdoors this winter, click here to make […]
[…] Make frozen sun catchers […]
[…] Frozen suncatchers will get your little ones thinking about the weather, and also about the natural materials around them. Find the instructions here. […]
[…] ice is the best way to bring learning about states of matter to life. Check out these gorgeous ice sun catchers —so easy to make with paper plates! Hike around your school grounds to collect nature items like […]
[…] 5. Frozen Suncatchers […]
[…] Make frozen suncatchers […]
[…] Make frozen suncatchers. […]
[…] Ice suncatchers | Grab elements from nature like stems, berries, leaves, branches, and more. Set them on a paper plate or other flat container that you can fill with water around the elements. Freeze them, and then enjoy them outside as decorations for the winter. They may not last long, but that’s ok! The fun is in the creation. Here is a more detailed tutorial. […]
[…] you up for some adventure? This craft lets you freeze water balloons with colorful trinkets inside, creating a one-of-a-kind frozen […]
[…] ka ba alang sa usa ka adventure? Kini nga craft Gitugotan ka sa pag-freeze sa mga balloon sa tubig nga adunay mabulukon nga mga trinket sa sulod, […]
[…] Make frozen suncatchers. […]
Leave a Reply