Your cart is currently empty!
Make Your Own Snow: 3 Simple DIY Snow Recipes for Kids
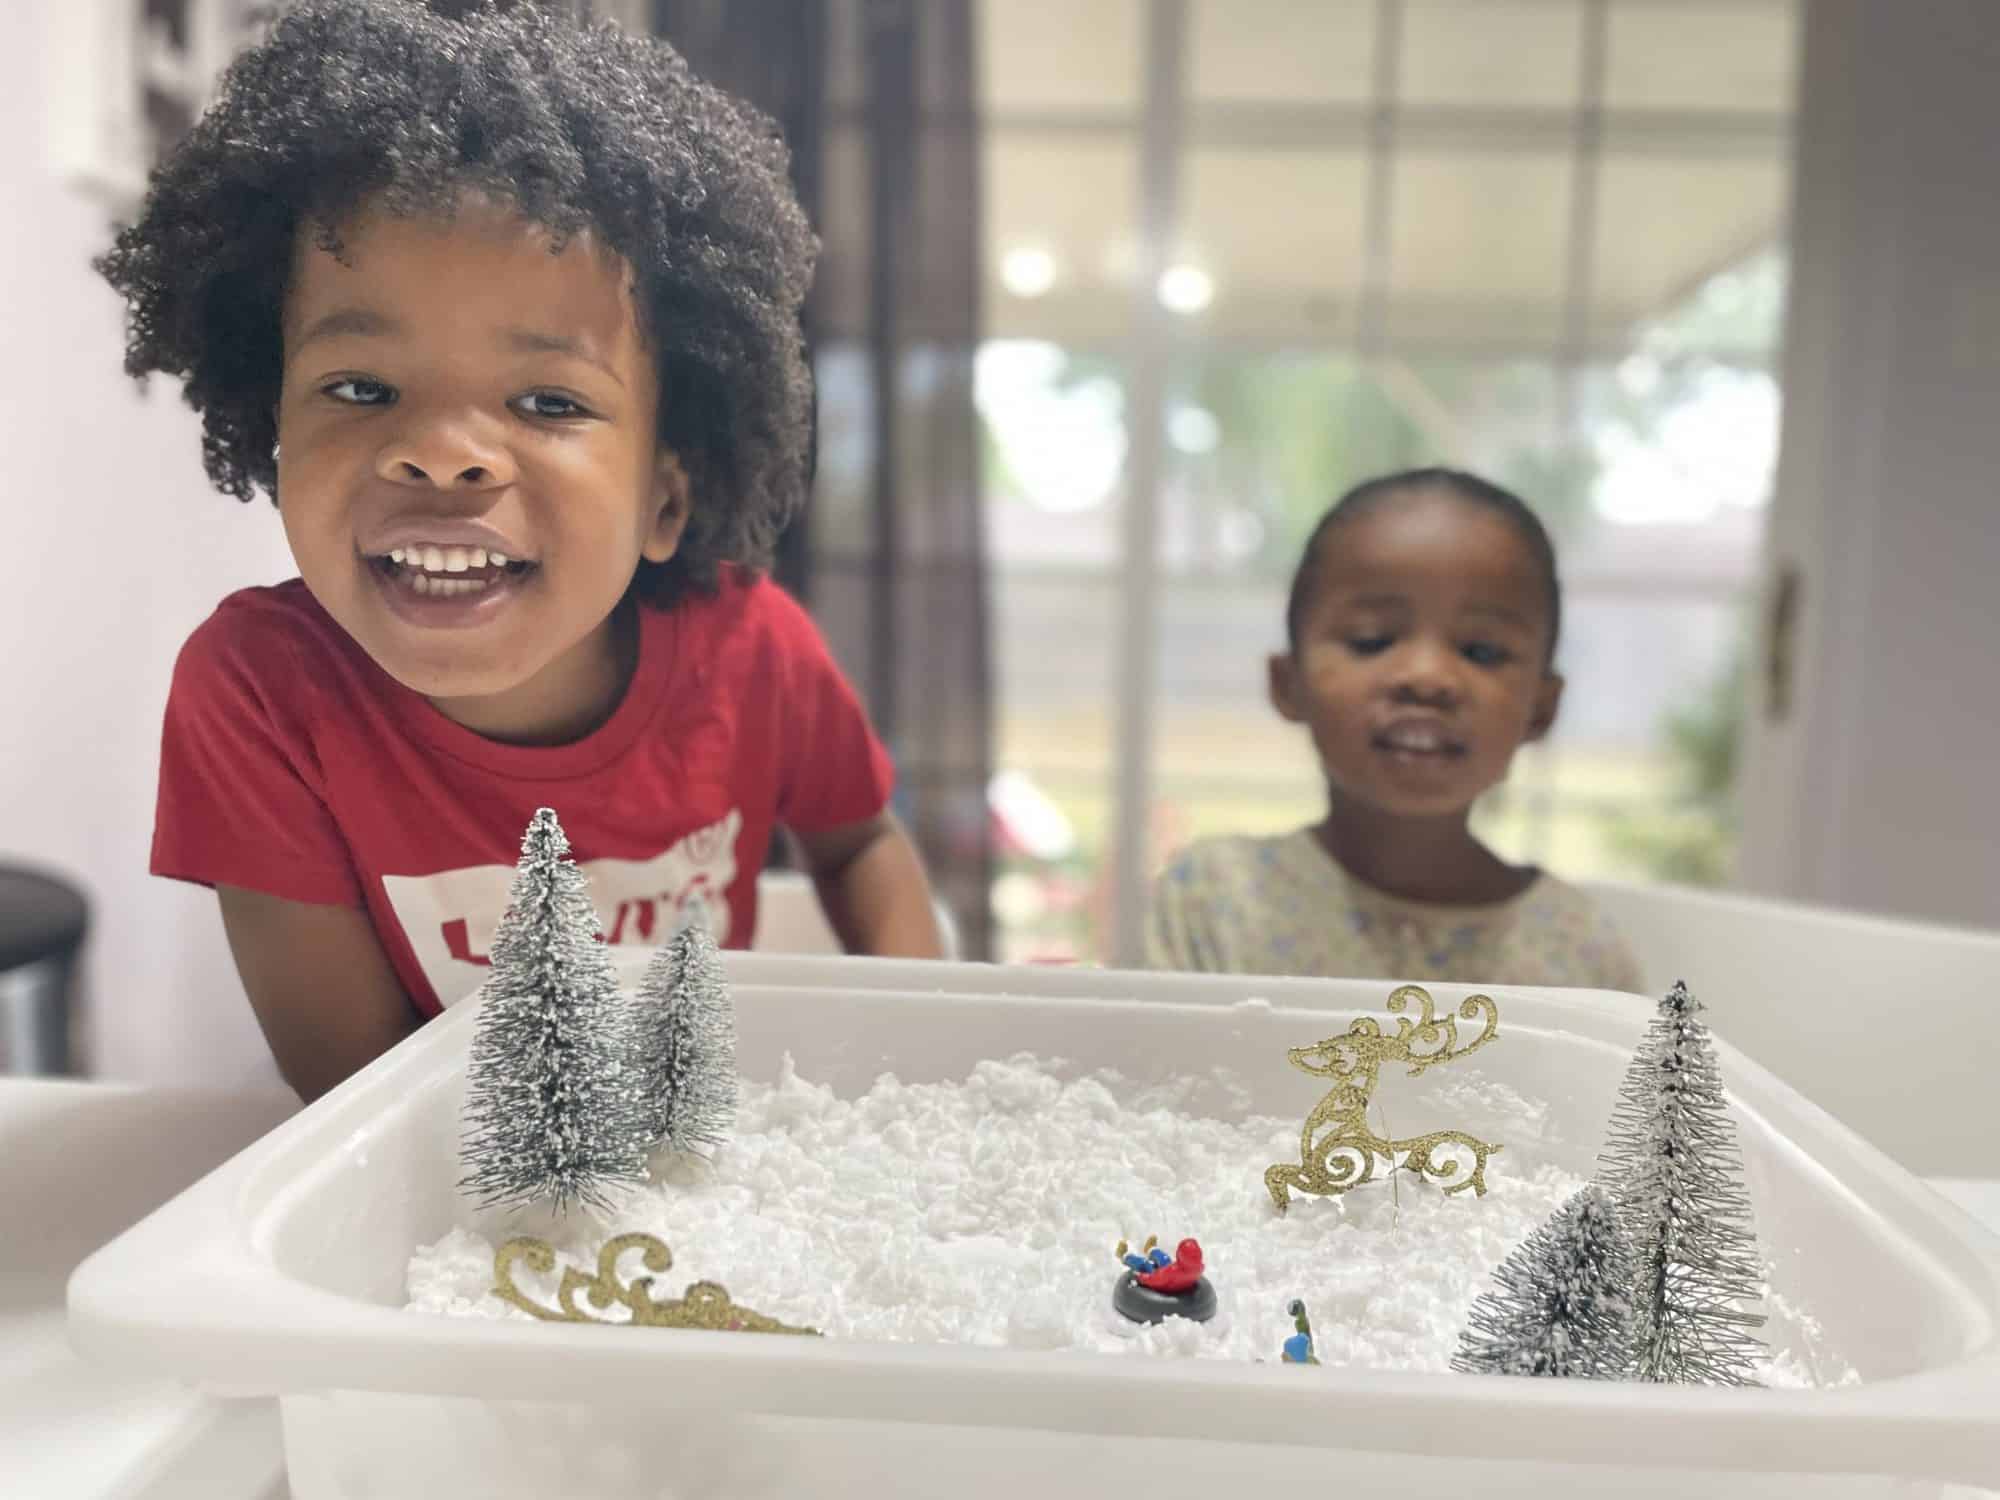
Are your kids fascinated by snow? Want a fun way to play with snow inside, without needing to wrestle your kids into their winter gear? We have a fun sensory project for you! Today, Texas homeschooling mom of two, Lauren Cain is here sharing three DIY snow recipes for making your own sensory winter bin. All these variations are made with simple ingredients you probably already have at home. Let it snow!
Kids are fascinated with snow
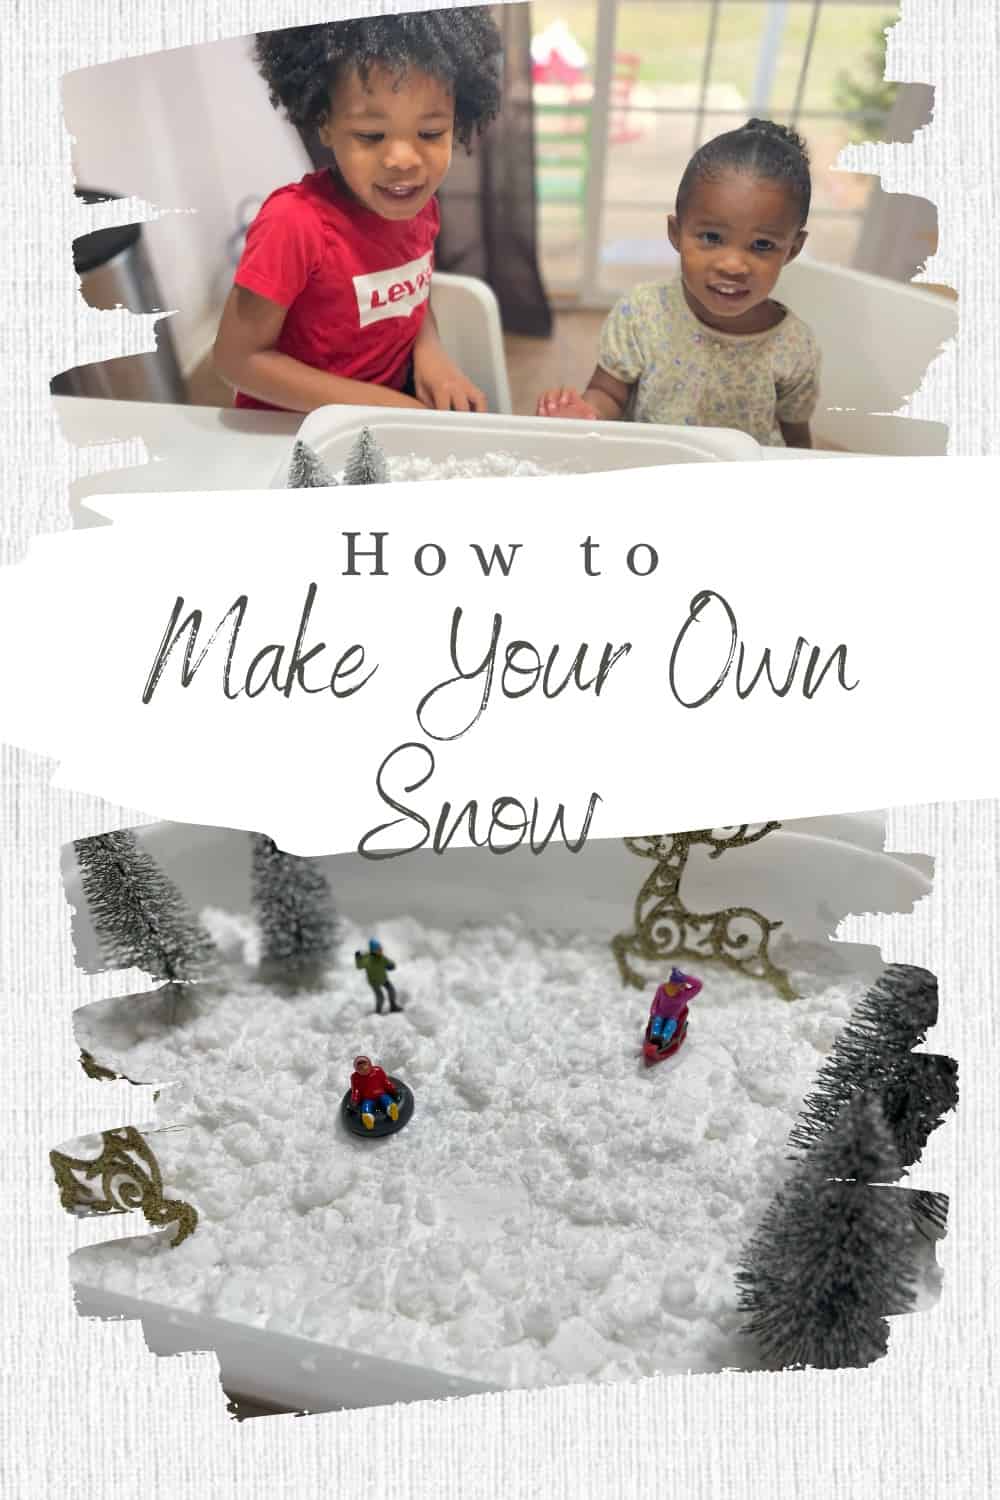
Growing up in Southern California, I was always fascinated with snow. But, unless we made a trip to the mountains, we didn’t have very many opportunities to play with snow. My children (being raised in Texas) are a lot like I was as a child. They love the snow, and apart from the rare snowstorm we experienced last year, they don’t have a lot of experience playing with real snow. We do, however, enjoy making and playing with our own snow! Making your own snow is very simple, and it is an amazing sensory activity for all ages. Today, I’ll show you how to make your own DIY snow and why sensory activities like this are so beneficial for kids.
Why are sensory activities so beneficial?
Making your own snow is an awesome sensory activity for your child. Sensory activities are enjoyable for children, and more importantly, are incredibly beneficial to their cognitive development. They aid in the development of motor skills, problem-solving, and creativity. During sensory play, a child can describe what they are touching, tasting, hearing, seeing, smelling, or experiencing through their body sensations, which helps with language development. Movements involved in sensory play (squeezing, pinching, sorting, placing, and scooping) help improve fine motor skills and increase coordination.
These activities also give children the opportunity to learn through exploration and play, which is amazing for young children and early learners. Adding sensory elements into teaching can spark an interest in learning. Sensory play is engaging and fun because it is an unstructured form of play in which there are no real limits or rules. Children who learn through play get more enjoyment out of it and thus, want to do more of it. 
Let it “fake” snow!
The thing that I love so much about this DIY snow recipe is that it could not any simpler. There is no need to run from store to store to find random ingredients – everything you need to make snow is probably already in your home! Each of our DIY snow recipes listed below only needs TWO ingredients. That’s it! So, are you ready to let it snow!
Three DIY snow recipes for kids
There are three different ways you can make DIY snow at home for your kids. Each of these recipes only requires two ingredients that can be found in your home. Each snow recipe makes a slightly different type of snow. Depending on what you want to use the snow for, you can pick the one that works best for your purposes or make it extra fun and try out all three!
1. Baking soda moldable snow recipe
Ingredients:
- 3 cups baking soda
- 1/2- 1 cup hair conditioner
Instructions for baking soda moldable snow
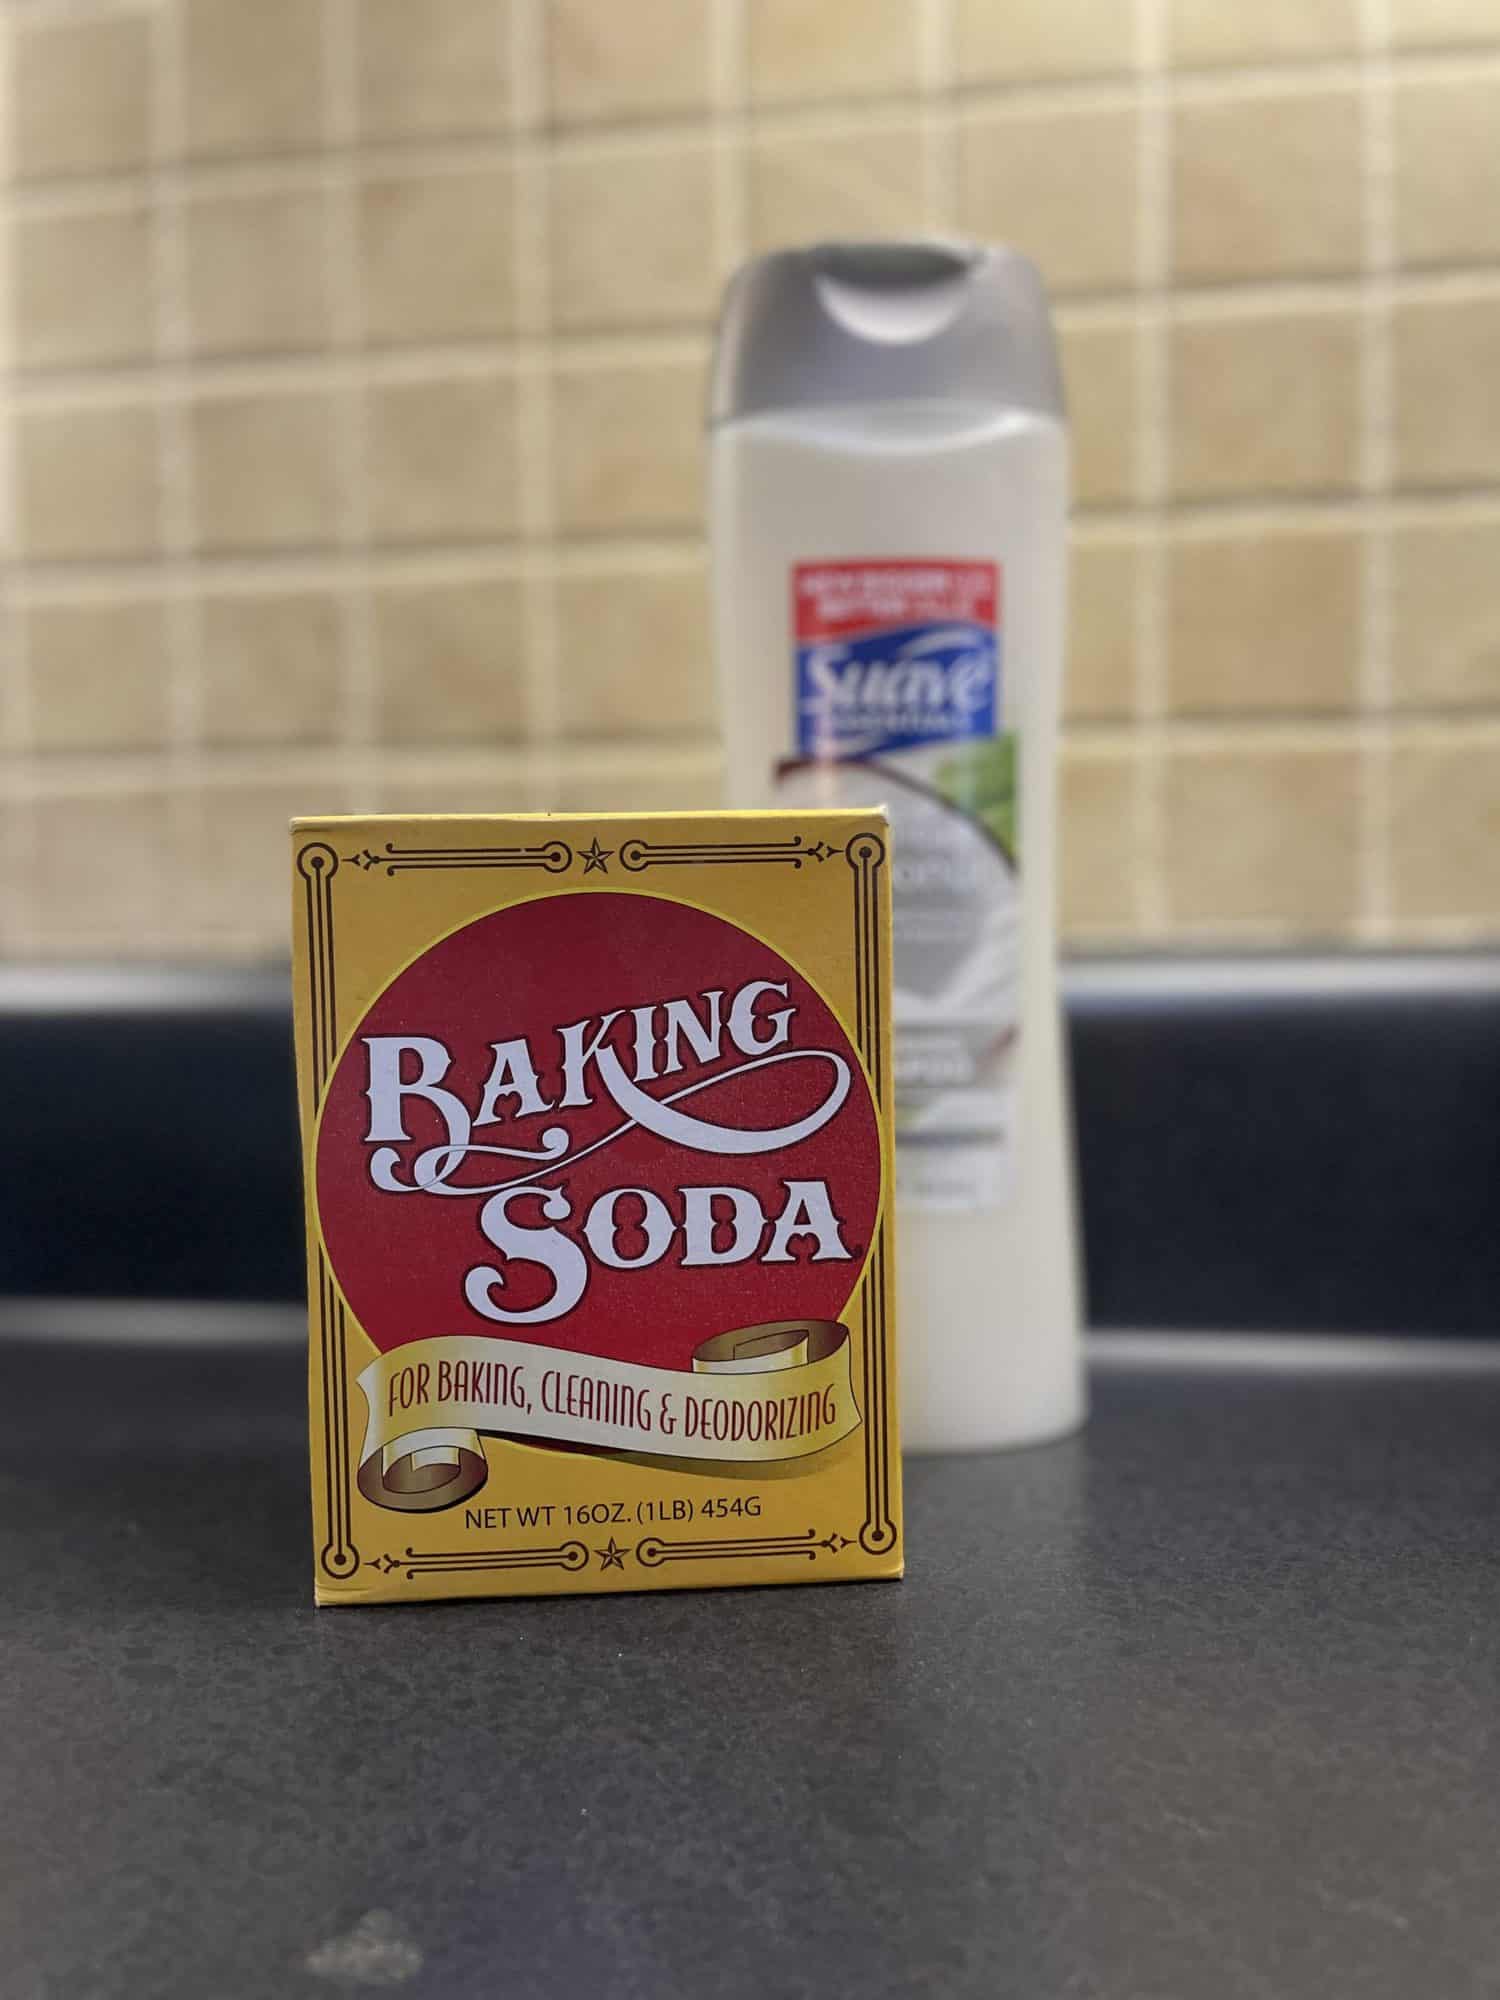
Our favorite DIY snow recipe is the baking soda moldable snow recipe. Grab a mixing bowl and pour in your baking soda. After you have poured your baking soda into the bowl, add in your conditioner (shampoo may also work).
Start with a 1/2 cup of shampoo or conditioner and add more if needed until you get your desired consistency. I tend to add more shampoo or conditioner because I feel like the snow can be molded easier. I usually use conditioner, but this time I used shampoo and did not notice a real difference. So, you can use whichever you have on hand. Both the shampoo and baking soda were purchased at Dollar Tree.
This keeps surprisingly well, even uncovered. However, for a longer play, I would recommend storing it in an airtight container or sealed bag. If you do keep it uncovered, you will need to add more water or shampoo after a day or so to make it moldable again. We’ve kept the “snow” out uncovered for a couple of days and it still had the same consistency.
2. Powder snow recipe
Ingredients:
- 3 cups baking soda
- 1 cup water
Instructions for powder snow
If you are uncomfortable using shampoo or conditioner, I would suggest giving this powder snow recipe a try. Grab your mixing bowl and pour in the baking soda. After you have poured in the baking soda, add your water about a tablespoon at a time until you achieve your desired consistency. This “snow” will not be moldable, but it is still great for sensory bins and can even be used for other fun sensory activities.
3. Shaving cream moldable snow recipe
Ingredients:
- 1 cup shaving cream*
- 1 cup corn starch
Instructions for shaving cream moldable snow
Grab a mixing bowl and pour in your corn starch. After you have poured your corn starch into the bowl, add in your shaving cream. Start with a 1/2 cup of shaving cream and add more if needed until you get your desired consistency.
*A note about using shaving cream. While this is another simple way to make snow, this honestly wasn’t our favorite due to the smell. I had the hardest time getting a hold of unscented shaving cream. The smell of the typical shaving cream can be a bit overpowering, especially if you are not used to strong scents. After we made our snow using the shaving cream, the scent lingered around the room for days. The texture of the snow, however, was great and it was very moldable.
Ideas for playing with DIY snow
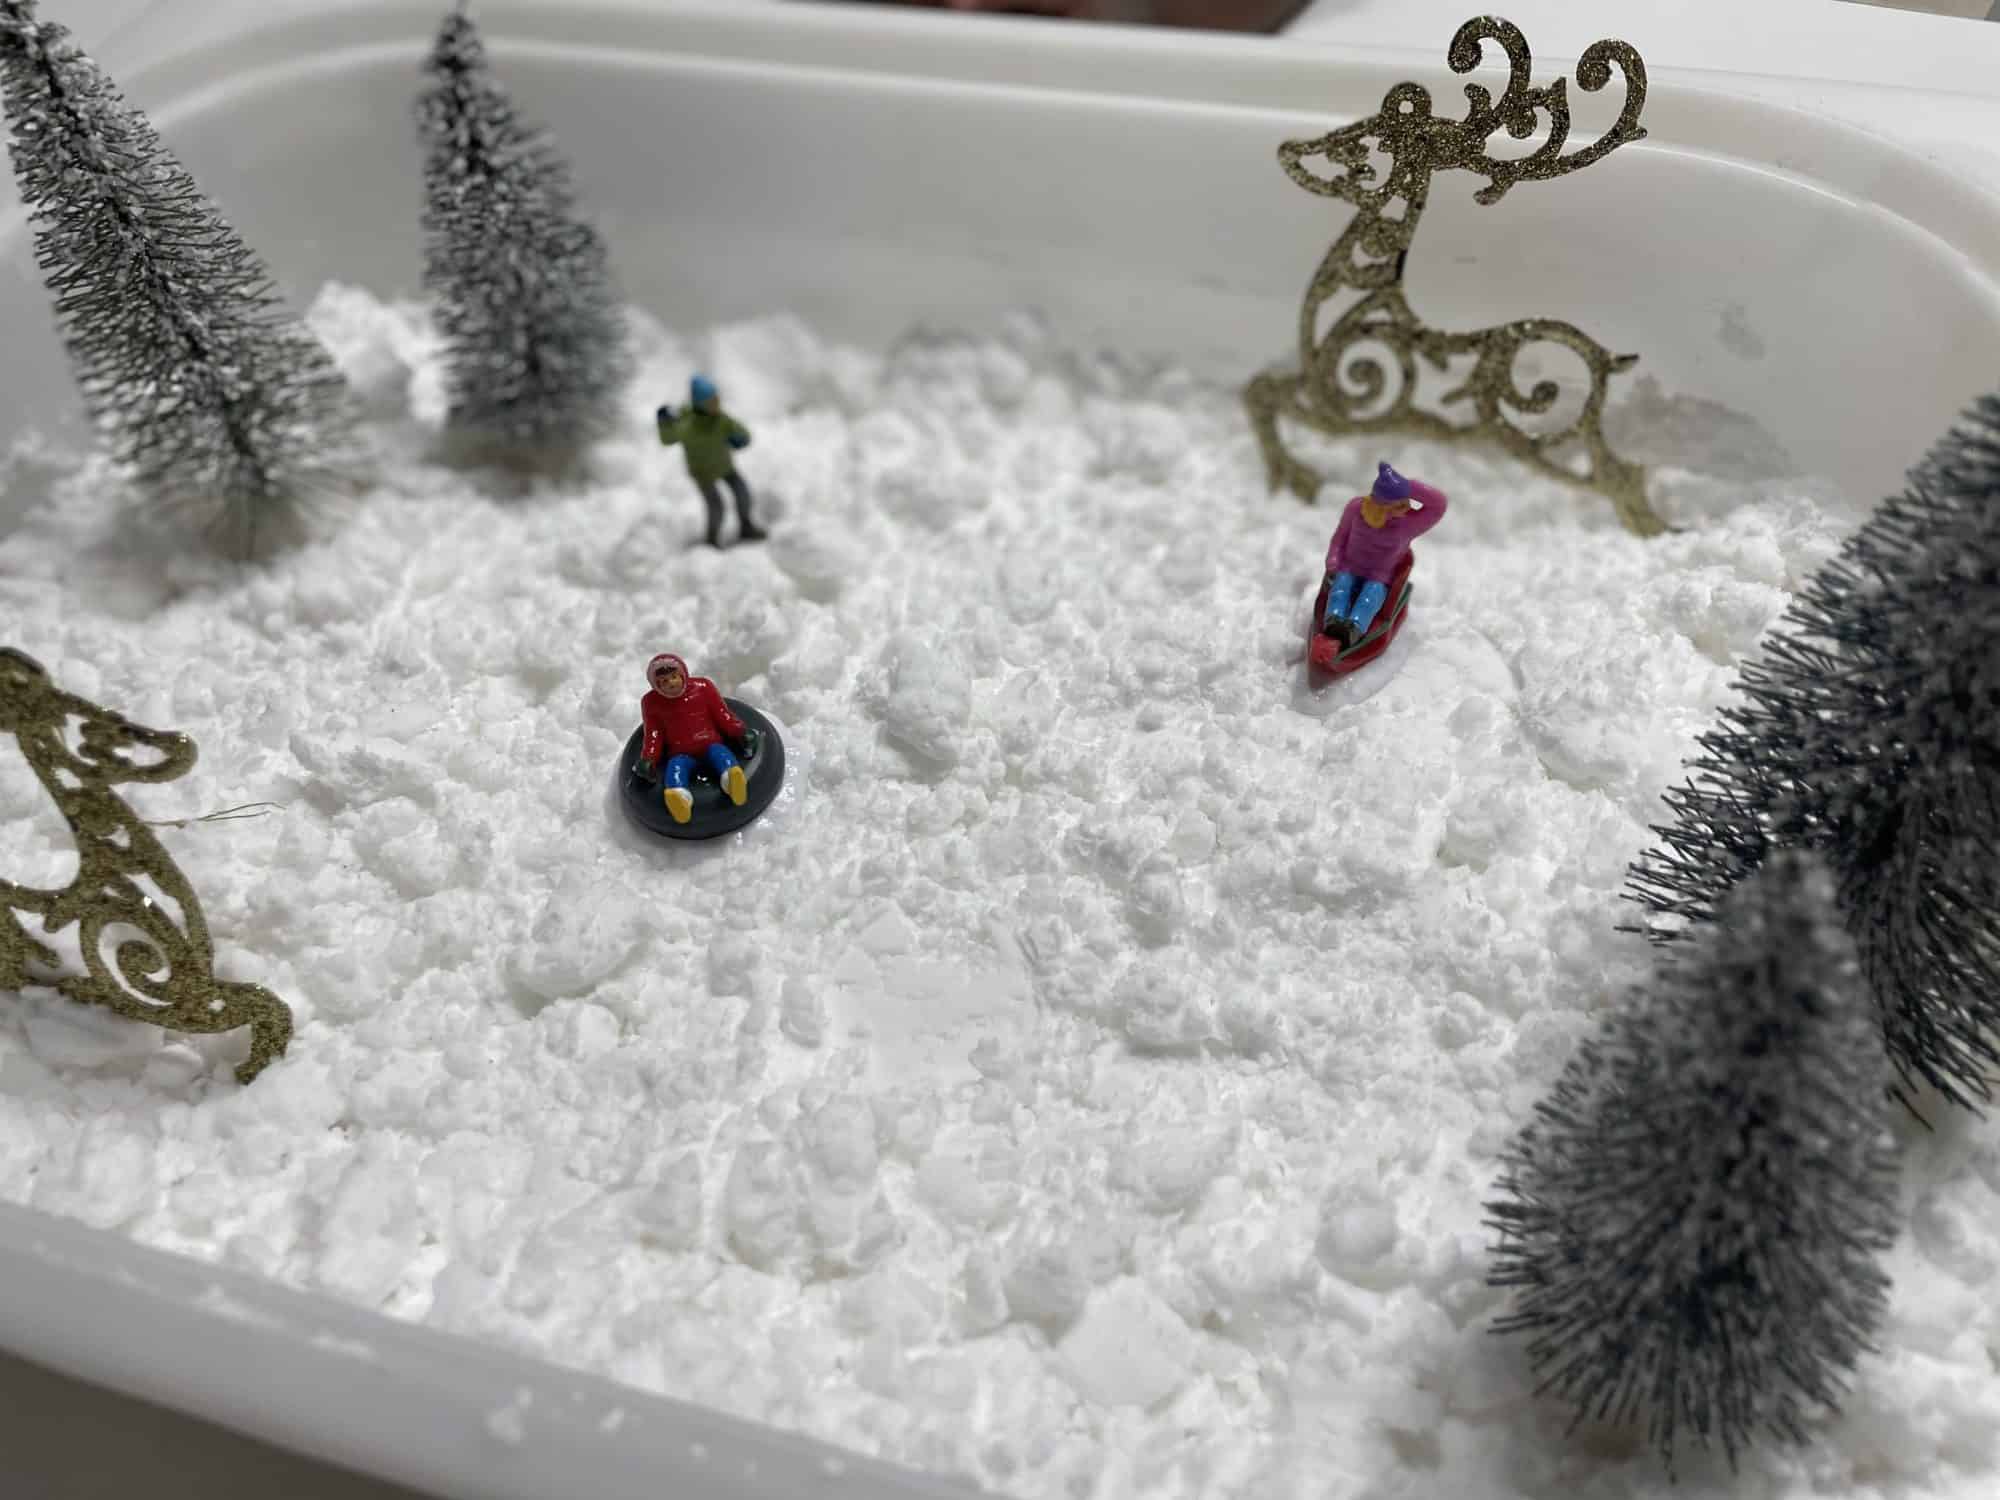
You can let your children play with the snow as is, or you can create your very own Winter Wonderland for them to enjoy. I tend to land on the “Pinterest Mom” side and decided to create a Winter scene sensory bin for my kids using the snow we made. The powder DIY snow recipe is the best option for this type of sensory play.
Aside from the bin itself, the materials and toys used to create our snow sensory bin were all purchased at Dollar Tree. Because it is Christmas time, there were a lot of items from which to choose. The bin was purchased long ago at IKEA. I reuse this bin a lot for various sensory activities throughout the year.
If you are creating a snow sensory bin for babies or children under 3, I would highly suggest skipping the small toys that we used. Instead, you can add objects like large plastic ornament balls, or simply let them play with the snow with nothing added.
Embrace the mess
So often, parents are leery of having their children play with sensory bins or do sensory activities inside the home because they are MESSY! I completely understand. However, as long as you are prepared, messy play can be great for kids and actually adds to the sensory experience.
This is not a nice and neat activity. But, it is one that I 100% recommend. My sensory-seeking 5-year-old was fully engaged and playing with our DIY snow for close to an hour. He was totally focused. I witnessed him experimenting with building, role-playing with the character toys, and observing the differences in texture.
While the “snow” did not all stay inside of the bin, the learning through exploration that I saw made it all worth it. Plus, after he was finished he requested to use the vacuum to clean up the mess. So, that’s a double win in my book!
If you are still unconvinced about allowing messy play inside, I would advise using a large towel, sheet, or splat mat underneath the bin for easier cleanup. This is also a great activity that can be done outside because even on the hottest day this is snow that will not melt. 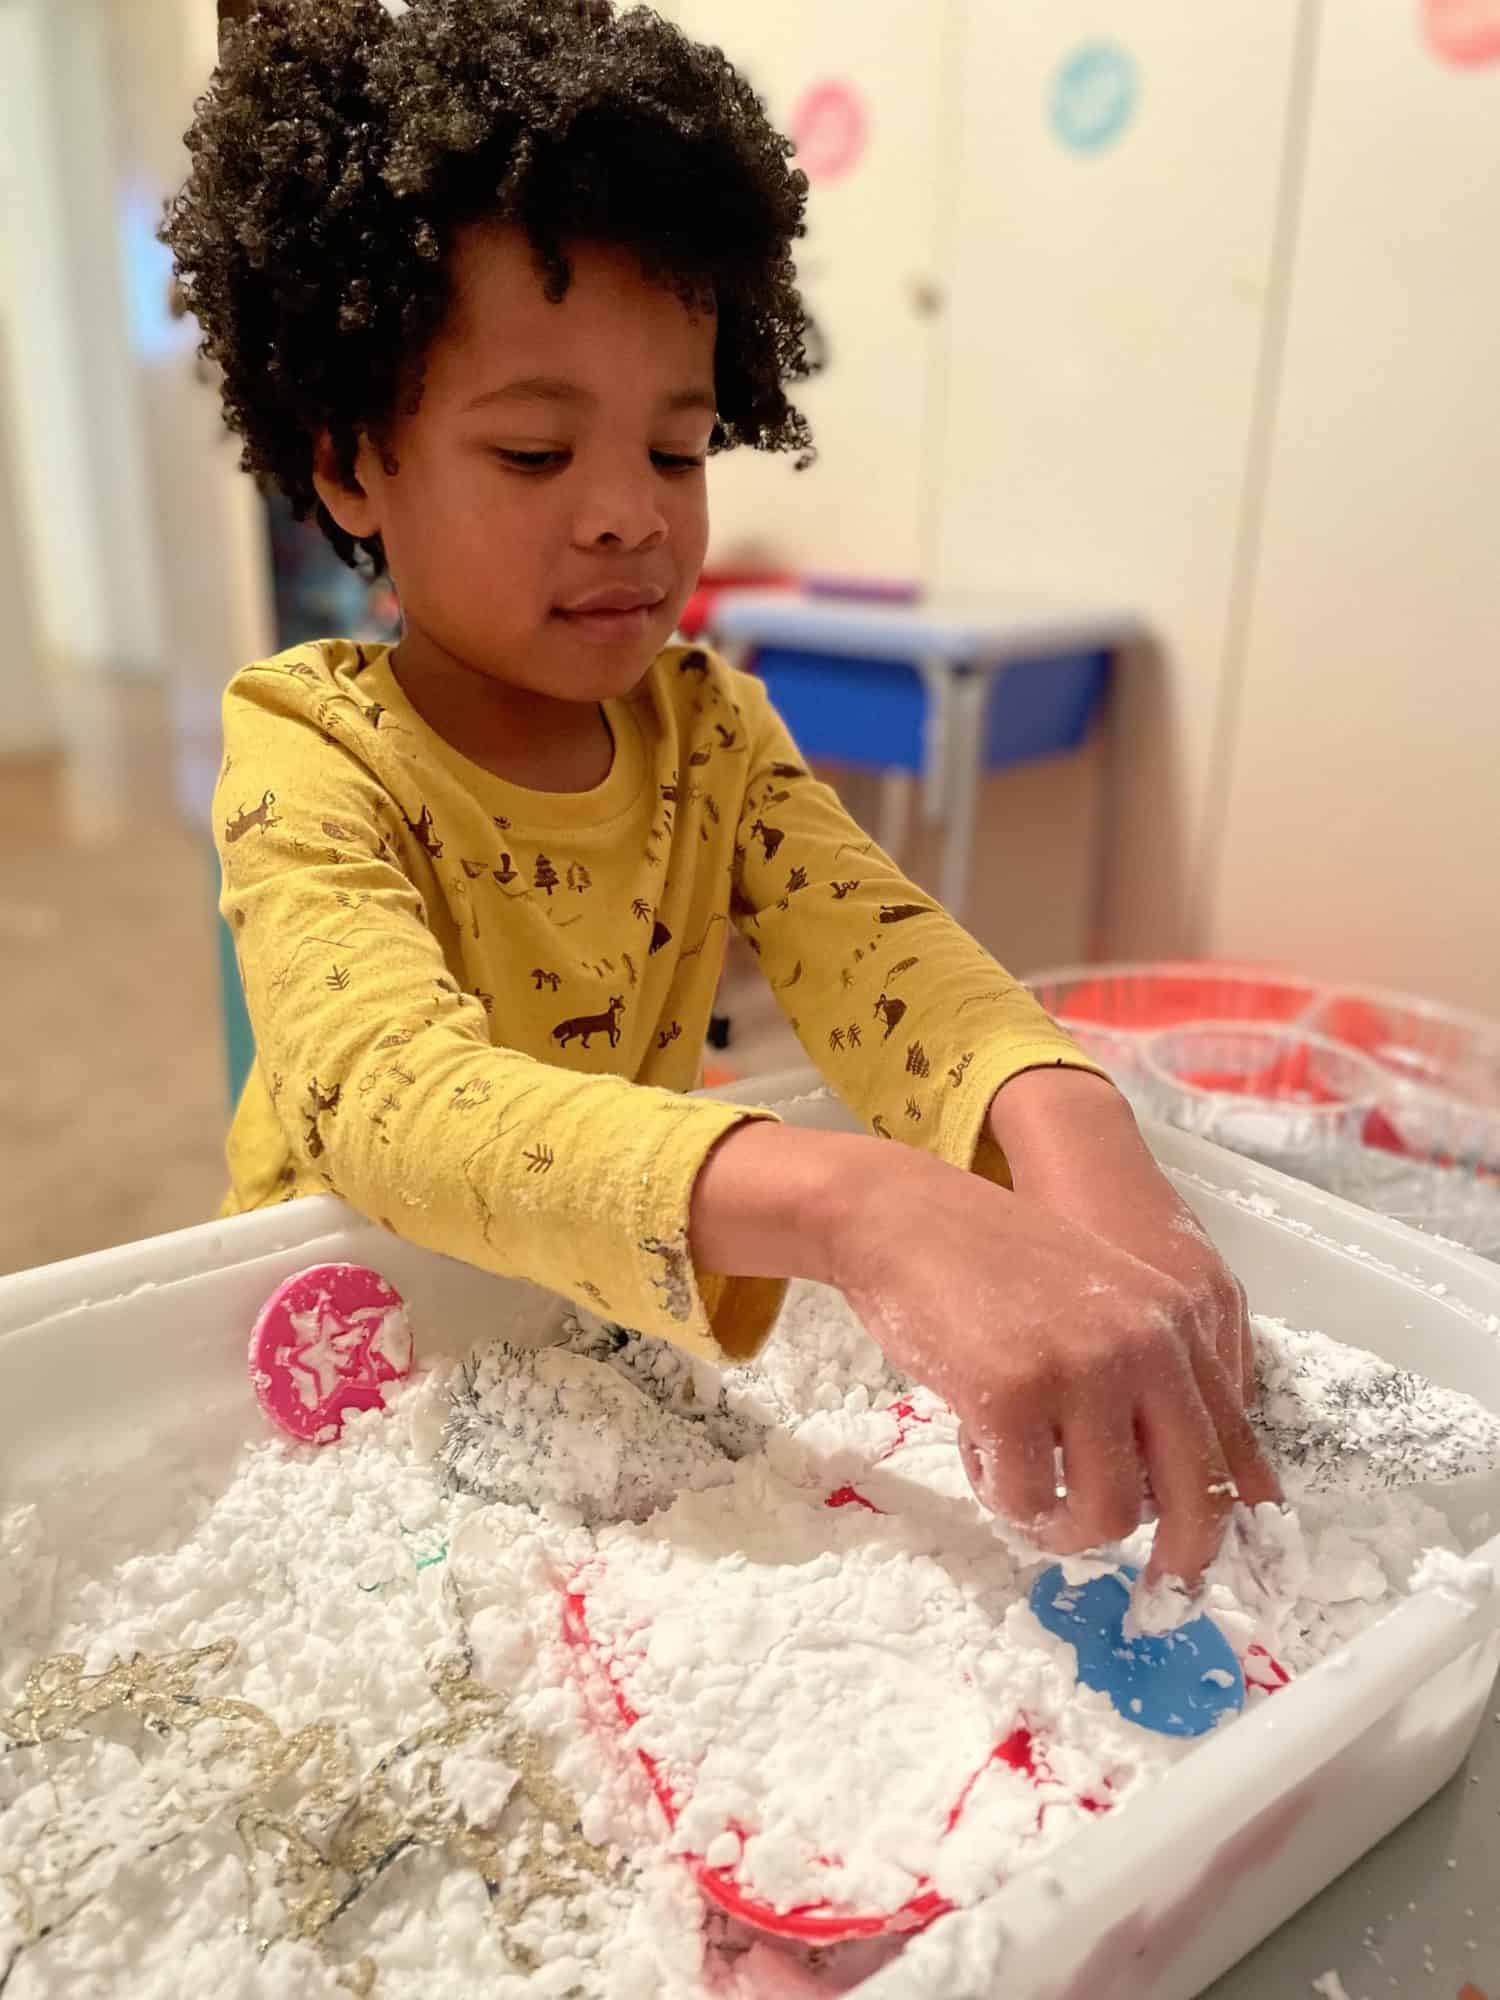
Winter sensory play for kids
Creating a “snow” sensory activity for your child can be great fun! We hope these simple DIY snow recipes lead to hours and hours of fun sensory play for your kids this winter. Sensory activities are an incredible way for children to engage all of their senses. Did you know that engaging most, if not all, of the senses actually aids in the creation of neural pathways in the brain? Something as simple as playing with fake snow can be so beneficial.
Which snow recipe will you make for your kids?

About the author
Lauren is a California native turned Texan, who loves to get out in nature and discover hidden gems all around the Dallas/Fort Worth area. She is a wife and homeschooling mama to three kids who definitely keep her on her toes. She truly believes in the value of homeschooling and that there are learning opportunities available all around us. In addition to homeschooling, Lauren is also an entrepreneur; she’s the co-owner of Crunchy Boutique (a natural-living/eco-friendly boutique).
You can find more from Lauren in the following places:
Instagram: @crunchymamadfw
Facebook: @crunchymamadfw
RWMC Posts: Lauren Cain
Comments
2 responses to “Make Your Own Snow: 3 Simple DIY Snow Recipes for Kids”
[…] you can also make your own sensory bin of DIY snow. We’ve got a great post with three DIY snow recipes to make with your kids from ingredients you already have at […]
[…] your own snow or snow play dough. For younger kids, make it into a fun sensory […]

Leave a Reply