Blowing bubbles is a popular outdoor activity for kids of all ages. While most people pack away the bubble wands when cooler weather hits, winter can be a perfect time for creating a different kind of bubble. On days when the temperature drops well below freezing, bundle up the kids and head outside to make frozen bubbles. Today, Sara Lesire, Illinois mom of two and founder of @MidwestNomadFamily, is here to show us all the best techniques for how to make frozen bubbles with your kids, as well as her tried-and-tested homemade bubble solution that produced the best frozen bubbles. This fun winter science experiment is one you must try!
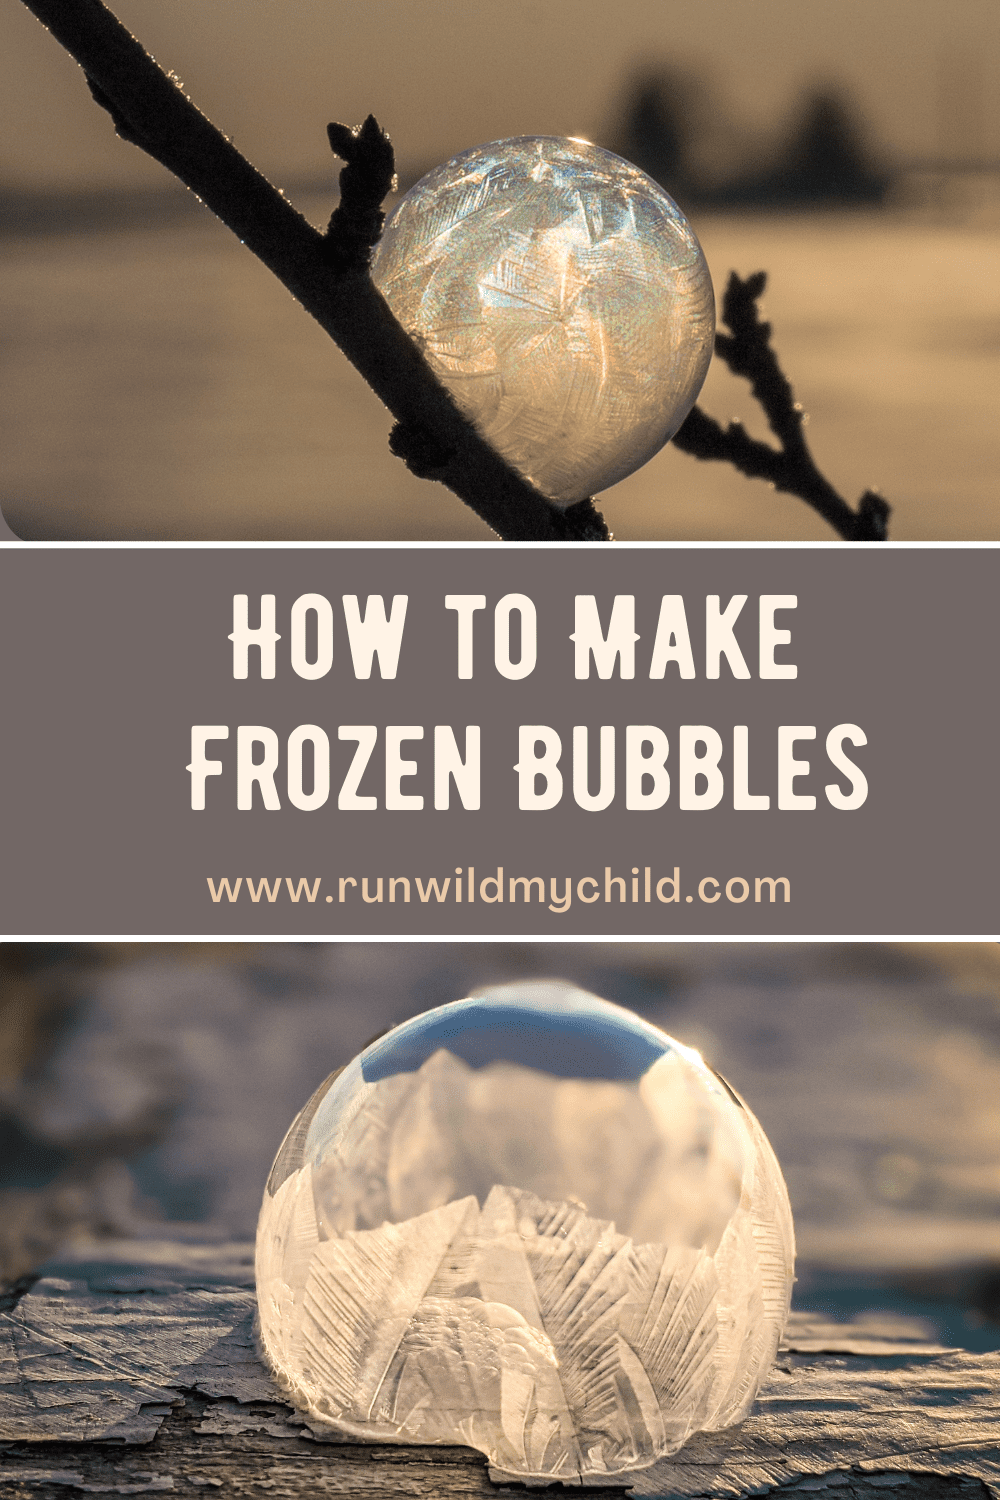
Making frozen bubbles is a lesson in trial and error
You have probably seen those magical images of crystalized bubbles floating around online during deep winter freezes. Blowing bubbles may sound easy, but creating frozen bubbles can be a tricky technique.
We tried several recipes for various bubble solutions, tested a few different methods of blowing bubbles, and experimented at various temperatures. Most of our efforts left us full of frustration and disappointment.
However, after a lot of practice and discovering the perfect recipe, we were thrilled to finally master the creation of these delicate frozen orbs. I am excited to share how you can make your own crystalized ice bubbles using common household ingredients.
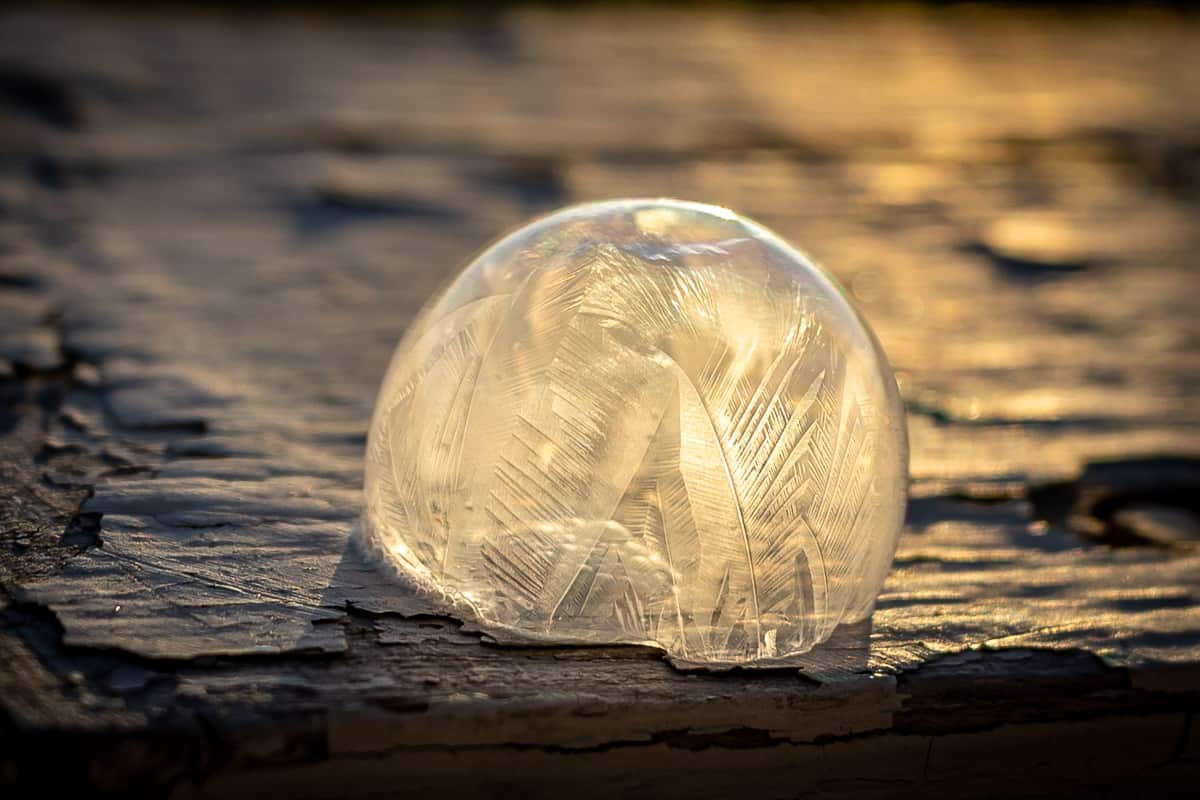
The science of frozen bubbles
Making frozen bubbles is a great STEM activity for kids of all ages. We’re always looking for ways to learn from our outings and adventures. This is one of those fun and easy science experiments that you can do outside with very little prep or cost. And the best part is that there is SO much to learn when studying the science behind how frozen bubbles form.
While it looks like the entire bubble is freezing, the bubble is actually comprised of three layers of liquid. There is a layer of water sandwiched in between two layers of bubble solution. The bubble’s surface and interior layer don’t freeze. The middle water layer is the portion that freezes and forms those crystalline patterns during the experiment as it freezes at a higher temperature than soapy water.
If you’re interested in reading more about bubble science, scientists have even taken it a step further to study the unusual way the ice crystals form in frozen bubbles. And check out this post for more nature-inspired outdoor STEAM activities and experiments for kids.
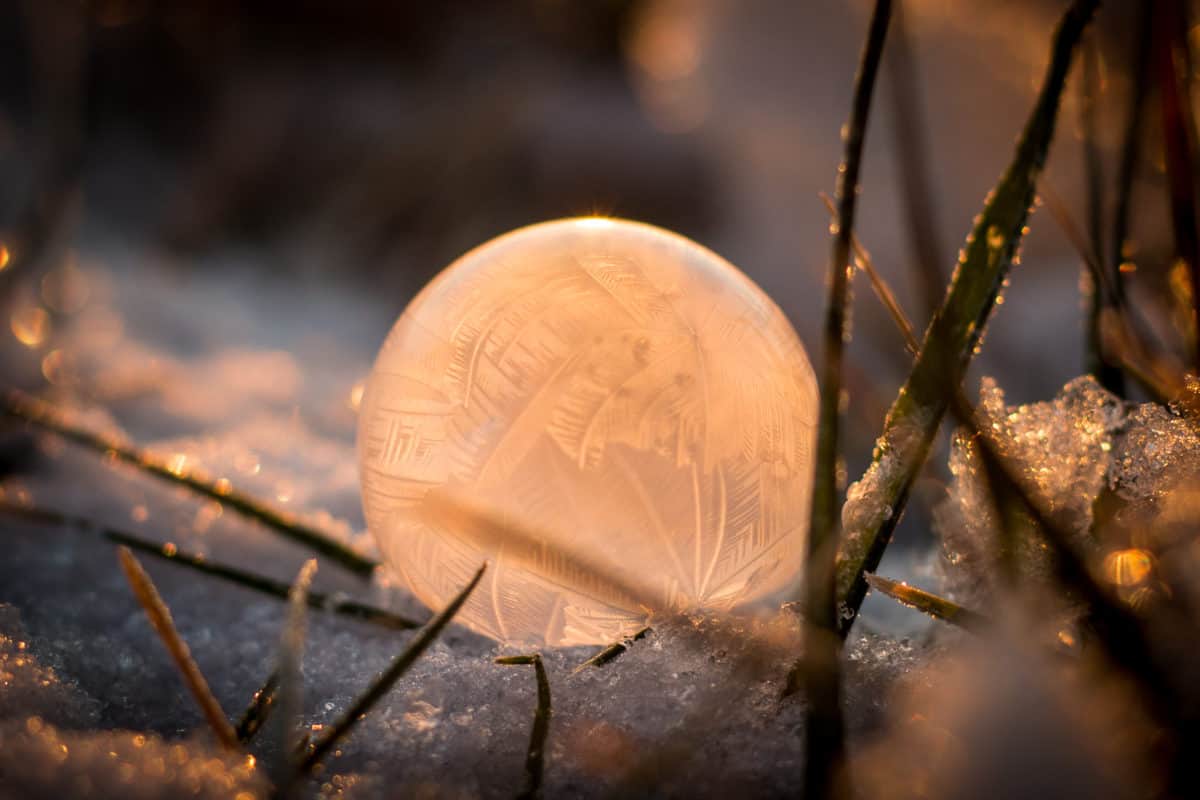
The right conditions to make frozen bubbles
The colder the better is the motto when it comes to making frozen bubbles. Technically, you can make frozen bubbles at any temperature below freezing. However, cold temps close to freezing can mean the bubble takes a long time to freeze. It will then most likely pop before it can fully freeze. The lower the temperature, the better and faster the bubble freeze.
We tried making frozen bubbles over the course of a variety of cold temperatures. I recommend trying on a day at least below 20 degrees Fahrenheit. We have had the best success on days when the temperature was below 12 degrees Fahrenheit.
Frozen bubbles are also best created on a day that is free from wind. Even a little wind or the slightest breeze can cause the bubbles to pop or float away before they can freeze. If you can find a spot protected by the wind such as next to a fence or wall, that can also help to maintain the bubbles. Early mornings are often the best time for both colder temperatures and less wind.
Frozen bubble making materials
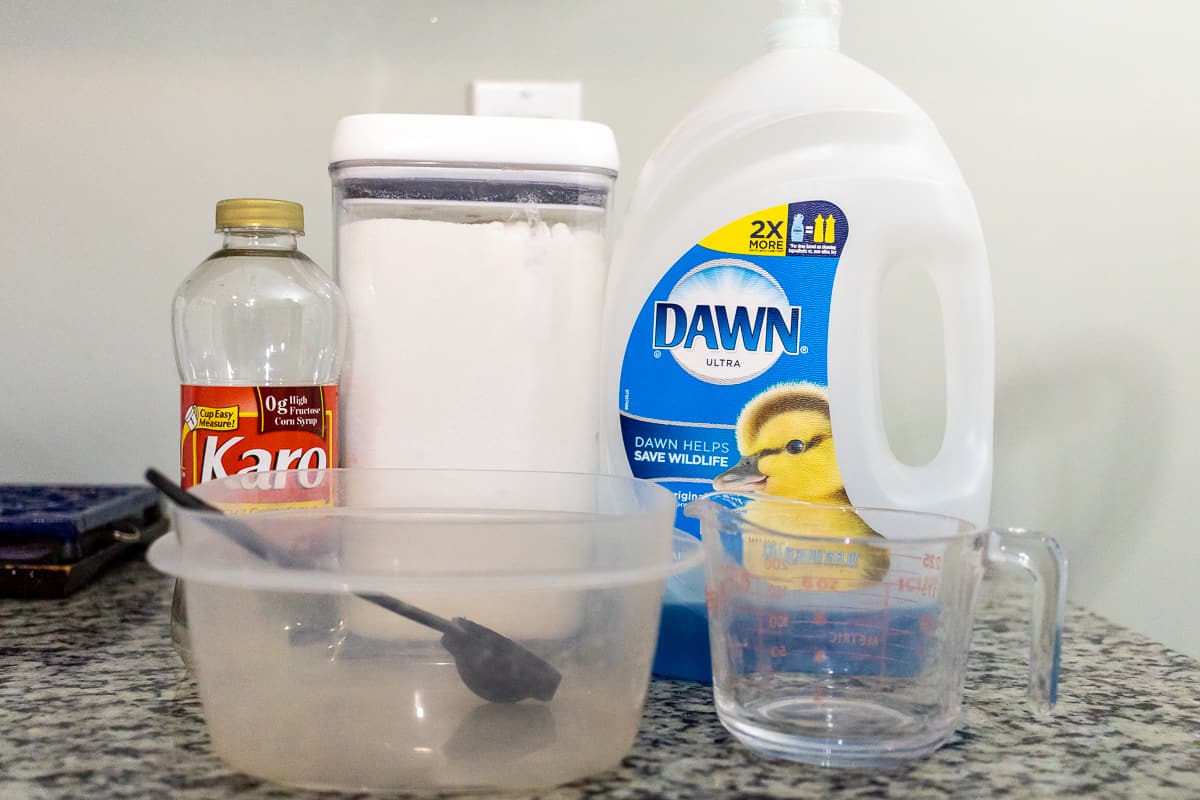
While I read many articles that stated you can use a normal bubble solution for frozen bubbles, it never worked for us. The regular bubble solution that makes soap bubbles is just not as strong as creating a special frozen bubble mixture. This special mixture contains corn syrup for extra strength and thickness while sugar emphasizes the beautiful crystal formations.
The following ingredients are easy to find and you may already even have them around the house. Here’s our tried and true homemade bubble solution that worked great for making frozen bubbles.
- 1 cup warm water
- 2.5 tablespoons corn syrup
- 2 tablespoons sugar
- 2.5 tablespoons dish soap
- Straws
- a plastic container or bowl, preferably with a lid
- a small plastic bottle that can be squeezed, such as a water bottle, along with play dough or clay (optional)
Making the bubble solution
- Start creating your solution by adding the warm water to the container. I use water that is borderline hot in order for the other ingredients to dissolve properly.
- Stir the corn syrup into the warm water until the water is almost clear.
- Add the sugar to the mixture and stir thoroughly until the sugar is fully dissolved.
- Gently mix in the dish soap until just combined. Don’t over mix or you will end up with a bowl full of bubbles.
- Set the container outside or in the freezer for 30 minutes to chill. You don’t want it to be completely frozen, just cold.
Creating a special bubble blower
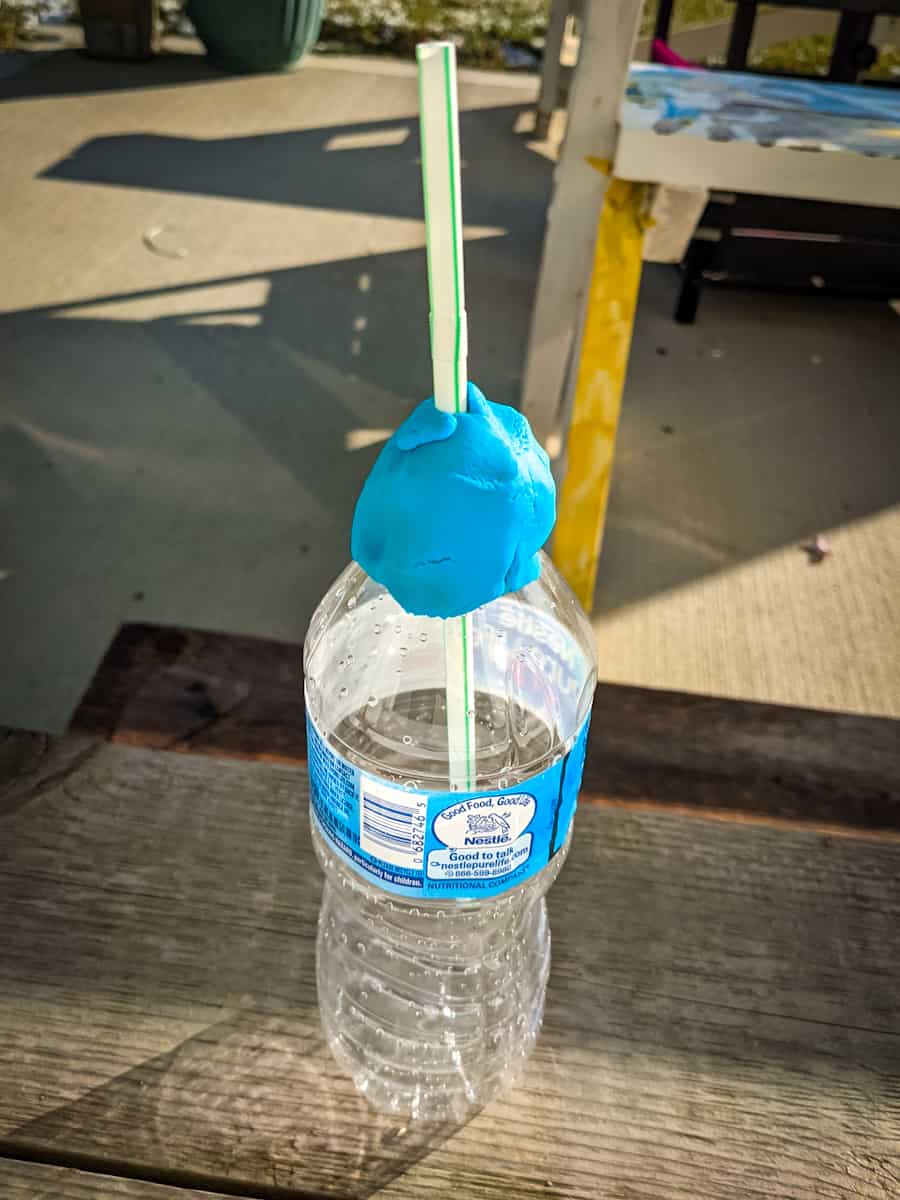
Blowing frozen bubbles works best with a special blower*. While you can blow the bubbles with your mouth and a straw, which is my kids’ preference, you can also rig up a special bubble blower with a squeezable bottle. This works well because the air in the bottle is much colder than the air coming out of your mouth. The colder air will help your bubbles to freeze quicker. You can also keep chilly faces bundled up better if you don’t have to use your mouth to blow through a straw.
The bubble blower bottle is made by using playdough to hold a straw in the middle of the lid opening. Mold the clay to hold the straw securely and prevent air from escaping from bottle opening. The bottle can then be squeezed to mimic the action of blowing air from your lips.
*This part of the process is completely optional.
The best surfaces for making frozen bubbles
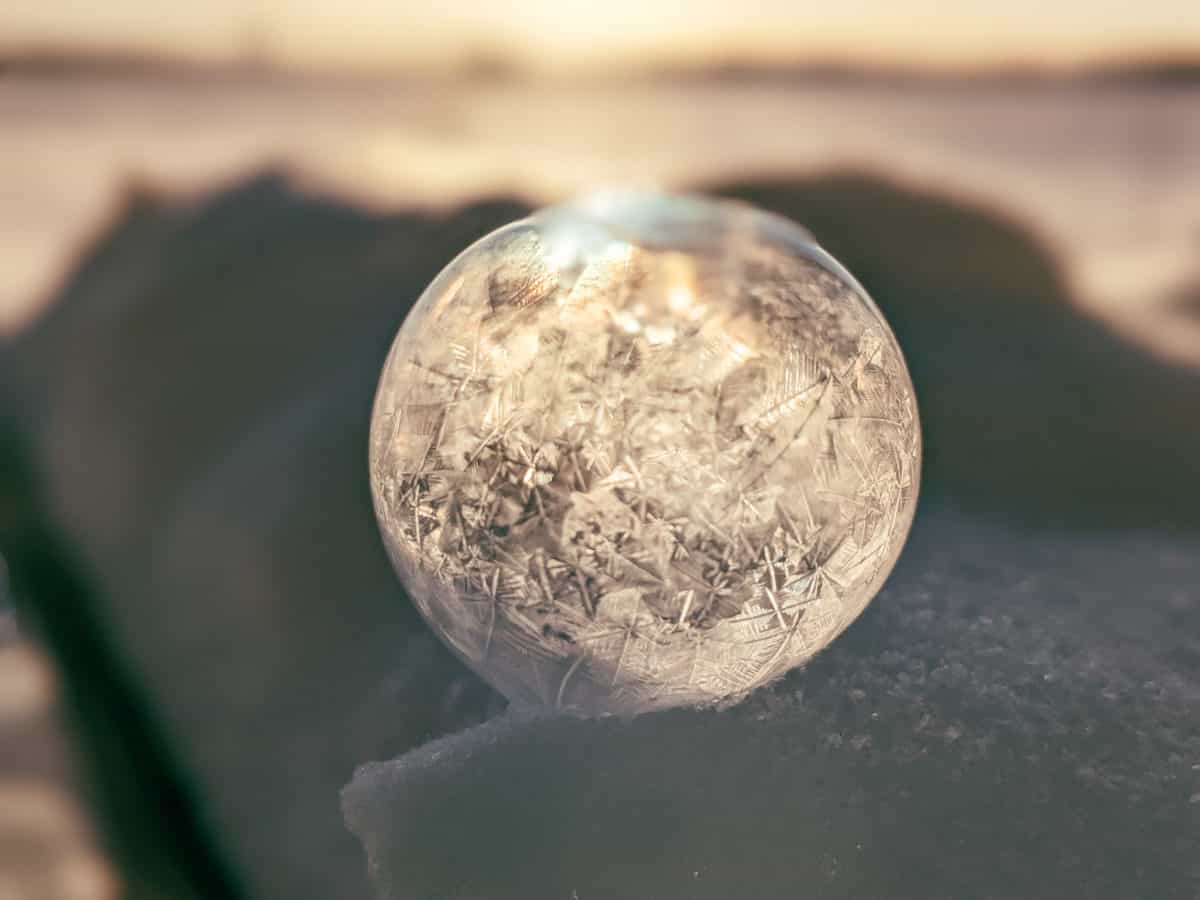
When making the frozen bubbles, in order to get the best results when they freeze, you will need a cold surface to blow them onto. You can blow them into the air, but they will usually pop before freezing or burst upon hitting the ground. Blowing them directly onto a surface gives a higher chance of success for the bubble to stay intact long enough to freeze.
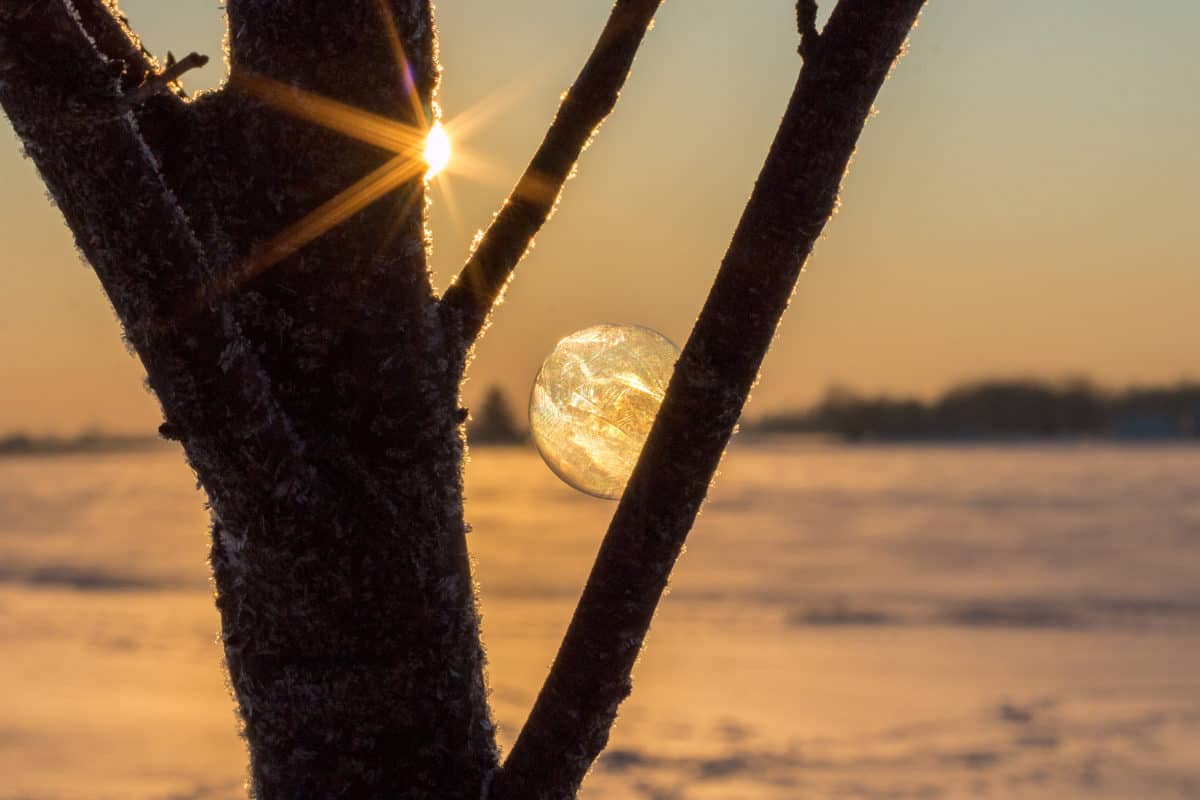
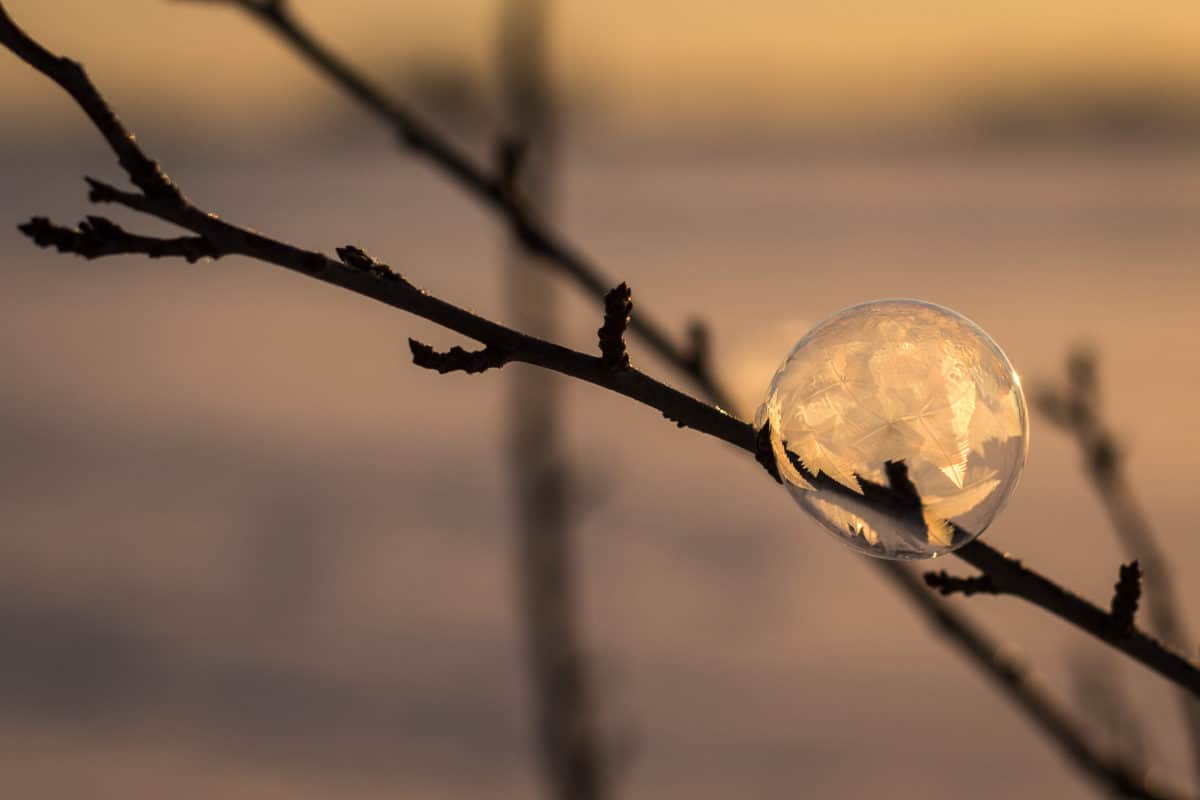
If you have snow on the ground, that can be the perfect soft place for your freezing bubbles to be placed. Other options include a flat table or bench. As you become more adept at making frozen bubbles, you can try placing them on plants and trees.
Forming the bubbles
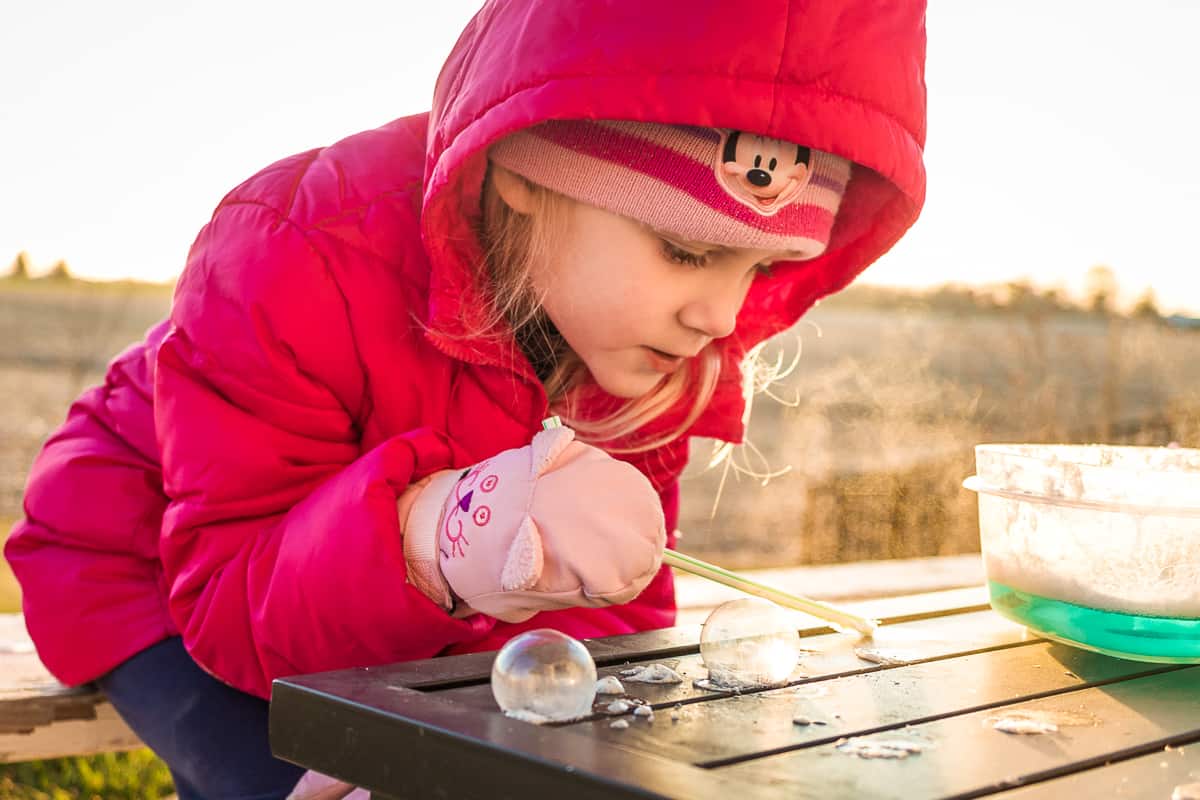
The trickiest part of the whole experiment is blowing the bubbles to the right size and letting them go. If your kids are trying to blow bubbles that freeze, they may need some help and adult supervision. Here’s a quick breakdown of the steps for blowing the perfect frozen bubble.
Dip your straw
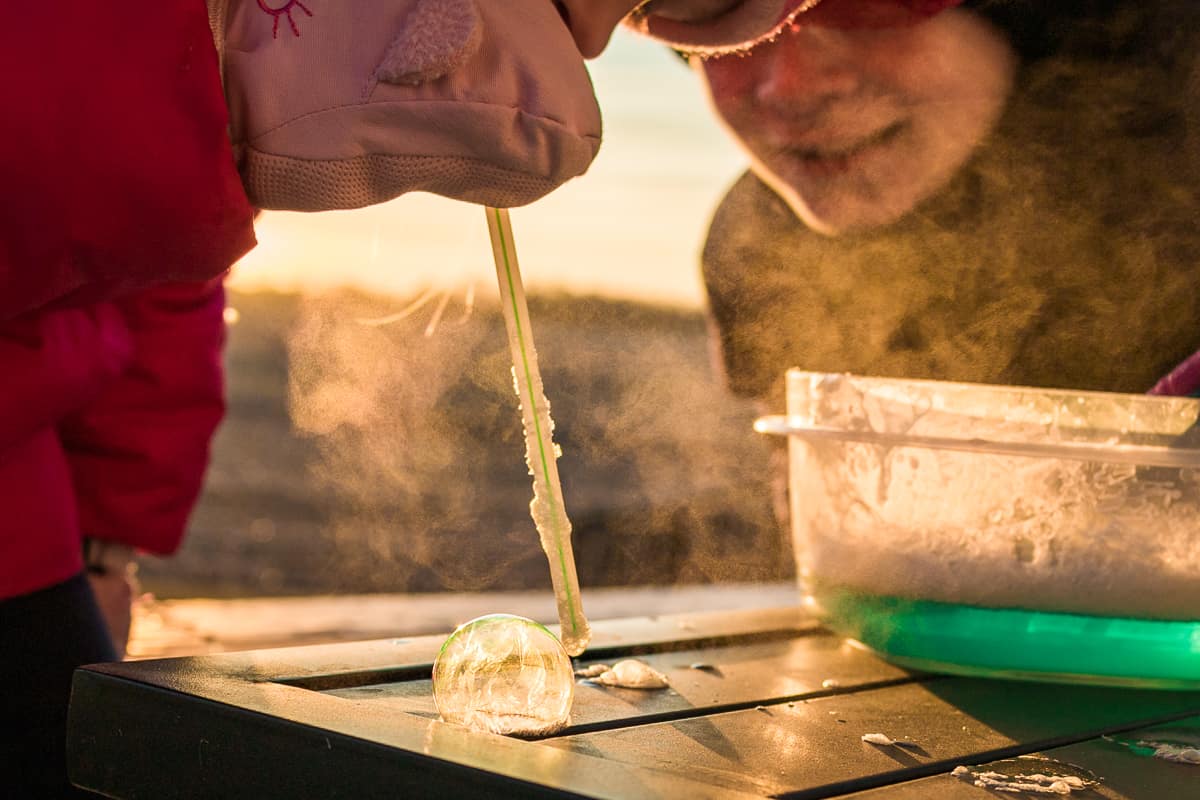
Take either the bubble blower bottle or a straw and dip the straw end into the bubble solution. Try to get the solution to coat about 1″ of the straw to make sure it has enough solution for blowing a big enough bubble.
Hold straw near your surface and blow gently
Next, hold the straw near or on the surface where you want your bubble to land. Then, either squeeze the bubble blower bottle or blow gently through a straw to form a bubble.
Remove straw quickly
Once a bubble has formed, quickly remove the straw from the bubble. The trick is to get the straw detached from the bubble before it begins to freeze. Once it has begun the freezing process, the bubble becomes very delicate. Starting small in size with the bubble is the easiest way to get the hang of the technique.
Practice makes perfect
It can take quite a few tries to figure out the right pressure, speed, and size of bubbles to blow. Don’t be discouraged when it takes several attempts for a bubble to stay intact long enough to freeze. The process for the bubble to fully freeze usually takes around 5-10 seconds. Witnessing the intricate ice crystals dance across a bubble is an amazing sight well worth the effort. The bubbles don’t last long though, so keep blowing and creating more.
Save your bubble solution for next time
When you are finished, pop the lid back on your bubble solution and save it for another bitterly cold day!
Practice different bubble techniques
Once you have successfully made a frozen bubble, it can become addicting. Try stacking bubbles together or making a row of them. See who can make the biggest one. Experiment with trapping a branch or object inside the bubbles to make your own natural snow globe.
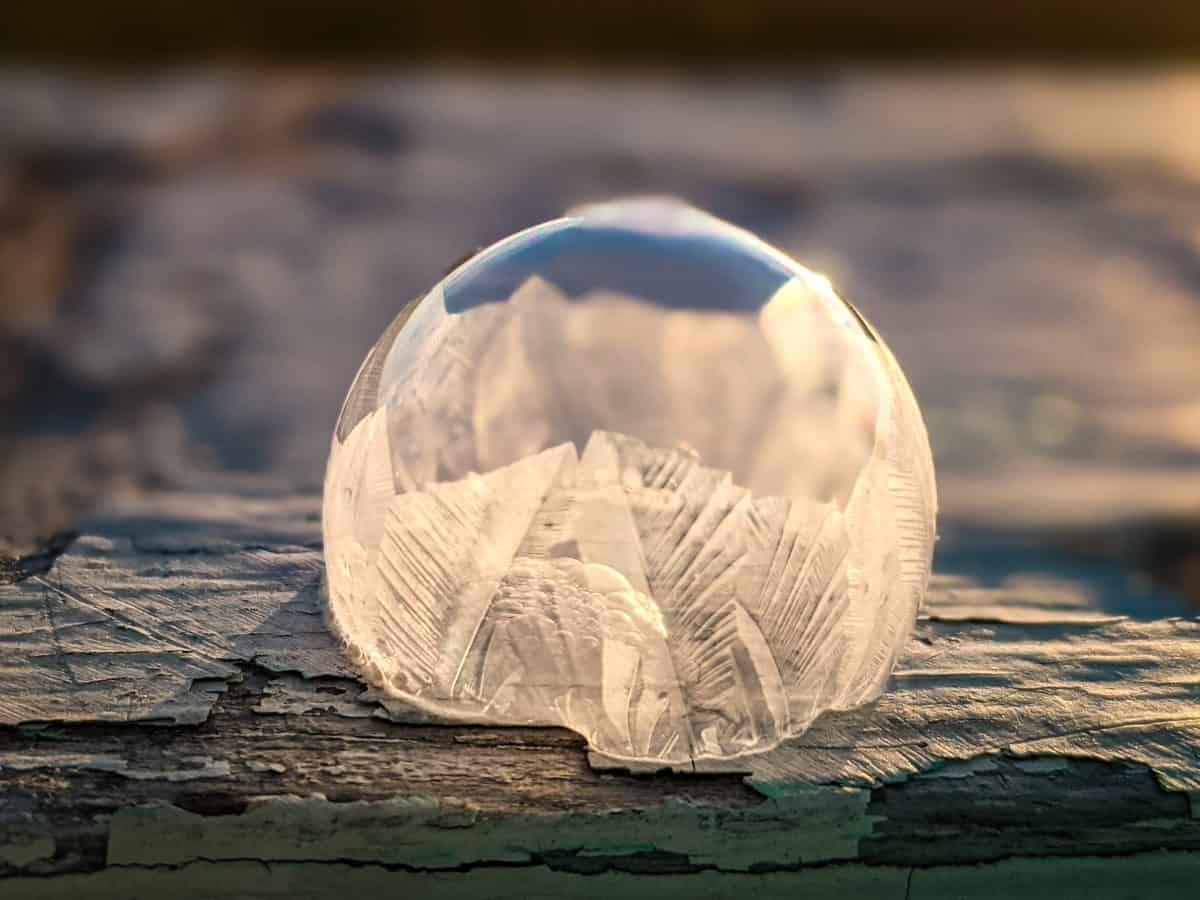
Try this experiment at different temperatures and see how the ice crystals form different patterns. Colder days often create more of a snowflake pattern to the ice crystals as the water freezes, while warmer temps lead to leaf-shaped formations.
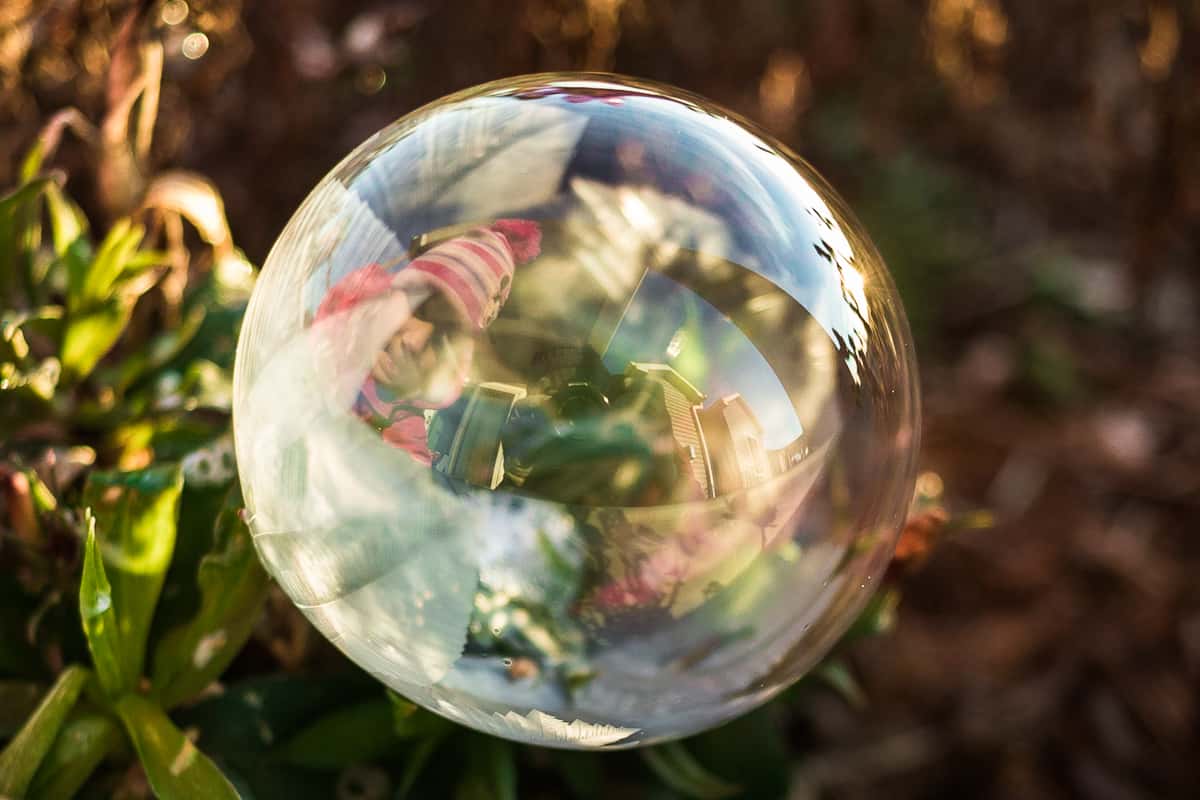
The beauty of frozen bubbles is unfortunately fleeting. As the ice crystals form, this also leads to tiny cracks in the layers of the bubbles. Eventually, the bubbles will pop or the bubble may crumble like the shell of a cracked egg. Kids may even have fun popping them as they appear almost to be made of plastic when they pop. Make a game of seeing who can make the most bubbles before they pop.
How to make frozen bubbles indoors
If you happen to live in a place where it just doesn’t get that cold, you can still make frozen bubbles indoors. While you can’t watch the crystals form in real-time, you can still see what happens when a bubble freezes.
- Make your bubble solution using the recipe above.
- Using a straw or traditional bubble wand, blow bubbles gently onto a cold plate or inside a small container.
- Very carefully set the plate inside the freezer. Close the door very gently.
- Check the bubbles after 5 minutes and see if it is frozen. This step will take trial and error to see how long it takes to freeze. If the bubble is left in too long, it will pop.
Making frozen bubbles with kids
We know that as the temperatures drop, it can be harder to get outside with kids and find things that keep them occupied in the winter months. We hope this tutorial will help inspire you to get outside during these freezing days of winter and try your hand at this fun little experiment.
Have you ever made a frozen bubble?
About the author
Sara has been married to her high school sweetheart for 17 years and together they have two children. Sara spent many childhood hours outside on her grandparents’ farm and strives for her kids to have similar carefree kid adventures. Based in the St. Louis area, she loves to share on her blog and social media all the scenic and fun places to explore around the St. Louis area and beyond. Hiking is the most popular activity for her whole family followed by hitting up the best local playgrounds. Photography is also a passion of Sara’s and she continues to be amazed at the natural beauty and wonder of God’s creation. When she is not hitting the trail, Sara works as a civil engineer.
You can find more from Sara online in the following locations:
Instagram: @midwestnomadfamily
Facebook: Midwest Nomad Family
RWMC posts: Sara Lesire



5 comments