Your cart is currently empty!
How to Make a DIY Park Tour Guidebook
Parks and playgrounds offer endless opportunities for outdoor active and creative play for kids. From swing sets to sporting areas, picnic places, and lakes and streams, exploring new parks with kids can be so much fun! If your local park has lost its appeal and you’re ready to find something new (or you just love new experiences and want to find some fun new places to explore), we’ve got the answer for you…a park tour! Today, photographer and Minnesota mom of three, Angie Mahlke shares how to create your very own DIY park tour guidebook to use while exploring new (to you) playgrounds in your area and ranking them for fun! Give your children the chance to become park connoisseurs on a quest to find their favorite playground!
Why parks and playgrounds?
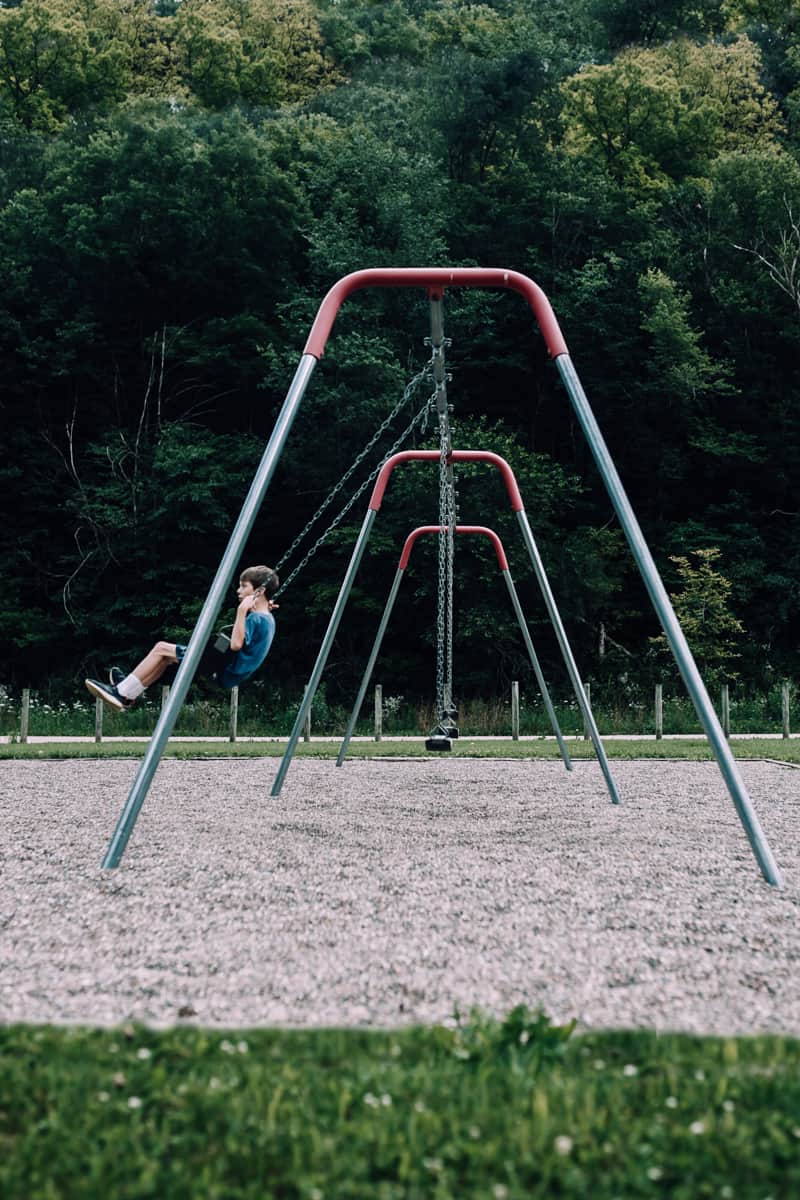
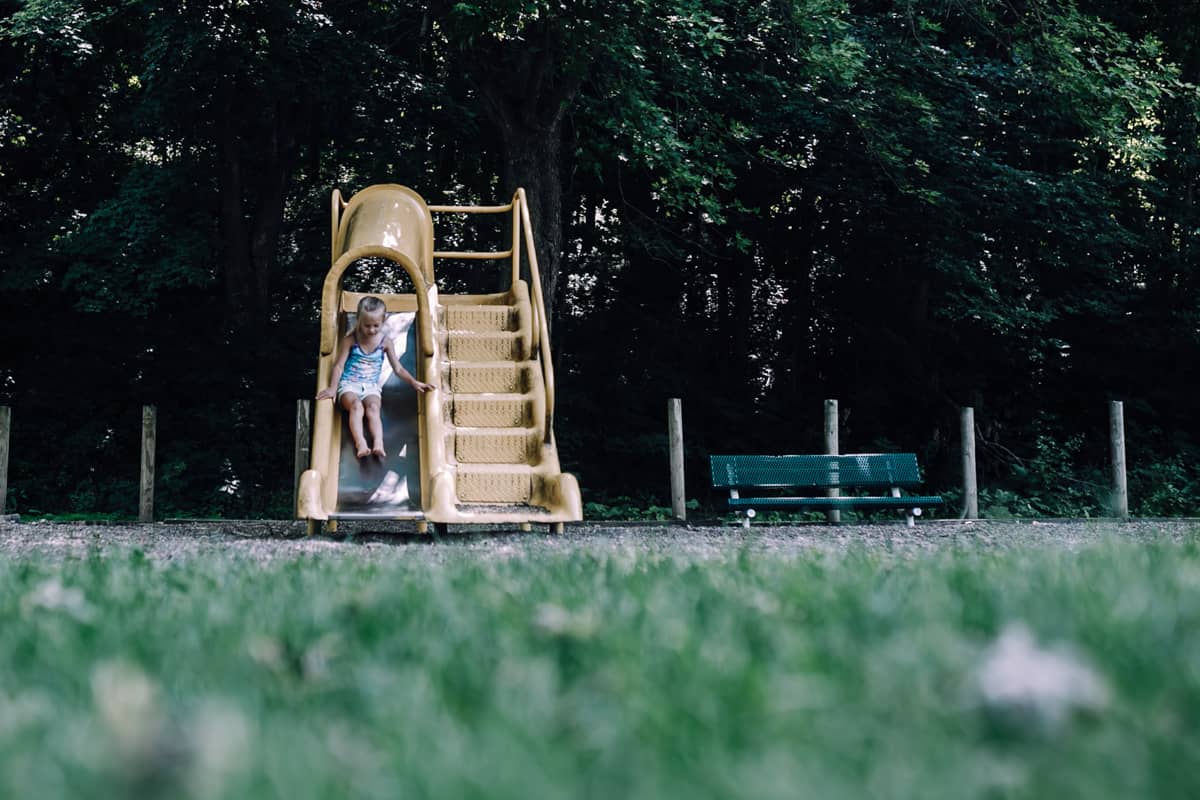
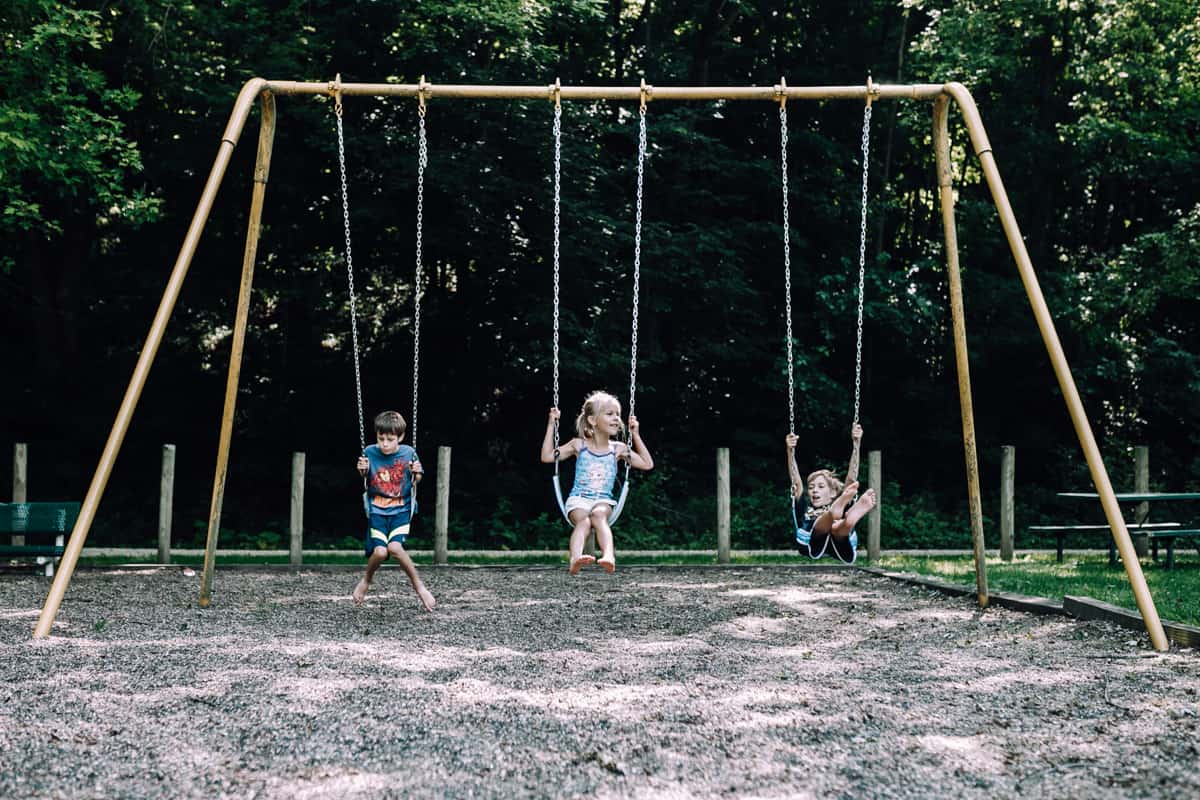
Being active outdoors doesn’t have to be complicated or require a lot of gear or planning – it can be as easy as exploring a local park or playground with your kids. Checking out a new park allows parents and kids to be adventurous, without needing to travel far or spend a lot of time researching or packing for an exotic outing. Most of the parks near us have wooded areas, lakes or ponds, hiking trails, and a playground, of course, which is always the most attractive feature for my kids and the first thing they want to check out upon arrival.
Like probably most families with small kids, we spend a lot of time at our local parks and playgrounds. They are free and easily accessible and provide endless hours of entertainment for the kids. I wonder what the hour count would be if I had started logging the amount of time we actually spend at parks from that first visit with our new baby 12 years ago? It feels like we’re probably into the millions by now!
Last year, when COVID restrictions hit and indoor places closed, suddenly, parks were one of the only things available to many families (after the brief window during quarantine when they weren’t, of course). Our parks got more crowded than ever and we got an itch to try branching out to find fun new places to explore. This is what prompted the idea (read: necessity) to spice up our playground adventures!
Benefits of playgrounds
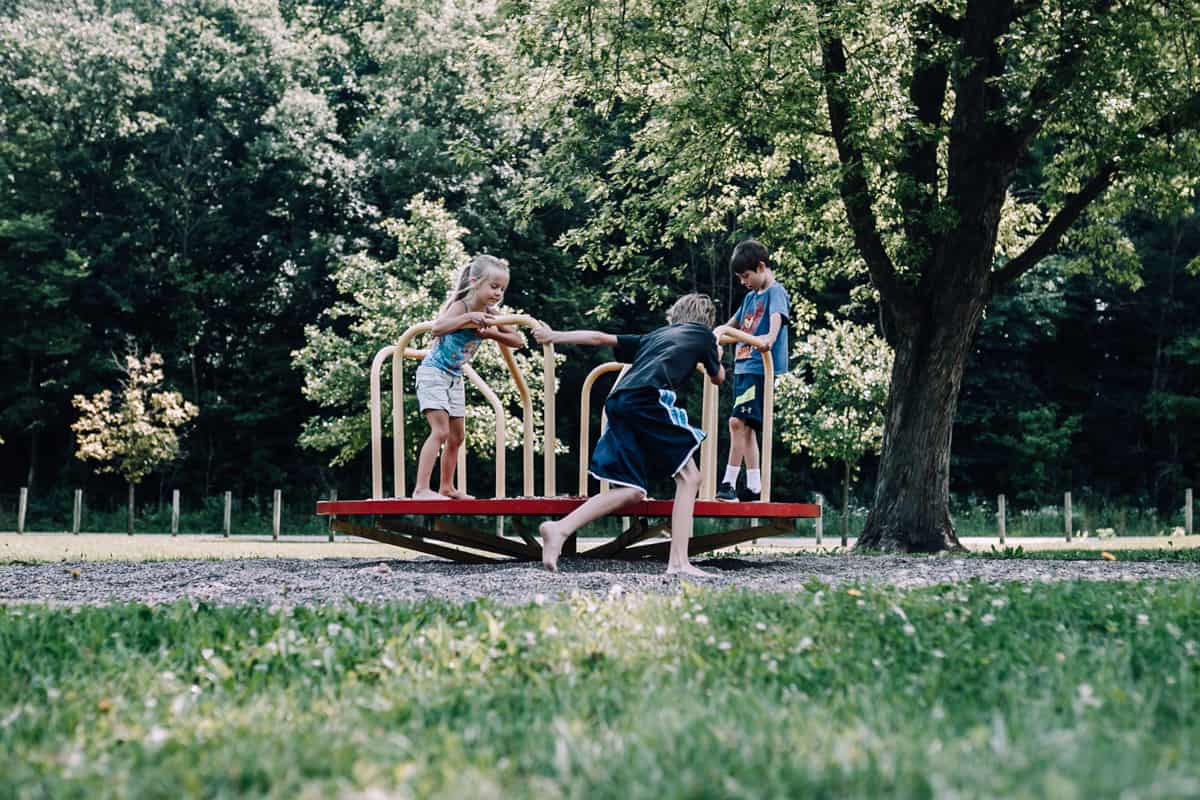
Playgrounds are safe spaces where children can be themselves and express their fun-loving nature while developing crucial cognitive, physical, social, and emotional skills. Play is a spontaneous activity that children engage in to have fun. But it’s much more than that. Experts in a variety of fields have conducted a multitude of studies on the concept of childhood play all proving the same critical fact —play is an essential aspect of learning.
As a child grows, their play becomes more complex. Without being able to play, children’s ability to develop and learn is stunted. Playgrounds provide a place for children to get a full-body workout, including exercises that strengthen their arms, legs, torso, and so on. From the cardiovascular system to the circulatory system, each is nurtured and benefited through vigorous and active outdoor play.

A park tour adventure
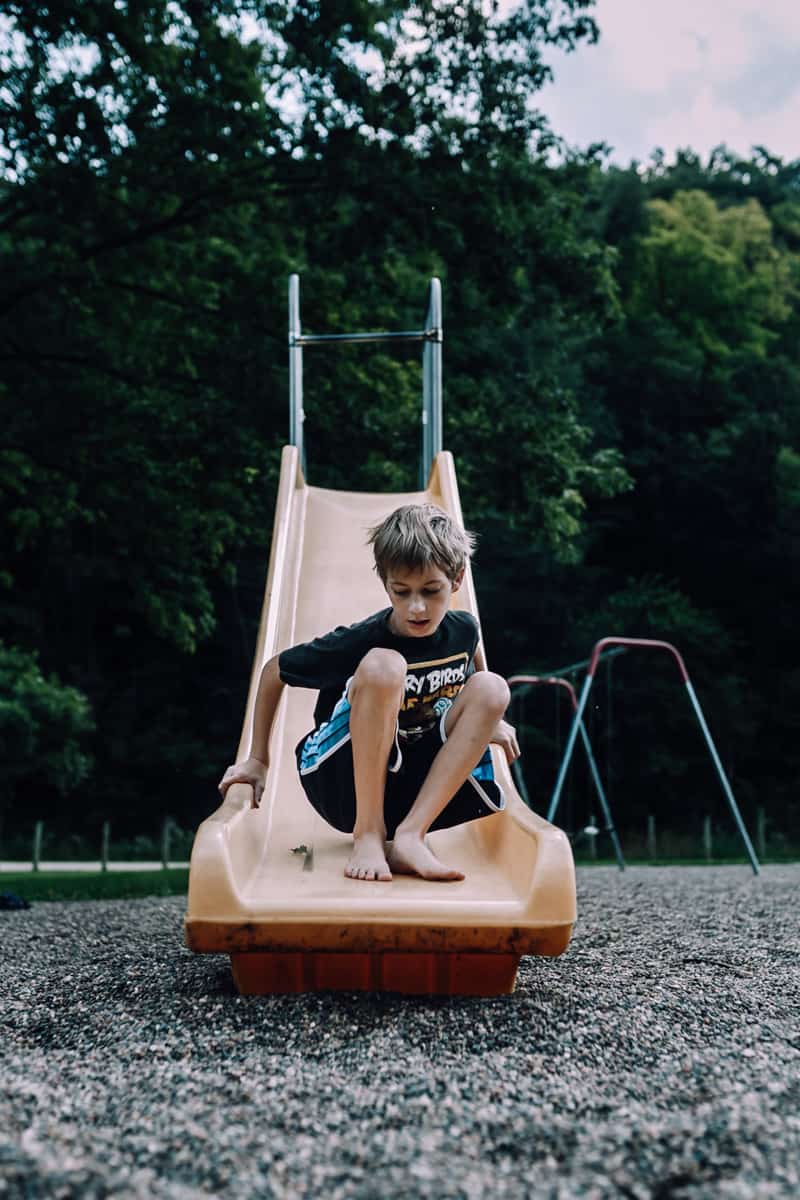
As our local parks got busy (and started becoming a bit boring to us), we decided to venture out. We started talking about plans to explore more parks. And then, we had an idea! What if we hit up all the parks in our area? We could make a list of every park, map them all out and start park hopping. We could call it a park tour! Doesn’t it sound more exciting to give it a fancy name instead of just saying we’re going to hit up a ton of playgrounds?
But that’s not the big idea. We can go bigger! Let’s not just check out the parks and play, but let’s turn it into a bigger activity. We can record what we liked (and disliked) about each park we visit. We can use a park rating system —similar to a movie rating system—to determine how much fun each park is. Who doesn’t like giving things a thumbs up or thumbs down? What would it take for a park to be worthy of the full five stars?
It’s time to be an official park critic!
DIY park tour guidebooks
And then, we decided to go all out and take it one step further. Why not create our own DIY Park Tour Guidebooks complete with a rating system to fill out after each park visit? Then at the end of the tour, we can look back at our ratings to determine which park is our favorite.
So, that is exactly what we did! All last summer we carried our homemade guidebooks with us from playground to playground, diligently recording our every like and dislike. Each kid made their own park tour guidebook because they all have varying opinions on what made a particular park great. What one rated a “good” park, another deemed a “bad” one.
To be fancy or not to be fancy
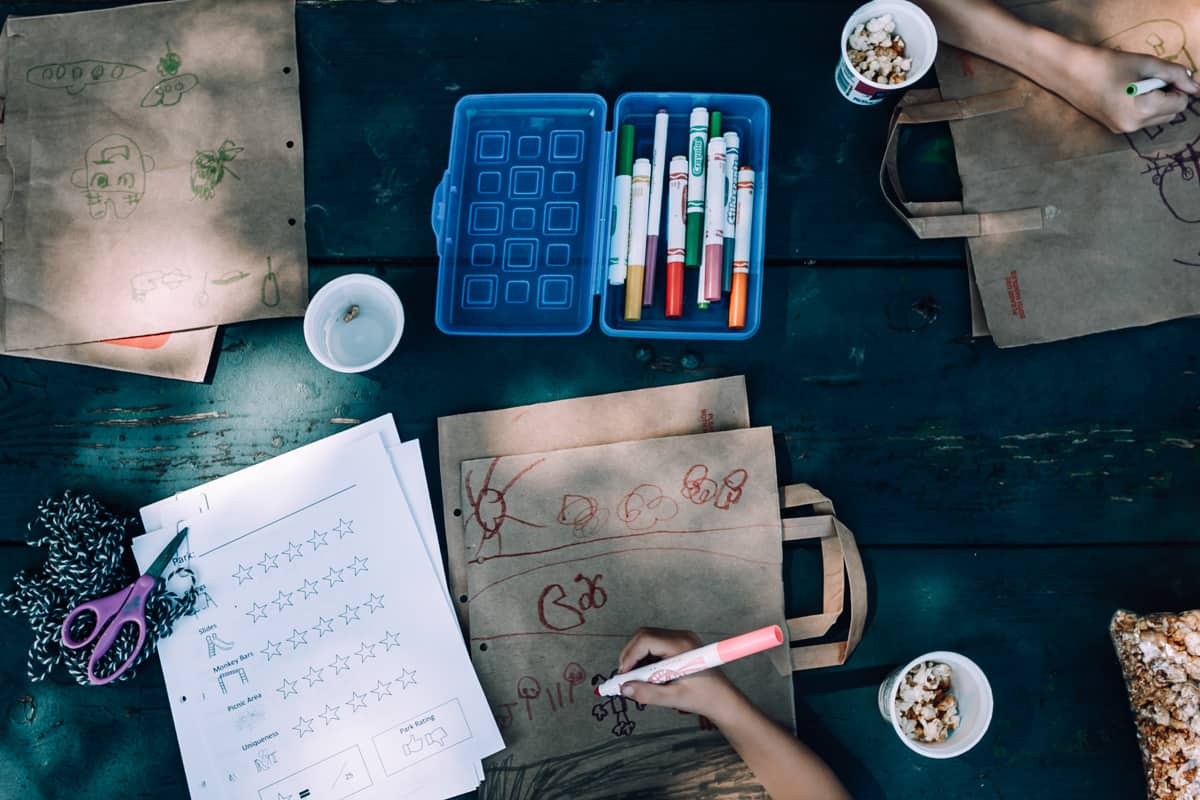
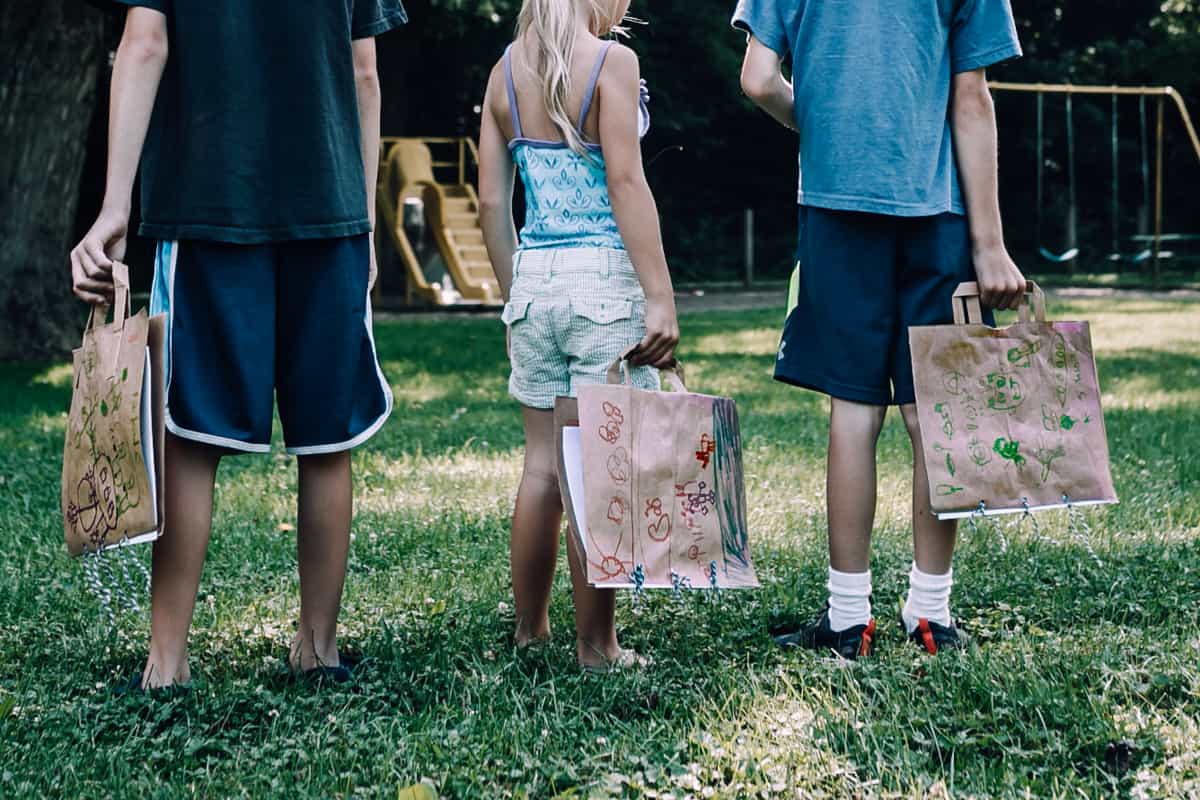
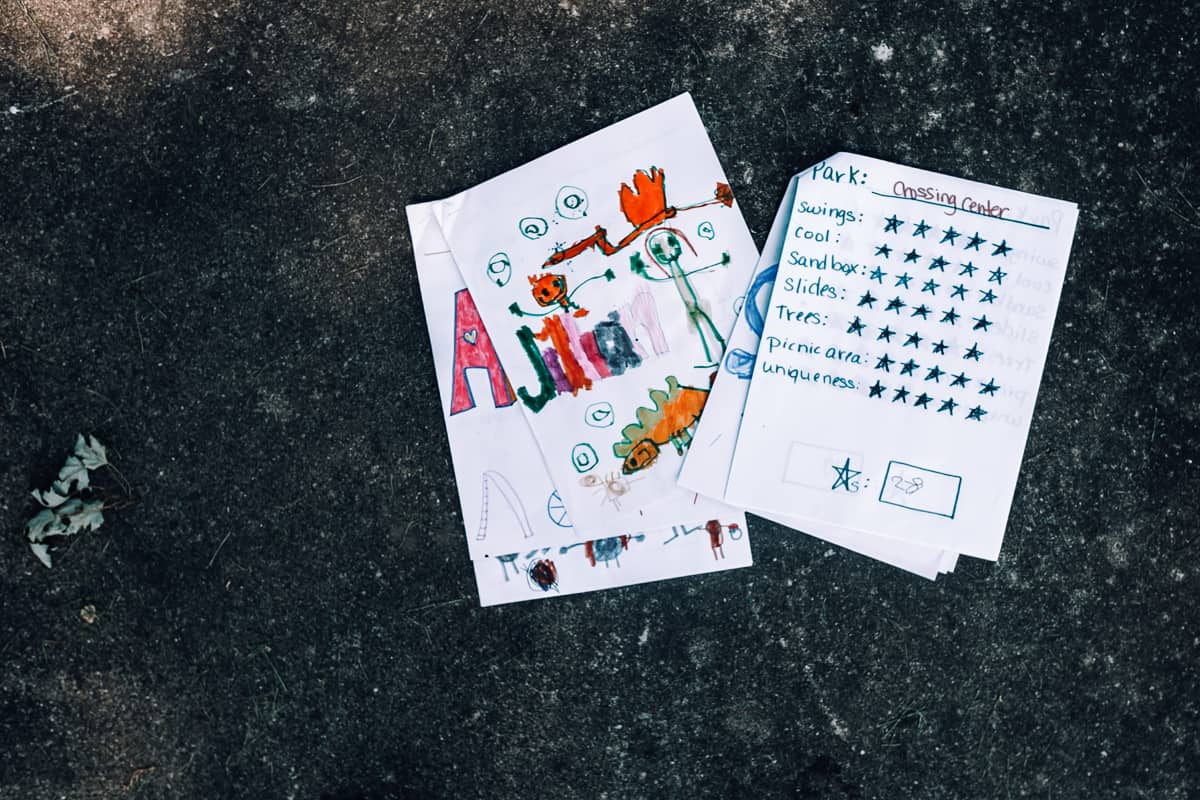
Making a park tour guidebook is easier than you think. They do not need to be fancy! (Although, if fancy is your thing, you can certainly do that!) When we started making our park tour guide books, I simply wrote out a quick rating system on a piece of white printer paper. Then I made several copies and stapled them together in a bundle for each of us. Everyone decorated their cover page. Then we were off! Easy peasy.
Your park tour guidebook can be that easy, or you take it up a notch and get a bit more creative. This summer, we decided to do another park tour and make books, but we wanted to do something a bit more fun. Our guidebooks now involve recycled brown paper grocery bags, so of course, the fancy meter is off the charts.
You can choose to make your books however you want and be as creative or as simple as you would like. If you have older kids, they’ll love making their books personalized to their favorite interests and colors. Little ones might need a bit more help, but they’ll love making it theirs. Cater your books and style to your family and what works best for you.
If you’d like to make our oh-so-fancy paper bag guide books, I detail the process below.

Paper bag DIY park tour guidebook supplies
- Brown paper shopping bag (one for each person)
- Filler paper with a rating system (print my PDF if you’d like)
- Hole punch
- String, yarn, or ribbon
- Scissors
- Markers, crayons, paints, or other art supplies
How to make a park guidebook
I’ve learned after many years of doing arts and crafts projects with my children that it goes much smoother to do all the prep work before calling them in to help. If your kids are little (and maybe not the best with scissors), I would suggest doing steps 1 – 2 on your own before including them in on the fun decorating parts.
So, gather your supplies and have them ready. For the filler paper, you can either use pre-printed pages (use our free PDF above) or plain ol’ blank paper. If you’re using our template, print out your pages (one for every park you plan on visiting).
Step 1: Cut the paper bag
You will need to cut the bag to create two separate panels—a front and a back. You can leave the handles of the bag attached for a fun way to tote it around. Like a briefcase.
The bags have a natural fold about a fourth of the way up from the bottom. I cut right across the horizontal fold and discarded the bottom half of the bag. Then I cut off both the “sides” of the remaining top half of the bag. This left me with two panels, both containing a handle.
Step 2: Punch the holes
If you have a three-hole punch, lucky you. You are set for this next step. But if you’re like me and only have a regular ol’ single-hole punch, you may want to follow the steps below.
- Find a scrap piece of paper the same size as your filler paper and punch three holes (as evenly spaced as possible) along the left side. Use this scrap piece of paper as your hole punching template.
- Put your front and back panel from the paper bag on top of each other, the handles touching.
- Then place your hole punching template on the top and punch the same three holes.
- Do step 2 for the filler paper as well.
Voila! You just took thrice as long to do the same job as the three-hole punch, but you still got the job done!

Step 3: Decorate the cover page
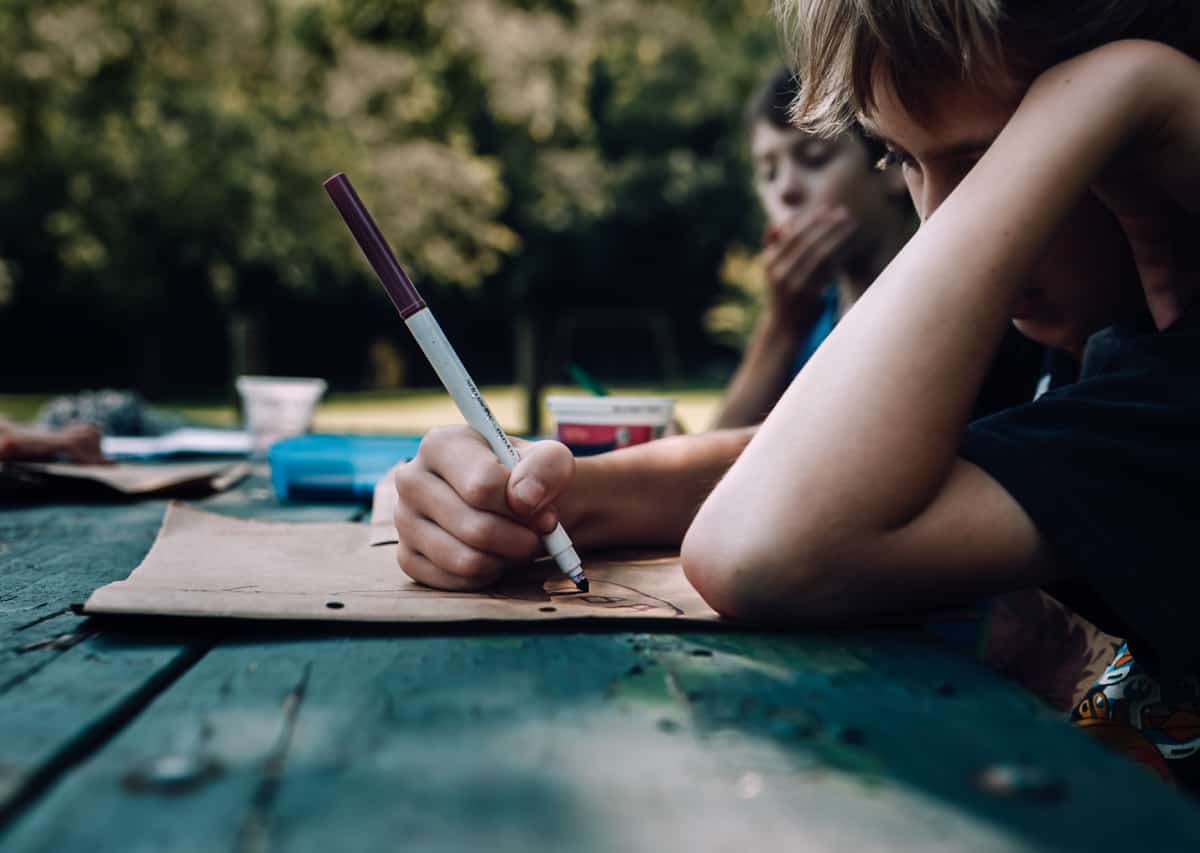
What work of art is complete without some actual art? Spruce up the front cover of your park tour guidebook any way you want! This is the perfect step to bring in the little kids.
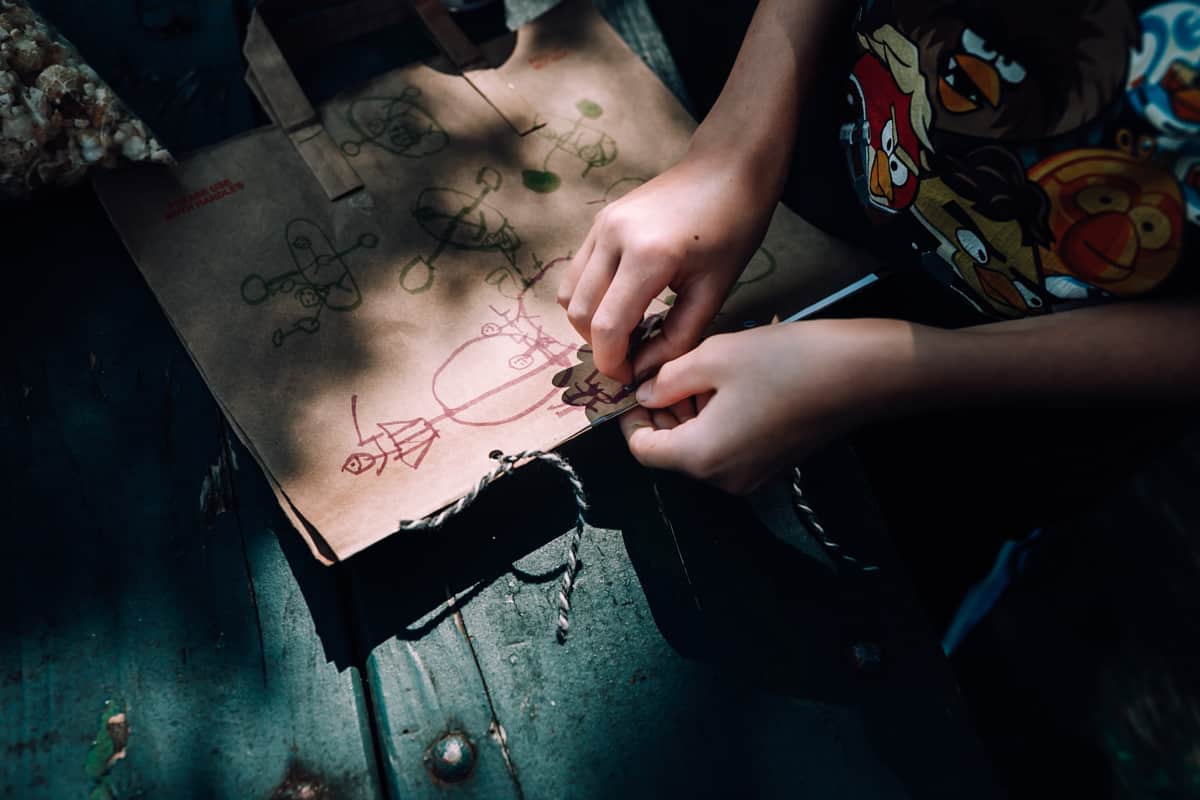
My kids chose to draw some pictures and label their park guide books with their names. You could use paint, stickers, stamps, or (gasp) glitter (cue horrified moms everywhere). Be as creative or as simplistic as you’d like.
Step 4: Assemble the pages
Now that all the leg work is done, it’s time to assemble these babies!
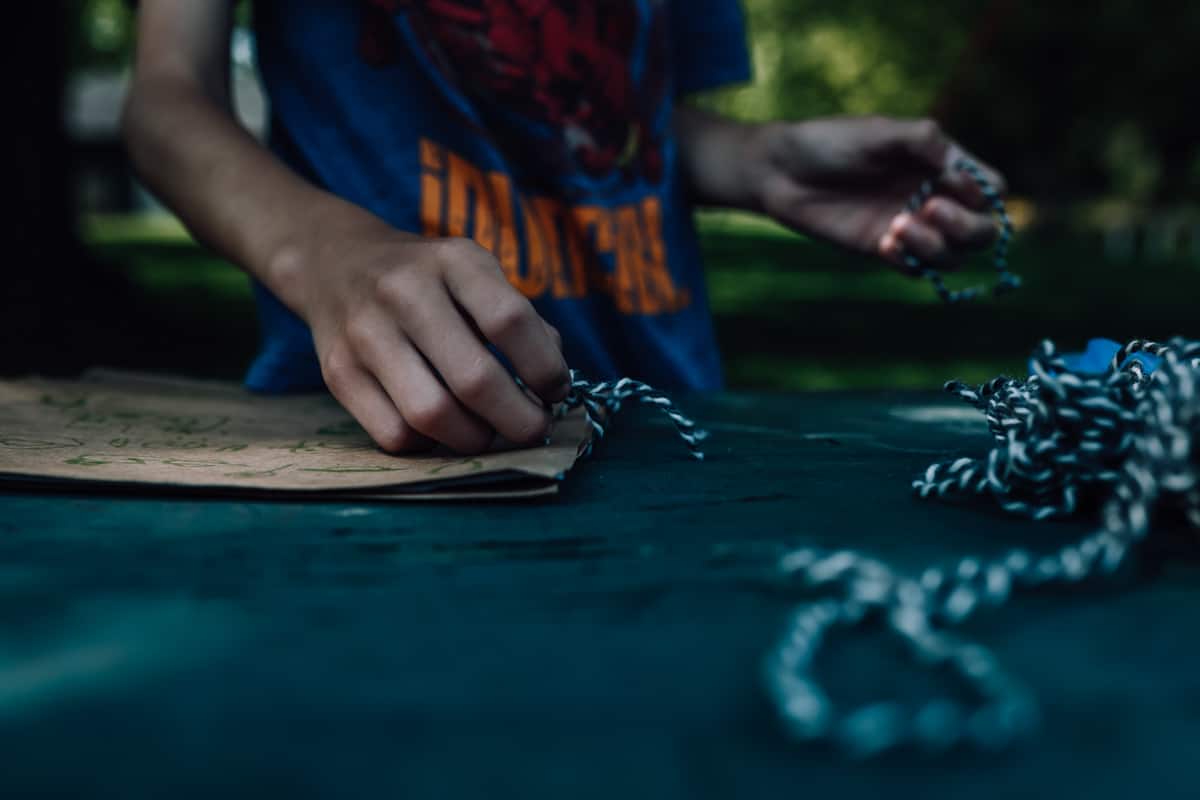
You will need to cut three pieces of string (or yarn, ribbon, twine, etc.) to use to bind the pages together. Loop the string through all the layers (front cover, filler pages, then back cover) for all three of the holes and tie them loosely. You will want to leave a little give so the pages can open and close with ease.
And with that, your DIY park guidebooks are now done and ready to be tested!
Creating your park ranking system
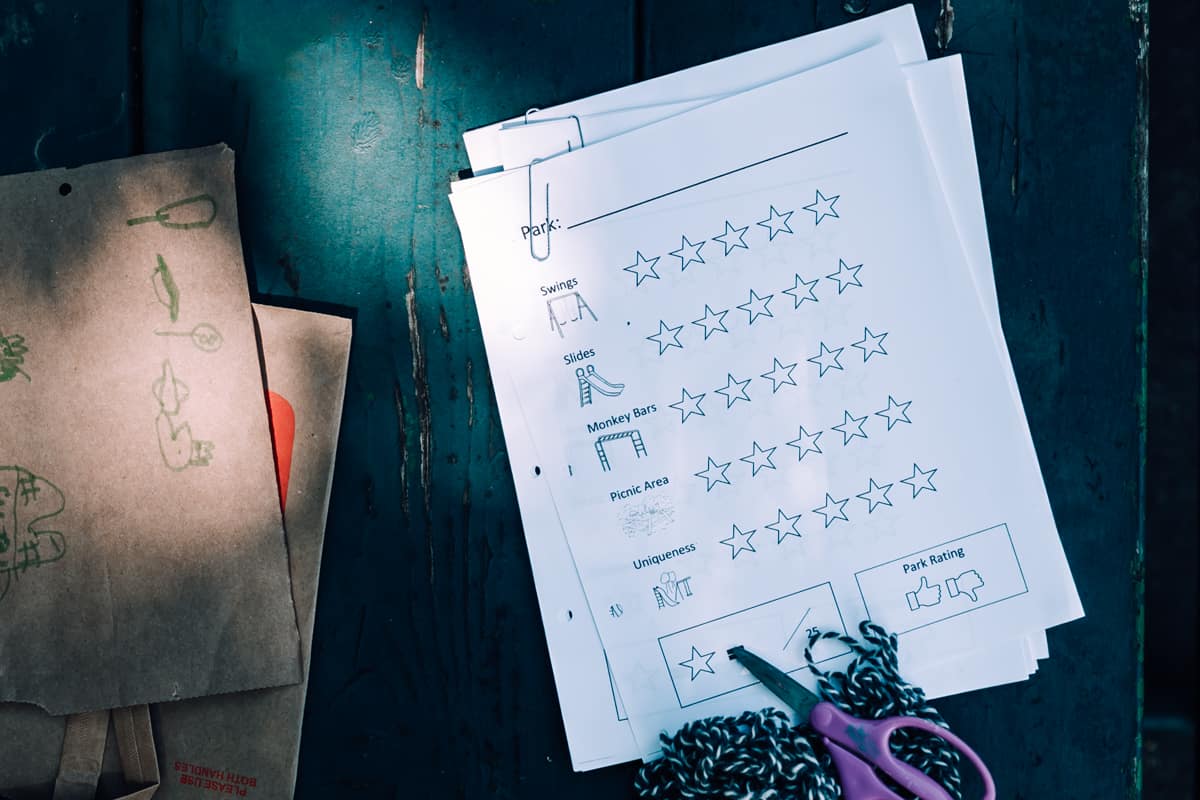
So what exactly do the filler pages of the park tour guidebook contain? Other than the park name (that’s important), everything else is really up to you! Last year we listed out and ranked pretty much every single thing we could think of that we may find at a park (slides, swings, climbers, shade trees, picnic area, water features (ponds, creeks), hiking and biking trails, wildlife, parking, uniqueness, etc.). This year, though, we kept it a bit simpler and only included the basics.
As the creator of your park tour guidebook, you (and your kids) get to determine what you want to include in your books to judge and how you want to judge/rank it. Think about what’s most important to you when finding a new park. Is it the playground equipment? Fishing pond? Is it a soccer or baseball field? Or maybe other things like size, distance from home, location, privacy, and remoteness?
And now you get to determine what your ranking system will be. Do you want to give points? Hearts or stars? Thumbs-up and thumbs-down?
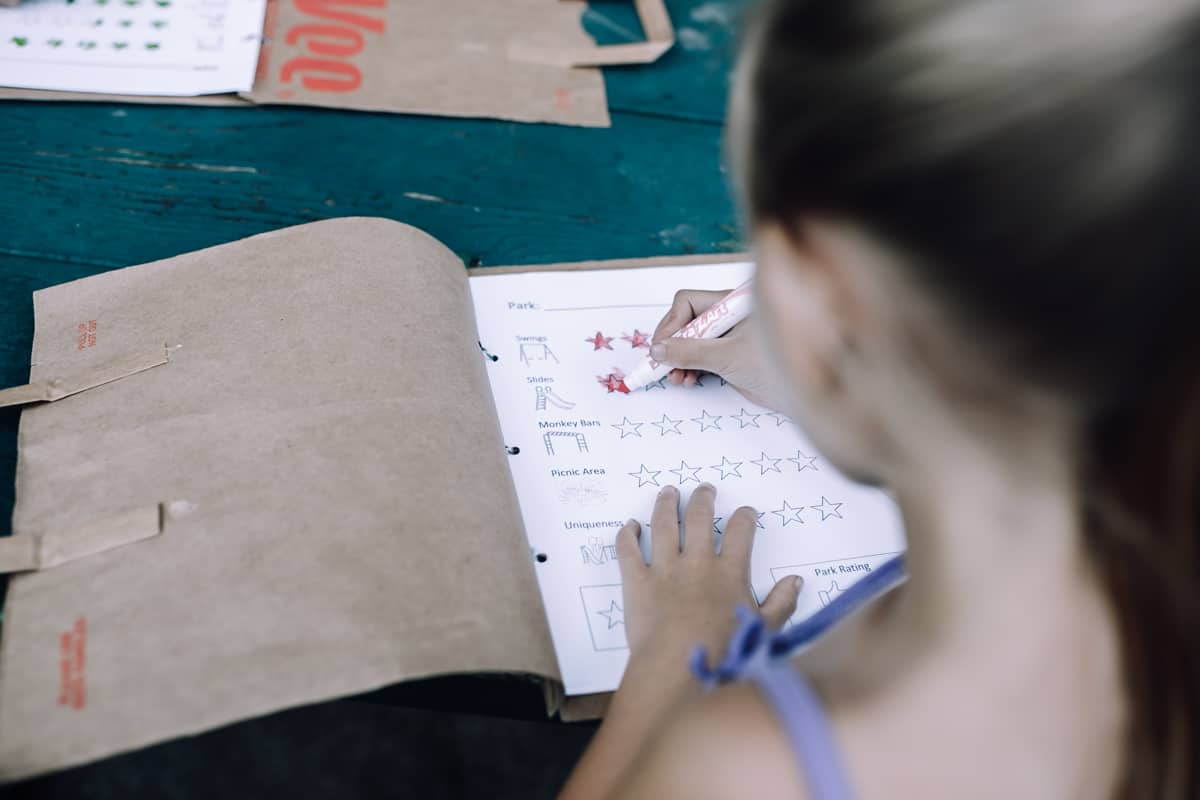
We use a five-star rating system, with five stars being the best. We individually rank each of the items, then we tally the number of stars to determine the final score the park earned. This year we added the fun “thumbs up, thumbs down” rating system as well, to give the park as a whole. Thumbs-up means we’ll come back.

How to create the park tour guidebook ranking pages
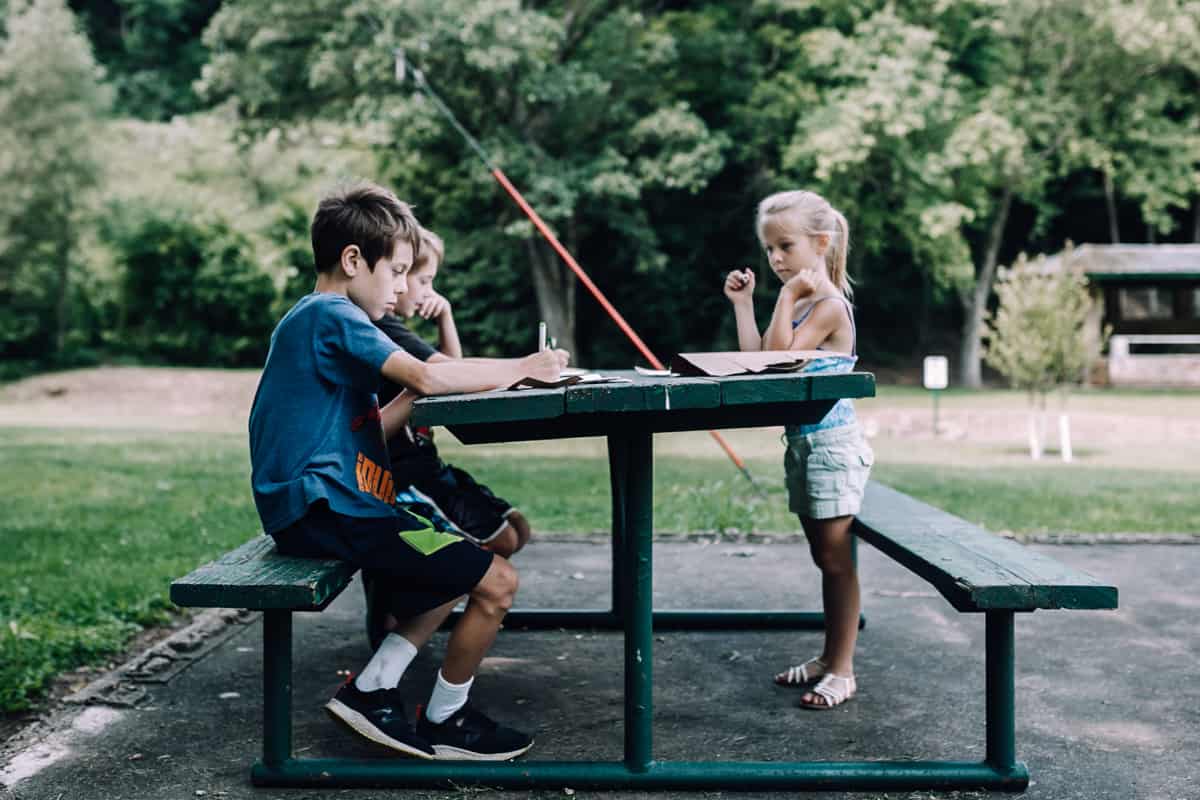
How you want to create the filler pages with the ranking system is completely up to you and your kids. Older kids may want to create their own pages. They can either do that with pen/marker or maybe on a computer. Then you can make as many copies of the page as you need. Or, maybe each page is recreated on the spot and individualized to the park? For younger kids, maybe you create a page for them and make copies.
Like I noted earlier, last year I simply hand-wrote the categories and drew the stars. Then I made copies on my home photocopier for each of our guidebooks. This year, I created the template on Microsoft word. I searched Google for some free clipart since my five-year-old can’t read yet. Then I set to work creating a rating system.
Feel free to use my park tour guidebook rating page template or use it as inspiration to create your own!
Other fun additions to your park tour guidebook
Your guidebooks don’t have to be exclusively filled with ranking pages. Include a few blank pages in there for journaling or drawing. Maybe your kids want to draw a picture of the playground equipment so they remember the park. Or maybe they find a pretty leaf or flower that they press and glue on a page. Let them use pages to take notes or write down a funny thing that happened at each park.
Think about including a map of your area in your park tour guidebook and letting them plot out the parks they visit. Or a checklist of all the parks they want to visit (or have visited). Encourage them to can draw their own maps of the park, to work on their mapping and spatial awareness skills. Check out this post for more info on map reading skills for kids.
Take your park tour guide books out and play
Now that your park tour guide books are complete, it’s time to get out and explore! Make a list of all the playgrounds in your area and start hitting up as many as you can. Maybe you do a park a week over the next few months. Or maybe you plan a full day of park hopping and visit 10 parks in one day! There’s no right or wrong way to do this! Just have fun and don’t forget to bring your park tour guidebooks and take a few seconds (or minutes) before going home to rate your experience.
If your kids are like mine, they will love expressing their opinions. Sit back and watch their differences roll out! What one kid loves, the other is bound to hate. By the end of your park tour, you just might find one park that the whole family can agree they love and then you have a new family favorite!
What makes a park good for you?
Can you predict which park will be the family favorite?

About the author
Angie is a wife and stay-at-home-mom of three wild hyenas. She resides in rural Minnesota, where there are more cows and cornfields than people. She is an introvert with a creative itch that needs to be scratched, whether it is photographing her children in their daily lives or coming up with fun ways to explore nature in their backyard. Messy hair, dirty faces, mismatched clothing, wild and free children—all these things fuel her creativity and the desire to preserve these fleeting moments. Angie and her family can be found camping, biking, and sitting around a campfire during the summer months and sledding and ice fishing in a million layers during the winter.
You can find Chelsea online in the following locations:
Instagram: @angie_mahlke
RWMC posts: Angie Mahlke
Comments
One response to “How to Make a DIY Park Tour Guidebook”
[…] Creating your own park review guides […]

Leave a Reply