Your cart is currently empty!
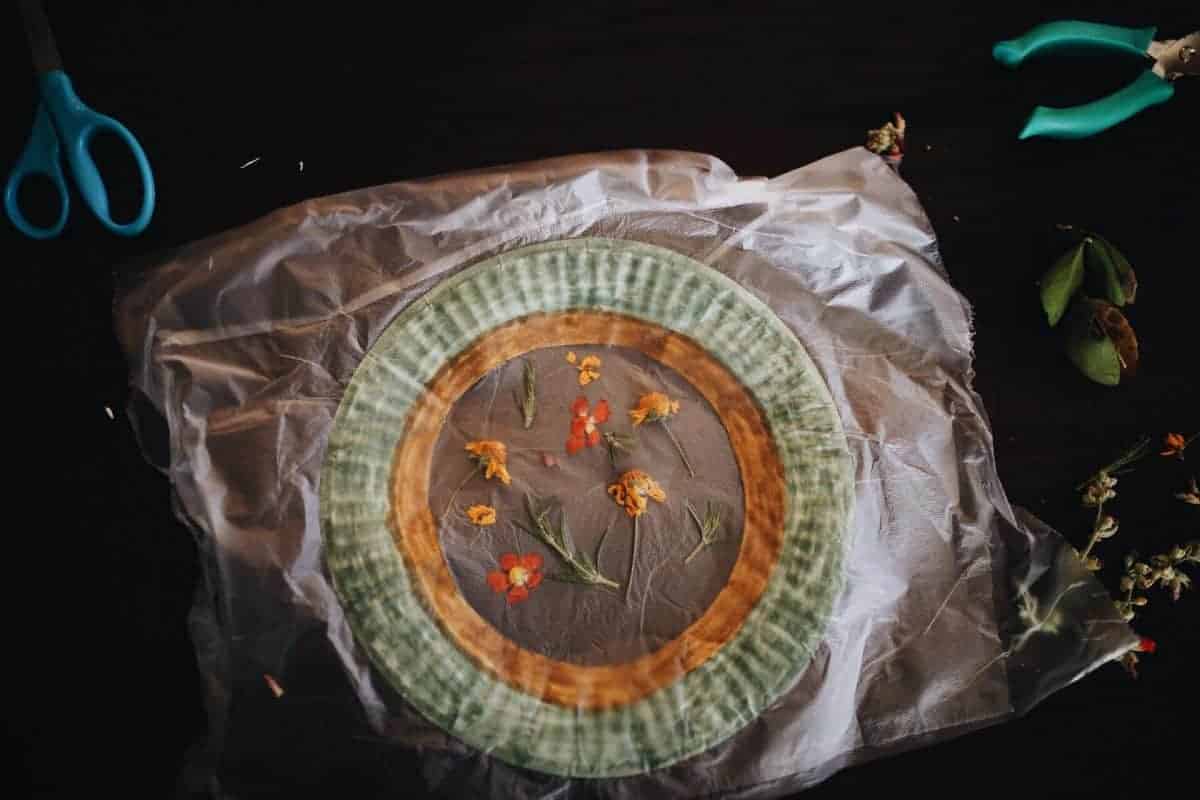
DIY Flower Suncatcher
Looking for a fun and simple way to bring a bit of color and nature into your home? Want an excuse to go out and pick some beautiful wildflowers? Are your kids are bored and need a fun craft project! We’re here to help! Today, Kathleen White, Arizona mom of three shows us how to make a DIY flower suncatcher with simple everyday items you probably already have at home. This fun and easy craft will encourage your kids to get outside and enjoy nature and give you a fun way to display it at home.
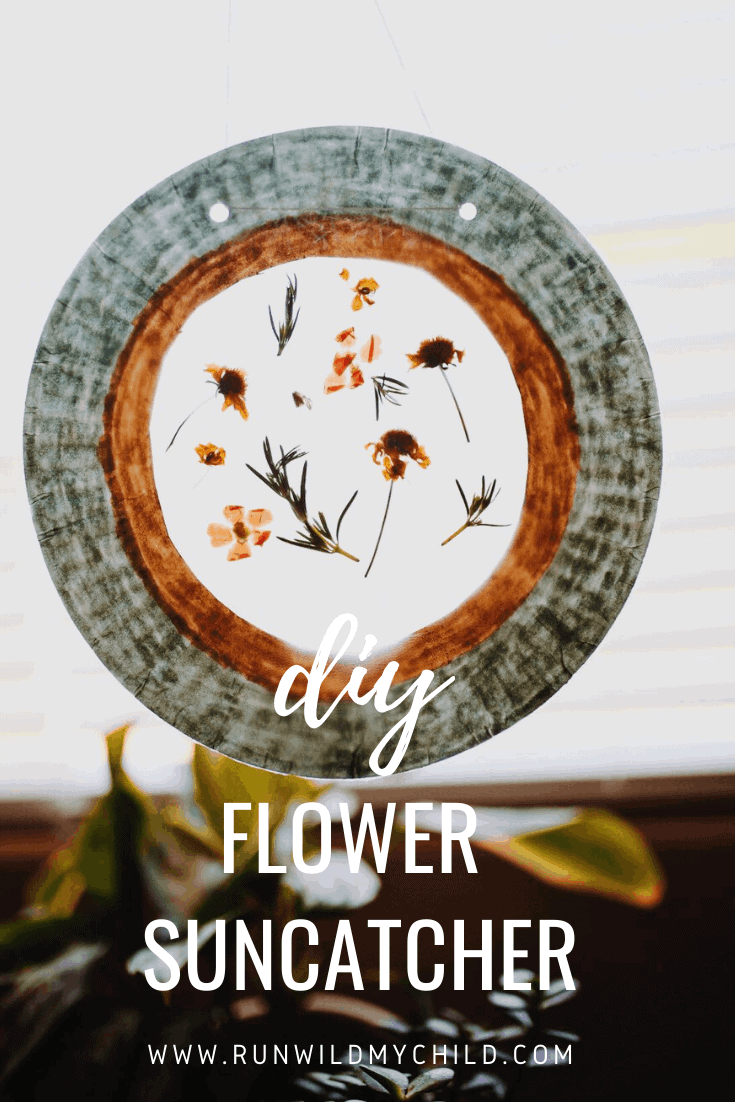
Bring the beauty of nature inside
With all of us being in our homes a little more than usual lately, it’s more important than ever to bring nature inside to us. We’re always looking for ways to bring more nature into our indoor lives and fun ways to stay entertained. Flower suncatchers are the perfect combination. This is a fun and super easy DIY project that you can do with kids of all ages. It’s easy to get the whole family involved in the process. Let’s get started with what you will need!
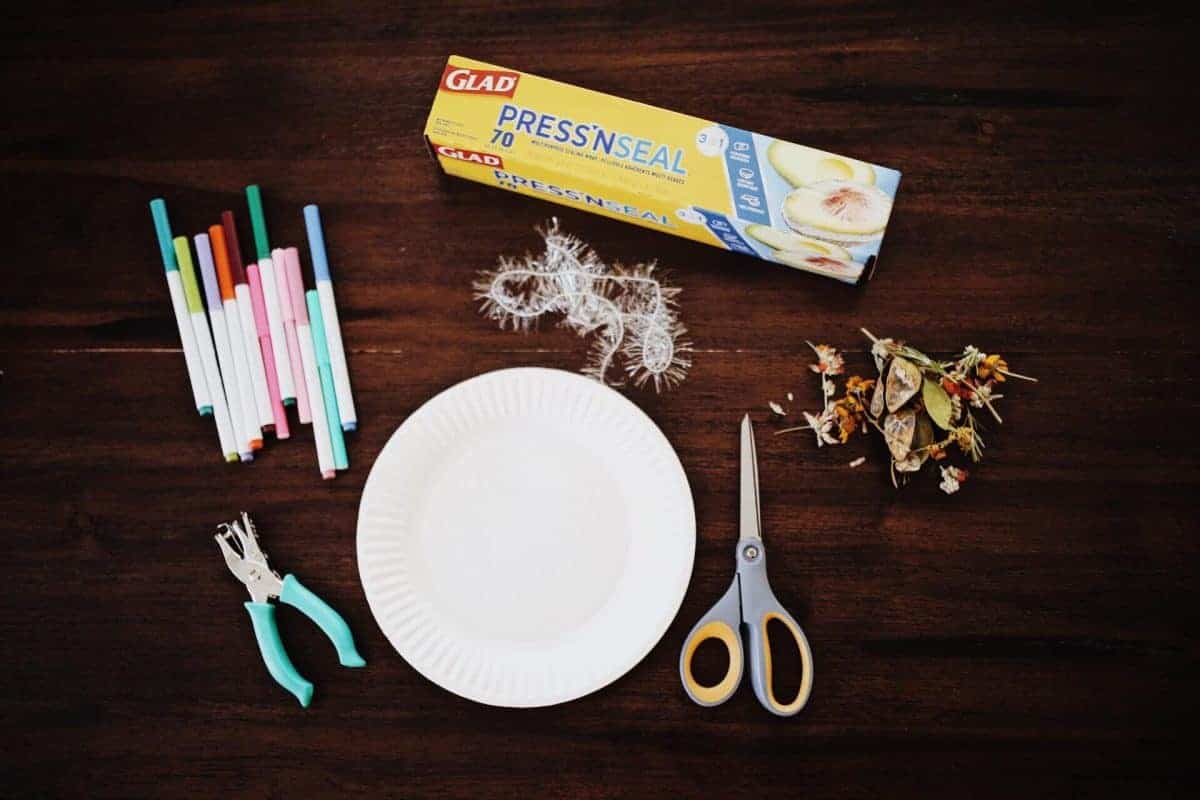
Gather your supplies
The beauty of this DIY flower suncatcher is that you probably have all of these items sitting at home. No need to leave your house, except to go pick some flowers! And since we’re all about getting kids outside, this is my favorite part of the process! Here are all the supplies you’ll need:
- Paper plates (preferably the old school ones, not foam plates)
- Markers or paint
- String or yarn
- Press N Seal wrap
- Hole punch
- Scissors
- Flowers, leaves, grass, etc
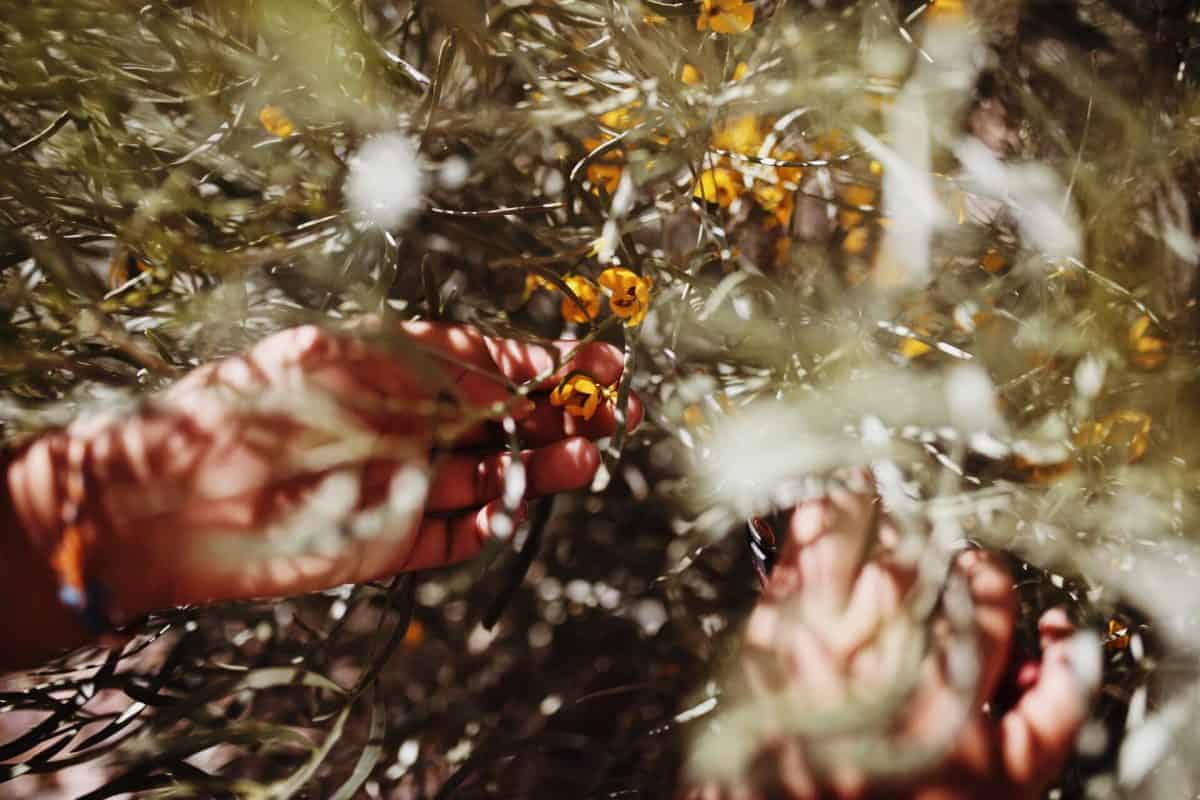
Go flower picking
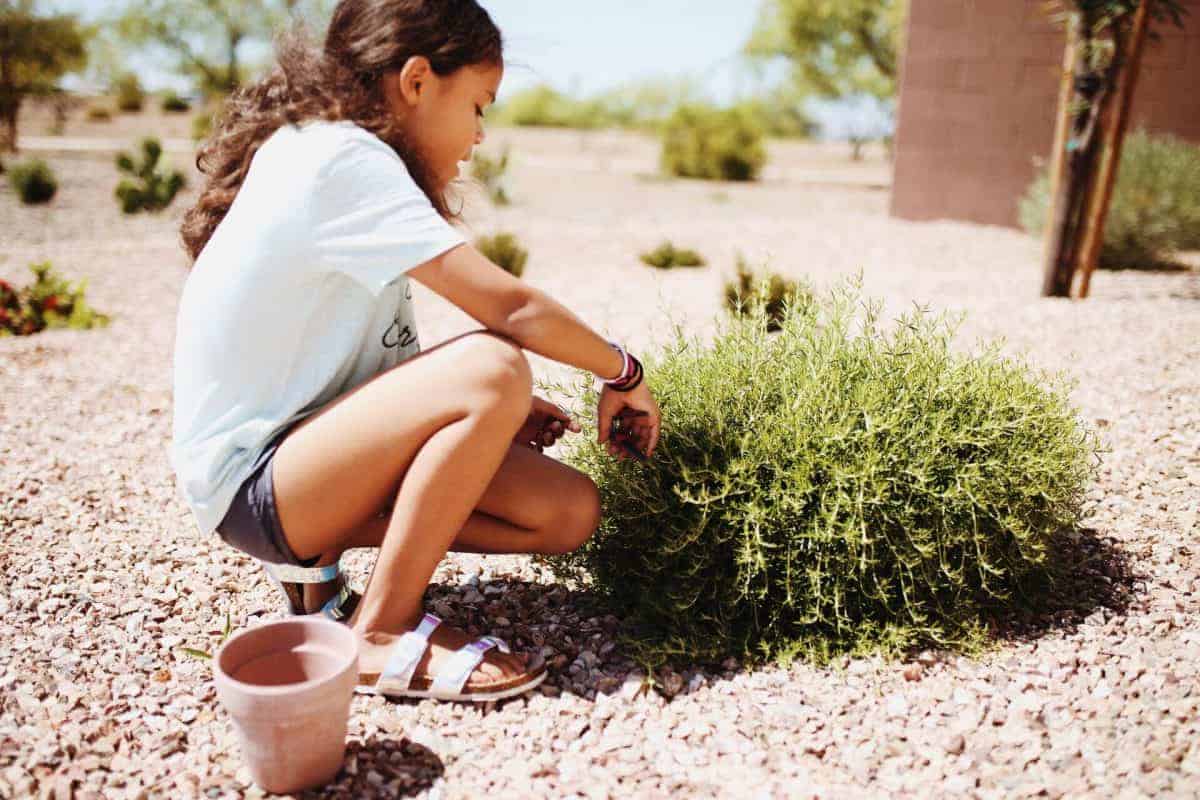
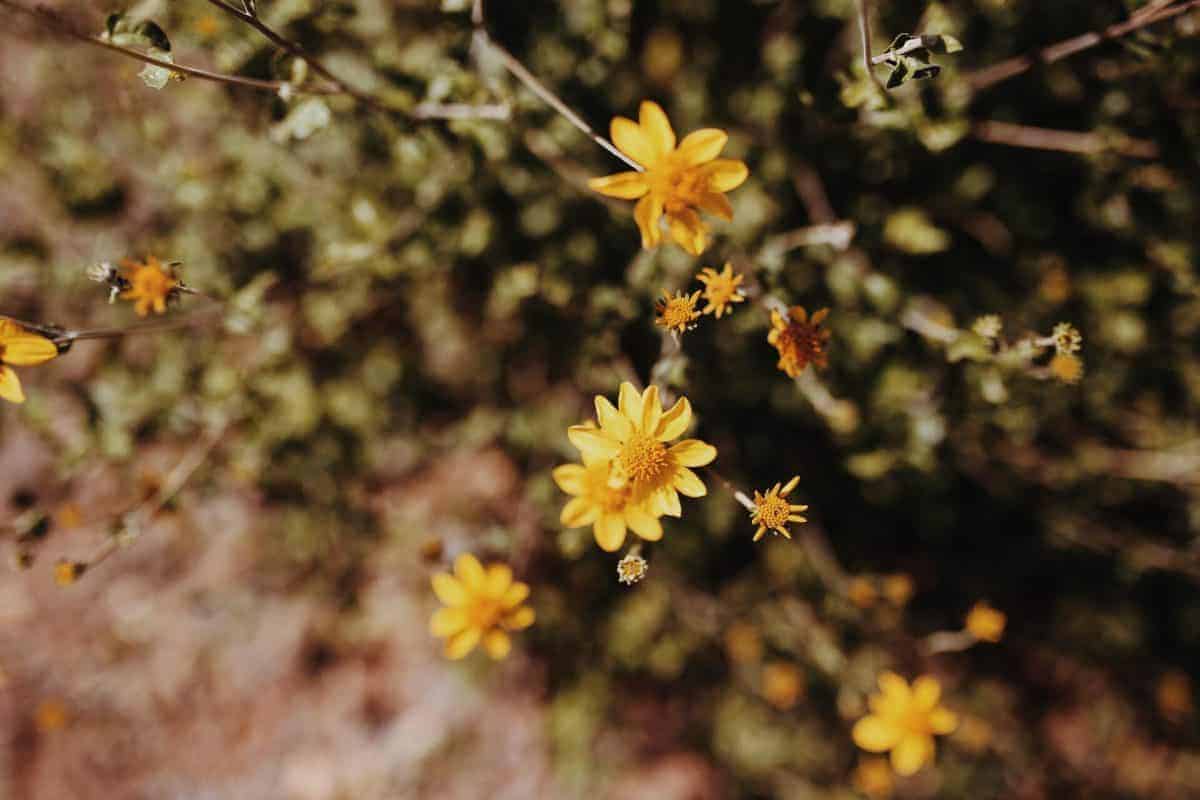
The first thing you need to do is to collect your flowers. Time to grab all the kids and get them outside to explore! Give them their mission to find as many flowers, leaves, foliage, grass, etc. as they’d like to use. Spend this time getting some of that energy out so they’ll be ready to focus on the craft when you get home! We chose to use a flower pot that was sitting around to put all of our treasures in. You can use whatever you have at home (bag, box, bowl, etc.)!
If you want to protect tiny hands, you can take along a pair of gloves. Not necessary, but may be a good option if you’ll be picking thorny flowers. Have fun with the flower picking portion of this project! Make it an adventure! Choosing different shapes, sizes, and colors will make each suncatcher unique!

Instructions for making a flower suncatcher
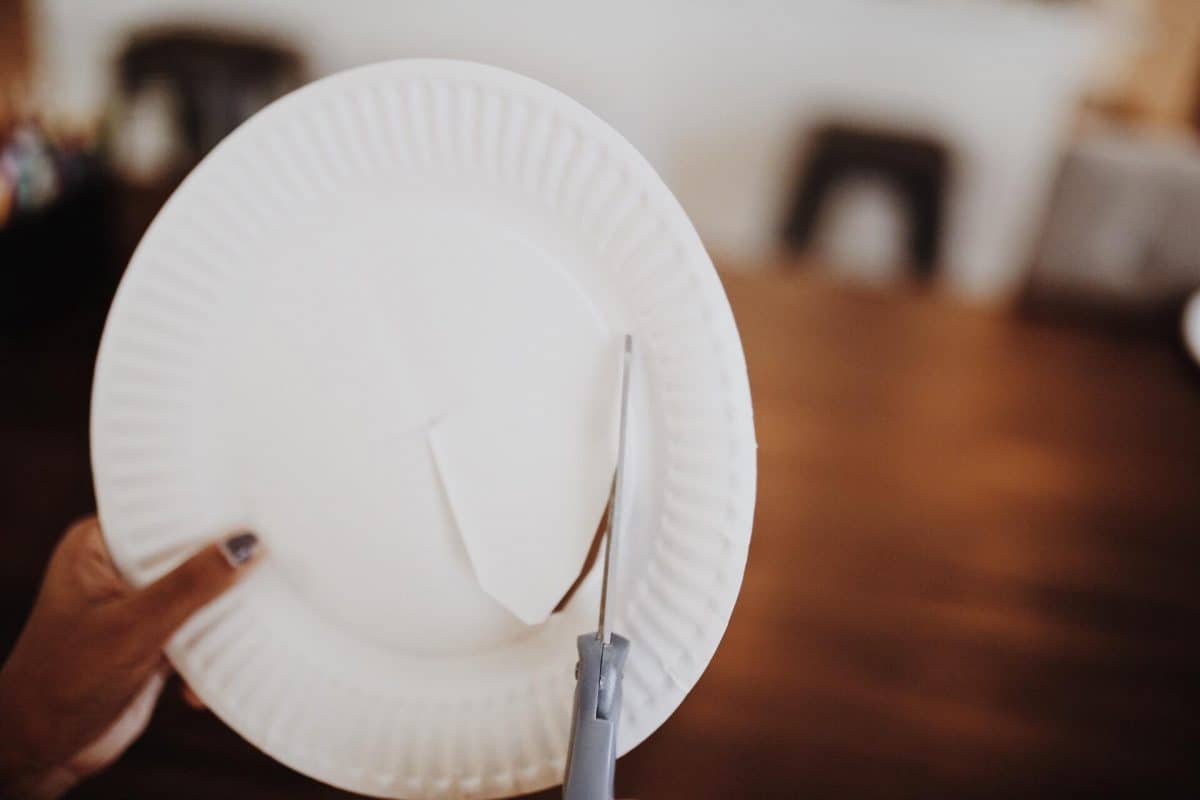
Step 1: Cut out the center circle from the paper plates.
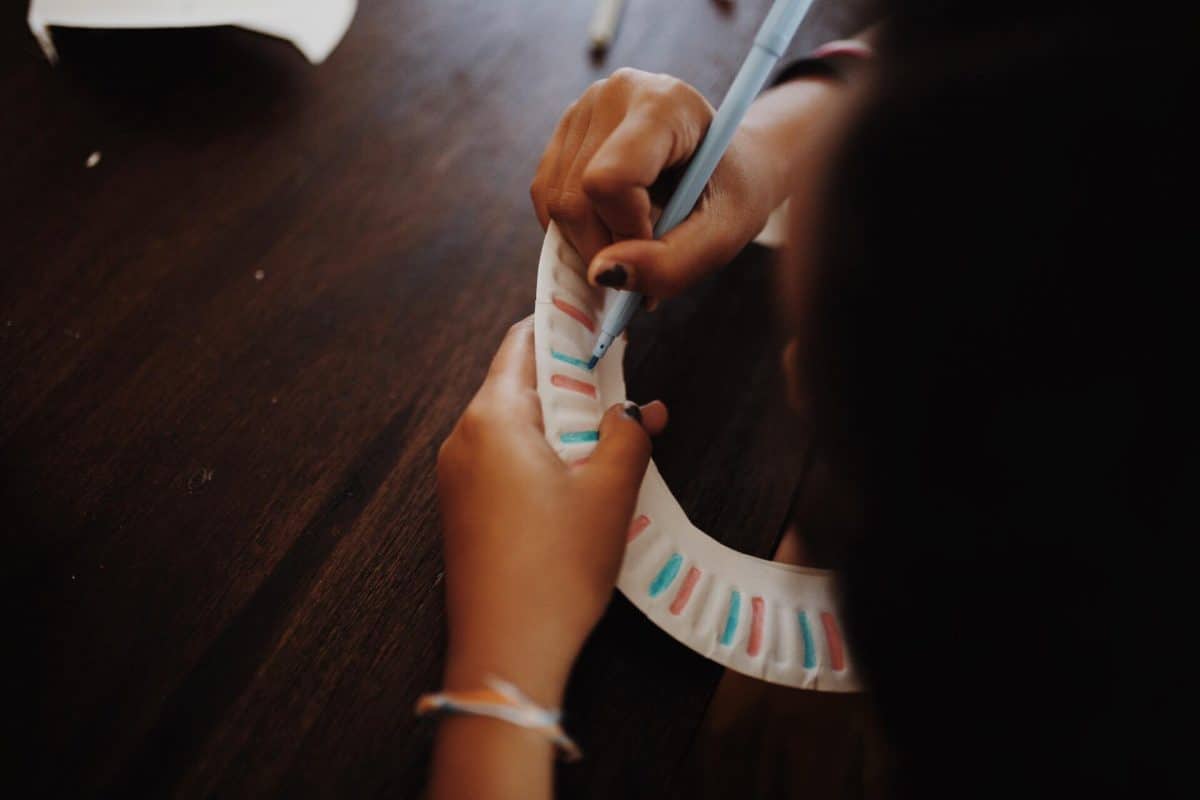
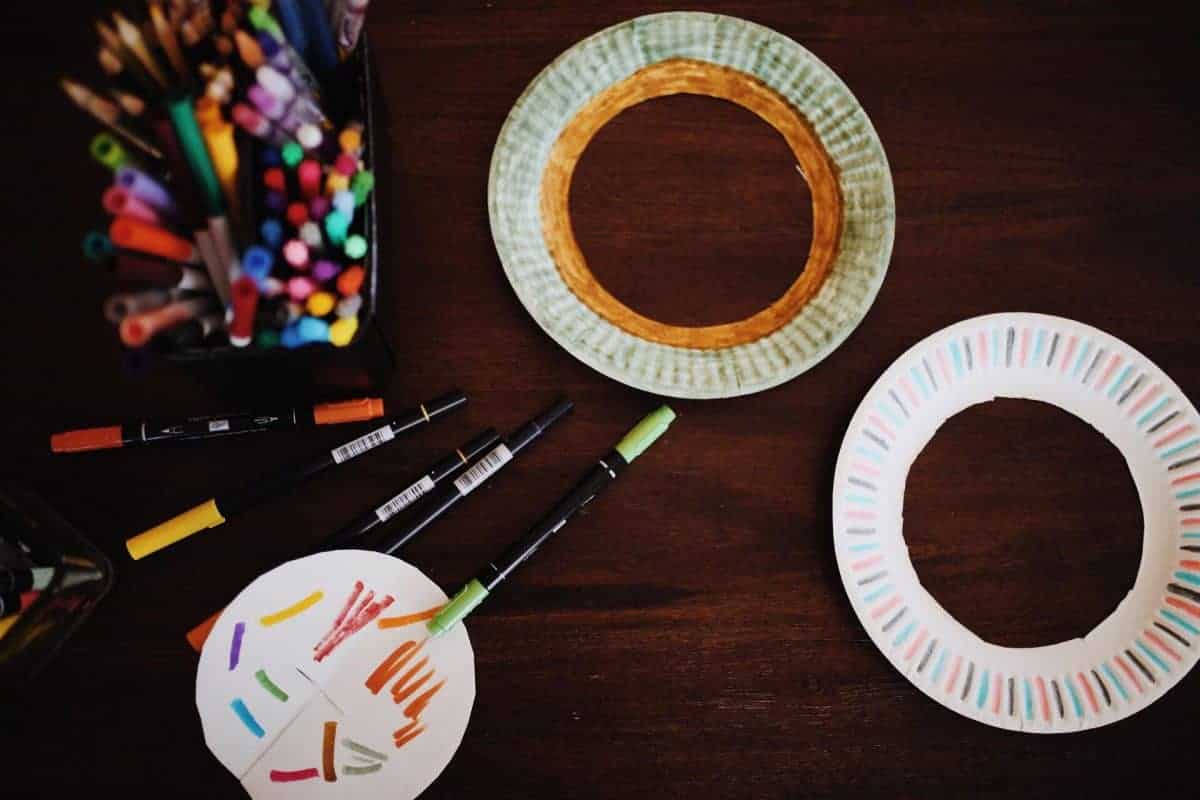
Step 2: Once you have cut out all the circles, let the kids decorate the front of the paper plates. You can use colors, markers, paints, stickers or whatever else you have on hand.
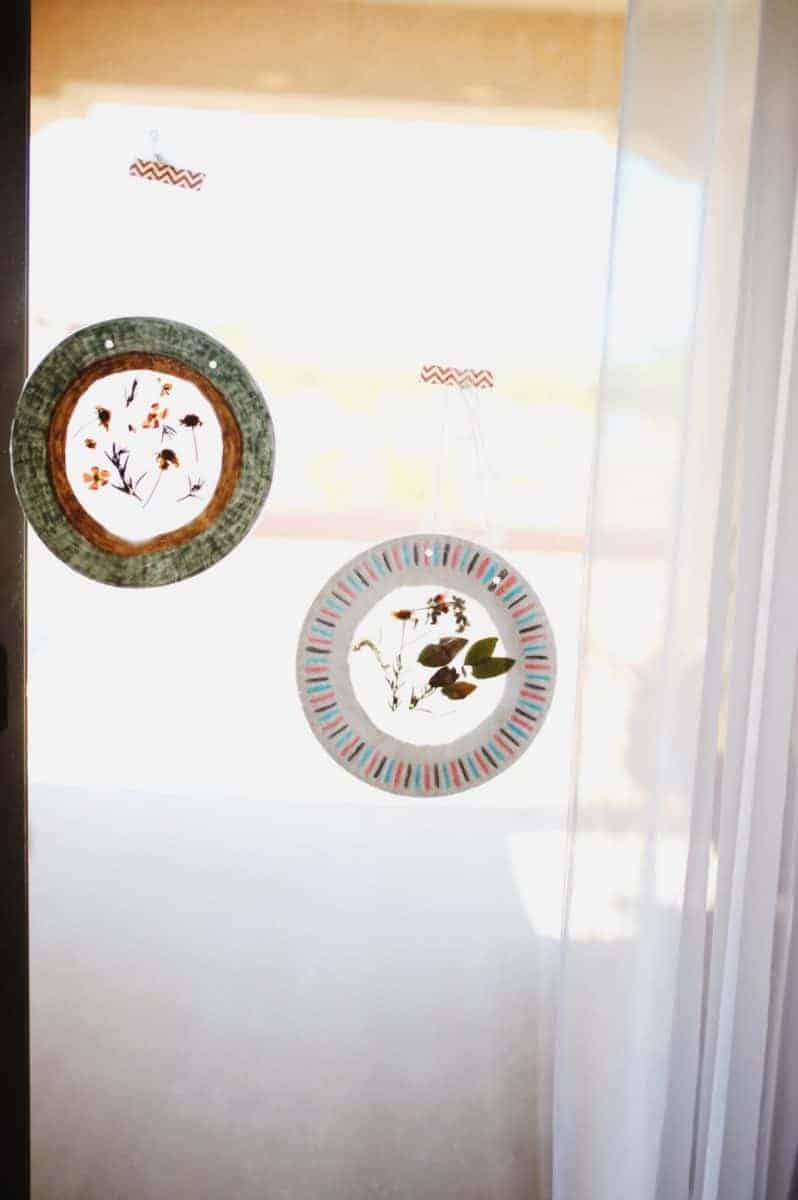
Step 3: Place a sheet of the wrap paper on the front of the plate. Turn it over and add flowers. Next, place another sheet of the wrap paper on top and press the plate flat to allow the two pieces to stick together.
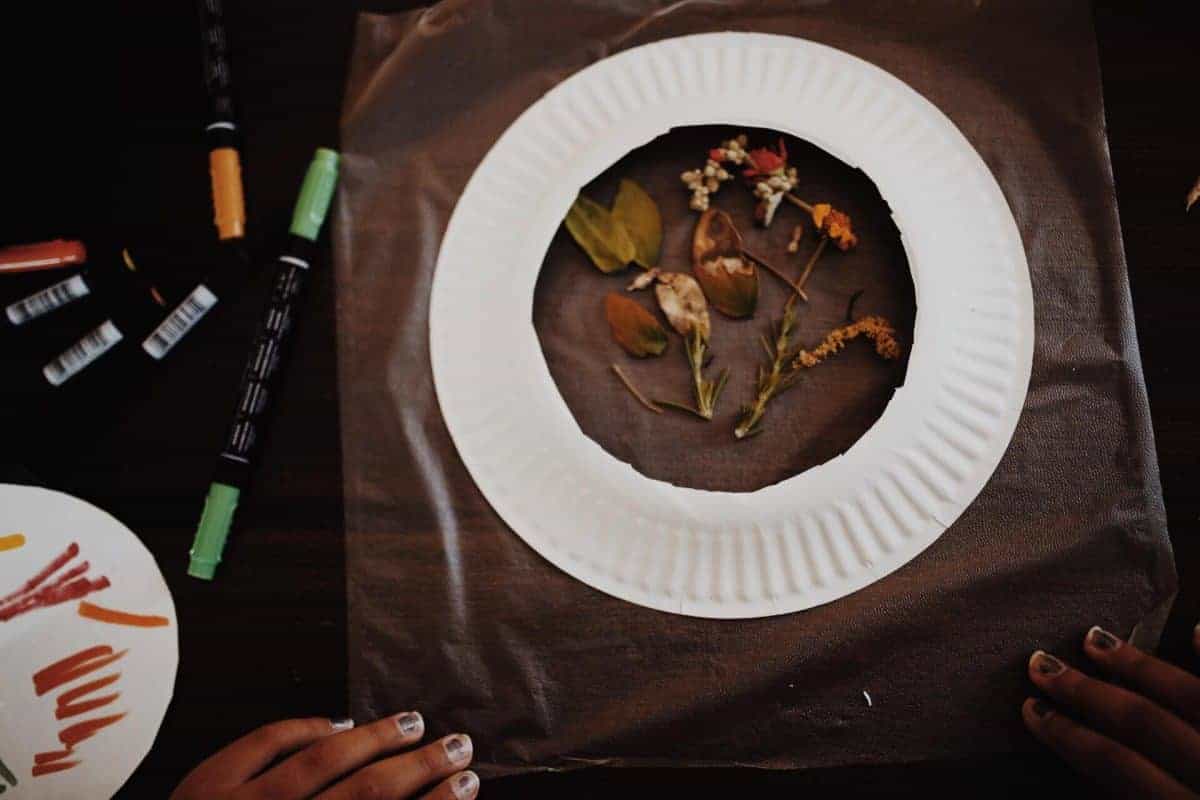
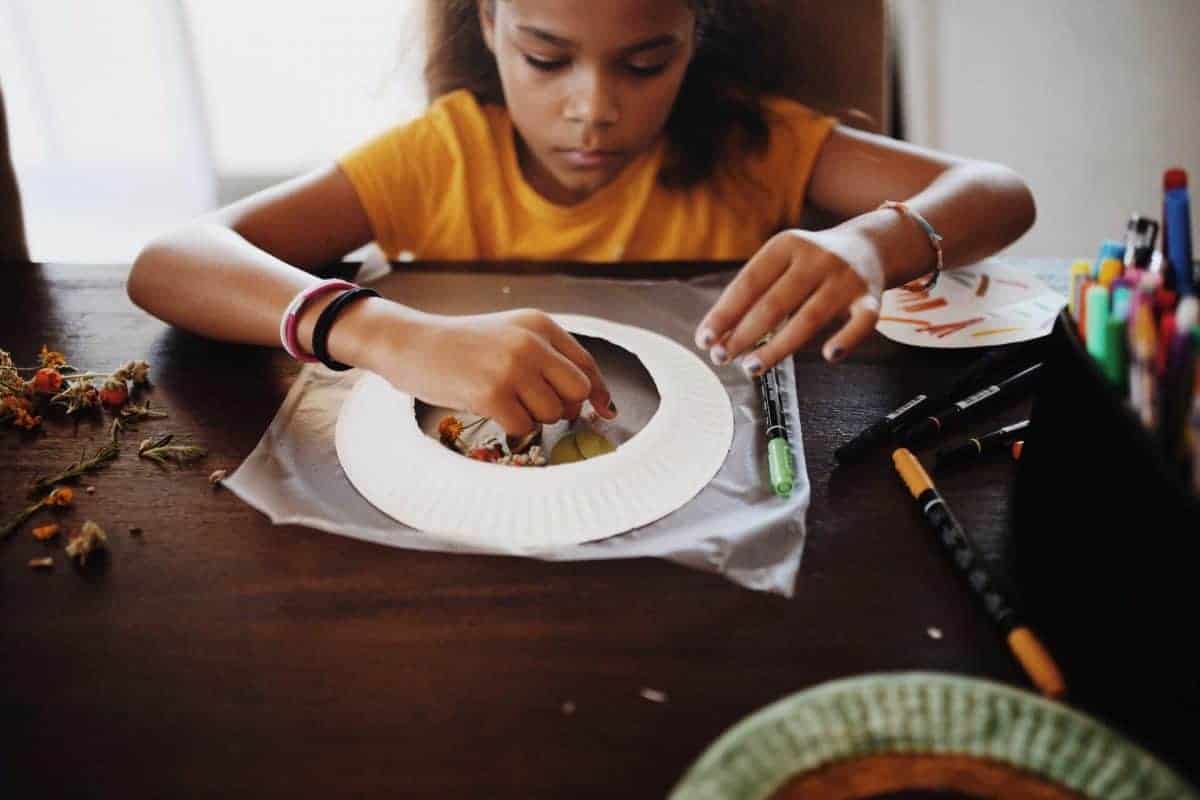

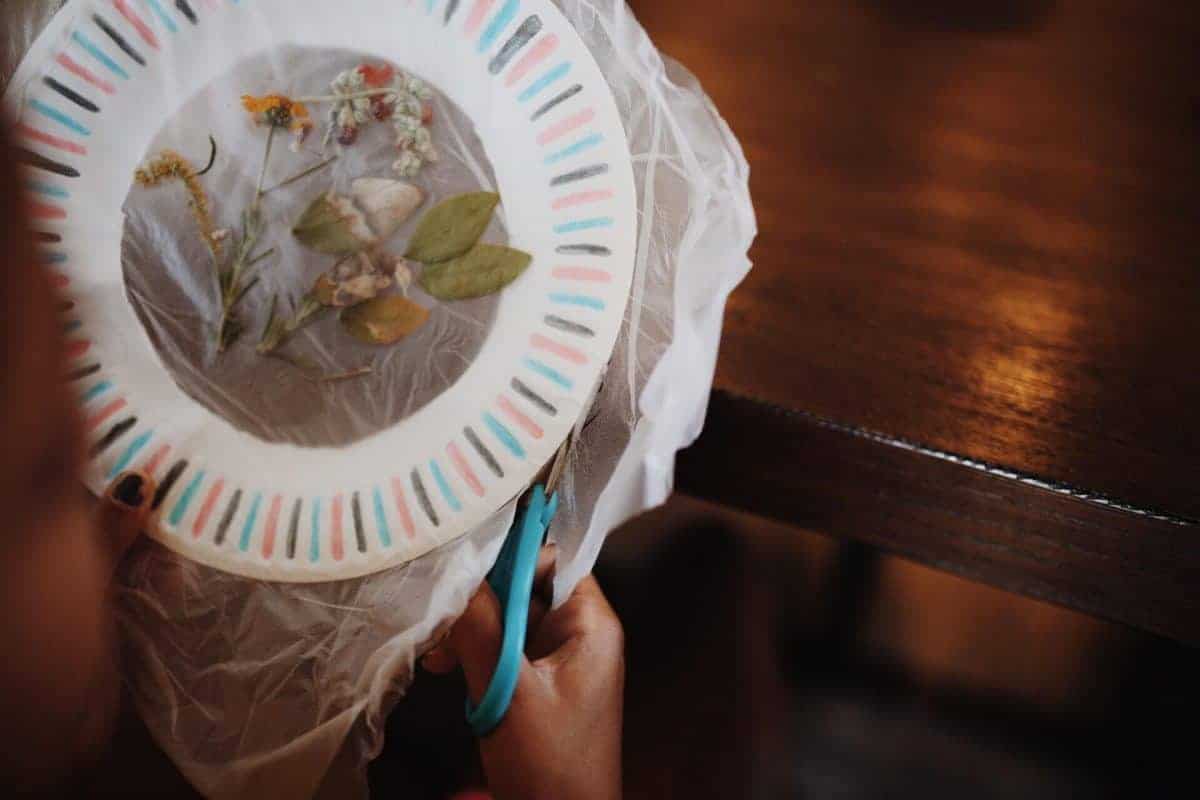
Step 4: Use the scissors to cut off any excess wrap around the edges.
Step 5: Punch two holes in the top and add your string so you can hang it up!
Show and share
See, I told you it was easy! Making DIY flower suncatchers is such a fun project for kids and a great way to display your nature treasures. The kids were so incredibly proud of their suncatchers. They added nature elements and fun color to our space and reminded us of our fun outing.
Are you ready to make your own DIY flower suncatcher? We want to see it! Post a photo of your suncatcher on social media and use the hashtag #runwildmychildDIY so we can see and share your creations!
 About the author
I’m Kathleen, wife to my high school sweetheart and mama to 3 energetic littles. I’m a photographer in love with telling compelling stories of life’s beautiful chaos and photographing families authentically. I am slightly obsessed with window light, Saturday morning snuggles, and documenting our adventures. We recently took the biggest leap of faith of our lives and are currently traveling full-time around the United States in our RV!
You can follow our adventures in the following locations:
Website: www.faithboundtravel.com
YouTube: Faith Bound Travel
Instagram at @faithboundtravel
Other RWMC posts from Kathleen: Kathleen
Comments
2 responses to “DIY Flower Suncatcher”
[…] sun catchers are great flower crafts to have in your house year-round! Sunshine and a little bit of color can do […]
[…] If you want a fun craft project to make with kids that will add some nature and color to your home, try making flower suncatchers. Start by collecting flowers that are bright and colorful. You can dry them flat under a book or try microwaving them in between fabric under a brick (I’ve heard this works well to preserve the color). Once flat and dry, seal the flowers between two pages of laminating paper or even between 2 pieces of glass (in a frame). Hang them in your window and let the sun shine through! Here’s a great tutorial for how to make flower suncatchers with kids. […]

Leave a Reply