Bringing nature inside is an excellent way to engage children, learn new things and make family memories. There are many ways to incorporate nature experiences into our homes and schooling. These are a great complement to outdoor nature excursions and adventures. One incredible way to teach your children about nature, caring from animals and life cycles is to hatch baby chicks! Today, we have Ginny Yurich, founder of the 1000 Hours Outside challenge, here to teach us about hatching chicks in an incubator with kids! The entire fascinating process takes just 21 days from egg to chick. Even if chickens are not in your future, this is a great read – share it with the kids!
Nature at home
I am writing this post in the midst of the COVID-19 pandemic. We are on shelter-in-place orders for a few more weeks and have been for quite a while now. Like many people, the plans for our winter and spring were significantly altered. These past few months were originally slotted for a speaking tour around the United States and countless adventures along our travel route. Instead, we’ve found ourselves stuck at home. We’ve had to find new ways to incorporate nature into our lives. New circumstances offer new opportunities and this slowed down pace has allowed us to try some brand new things. Caring for the animals on our farm has been an incredible experience and a wonderful way to get our daily dose of nature.
Learning new things
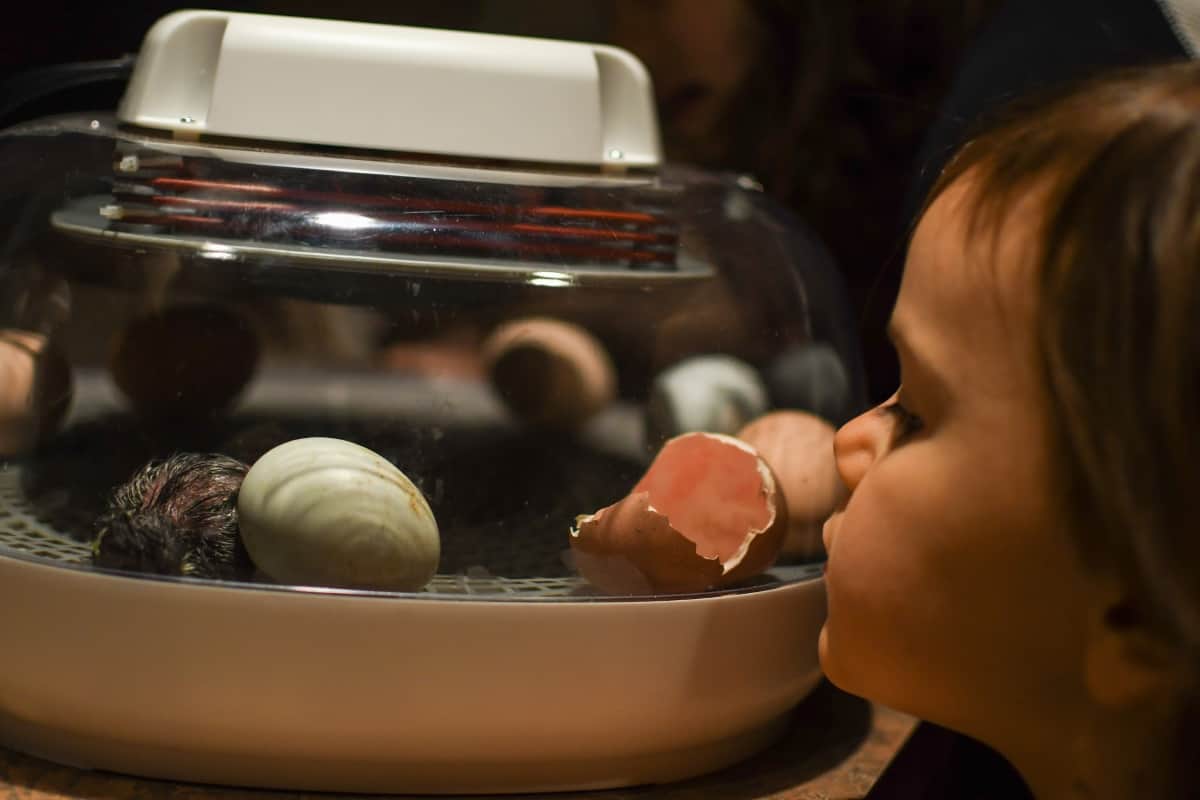
With this new lifestyle came new experiences for our family. For the first time ever we got to experience hatching chicks right in our house! This post details our second attempt hacking chicks because nothing happened the first time around (they weren’t fertilized, see below). True to form, I consistently fail at pretty much everything I try the first go around! The second attempt, however, left us with FOUR brand new baby chicks. What an experience!! It was so exciting that we cleaned out our incubator and set another batch of eggs in the very next day.
Since this experience is all brand new to us I probably won’t answer all your questions. However, we learned a tremendous amount about the process and that’s what I’m going to share with you here! This an excellent time in life to have some chickens around, if it’s allowed where you live. If not, this is still a fabulous learning activity for your school or homeschool. You can always find people to buy the chicks once they have hatched… or you could just give them away!
The incubator
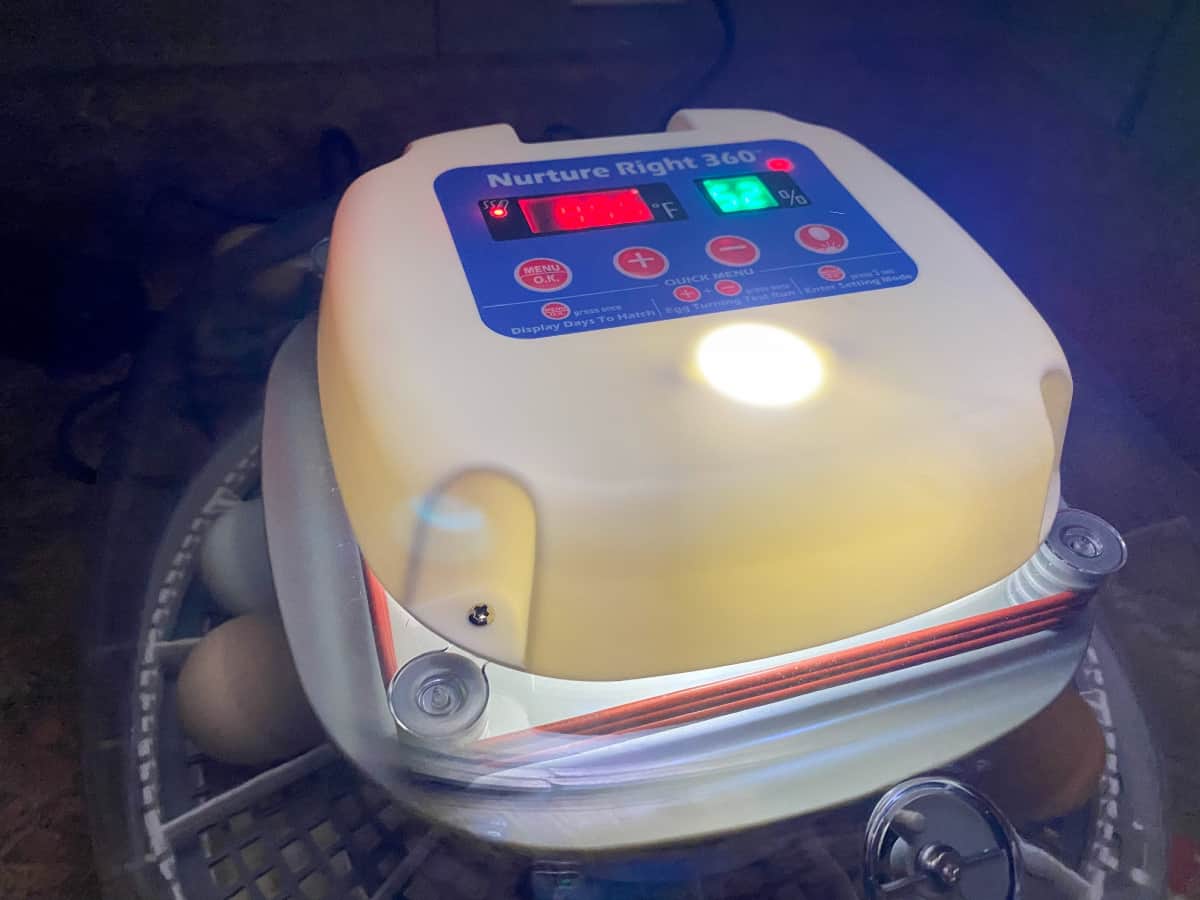
I am proud to admit that I am now a part of several chicken groups on Facebook! Those are my go-to places for information on hatching chicks and raising chickens since these are the people who have already tried what I have not. The Nurture Right 360 Incubator was the top incubator choice in all of these groups, and so, that is what we went with. It holds up to 22 eggs! Its top features are heat and humidity consistency, egg turning, a countdown timer, and a candling feature (more about candling later). We love it, but this is by no means your only incubator option.
There are many sizes, varieties, and brands of egg incubators available. Some hold as little as three eggs while others can hold up to 250! An incubator is even something you can even make yourself, if you’re feeling crafty. If you search DIY incubator plans you can find countless articles and videos detailing different ways to make one! Another option to consider is calling your local school district to find if they have one you can borrow for three weeks.
Incubator must-have features
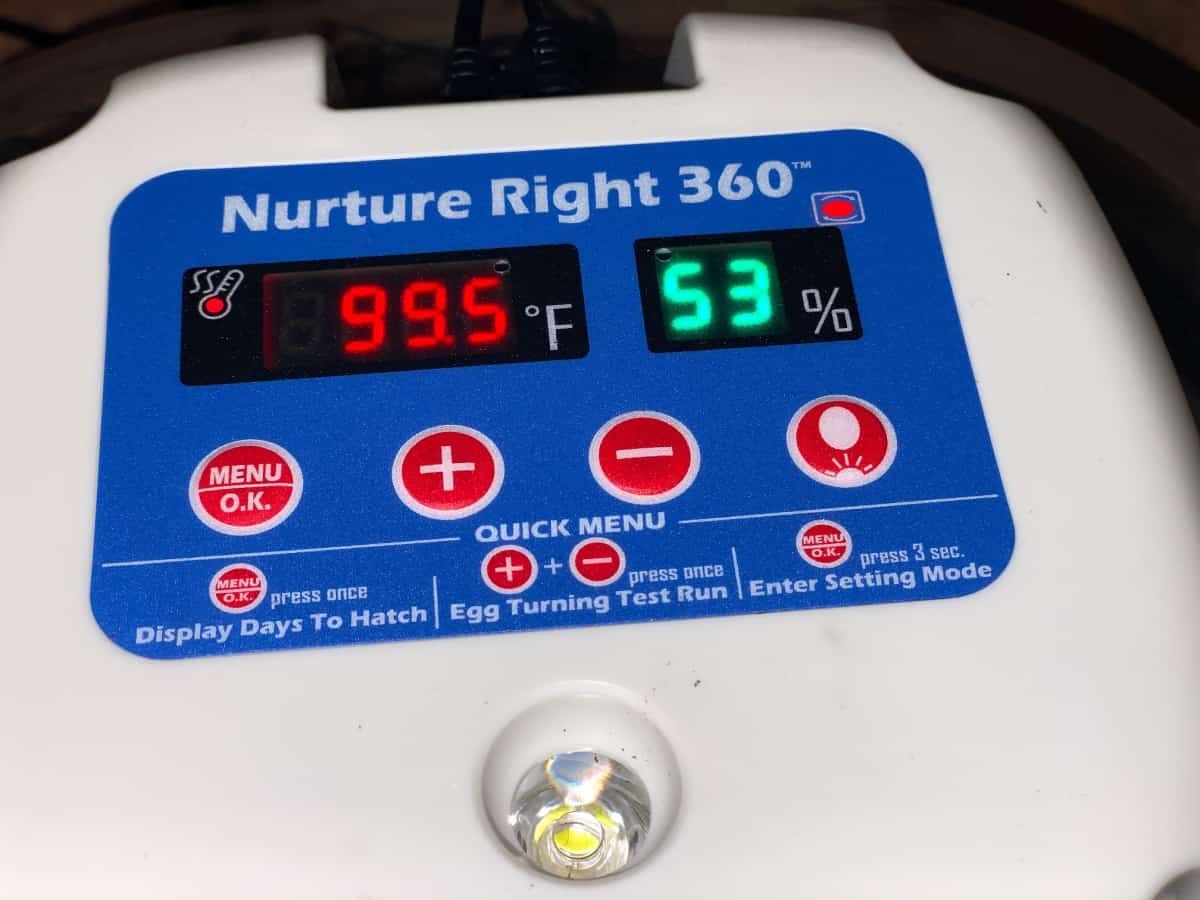
In order for the incubator to actually work, it must be able to keep the egg environment at a consistent temperature and humidity. Chicken eggs must be kept at a temperature between 99 and 102 degrees Fahrenheit. 99.5 degrees Fahrenheit is considered the ideal temperature. This is extremely important because temperature fluctuations as little as one-fourth of a degree can decrease the rate of hatching and/or cause health issues with hatching chicks.
Humidity control helps the developing embryos have the correct amount of moisture throughout incubation. Similar to the temperature, there is an acceptable range (50 to 65 percent humidity) with 60% being the ideal number here. Incubators have water-holding devices that help maintain humidity levels.
Some incubators turn the eggs automatically. In order for eggs to be viable, they must be turned three times a day every day until the final 72 hours before hatching. This keeps the yolk right in the center of the egg white so that it doesn’t stick to the shell membrane. If the yolk gets stuck, the embryo will die. If your incubator doesn’t have an automatic turning feature you will have to rotate the eggs by hand. Miraculously, mama hens know to turn the eggs they are sitting on! If you were to place a small line with a pencil on the outside of an eggshell that a hen has been sitting on you would find, by looking at your line, that at different times of the day the hen will have rotated the egg. Isn’t that amazing?
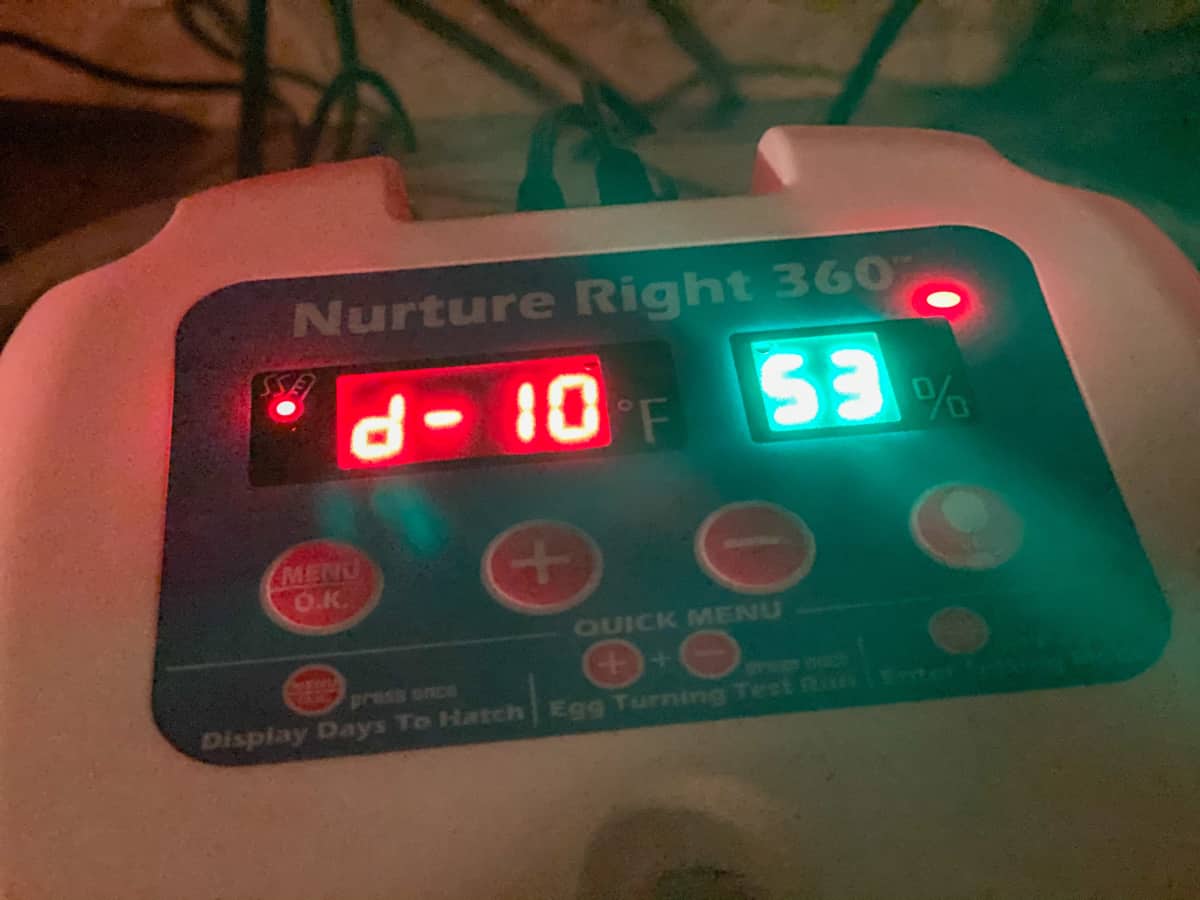
If you look below, you will see that our incubator shows temperature, humidity and the day of incubating we are on. D-10 means that there are 10 days remaining. A red light will show up if temperature or humidity is outside of the acceptable range.
Fertilized eggs
Biology 101 – in order for an egg to be fertilized, a hen and a rooster must mate prior to the formation of the egg. Hens can lay eggs with or without the presence of a rooster. The eggs you buy from the grocery store are not fertilized. They come from hens who live with other hens. If you want to hatch baby chicks a rooster must be involved in the process. A single successful mating session allows a hen to produce fertile eggs for around two weeks. You can use a process called egg candling to find out if your eggs are fertilized or not.
If you have your own hens and they live with a rooster, chances are you will have many fertilized eggs. If you do not have a rooster, you can also obtain fertilized eggs from hatcheries or even buy them in local groups on Facebook!

Egg candling
Egg candling is a fascinating process allowing you to partially see inside of an egg and watch the development of the embryo over time. It’s as simple as shining a bright light on the egg. However, the process must happen quickly, in just a few minutes or less, in order to avoid the temperature of the egg dropping too drastically. Be sure to handle the eggs with clean hands. Around day seven of development, egg candling allows you to tell which eggs are fertilized and which ones are not.
Some incubators come with a bright light you can carefully set your egg on in order to observe. Or, you could just hold the egg in one hand and use your other hand to shine a flashlight into it. Some people use an actual candle (hence the name).
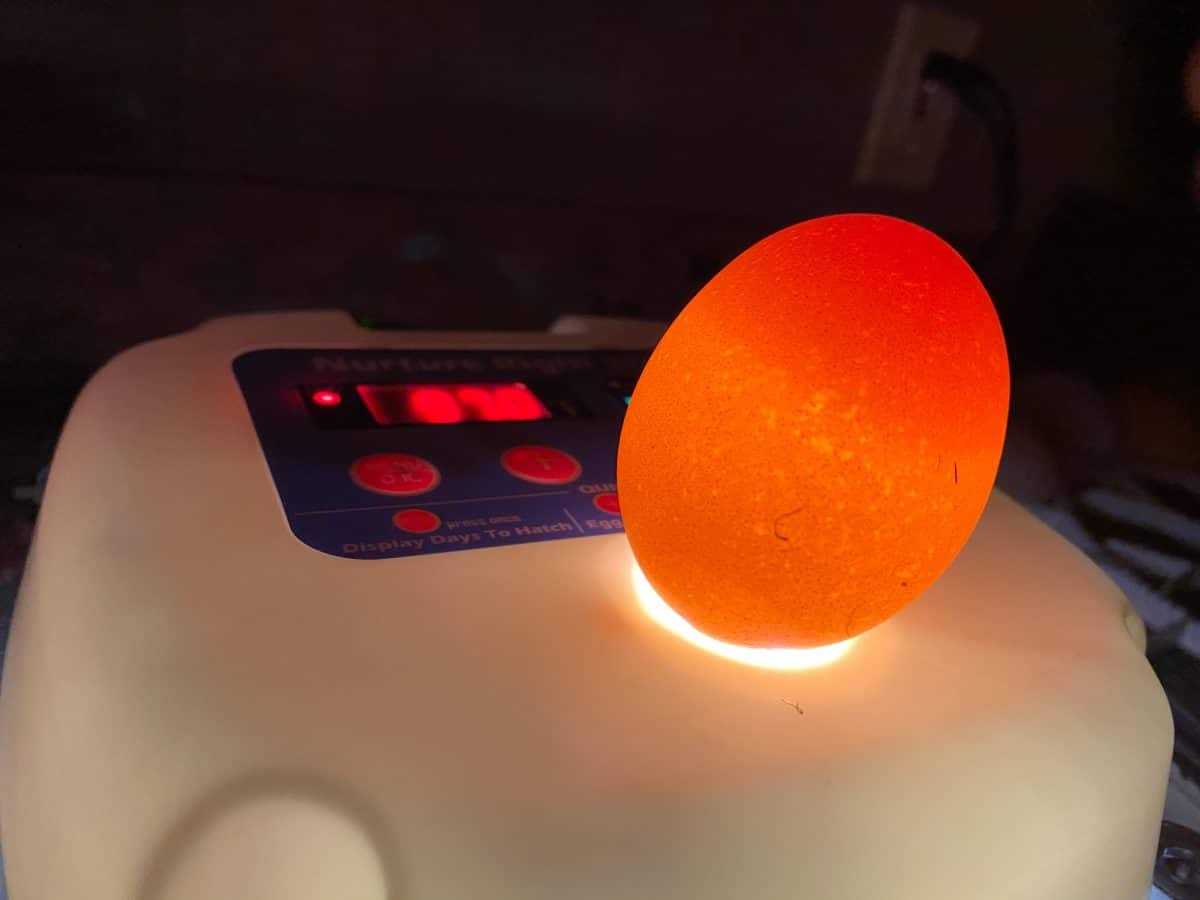
By day seven you should be able to clearly see an embryo forming inside of a fertilized egg. It looks like a small black dot. Additionally, you may see the presence of veins. You can clearly see the difference between the eggs below. One shows the black dot of the embryo and emerging veins while the other is empty and not fertilized.
As your egg develops, through candling, you will be able to see the embryo grow and even begin to wiggle around. It will gradually fill the egg up causing the inside of the egg to look very dark. Once day 18 hits it’s time to leave the eggs alone and wait for them to hatch!
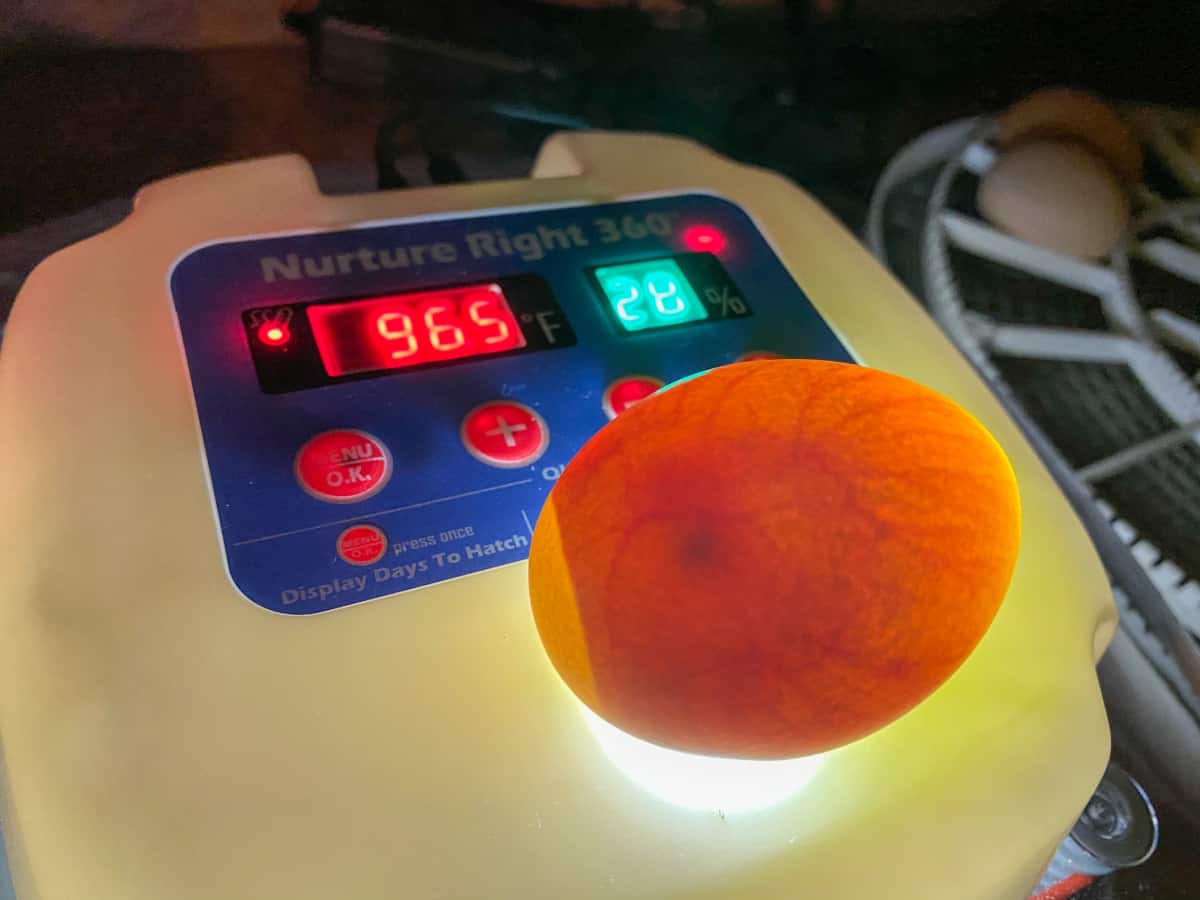 (fertilized egg above – unfertilized egg below)
Preparing for hatching
Hatching is wildly exciting! This is definitely our favorite part of the entire process! Chicks can begin hatching as early as 19 days. Although, occasionally the process can take as long as 25 days. Did you know that you can actually hear the chick chirping before it breaks out of its egg?! Amazing.
On day 18 of development, stop turning the eggs, raise the humidity to 70%, and begin to wait. From this time on, leave the eggs be and do not handle them if at all, if possible. One of the very last things to happen is that the chick absorbs the yolk. This allows the chick to go up to 72 hours without food and water after hatching. It’s also what makes it possible to order chicks through the mail!
The first thing you will see is a pip. The pip is the first crack in the shell that the chick creates using its egg tooth. Once the first pip happens your chick will be fully hatched within 18 hours (but often a lot sooner). From this point forward to do not open the incubator. A drop in humidity or temperature can gravely affect hatching chicks by drying up the membranes inside of the egg. Leave the eggs/chicks alone and just watch in utter fascination!
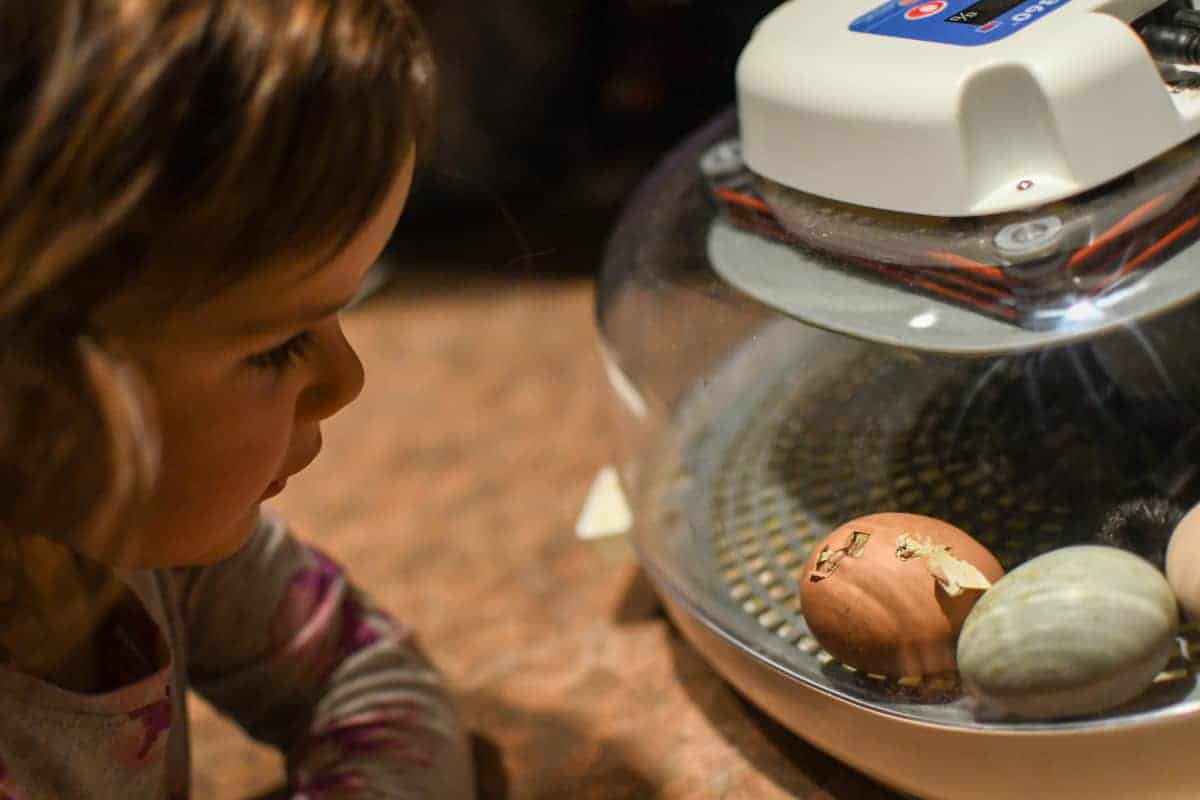
The hatching process
The pip will eventually turn into a crack that goes all around the egg. It doesn’t happen in the middle. The crack will occur towards the end of one side of the egg. While hatching, the chick will slowly turn its body around in the shell to extend the crack from the inside out. Hatching is an exhausting process and once the chick has finally emerged it may look limp and lifeless for a while.
A newborn chick will be wet and slumped over. Resist the urge to attempt to dry them off. Within just a few hours they will fluff up and start looking super adorable. Moving them from the incubator too early could cause them to catch a chill. Remember not to take any of your baby chicks out until they ALL hatch!
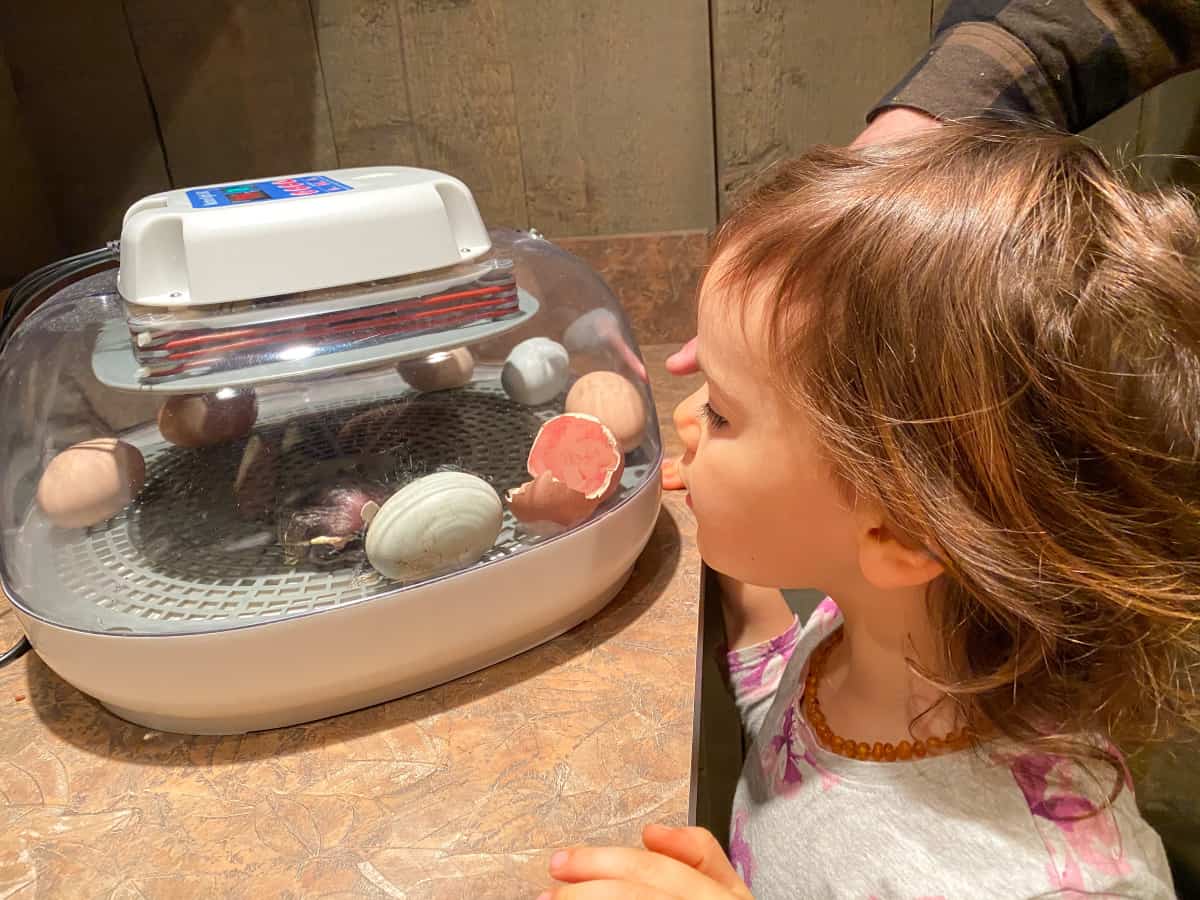

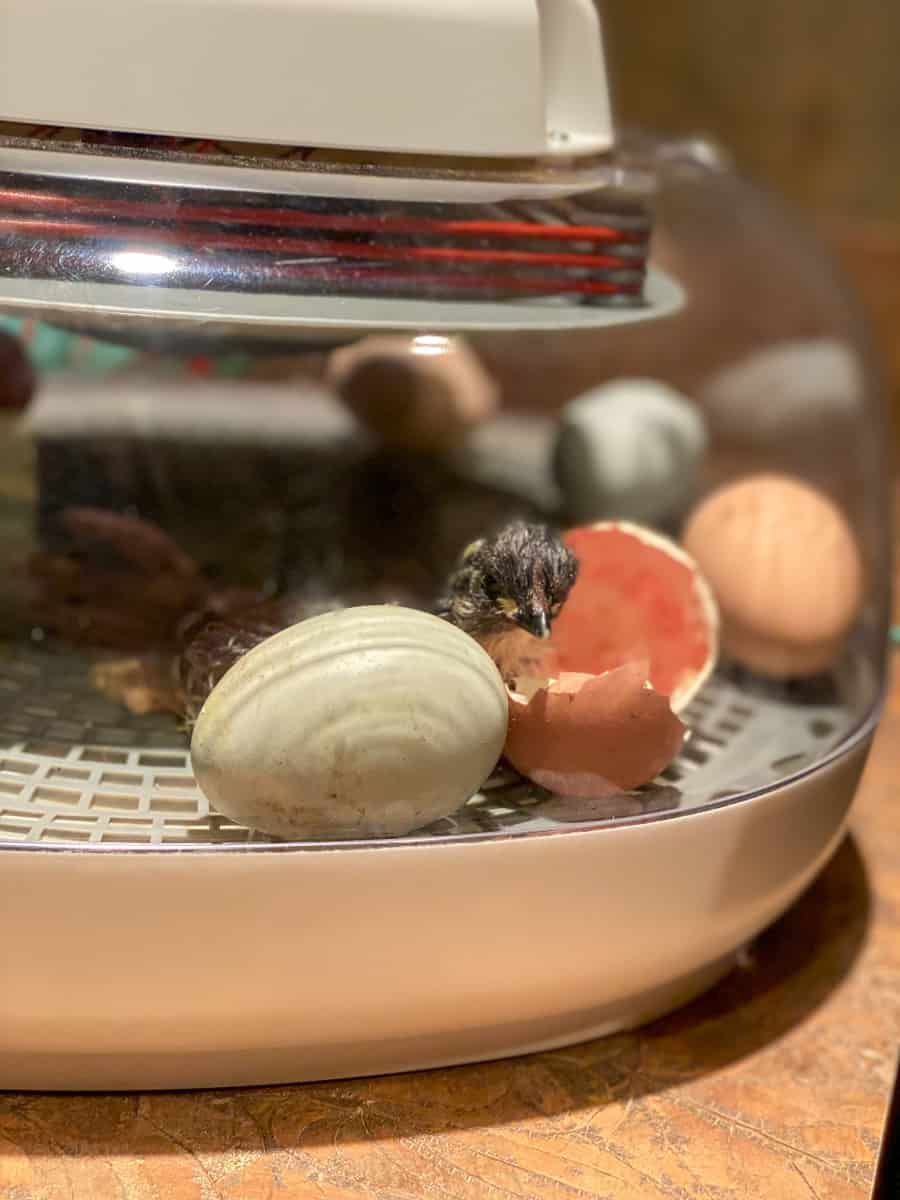
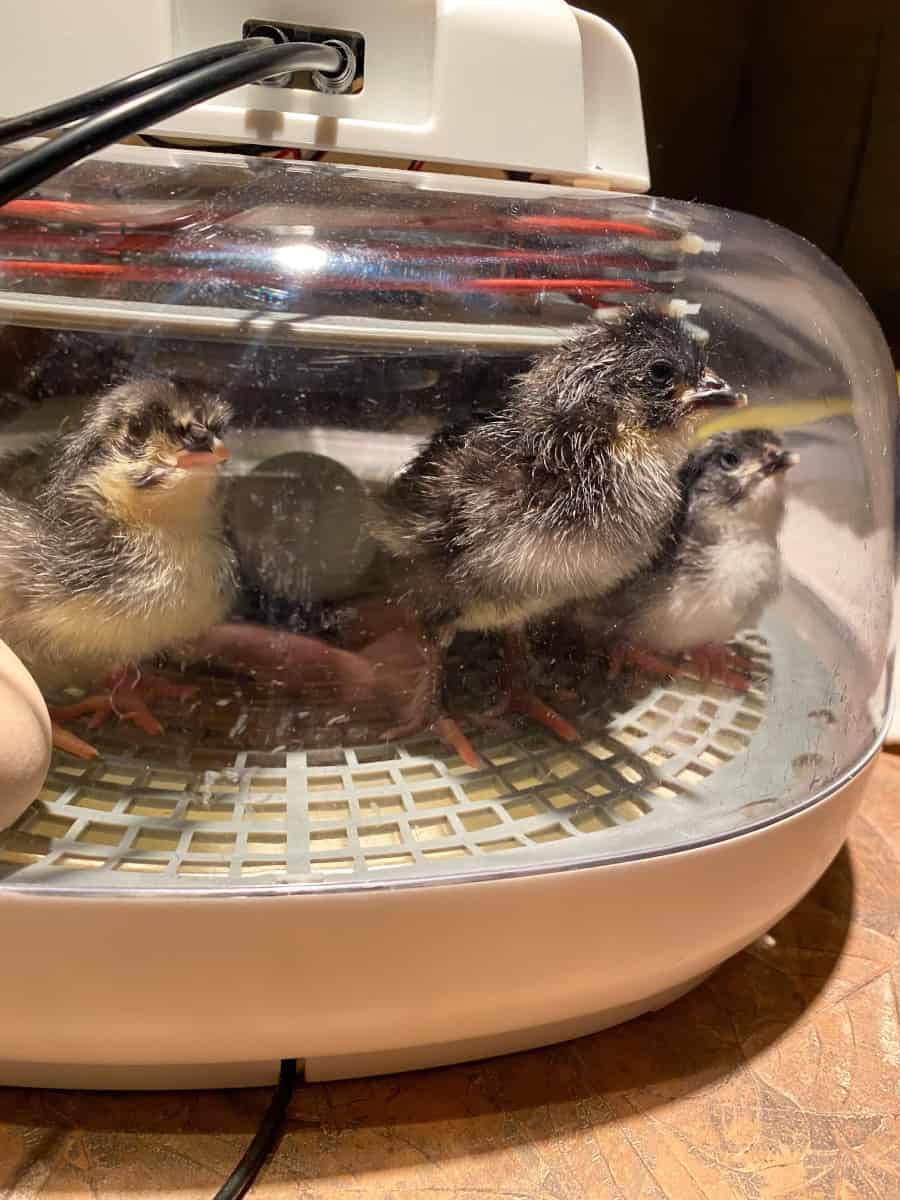
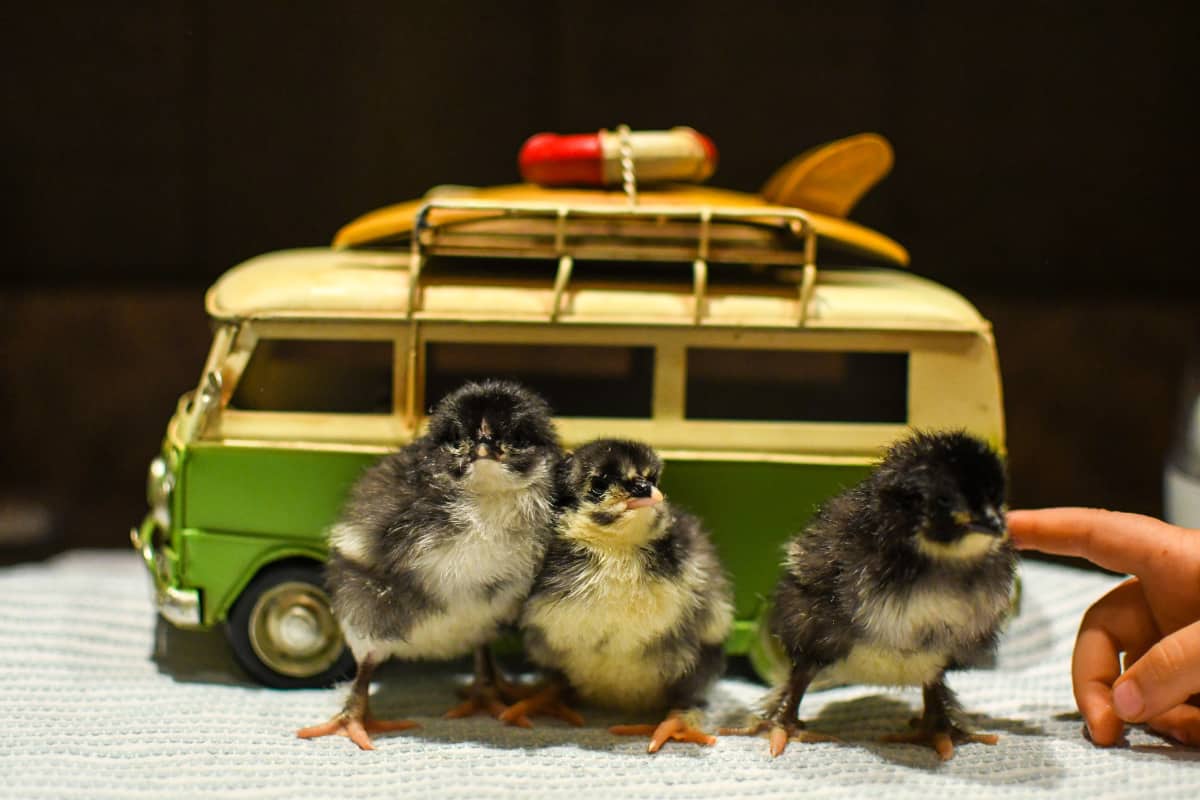
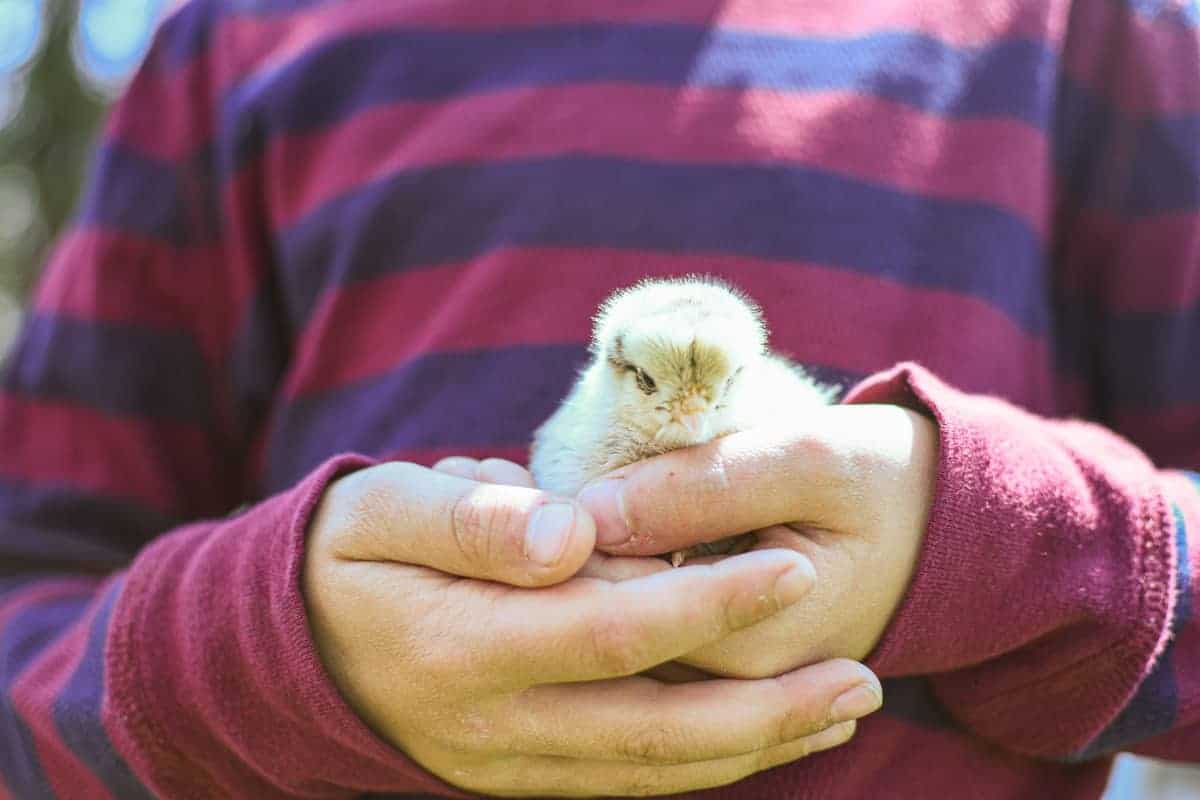
And now you have chicks!
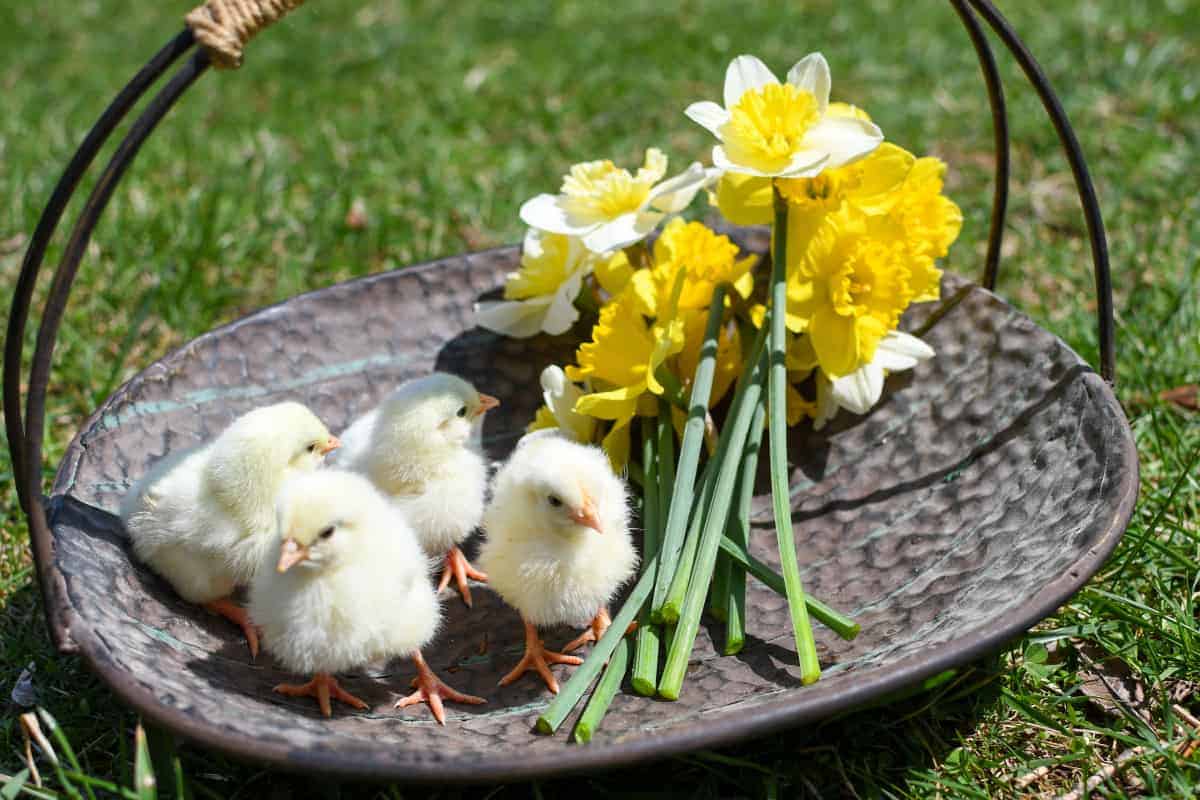
Now that you have baby chicks, what do you do next? Well, a photo shoot is definitely in order! Next, Baby chicks hatched in an incubator will need to go into a brooder once they are completely dry. A brooder is a heated area meant to keep chicks safe while they are small. Many people make a homemade brooder out of a plastic tub or even a plastic pool. The chicks will stay in the brooder for about 8-10 weeks. After that, you can move them to a coop. On average, chickens start laying eggs around six months old.
Hatching chicks with kids
And there you have it! Our entire experience hatching chicks from eggs and all the fun stuff we learned along the way. This was such an incredible experience for our entire family and we learned so much. If you ever have the opportunity to try hatching chicks from eggs, you should! And if not, make sure to share this read with your kids and explain the process so they’re aware. Kids (and adults) are fascinated by this and will learn so much.
Have you ever watched a chick hatch in an incubator?
What are some of your favorite ways to bring nature inside?
About the Author
Ginny is a Michigan homeschooling mother of five and the founder of 1000 Hours Outside. She is a thought-leader in the world of nature-based play and its benefits for children. Her 1000 Hours Outside Challenge spans the globe and many people from all walks of life look to her for inspiration as well as practical tips on how to put down the screens and get outside. Ginny has a Masters Degree in Education from the University of Michigan and is also a children’s book author and illustrator. Her book, The Little Farmhouse in West Virginia was published in February 2019.
You can find more from Ginny in the following locations:
Website: www.1000HoursOutside.com
Instagram: @1000hoursoutside
Facebook: @1000hoursoutside
RWMC posts: Ginny Yurich





My kids love to run in the house. Do you think affects the incubation of the eggs?