Spring is officially here! And what a better way to enjoy the fresh air, sunshine, and warmer temperatures that spring brings than by getting outside and collecting some nature treasures! What you do with your nature treasures is up to you, but we have some fun ideas! Today, Hannah Martin, UK mom and co-host of the YouTube show Hobie’s Nature Club is here with some fun and creative spring and Easter nature crafts for kids.
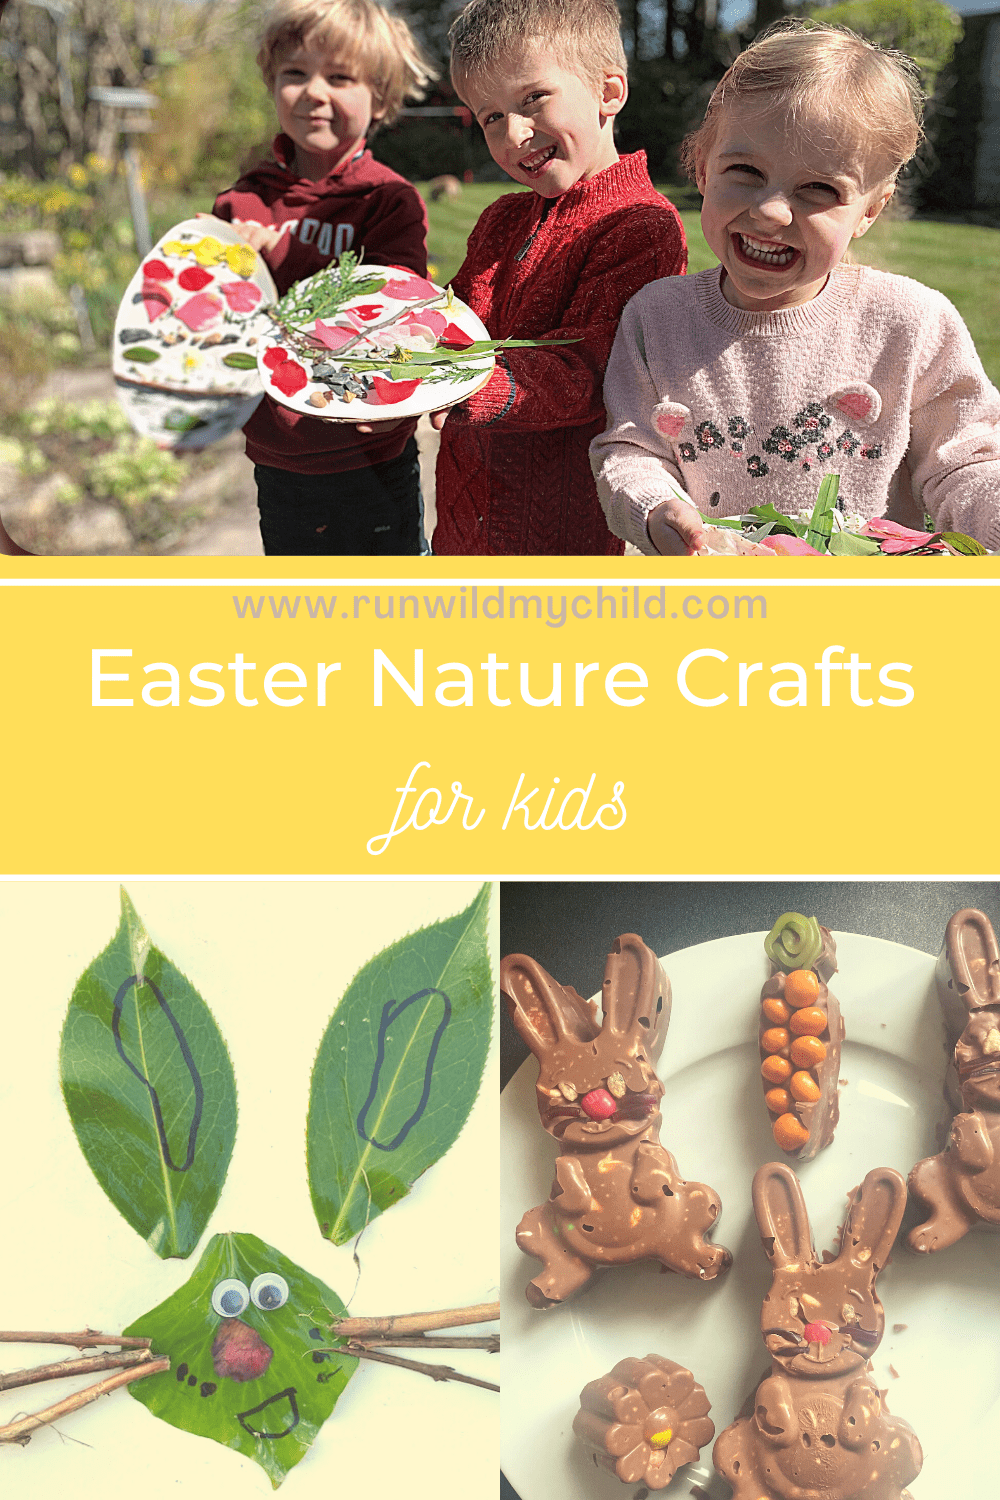
Incorporating nature into Easter crafts
I’m not sure what’s happening with the weather where you are, but here in the UK, we have seen blue skies and sunshine for the first time in what feels like forever! Flowers are in bloom; birds are busy making nests, which means only one thing… it is Spring and very nearly Easter. We love this time of year. There are so many activities to do outside with kids and everyone actually wants to be outside again.
We also love decorating our house at Easter. We love the nature-inspired reminders of new life through eggs and chicks, bunny rabbits, lambs (…but don’t forget the chocolate!). This year we decided to go all out with our Easter decorating in our favorite way – with nature! We decided to make a few fun Easter-themed nature crafts from materials we could find in nature. Not only does this mean we got to spend time outdoors in nature together, but we also got to have fun, get messy (and crafty) in the spirit of the holiday all in one go.
Easter nature crafts for kids
Below I’ve included a few ideas for some nature crafts to do with your kids. Each of these projects will be great for the upcoming holiday. Spread them out over the next couple weeks, as you won’t be able to do them all in one day. They are simple and fun for kids (and adults) of all ages. Most of the crafts use things found in nature, but obviously, you will need some other crafting bits, too. So, let’s get on with the fun part! Here are some entertaining ideas to brighten up your home and Easter table, with a few bonus yummy Easter treats mixed in, too!
Easter bunny nature picture card
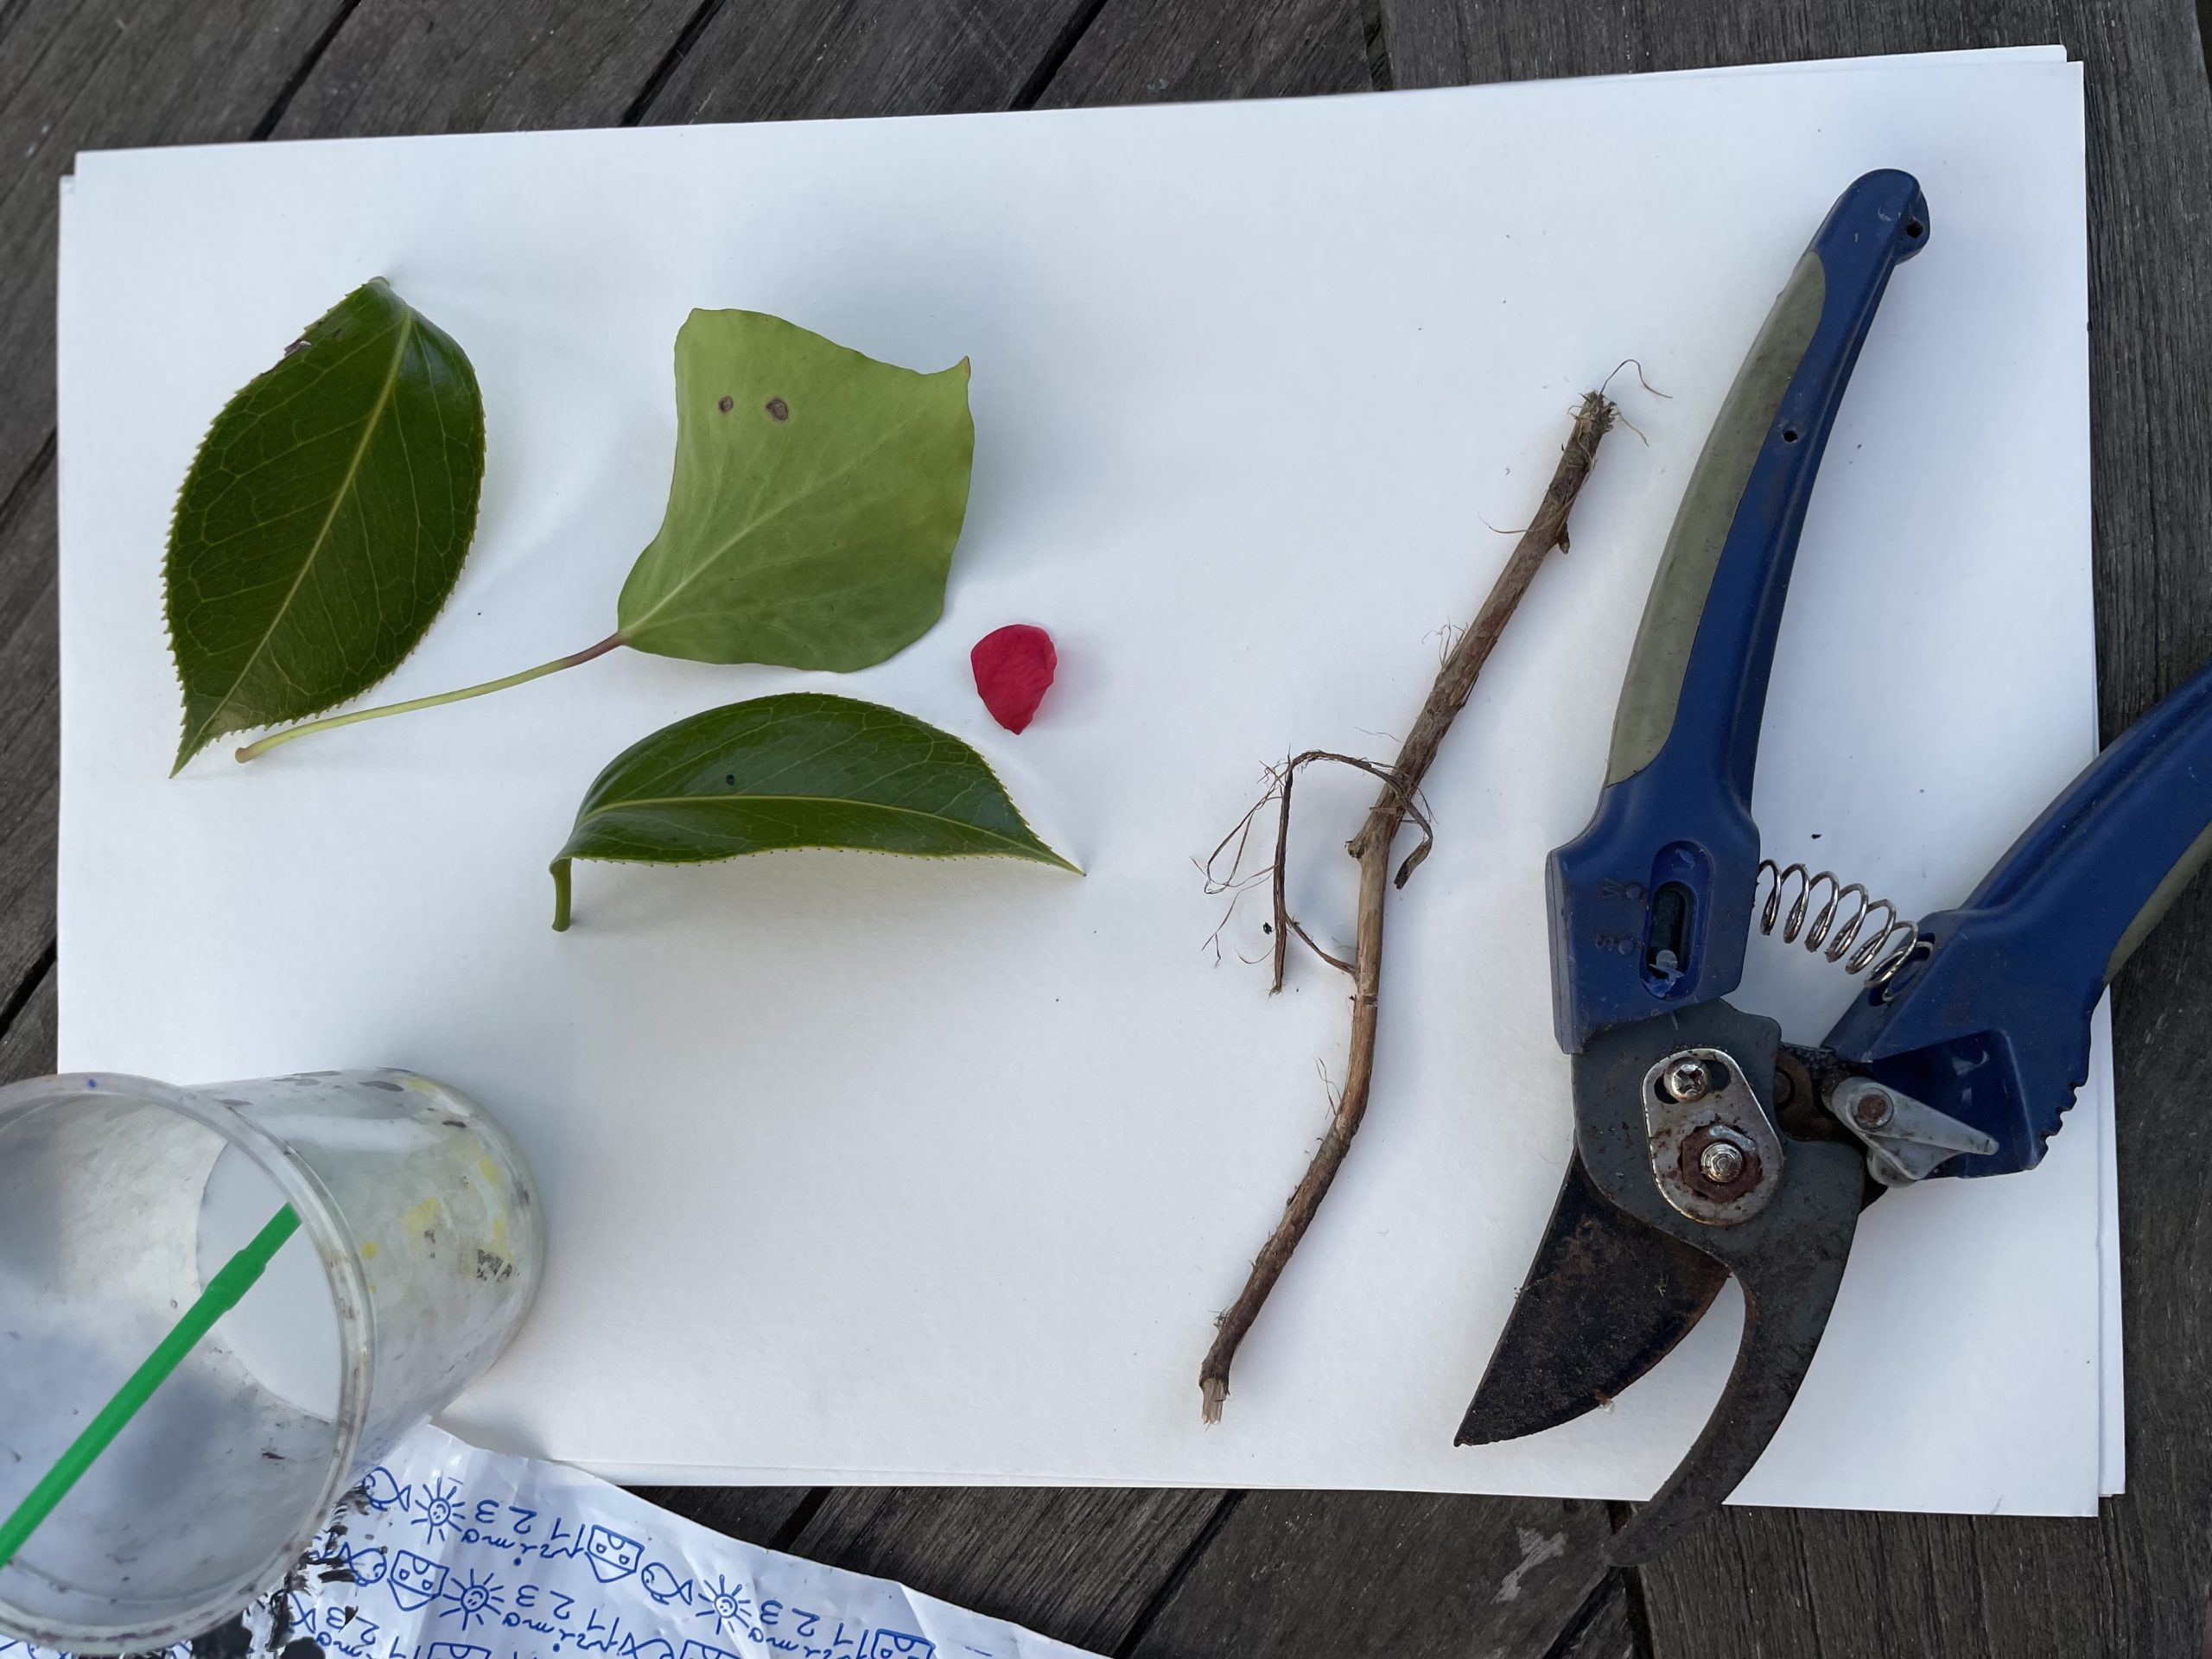
This Easter craft activity is the simplest by far, but it’s so much fun! With this activity, you get to combine two favorite things – exploring outside and making a card for a family member or school friend. All you need is to do to collect your materials is to go outside and explore your garden or local park and find the following:
- 2 bunny ear-shaped leaves
- 1 bunny face-shaped leaf
- Twigs for whiskers
- Something pink for a bunny’s nose or you could paint a stone.
- Something white for bunny’s teeth, we used petals.
- Goggly eyes
- Lots of PVA glue
We learned from previous craft activities that when you are trying to stick shiny, waxy leaves onto paper you need lots of PVA glue! And you need patience because you need to wait a while for it to become tacky (you can speed up the process by using a hairdryer if needs be).
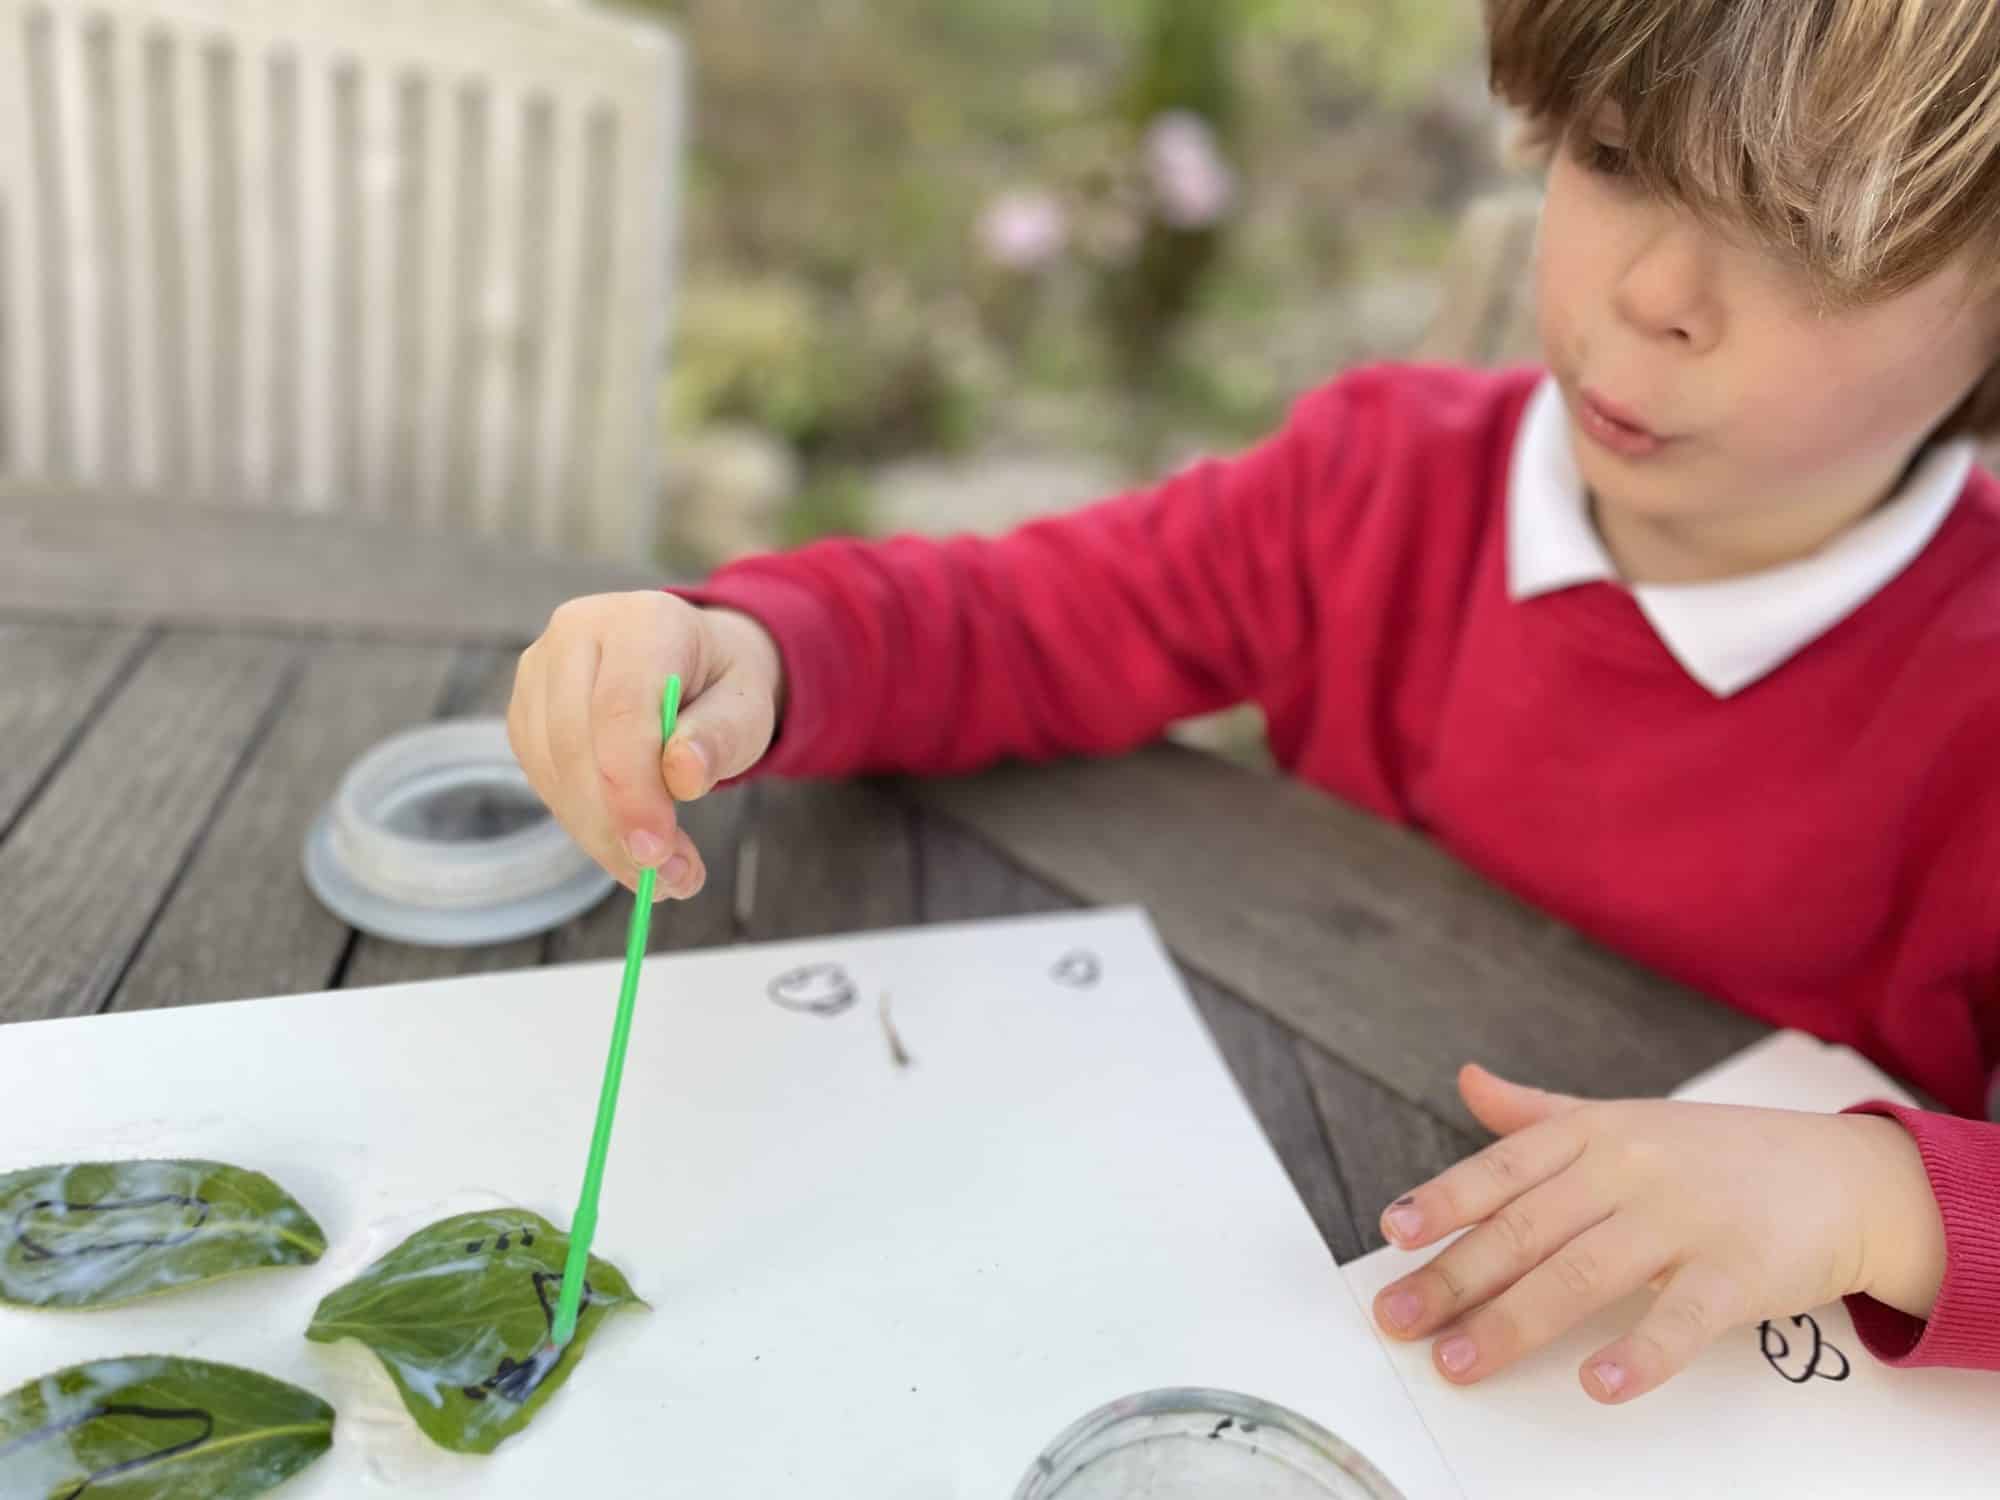
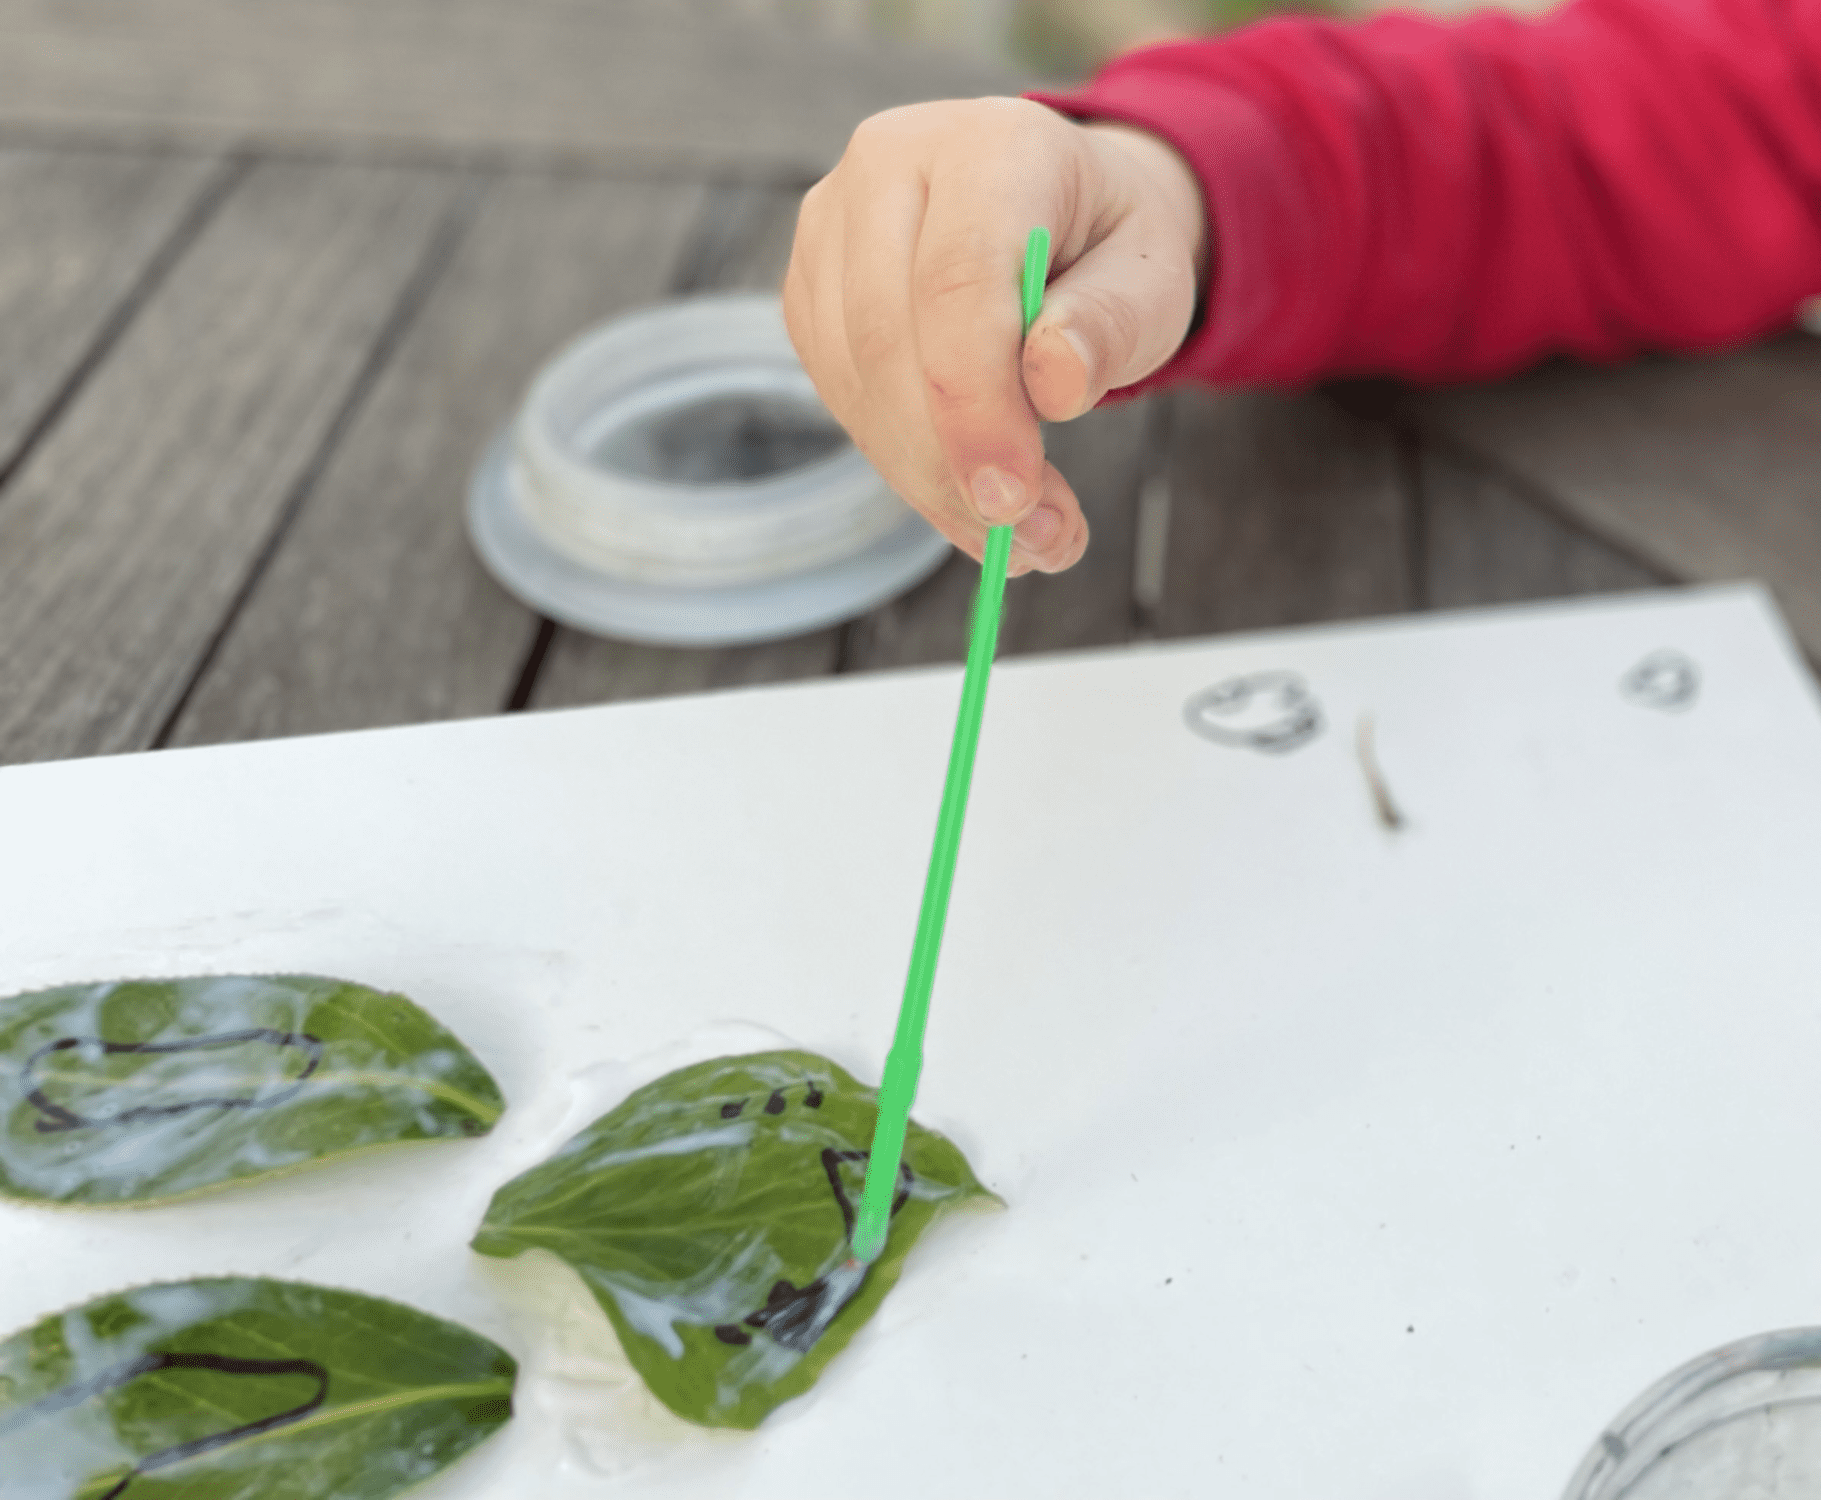

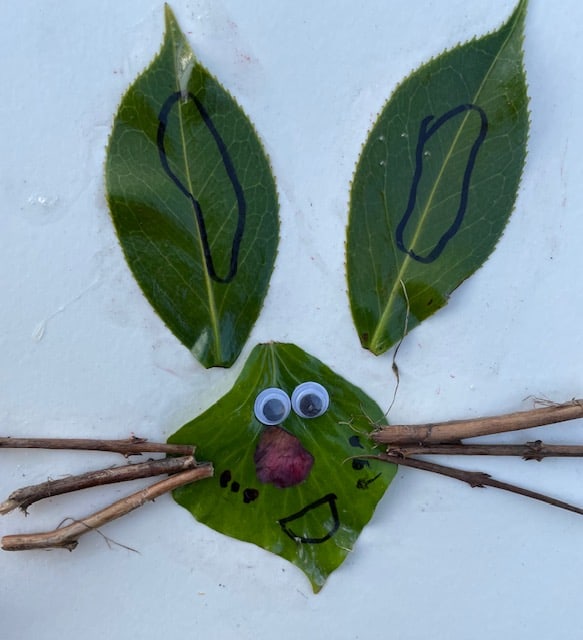 Cover your paper and the leaves in glue and then place the leaves onto the paper where you want them. You’ll need to hold onto the paper, we had to rub the leaves and weigh them down with a lid. Draw your mouth and stick on the teeth and nose and eyes. Then apply more glue for the sticks…we loved our end result, he makes us smile!
Nature-inspired Easter egg hunt
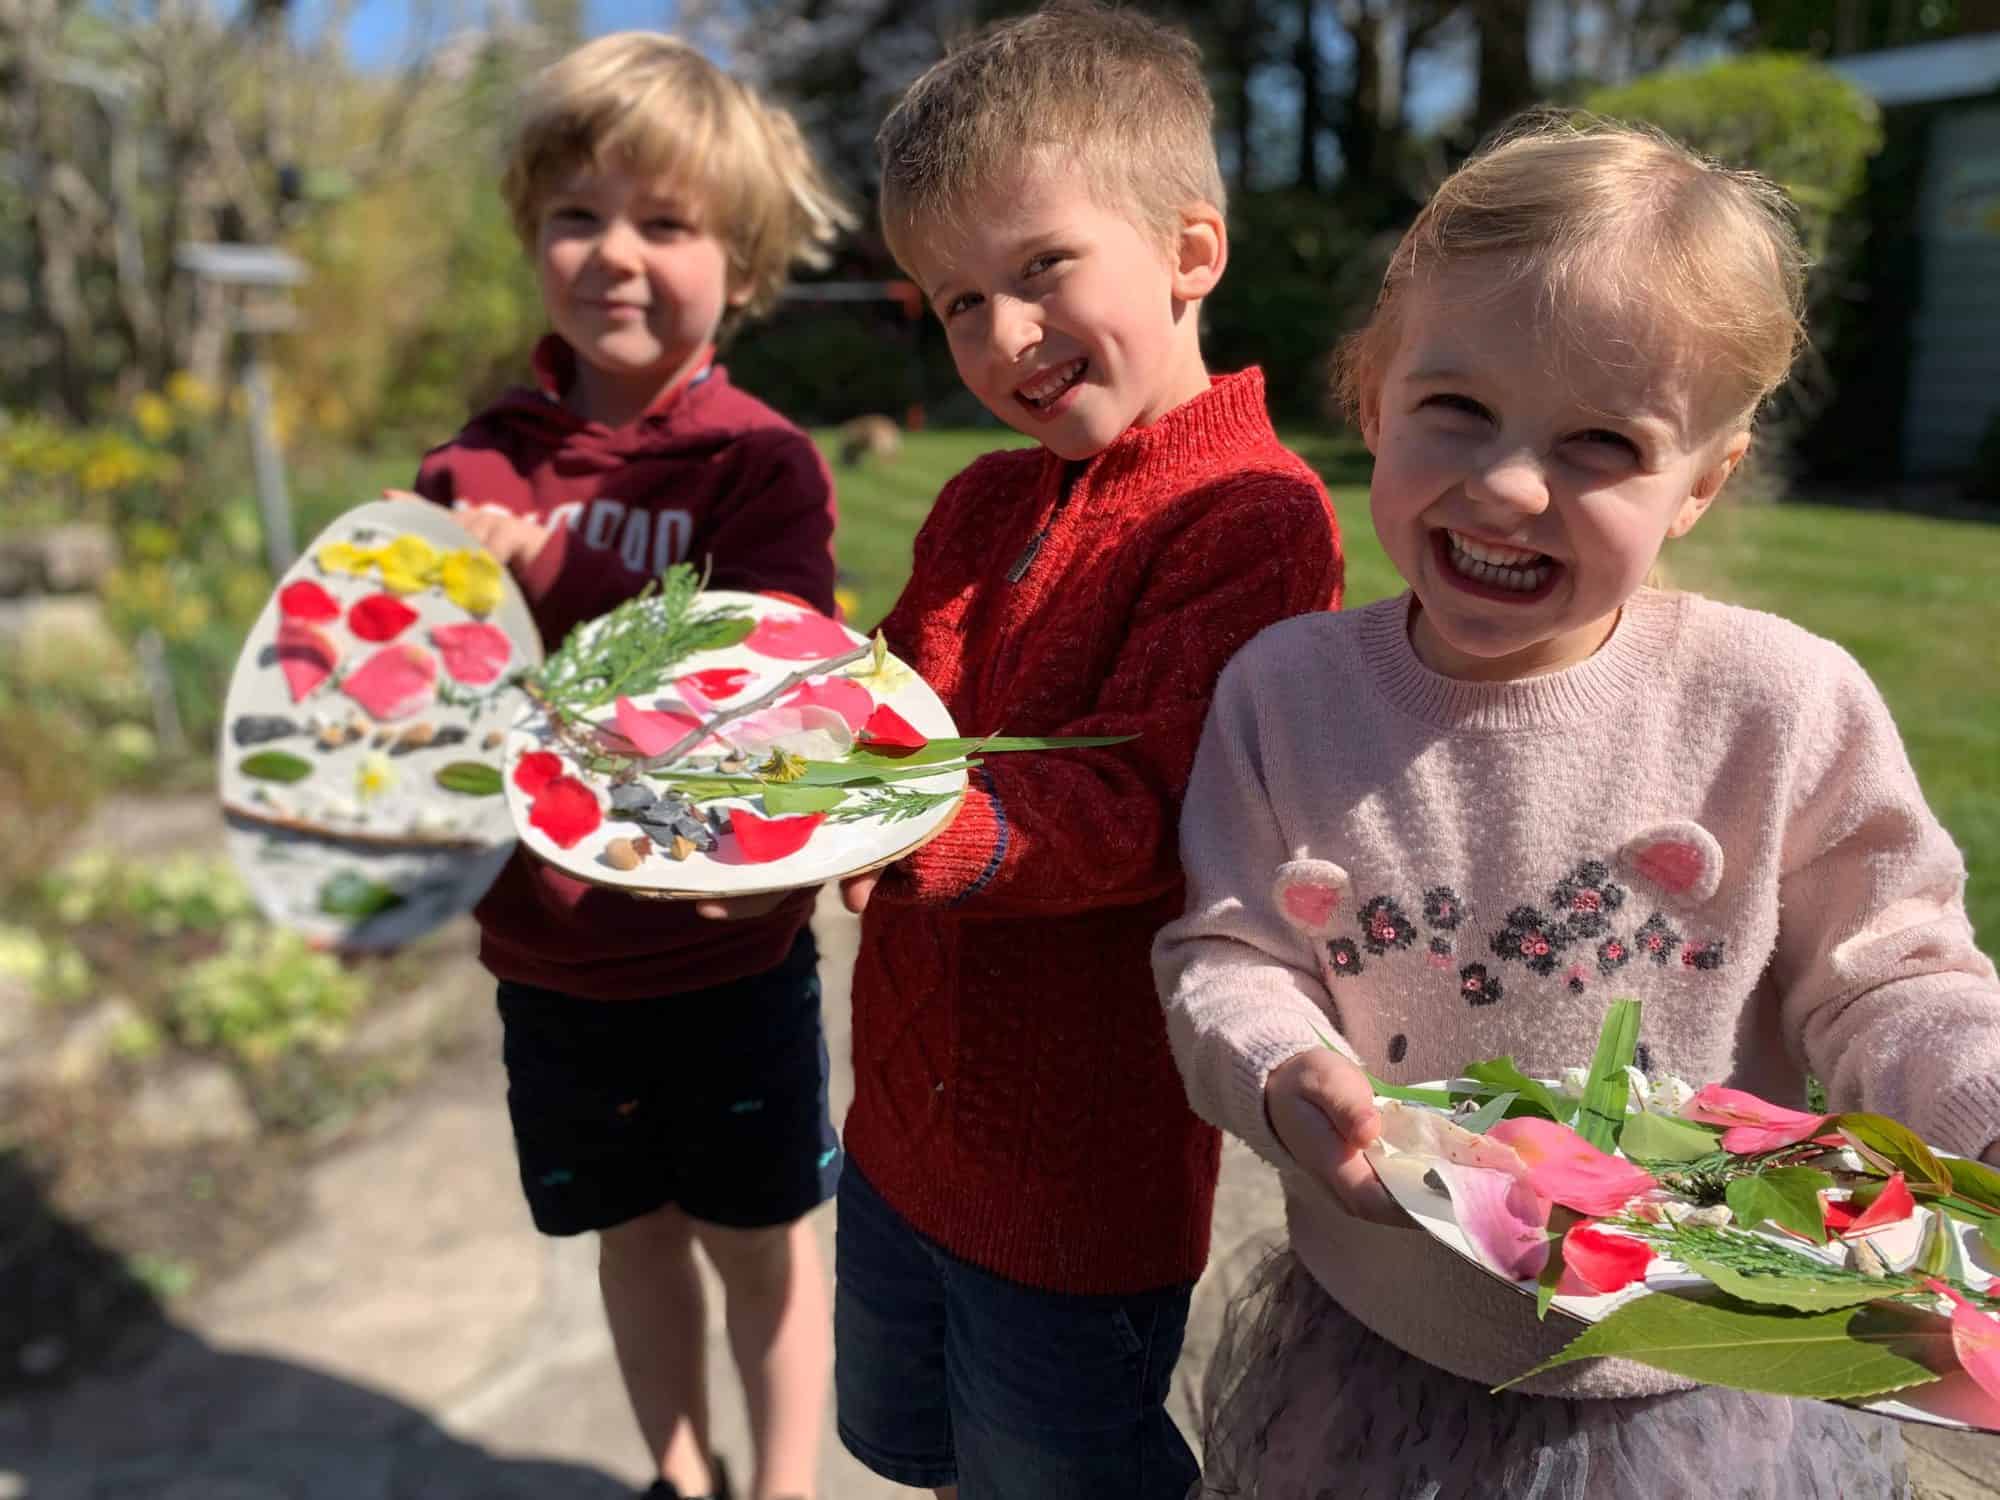
Everybody loves Easter egg hunts, right? Well, our version of an outdoor Easter egg hunt also incorporates nature. Instead of finding eggs, your kids will find fun things in nature that they can use to decorate a cardboard egg. This activity is great for big groups and kids of all ages. Small children can also get involved, which is great if you have toddlers and little ones. It will make a perfect Easter day activity as it can incorporate hiding chocolate eggs, too.
Here’s what you will need for your nature-inspired egg hunt:
- PVA glue
- Cardboard
- White paper
- Scissors
- Treasure hunt clues
- Collecting pot/bowl/bag
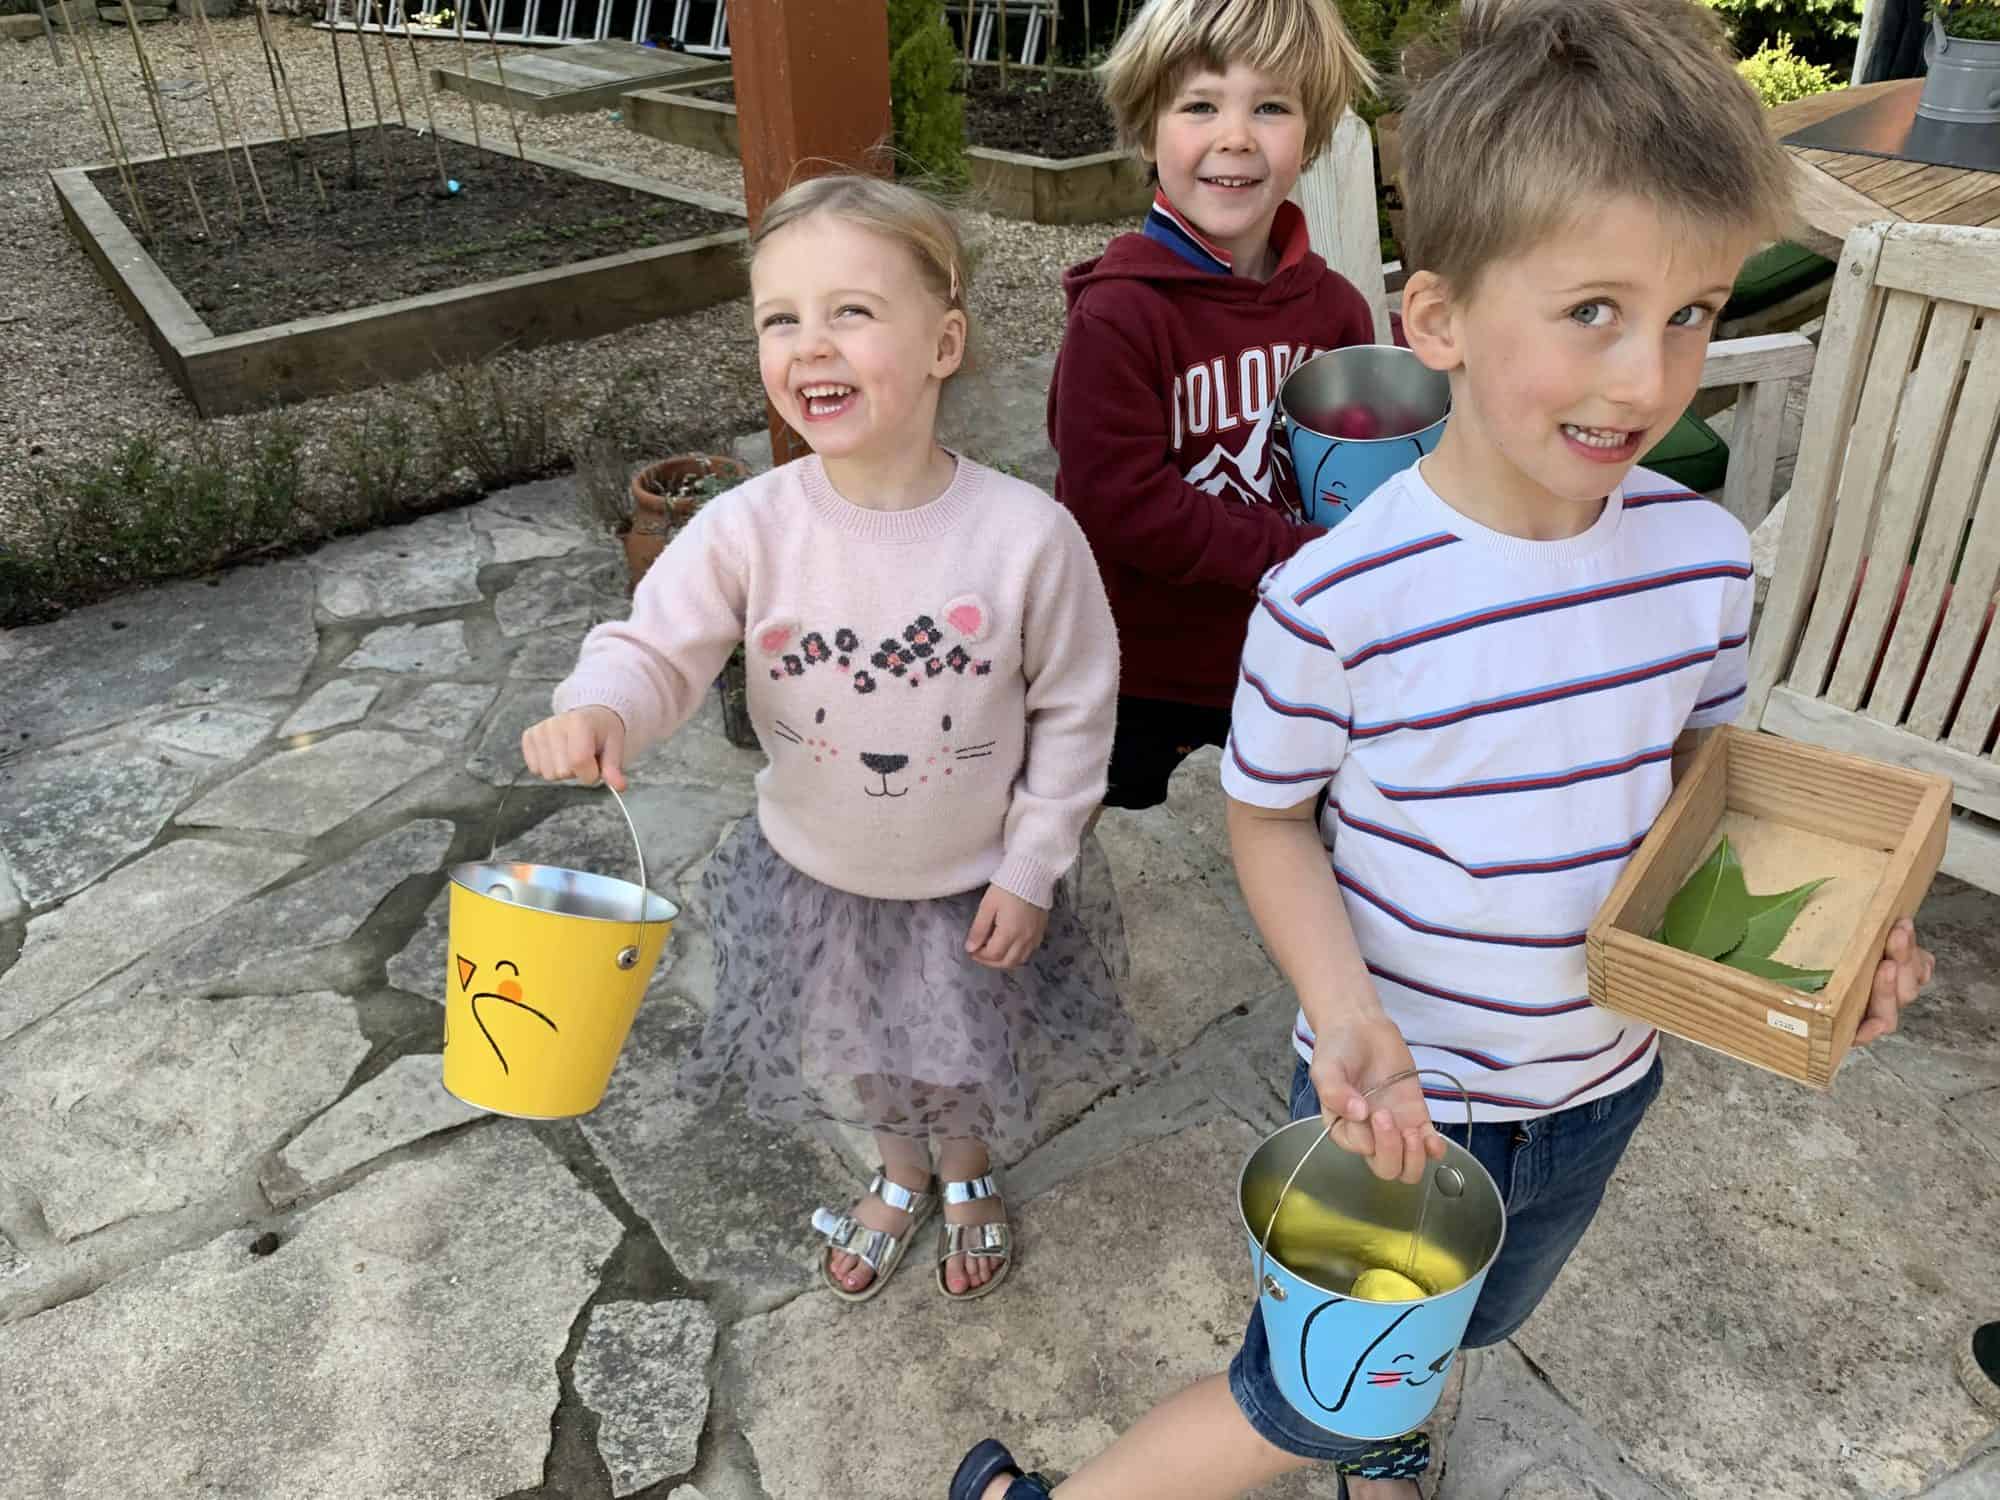
We started by cutting out an egg shape from the cardboard and white paper and then stuck them together. I then gave the children nature challenges such as going outside and finding:
- 10 stones
- 3 different things that are red
- 2 different shaped leaves etc
- 2 different colored flower petals
- evergreen needles
- 3 super tiny sticks
Every other turn, have the children run and find a chocolate egg! When you have completed the hunt you then use the nature treasures to decorate your eggs…and of course, eat the chocolate ones!
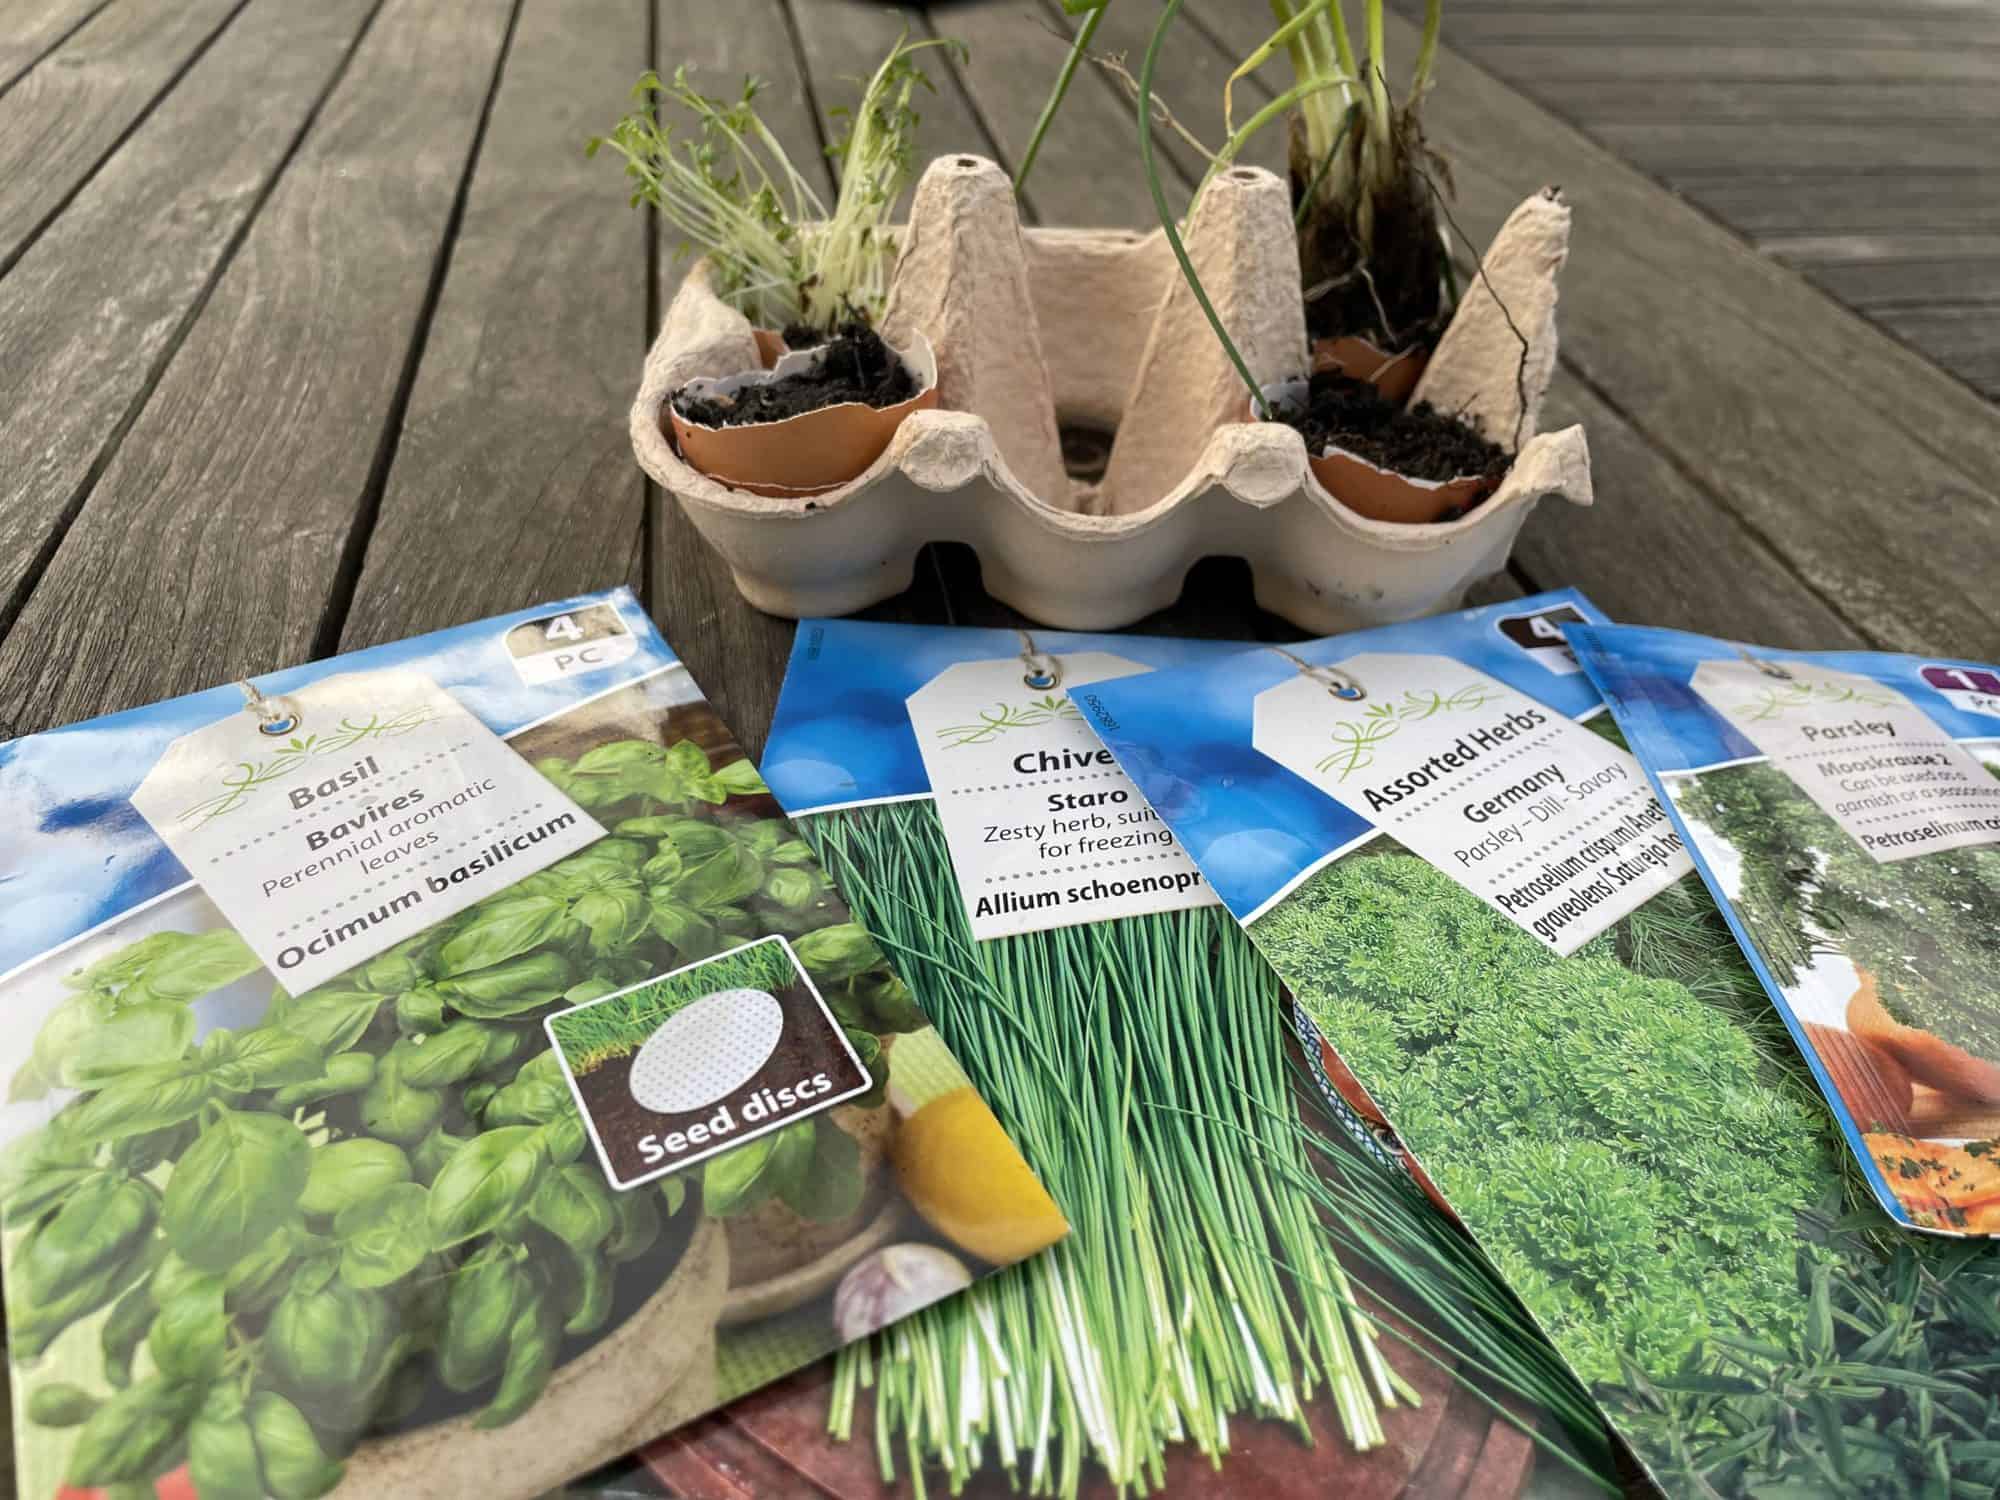
Egg-tastic mini herb garden
You will need:
- Egg box/carton
- Eggshells
- Herb Seeds (parsley, basil, chives, and watercress)
- Soil
- Scissors
Crack eggs with one large piece of shell and one small. Place the large piece in the egg box, fill it with soil. Next, insert the seeds following the instructions on each of the seed packets. Water the soil and leave your egg card herb garden in a bright, warm place for the seeds to germinate. If you want to transfer the plants into your garden later, you can easily place the whole thing (eggshell and all) directly in!
![]()
Pinecone spring chick
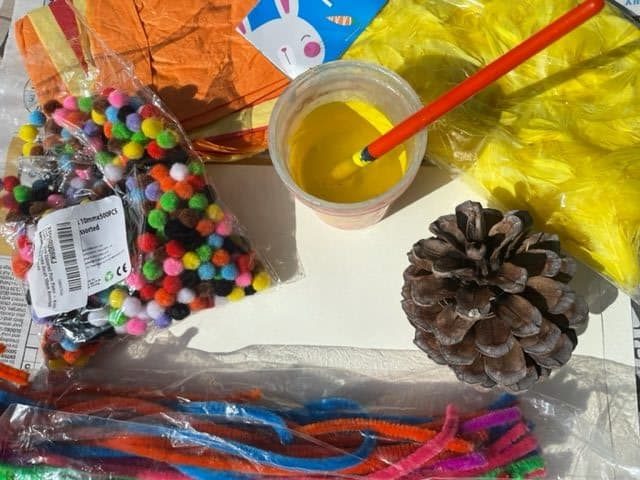
This fun craft is one that you can let your kids run with to make their own! There are no hard and fast rules – you can get as creative as you want! First, you will need to go on an adventure to a local woodland with evergreen and pine trees so that you can find some pinecones for this project. Next, you’ll need to gather the following craft supplies from your stash:
- Yellow paint mixed with PVA glue
- Orange foam or tissue paper for beak and feet
- Yellow feathers
- Goggly eyes
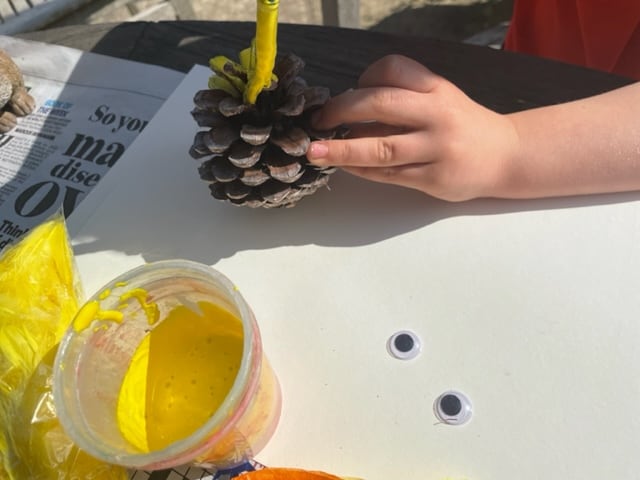
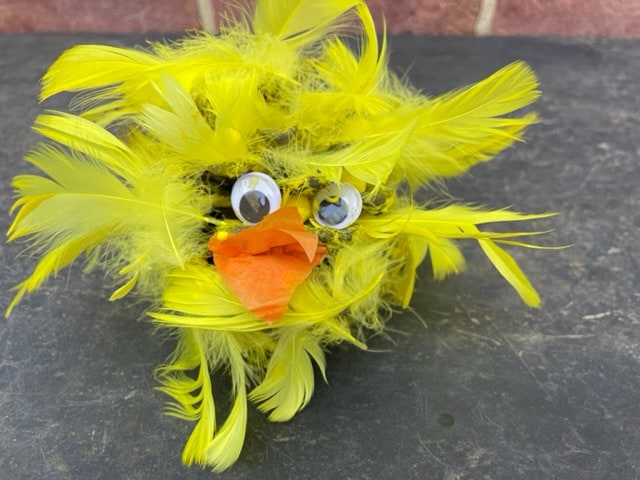
Let your child paint the pinecone with the yellow paint/glue mixture and then stick the feathers all over it. This is a fun (and messy) project, so we recommend doing this outside and using a washable paint (just in case). Next, cut a triangle from the orange foam or tissue paper as the beak and stick it onto the pinecone, along with the googly eyes. Ta da! You now have an adorable little pinecone chick!
Easter tree decorations
Since becoming a parent, I’ve started to enjoy festive decorations more for all our holidays. Holiday decorations are such a fun and easy way to get kids excited about the next holiday and show off their amazing creativity. They’re usually fun and colorful and bring me so much joy looking at them and remembering the memories of making the decorations together. And for Easter, there’s nothing better than a small blossoming branch as a centerpiece for your dining table. If you want to make your own Easter tree, here’s how!
You will need:
- Lots of eggs (white shell best, although they’re hard to find in the UK)
- Needle
- Cotton
- Paint
- Natural items
- Double-sided tape
- String/twine/raffia to hang the egg
The first step is to remove the inside of the egg from the shell by egg blowing! Have you ever done this? I remember egg blowing as a child (although I can’t remember why we were doing it), but this is obviously a fun memorable child activity. However, I will say that it is a lot harder than I remember!
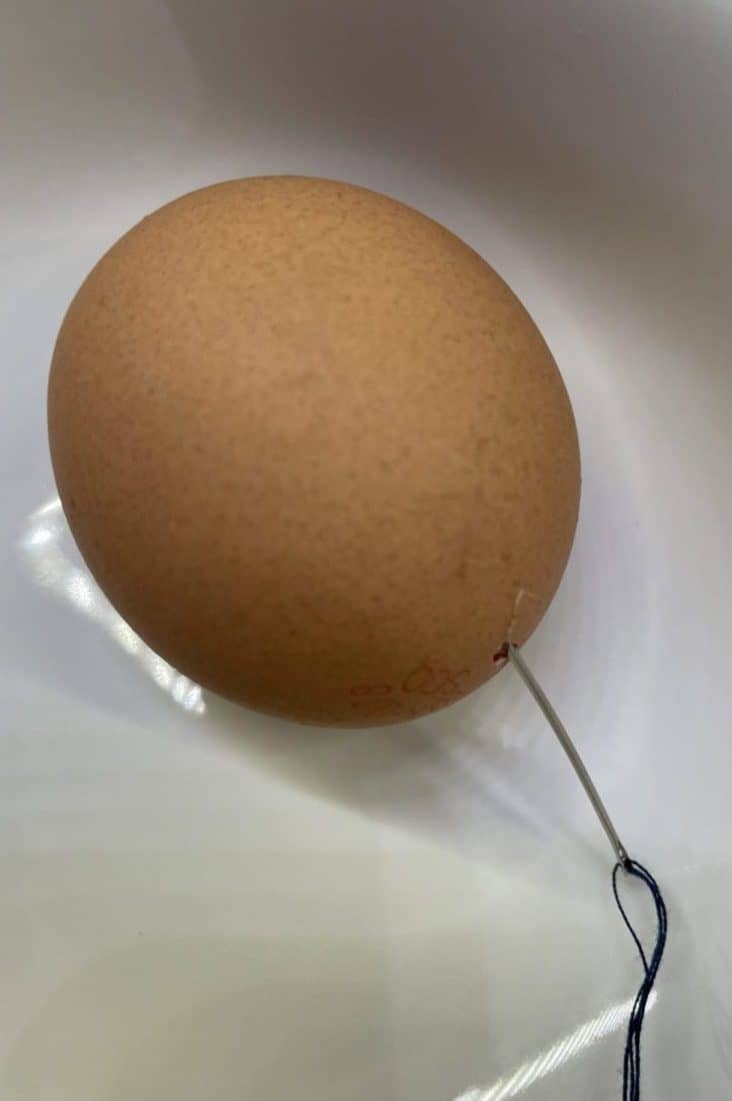
To start, you have to carefully use a needle to make a hole at both ends of the egg. Rotating the needle is more effective for not cracking the egg. You want both holes to be small, but one should be big enough that the inside of the egg can pass through.
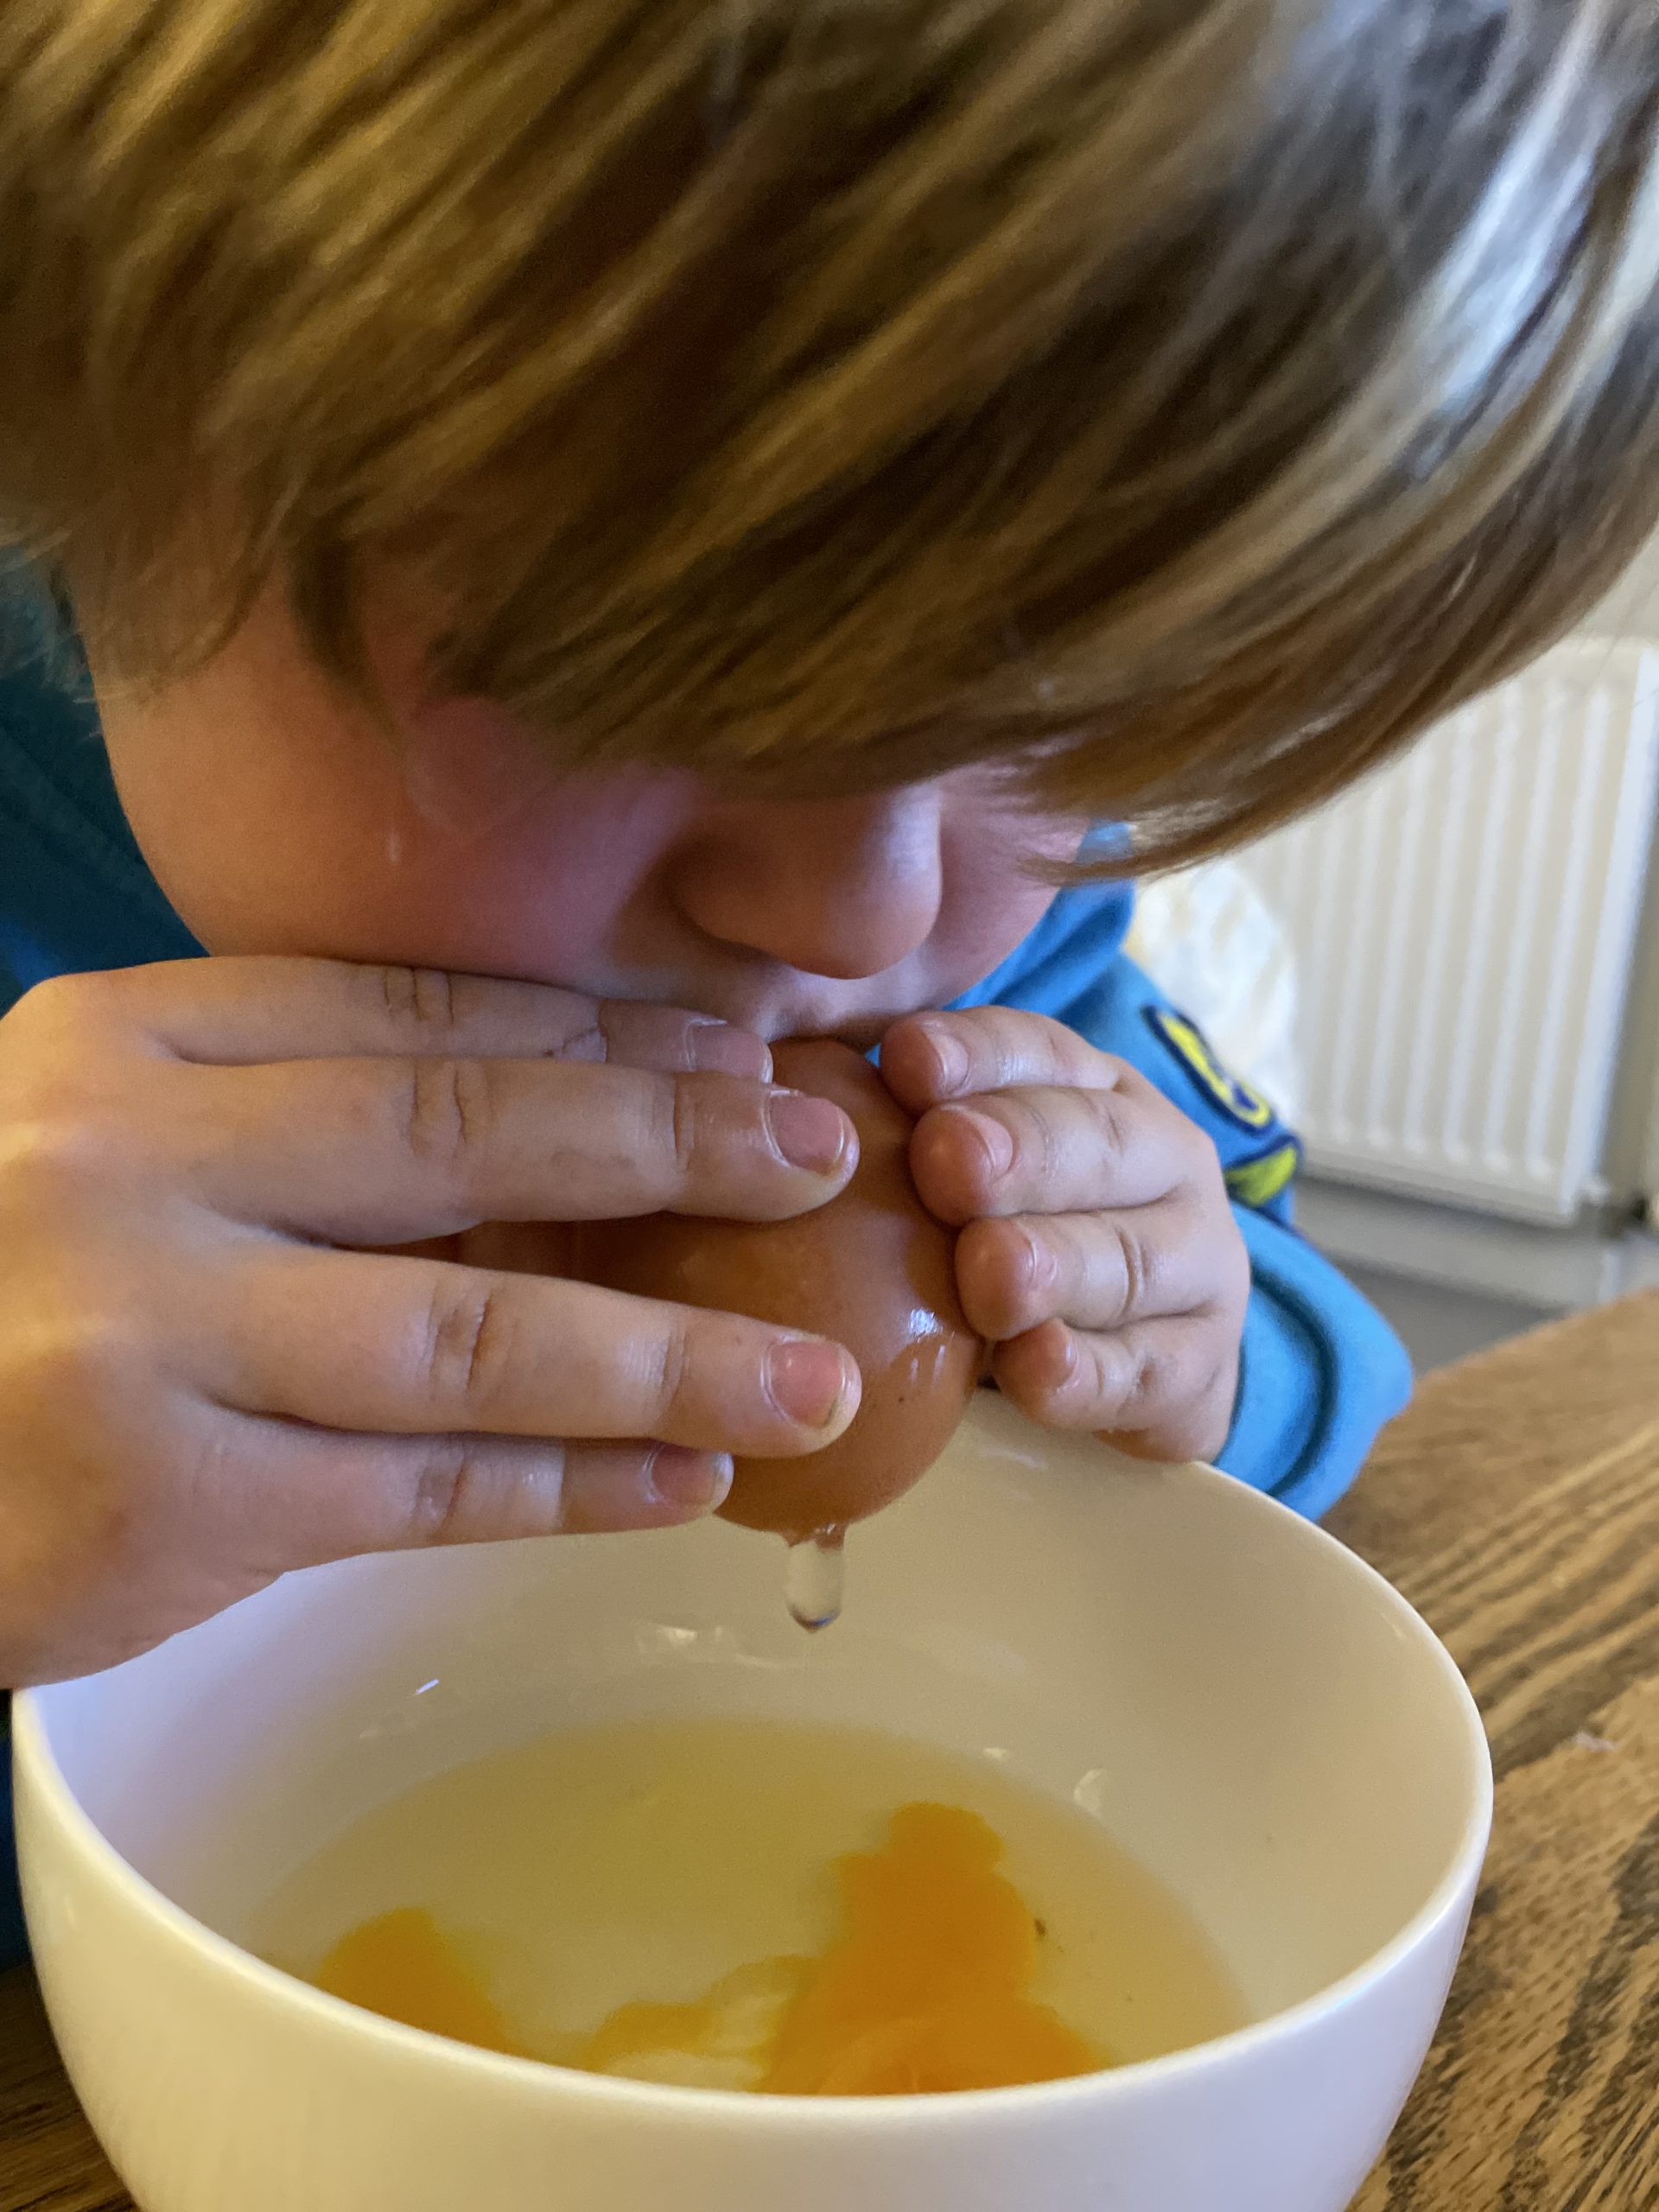
Next, in order to blow the “guts” of the egg out, you need to seal your mouth over the smaller hole and blow gently. It’s a good idea for the adult to start as after a few drops it gets easier. Once you hit the yolk you might have to take over again as it takes quite a lot of puff to break it down through the hole.
I have to be honest, I thought we were then going to thread the cotton through the egg to be able to hang it but every attempt resulted in a cracked egg! We ended up using double-sided tape and attaching the string or raffia to the egg and then painting over it. You can give it a try (hopefully you’ll have better luck than us) or just start with this little trick.
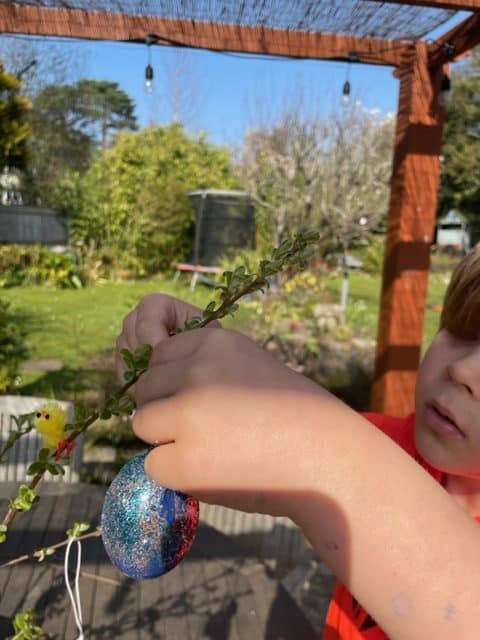
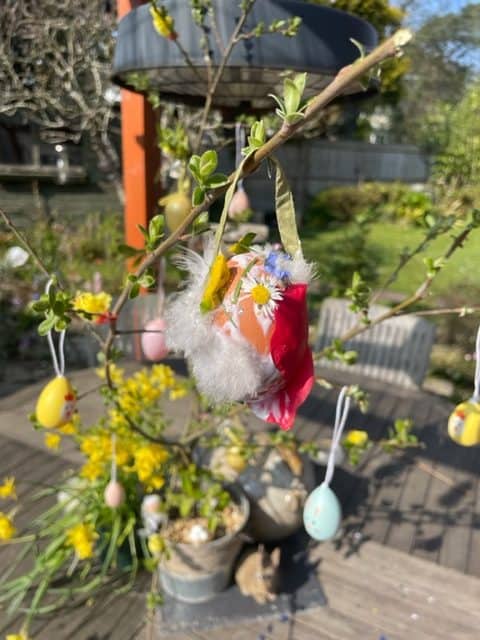
Next, let your kids paint the eggs, add stickers or glitter, or go into the garden and collect nature things to stick on them. While your little ones are searching for their nature decorations, you can find a pretty branch to cut and place in a vase with soil and top with small stones or wood chips. Once your eggs are dry, hang them from your Easter tree/branch and use this as a centerpiece for your Easter table or tabletop decoration!
Rocky-road chocolate bunnies
Now, this is our not-so-nature-loving activity! But, it is great for a rainy April shower kind of day. Plus, these are very yummy treats that your kids will love! The great thing is there is no need to measure or weigh. Just chuck all the ingredients in a bowl and mix.
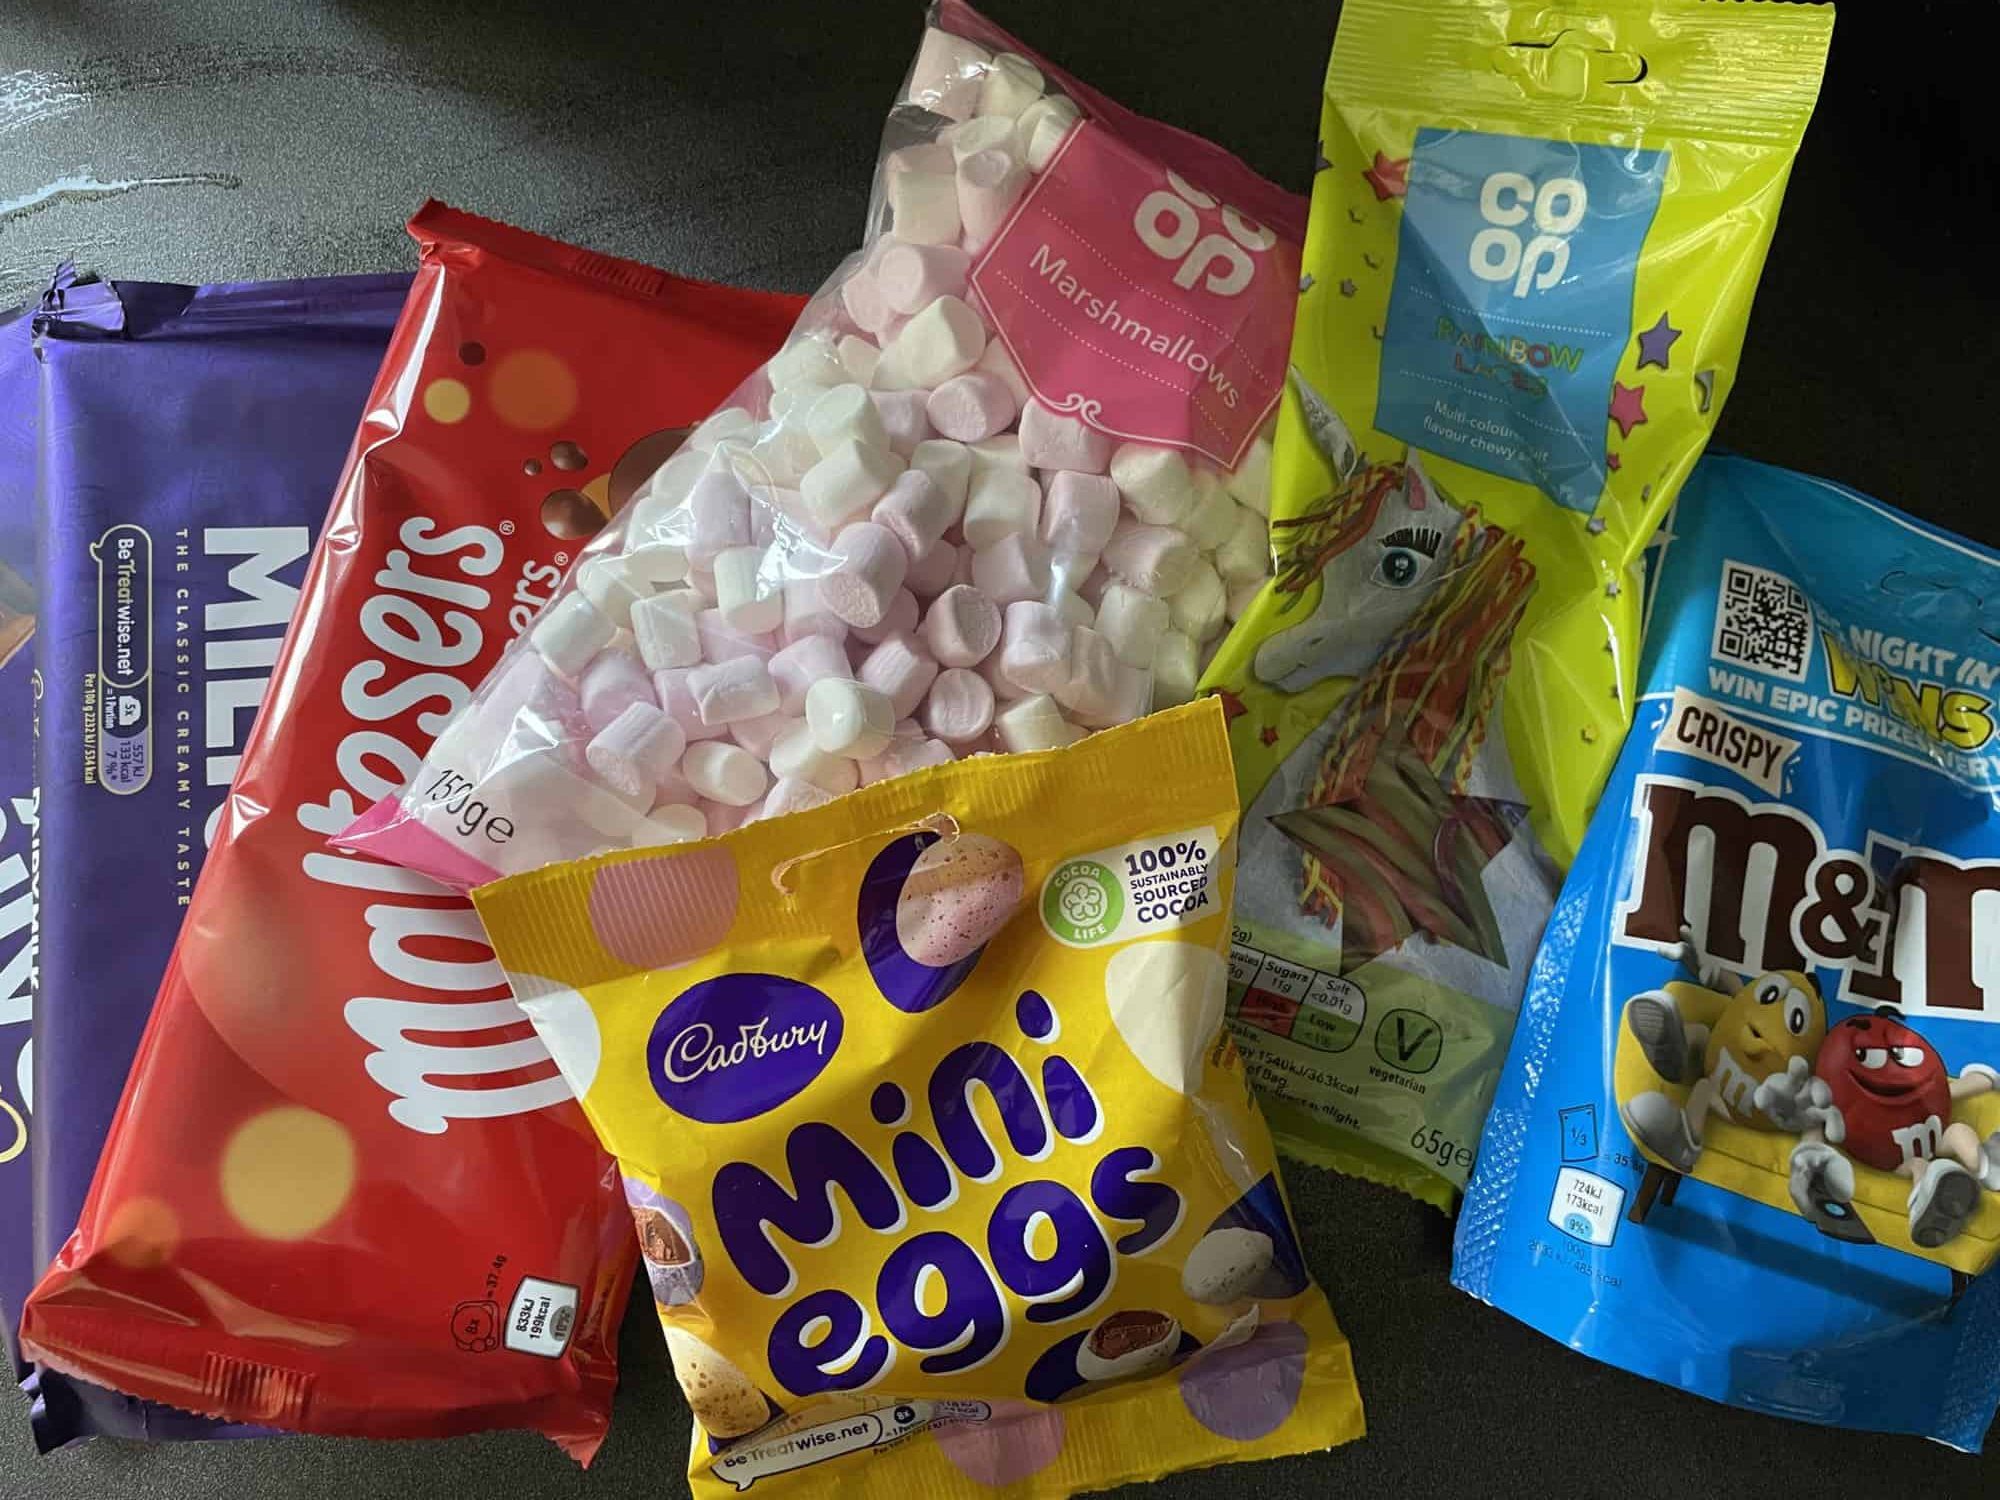
- 2 large bars of milk chocolate
- 1 bag or bar of Malteser chocolate
- Mini marshmallows
- Mini chocolate eggs
- Rice krispies/corn flakes or crushed biscuits/cookies
- Optional healthy things like raisins, cherries, dried cranberries, or apricots
- M&Ms
- Sweetie laces for whiskers
- Silicon mold
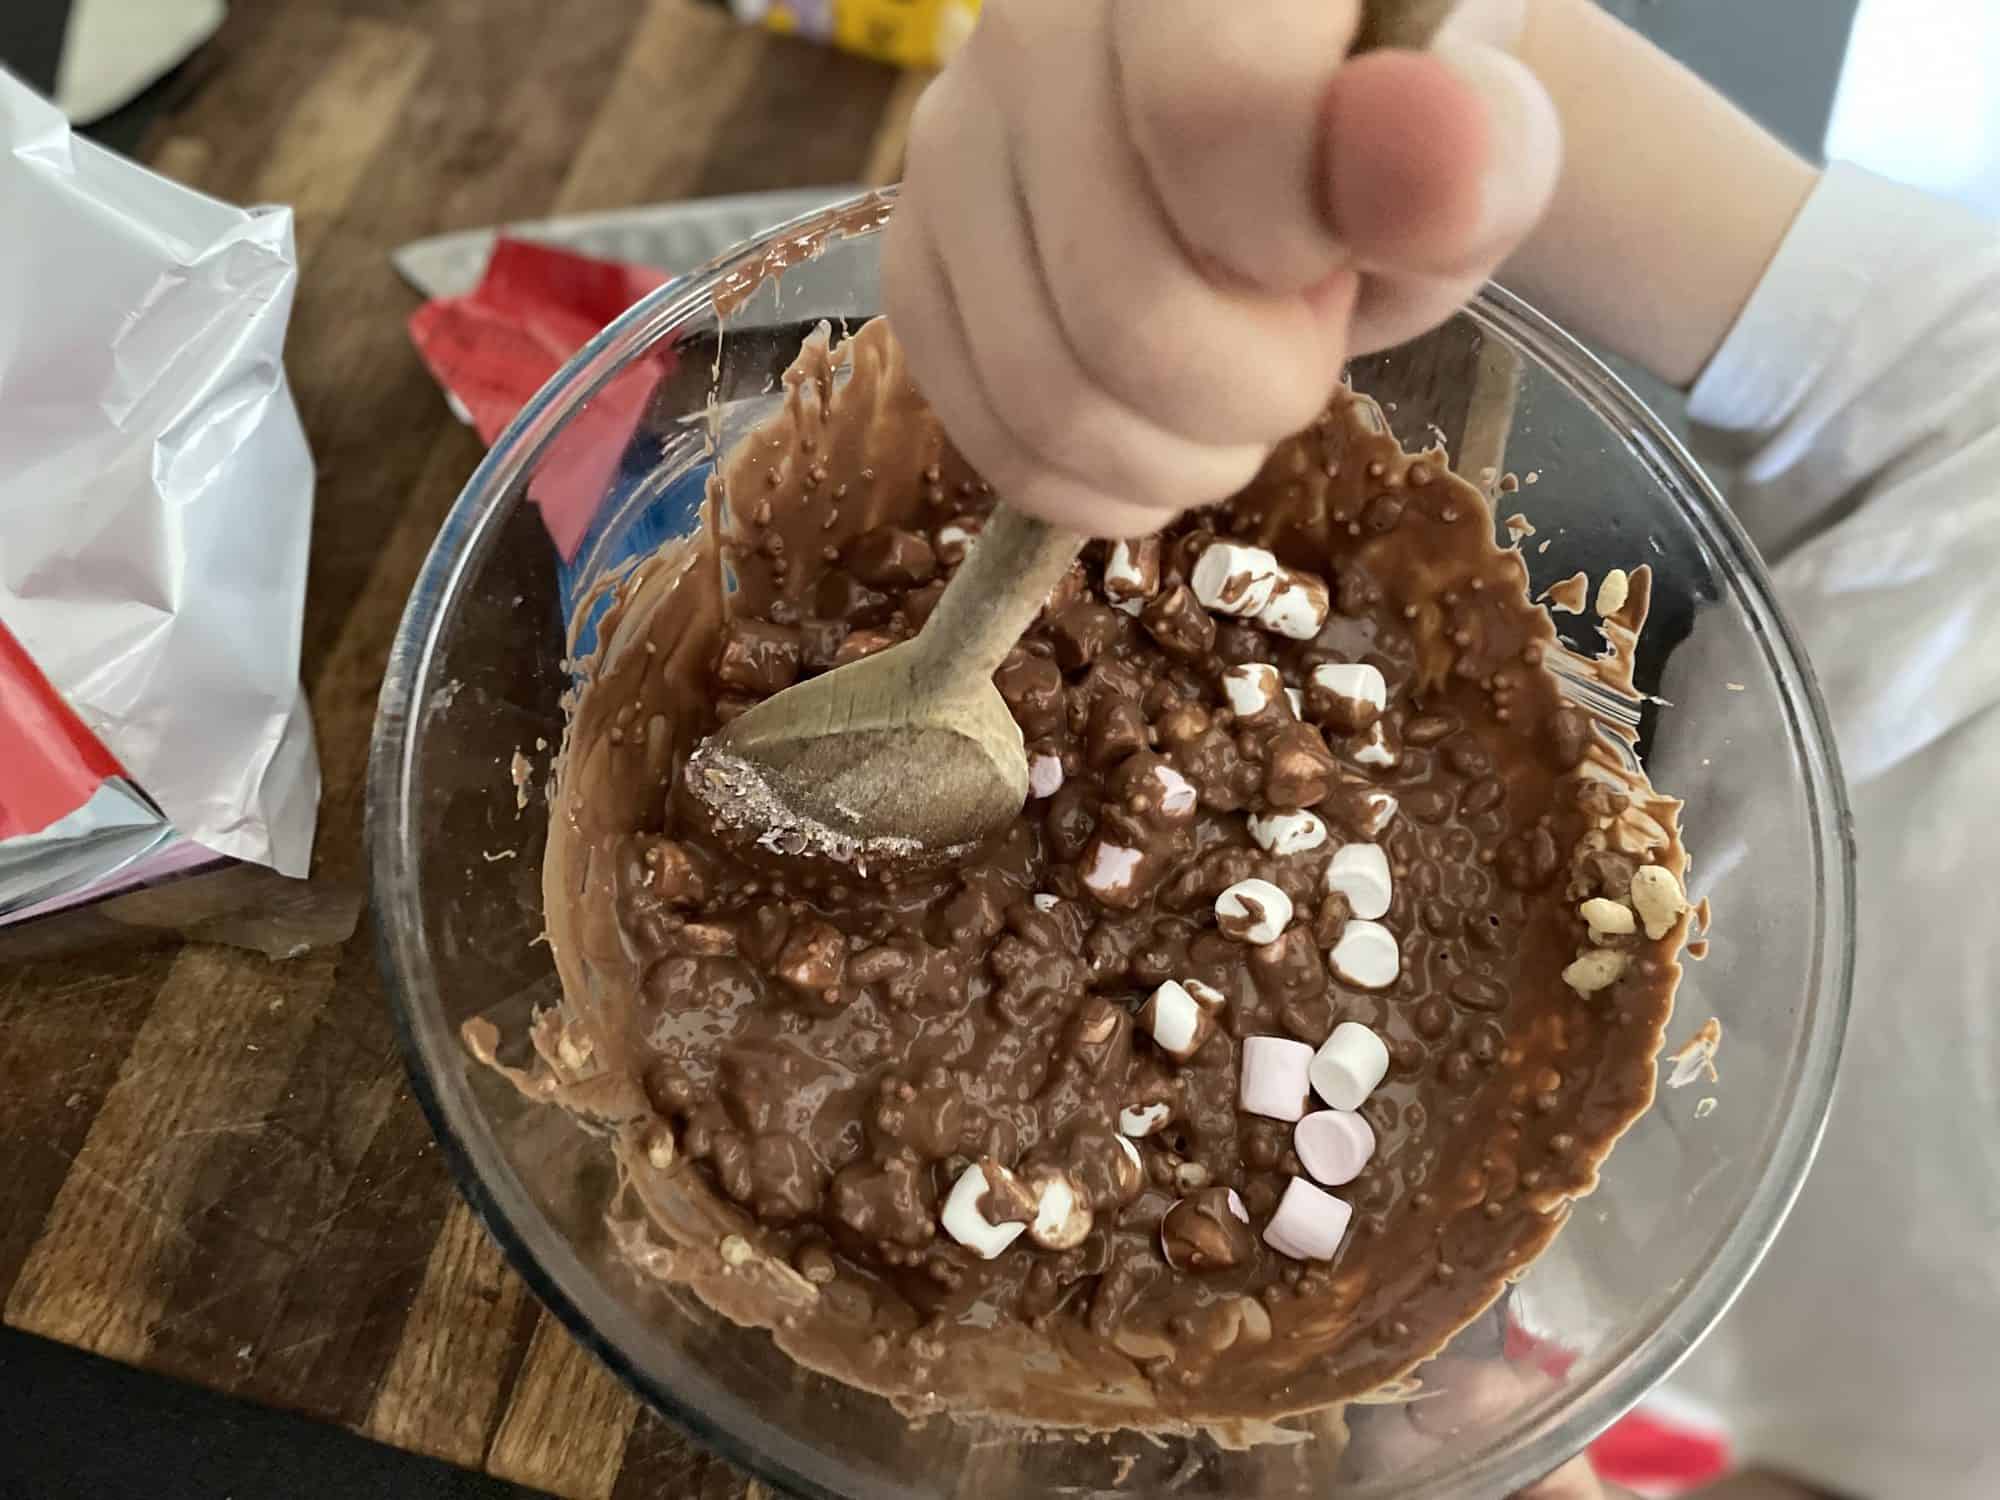
Break your chocolate up and place it in a glass bowl. Heat gently and slowly in a double boiler over a pan of boiling water. Make sure to stir regularly with a wooden spoon. While the chocolate is melting, lay out your bunny features in the mold (rice crispies for eyes, m & m for nose, cut up sweetie laces for whiskers).
Once the chocolate has melted (be patient, this may take a while – don’t rush it), remove from heat and add your crispy bits, crushed mini eggs, marshmallows, and anything else you fancy and spoon into molds. This does need to be done quite quickly as the chocolate will start to solidify. We’ve had this cute silicone mold for years and never used it so this was a first for us! We were so excited to finally put it to good use.
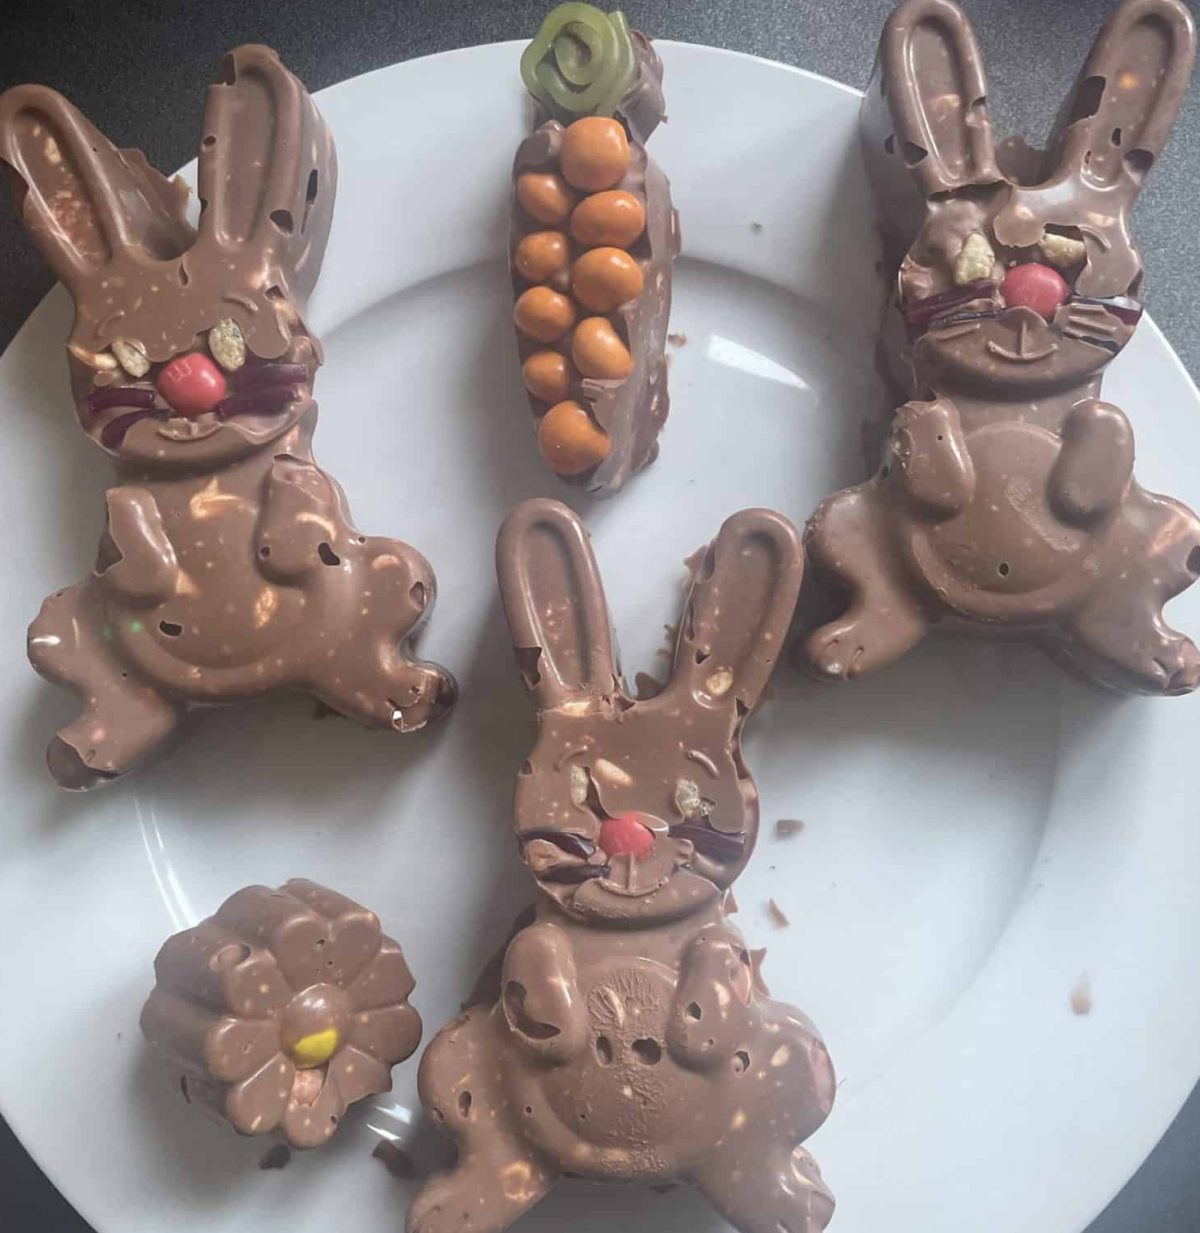
Place mold into the fridge for 1-2 hours to solidify. Once the chocolate is solid, push your bunnies out of mold and EAT! Mmmmm!
Making this candy treat was so much fun! We had a blast and ended up with a LOT of candy. We’ll be giving these yummy treats as gifts to the family for Easter.
![]()
Spring crafts for kids
We hope you enjoy being creative with these spring and Easter nature crafts for kids. We hope this has inspired you to get outside and look for fun and useful nature treasures to use in your crafting projects. Spring is such a fun time of year to get outside and see nature coming to life around you. Now, go outside and play!
Are you incorporating nature into your spring decorations this year?
About the author
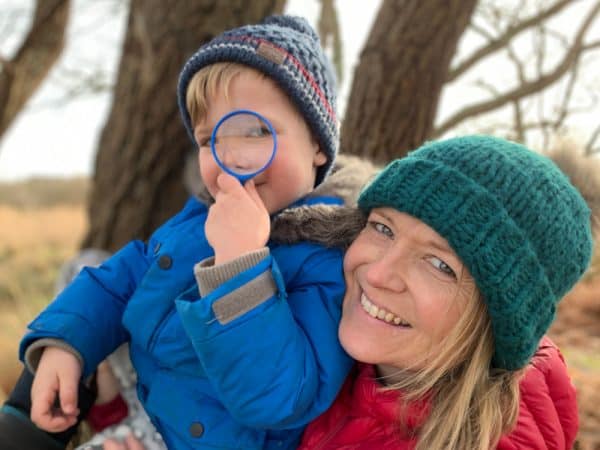
Hannah Martin has worked as a PE Teacher in the UK for 15 years. She has always loved being active outdoors. However, she discovered a new passion for nature and appreciating the environment when she had her son Hobie (now 5 years old). Hannah and Hobie’s vision is to inspire parents to spend time doing fun, creative, nature activities outdoors with their children; no matter where they live and whatever the weather. They believe spending time together outdoors as a family will encourage future generations to love and care for the world, wildlife, and environment.
Find more from Hannah (and Hobie) in the following locations:
Instagram: @hobies_nature_club
Website: hobiesnatureclub.co.uk
YouTube channel: Hobie’s Nature Club
RWMC Posts: Hannah Martin

