Your cart is currently empty!
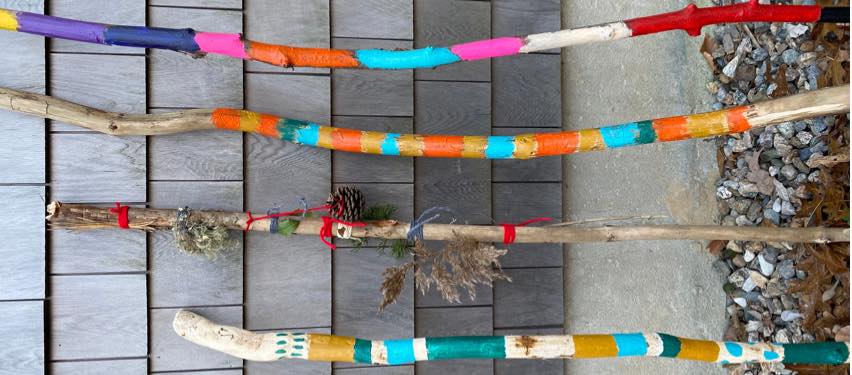
Making Hiking Sticks with Kids
Are you looking for a fun and easy project that will make hiking more exciting for you and your kids? We’ve got the answer! Today, Lissy Perna, Cape Cod mom of 2 and hiking guru is here sharing her step-by-step tutorial on making hiking sticks with kids. This project is fun for kids of all ages and (for the most part) can be done completely for free with items you already have at home in your craft supplies. These fun and colorfully decorated hiking sticks will let your kids get creative and help get them excited to hit the trail.
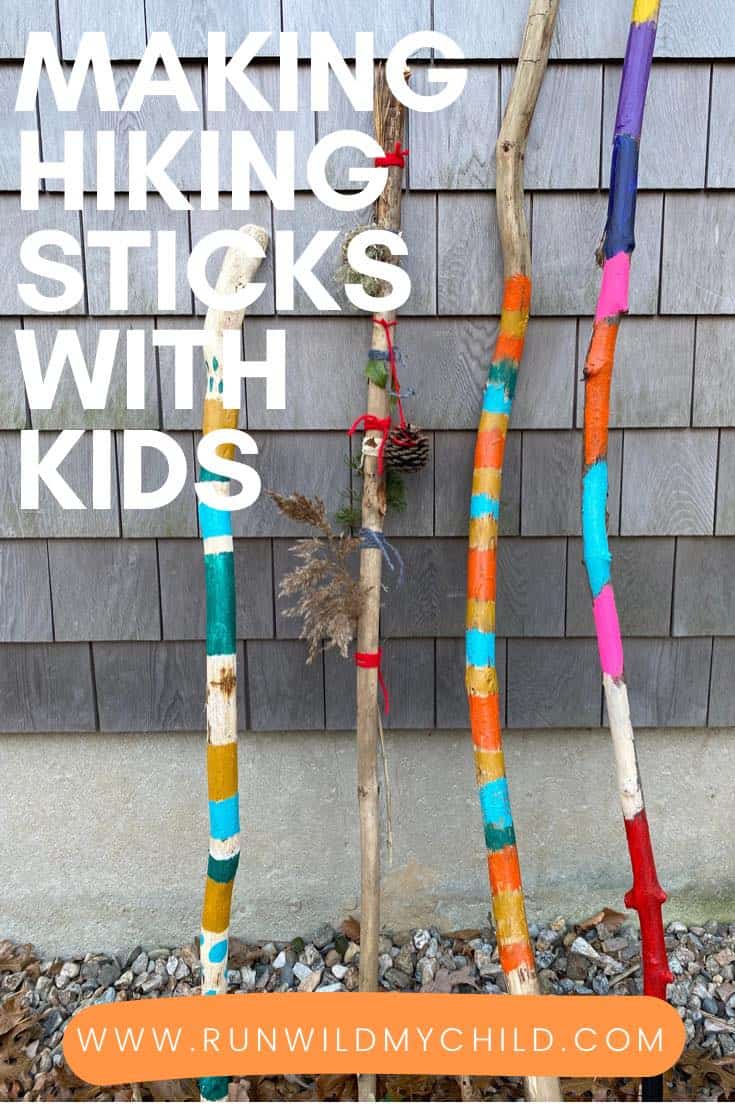
An art project that promotes outdoor activity
Have you ever wanted to complete a practical, yet creative art project with your children that you can use outdoors? Wouldn’t it be great if your crafts actually inspired your kids to be active and get outside? Ever wish there was a way to kids your kids more excited about hiking?
Well, making and decorating a hiking stick with your kids might be the perfect project for you! Making a hiking stick with kids is a fun and easy activity that will not only get their creative juices flowing, but it will also get them excited about their next hike. You can make this art project as simple or intricate as you’d like. Also, completing this project that is beautiful and serves a purpose is creating functional art!
Why walk with a hiking stick?
When walking on an uneven surface, a hiking stick can provide support and help you keep your balance. For example, while walking uphill, a hiking stick can dig into the ground to use as an aid to pull yourself up. Conversely, hiking stics can be used as anchors to give yourself something to steady yourself when walking downhill. They are even proven to improve posture when walking on a flat surface.
Need more reasons to use a hiking stick? Hiking sticks can also be used to brush spiderwebs out of your path, check the depth of a puddle in your way, or push thorn bushes aside. They’re really practical and handy to have when you’re out on the trail. These tools aren’t just for adults either, hiking sticks are for kids, too!
Making hiking sticks appealing to kids
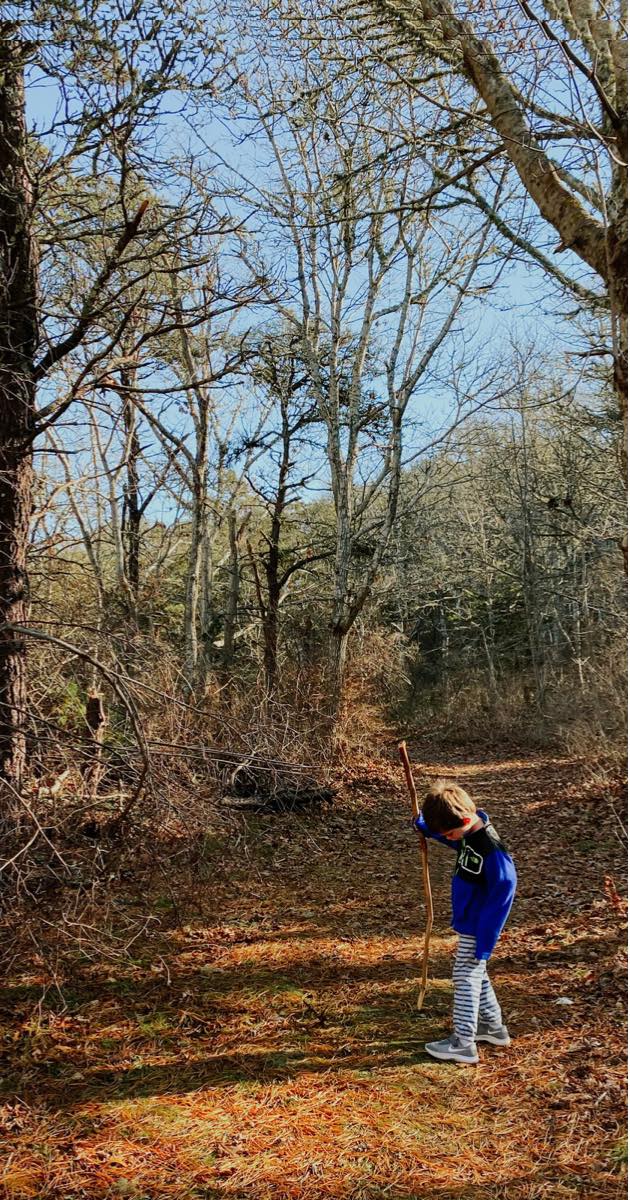
While the logical reasons behind using a hiking stick make it worth your while when hiking, a child might still not be interested in carrying one. My kids love finding hiking sticks, but they don’t necessarily need or use them much.
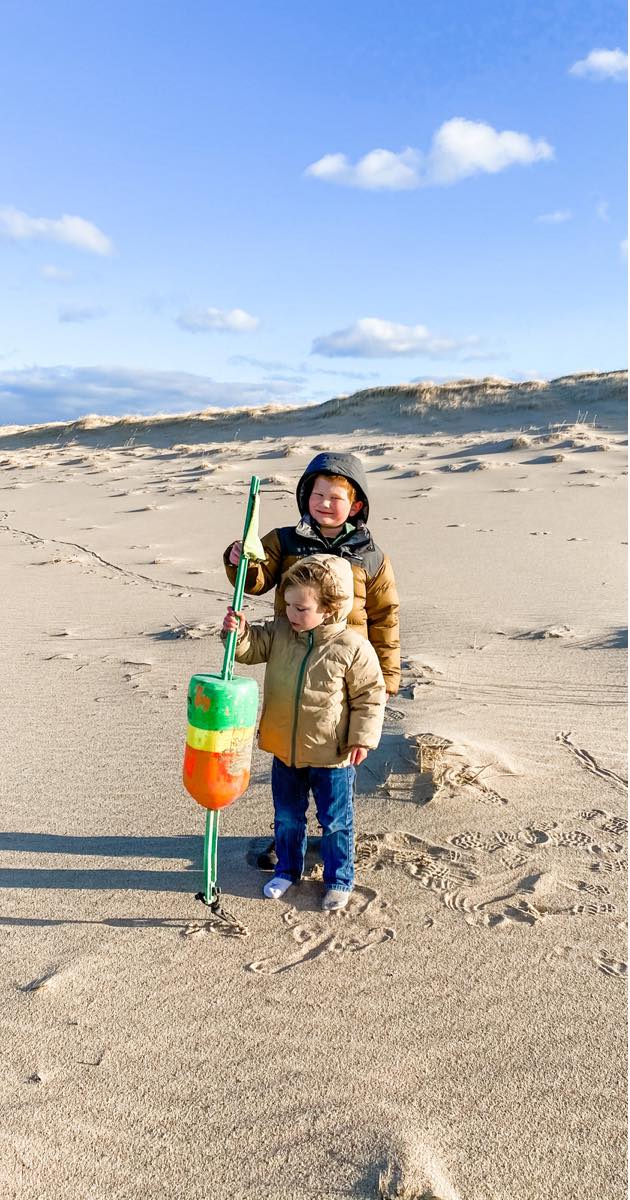
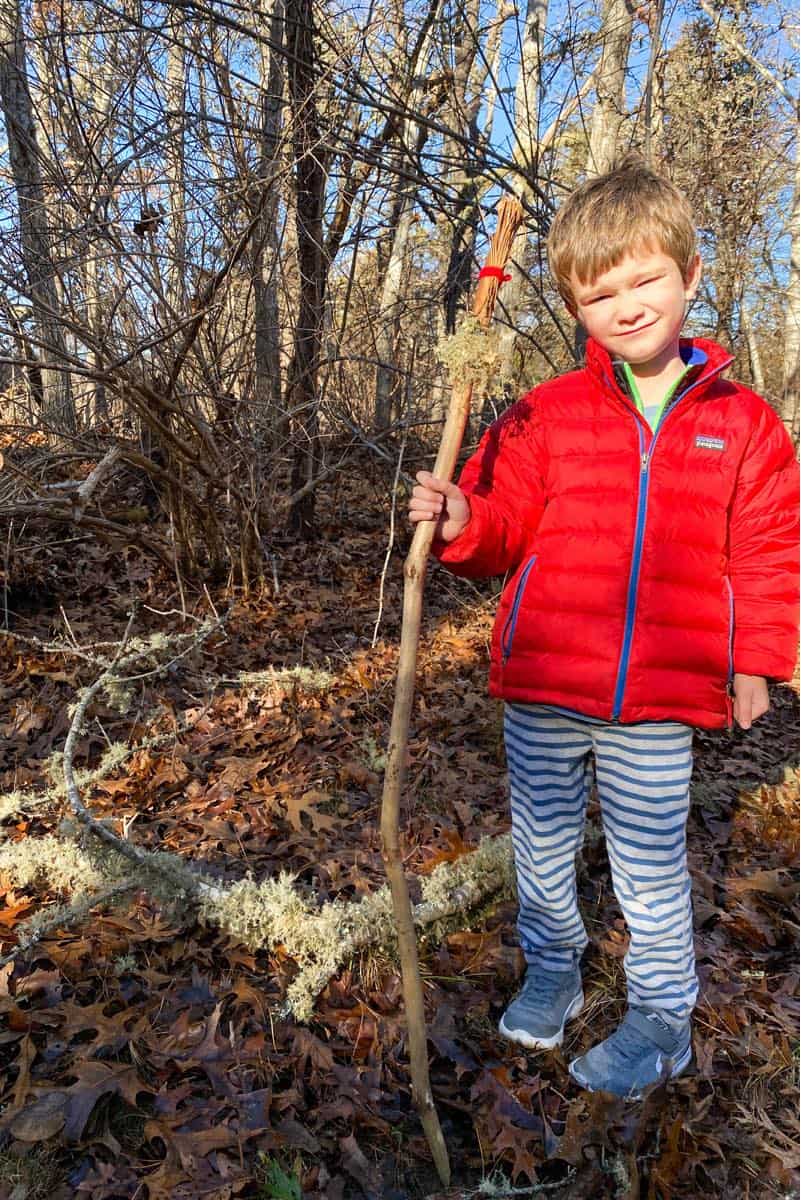
However, kids are involved in creating their own decorated hiking stick, they might be more interested in using it, as well as being proud of their accomplishment. Once they start carrying a hiking stick around, they may find other fun uses for one. My boys like to use their hiking sticks for walking but also to draw in the dirt, poke at rotting wood or mushrooms, or have the occasional sword fight. They have even been known to use discarded buoys found on the beaches as hiking sticks!
List of items need to make a decorated hiking stick with your kids
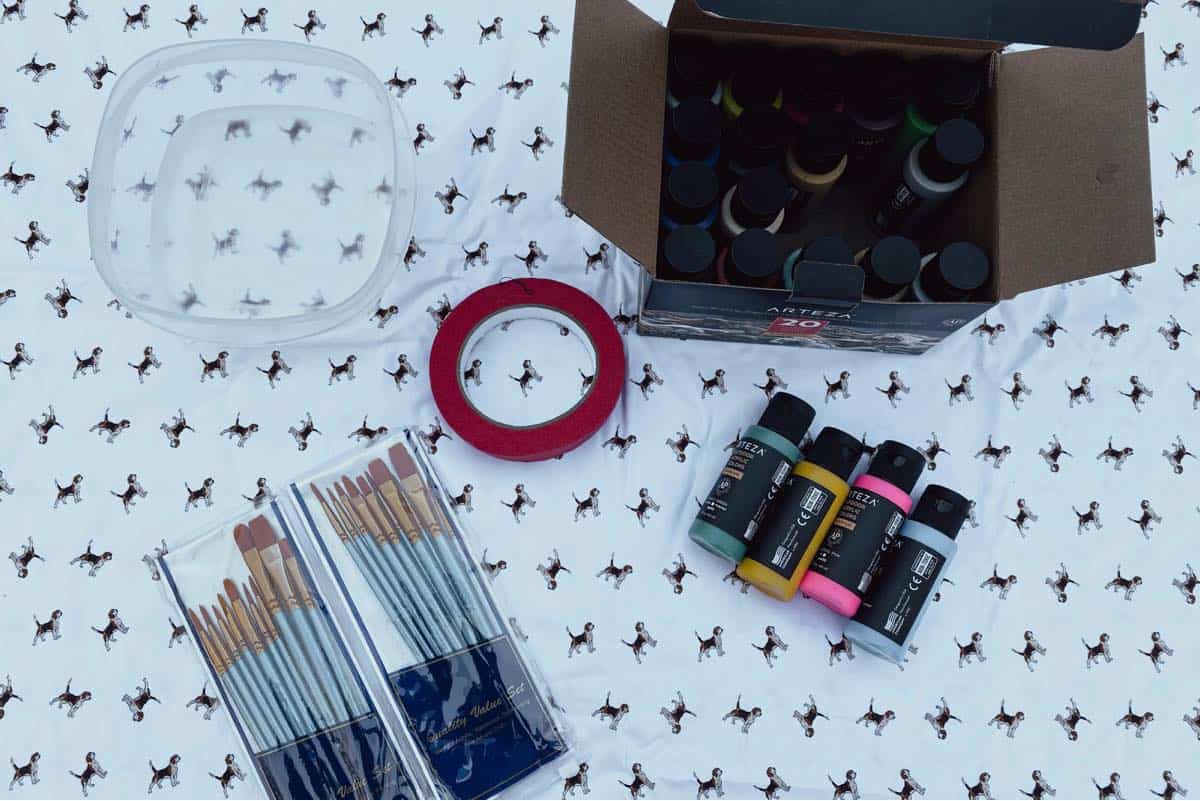
The good news is that you really don’t need anything above and beyond to decorate your hiking stick. Other than the stick itself, there’s no need to buy or order anything special. Art and craft supplies you already have at home will do just fine. Here’s a list of art and craft supplies you could use:
- Carving knife, curved draw, or an ax
- Electric sander or sandpaper, both will work
- Varnish (optional)
- Acrylic paint (this paint worked wonderfully on the wood, I highly recommend it!)
- Paintbrushes
- Drop cloth
- Masking tape or washi tape (optional)
- Power drill
- Paracord, leather strips, or twine for handle loop
- Yarn for journey stick (directions included in this article)
- Scissors
Locating a hiking stick with your kids
Finding the perfect hiking stick to use can be as easy as looking along a trail or in your yard (if you’re lucky enough to live near the woods). We found branches in the woods near our house to use for our hiking sticks. It took a while to find ones that were not wholly decaying, but we didn’t want to cut down any live trees for this project.
Fresher wood is better for making a hiking stick because it’s less likely to be dried out and brittle. Keep that in mind during your hiking stick search. Just be sure to inspect the sticks you’re finding on the ground for any insect activity (as you probably wouldn’t want to bring these into your home) or decay (mold/fungi growth).
How to find the perfect hiking stick
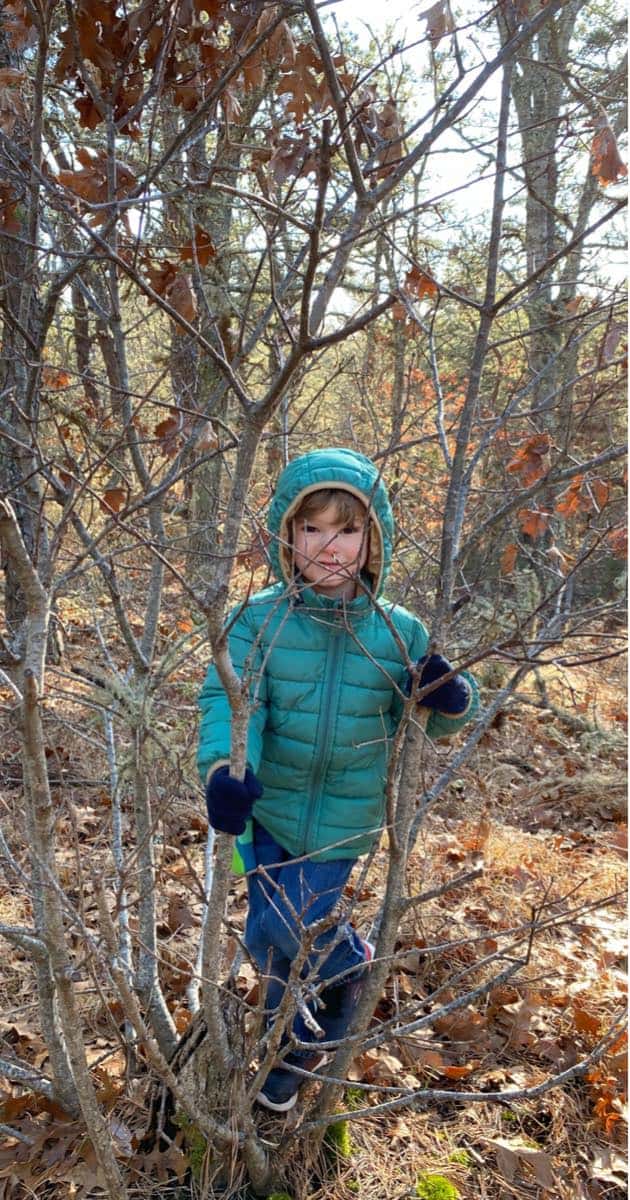
When searching for a sturdy hiking stick, the essential qualities you are looking for are: (1) hard sturdy wood, and (2) a generally straight stick. The types of hardwood trees are maple, ash, cedar, beech, cherry, aspen, and others. But, use what you can find. We used some oak branches because the woods around our home are mainly pine and oak.
Also, you want the hiking stick to be about one to two inches in diameter and at a comfortable height for walking. Of course, everyone’s preference is different, but generally, an adult’s hiking stick can be about 55-65″ in length, and children’s can be shorter. Typically, you want a hiking stick to come up about three inches or so below your underarm. If you find a straight hard wood stick that’s longer, you can always cut it down. A hiking stick that’s too short, won’t be as helpful or useful.
How to prepare a hiking stick
Once you find the chosen stick that you’d like to work with, there are a series of steps to follow to make it suitable to decorate and hike with. Here are the steps we took to prepare our hiking sticks.
1. Remove the bark
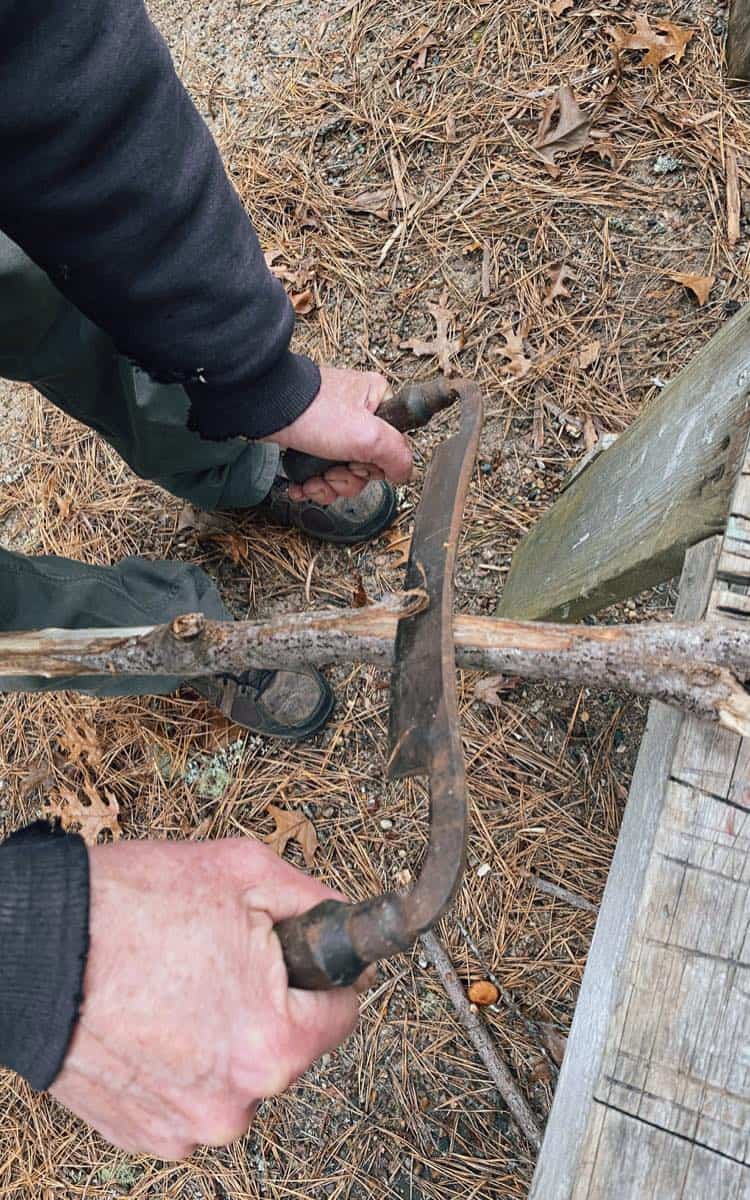
First, you will want to whittle or carve off the bark of the stick. This will help keep you from getting splinters and make the stick easier to grip and decorate. You can remove the bark with a knife, a curved draw, or even an ax. However, if you want a rustic-looking hiking stick with more of a natural feel, you can keep the bark on. It’s really up to your preferences!
Some types of hardwood have two layers of bark and need to be scraped down twice. This can be a lot of work, don’t get discouraged! Older kids can help with this process with adult supervision and guidance. Remind them to always carve away from your body and not to try to go too fast.
2. Let your hiking stick air dry
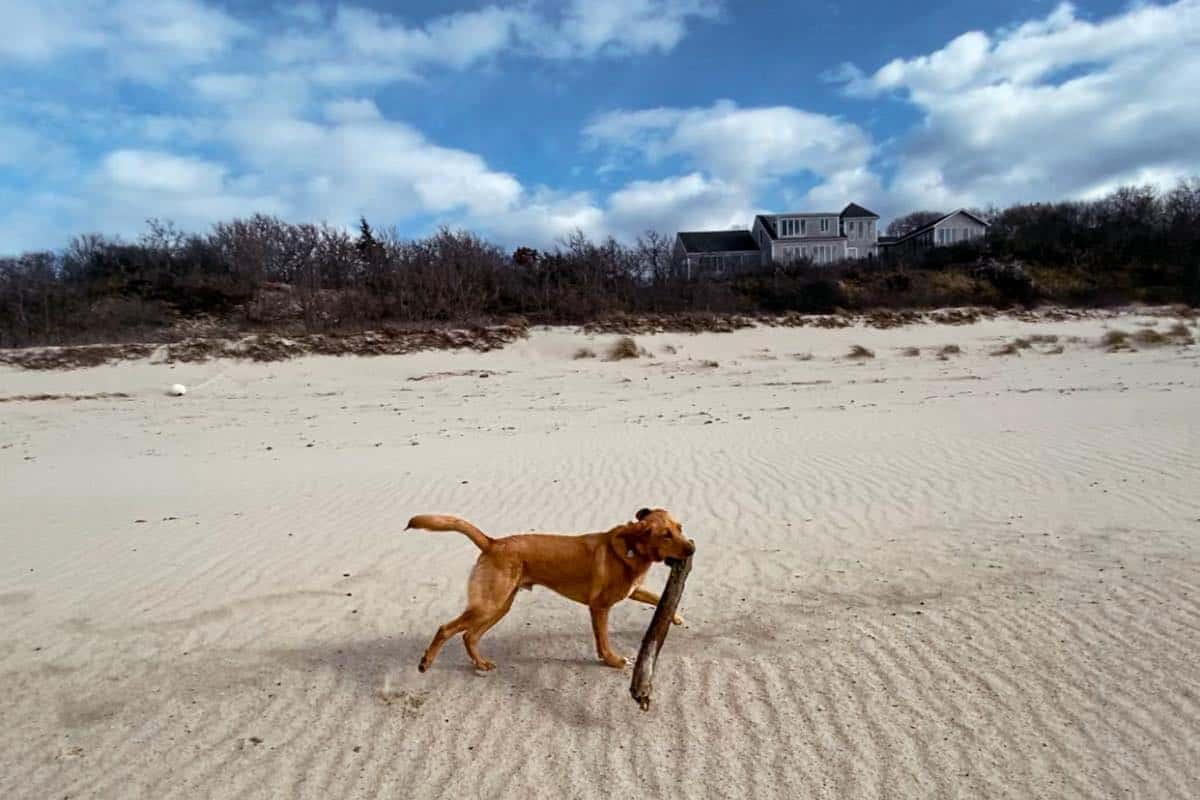
Before applying any paint or varnish to your hiking stick, you want to make sure it is completely dry. We made the mistake of leaving our hiking sticks in the trunk of my SUV to dry, and then our dog, Jetty, found them and decided to use them as chew toys! Needless to say, they were a bit wet and slobbery (and in pieces) when we were ready for them.
So, I’d recommend putting them in a safe place, out of reach from any pets who enjoy a nice stick as a snack. Depending on the climate and time of year, the drying process may take up to a couple of weeks.
How to prepare your hiking stick for painting
Once your hiking stick is nice and dry, you’ll want to get it ready for painting and decorating. Use sandpaper to smooth out any inconsistencies, knots, or raw parts of the hiking stick. We started with an electric sander, but the hand-held sandpaper seemed to work better (although it took longer). Once you’ve entirely sanded your hiking stick, wipe it off with a damp rag to remove any sawdust.
If you’d like to add a handle loop to the top of your hiking stick, now would be a great time to add a hole at the top of your stick. We made a hole with a power drill and a small bit. You can make a wrist loop with a variety of materials, including leather, paracord, ribbon, rope, string, or twine. (I will add more information on making these handle wrist loops later in the article.)
How to paint your hiking stick
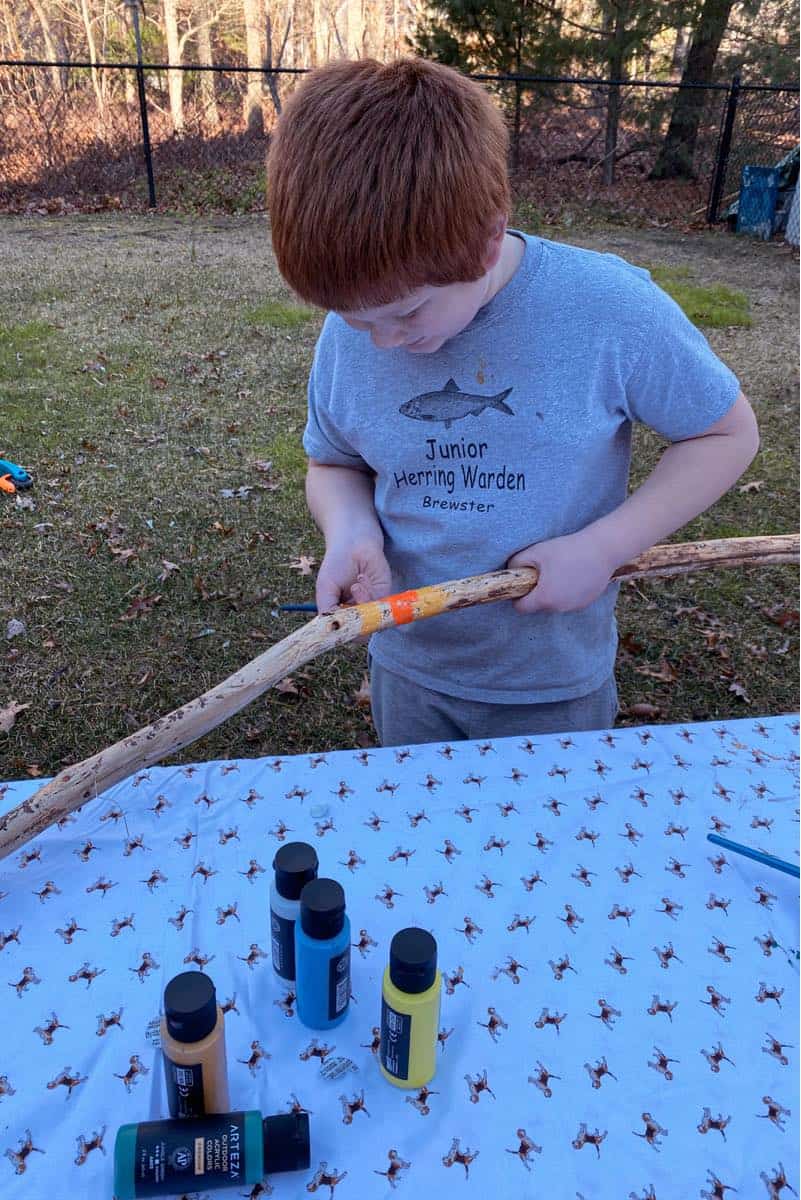
Set up your supplies for painting your hiking stick in a well-ventilated area. If possible, paint it outdoors! Get all your materials set out and ready. Gloves and a mask are a good idea, as well as a drop cloth or old sheet to prevent paint splatter on furniture or floors.
If you are choosing to varnish your hiking stick, follow the instructions on the product of your choosing. This technique will create a simple look that will let the natural wood grain shine through.
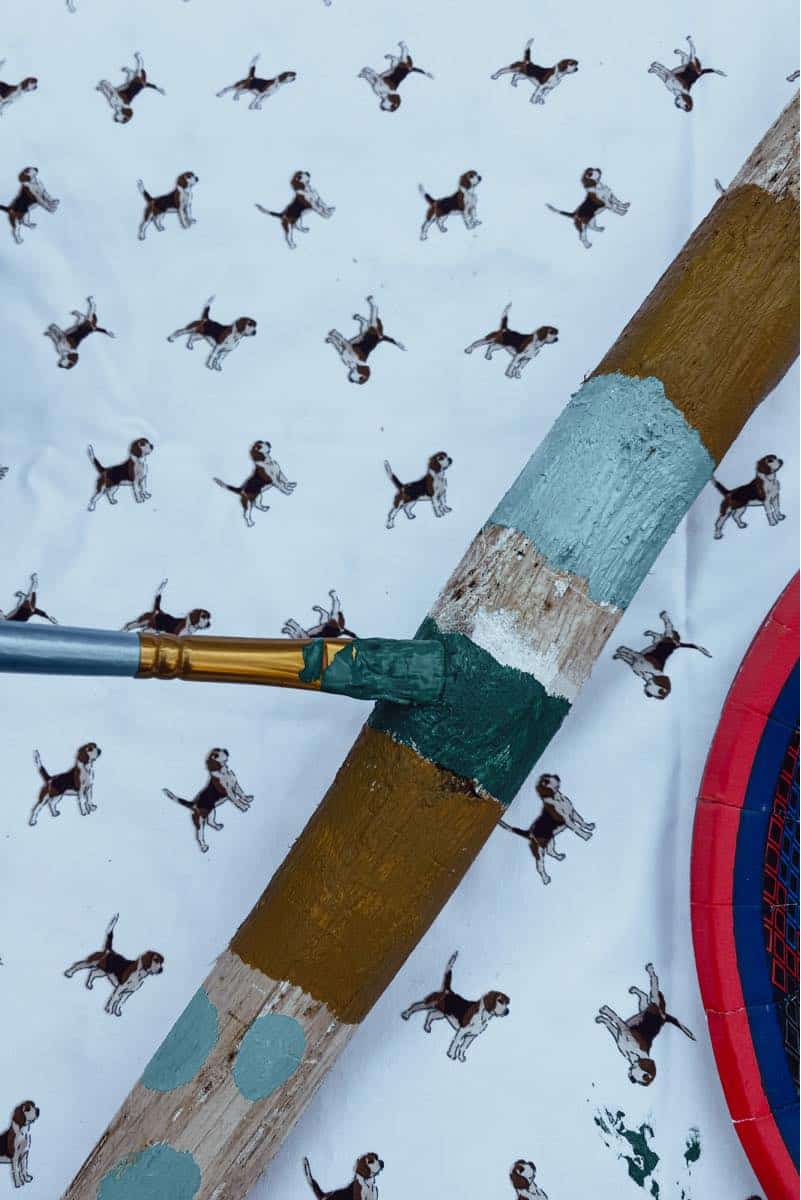
If you choose to go for a more colorful look, as we did, you may want to start by giving your hiking stick a base coat of white paint. The white basecoat allows the bright colors to show up more vividly. For extra vivid colors, you may want to do a few coats of paint so that they really pop!
How to decorate a hiking stick with paint
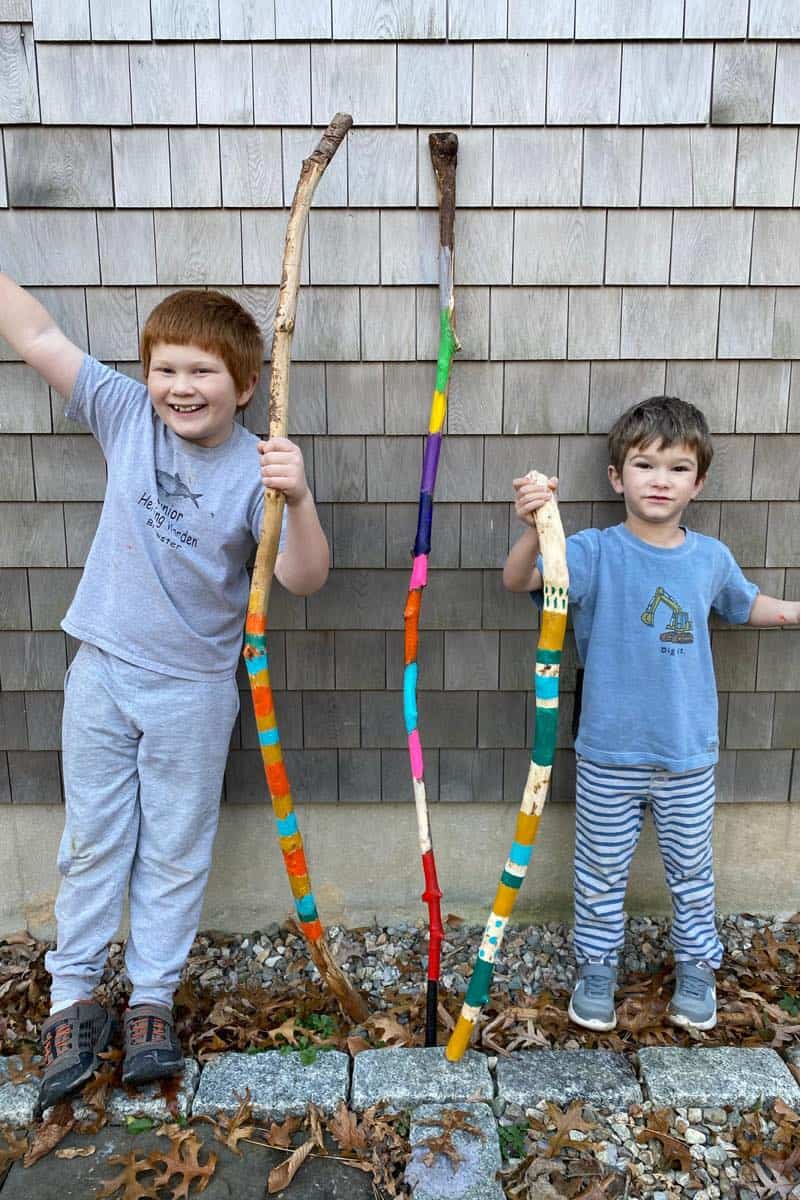
There are no rules when using paint to decorate your hiking sticks with kids! Let them be the creative director and see what they dream up. My youngest wanted to make a rainbow with every color possible, and my oldest wanted to make a ringed pattern. Both of their projects came out so great and matched their personalities too!
I asked if they wanted to use masking tape to create “negative space” on their sticks as I did with mine, but they both declined. Masking tape and washi tape are helpful with this technique to make clean lines.
Other creative ways to decorate a hiking stick with paint are: polka dots, rainbow patterns, alternating colors, repeating patterns of large and small stripes, swirls or other textures, etc.
How to make a wrist loop for your hiking stick
So, why do you need a wrist loop for your hiking stick in the first place? Well, it’s really for safety reasons. If you happen to drop your stick while walking, it will be wrapped around your wrist and won’t go tumbling down the mountain. But, it is also helpful for storage! You can hang your stick by its loop when you’re not using it. It also just looks nice to have some extra color and decoration.
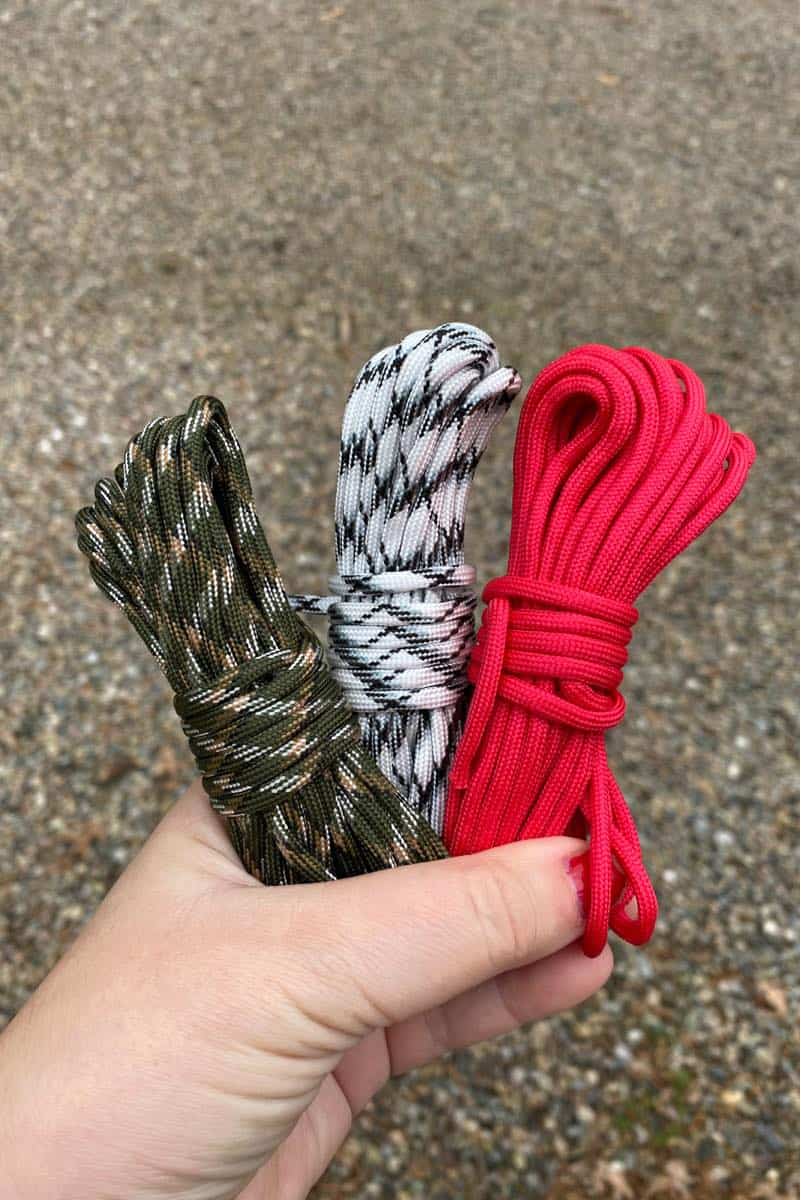
Choosing what material to use for your wrist trap is up to you. My favorite thing to use is whatever you have on hand! Again, no need to buy anything new. If you happen to have some rope – that works! If you have some paracord, that’s great! Being conscious about commercial consumption and using materials on hand is always the best option, in my opinion.
Braided hiking stick wrist loop
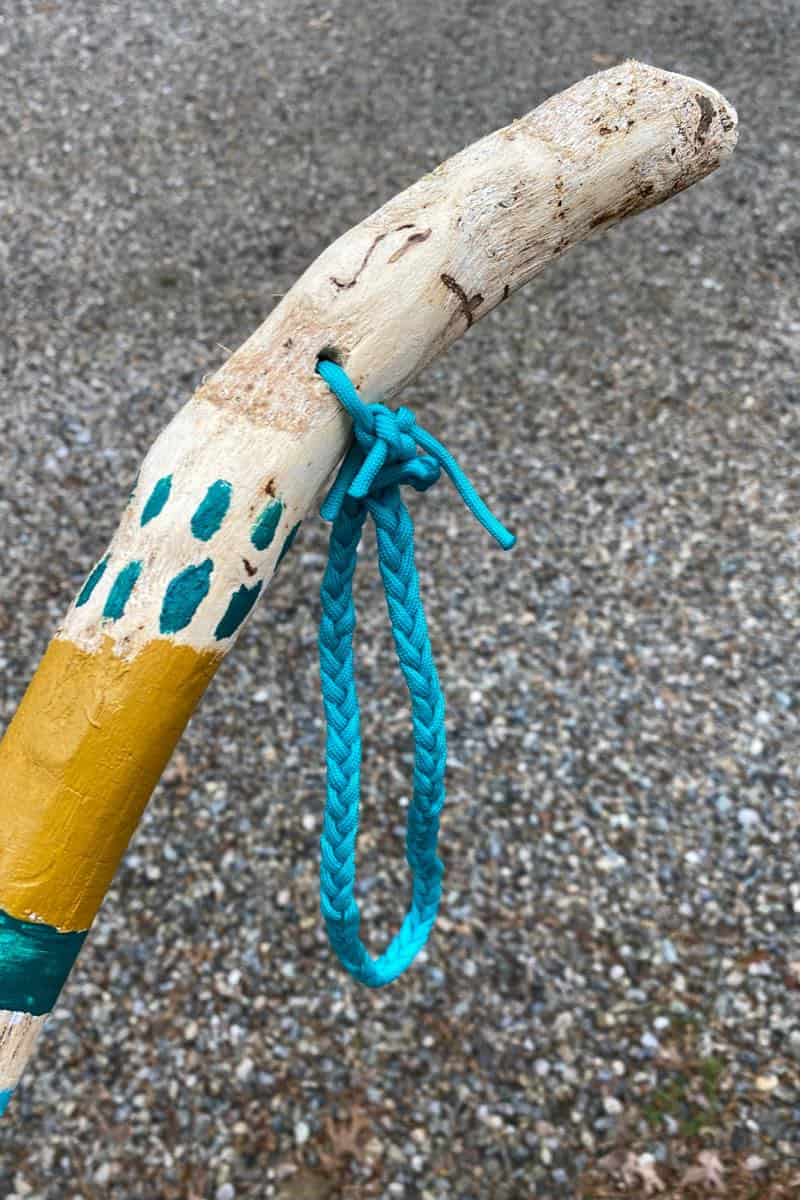
Plait a simple braid together with three pieces of whatever material you choose and then string it through the hole you made at the top of your hiking stick. But, first, make sure the loop fits comfortably around your wrist.
We used paracord, which is easy to manipulate, strong, and comes in various colors. If you choose paracord, make sure to melt the ends that you cut, so it doesn’t fray. Melting the material is easy to do with a lighter or match. Using a flame is a job for an adult or a supervised older child.
How to create journey sticks
While researching making hiking sticks with kids, I found an enjoyable activity to do with your completed hiking stick. The concept of a Journey Stick originated in Australia with the Aboriginal people. When they went on an expedition, they would attach objects from their trip to a wooden shaft in chronological order as reminders of their travels. They would then use these items to tell stories about their voyages when they returned home.
The journey sticks were visual representations of the story of the journey. Storytelling is an important skill for kids to learn. We as humans are more likely to attach importance to a story when we see ourselves as a part of it. When children are asked to recount the story of their adventures and explorations, they become active learners, leaders, and caretakers of their environment. 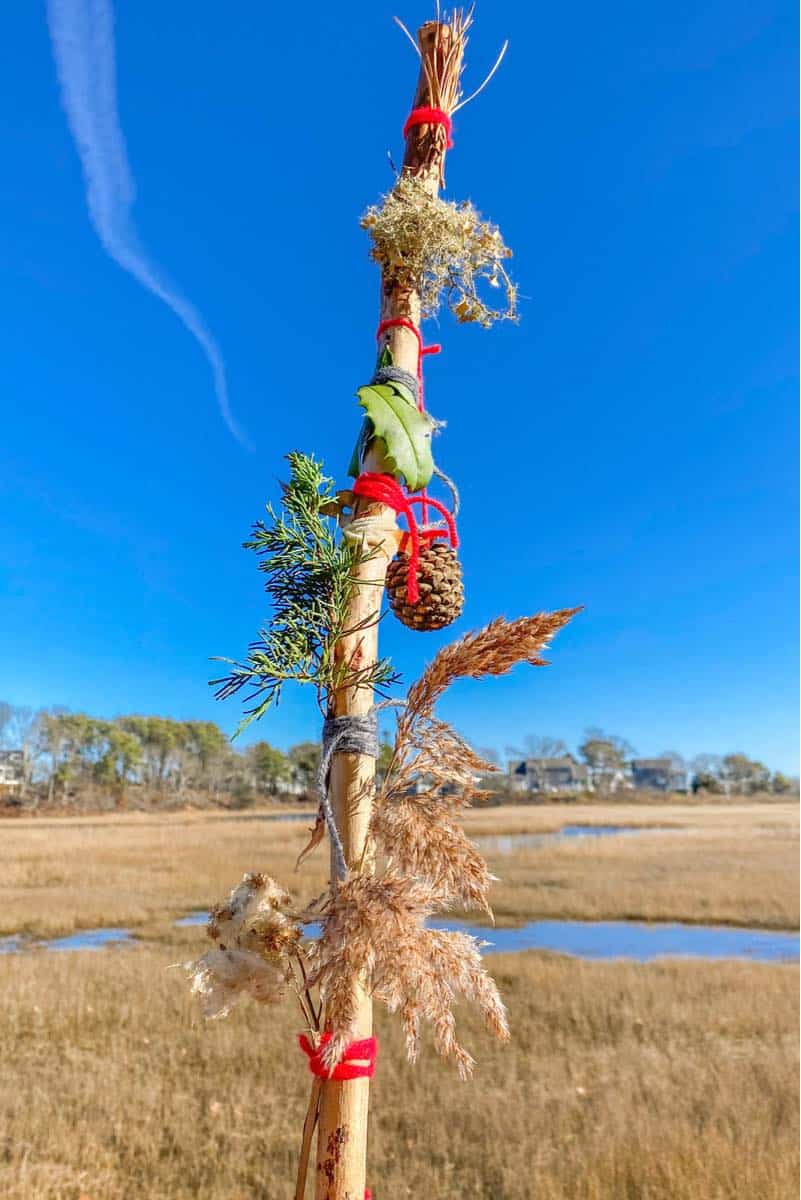
Creating journey sticks with kids
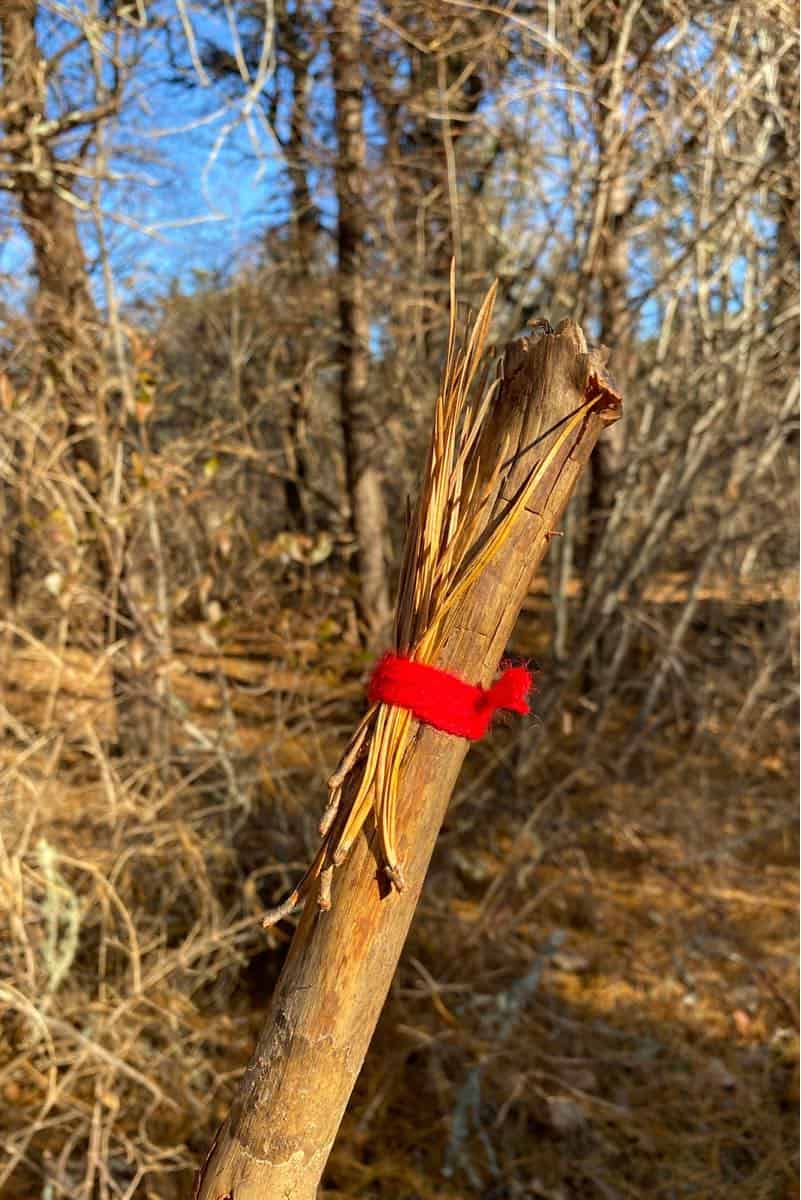
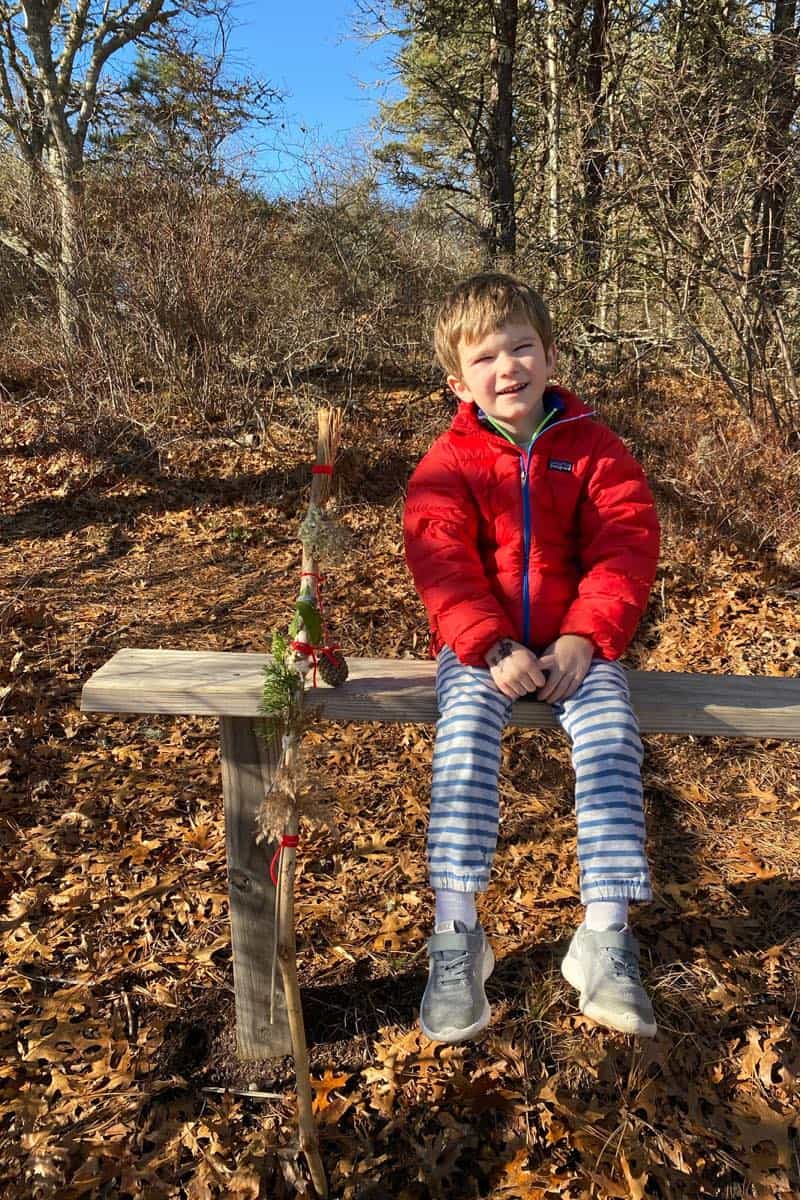
You can use your decorated hiking stick (or any hiking sticks) to create a journey stick with your kids. We took a simple wooden hiking stick out on a local trail through the woods to use as our journey stick. We brought scissors and yarn with us and I explained that we could pick up anything we wanted to tie to our stick in order to tell the story of our hike.
My youngest required help with the tying, but he chose each of his treasures by himself. Picking out items to attach to his stick made him slow down and pay attention to his surroundings; it was beautiful! He ended up choosing pine needles, a leaf that “looked like an owl,” a piece of a fir tree, a pine cone, holly leaves, lichen, phragmites, and sea myrtle. When we returned home and looked at his journey stick, I was so surprised that he could remember exactly where he found each unique token and recount the story of our hike.
Try this on a hike with your kids and see what they find! For more info, we have a great post on making journey sticks with kids.
Fun facts about hiking sticks:
After investigating all about hiking sticks and how to make them with your kids, I found some pretty fascinating factoids I thought I should share:
- Someone who collects walking sticks is called a rabologist. (I can see adding this name to my resume!)
- Hiking sticks are not only used for support but also for self-defense or as a fashion accessory.
- Henry VIII was once arrested for beating a constable with his walking stick!
- The Smithsonian has a cane with a golden handle given to President George Washington by Benjamin Franklin.
- Tutankhamun was discovered with 130 walking sticks buried in his tomb, as he had a clubbed foot.
- The Appalachian Trail Conservancy estimates that 90% of through-hikers use hiking sticks or poles on the Appalachian Trail.
If you don’t have time to DIY a hiking stick
If you’d still like to get the benefits of using a hiking stick but don’t have the time or the resources to find or make your own, there are premade ones that are acceptable alternatives. Also, many people choose to use two hiking poles rather than one hiking stick. The aluminum construction allows them to be very lightweight. I’ve included options below for both poles and sticks, and there are some great options online.
The best hiking sticks for kids:
- These aluminum hiking poles are collapsable and lightweight.
- These REI brand kids hiking poles are aluminum with plastic grips.
- These customizable kid-sized hiking sticks are made from birch and are sold on Etsy.
The best hiking sticks for adults:
- These REI brand adult-sized hiking poles are made from aluminum with cork handle grips.
- These foldable adult-sized hiking poles are lightweight and have tungsten carbide tips.
- This wooden custom-made hiking stick from Etsy comes with an interchangeable tip, an alpine tip for trail walking, and a rubber bottom for paved surfaces.
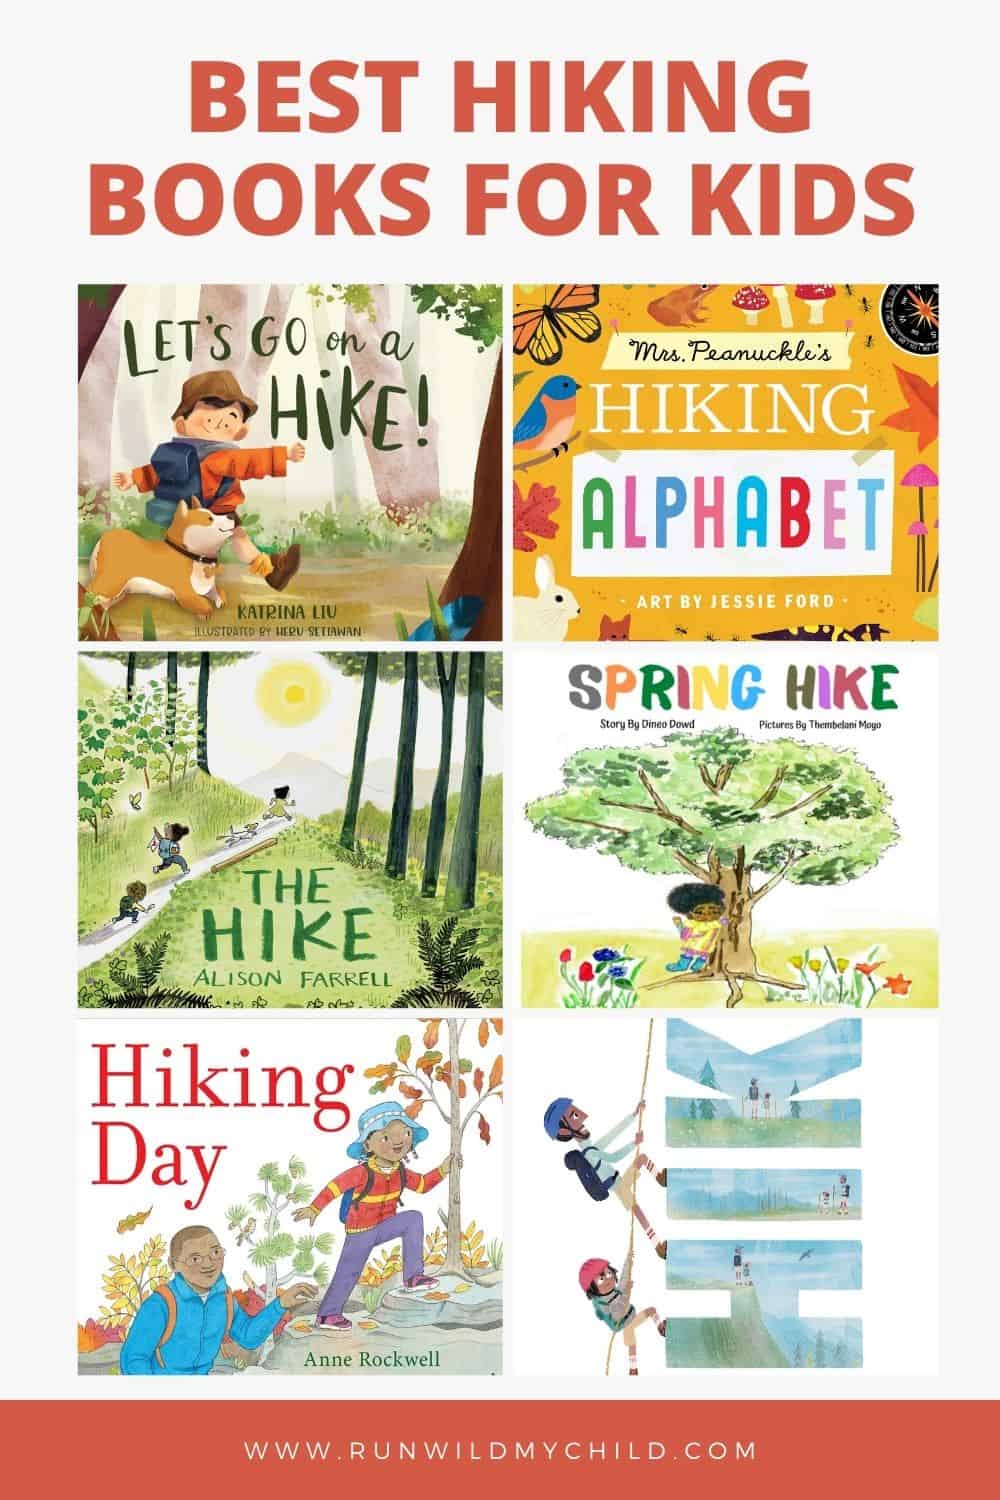
Children’s hiking book recommendations
After decorating your hiking sticks with your kids, read these wonderful children’s books all about hiking and exploring nature!
- Mrs. Peanuckles Hiking Alphabet, by Mrs. Peanuckle
- Let’s Go on a Hike, by Katrina Lu
- Hiking Day, by Anne Rockwell
- Hike, by Pete Oswald
- The Hike, by Alison Farell
- Spring Hike, by Dineo Dowd
More resources about hiking with kids
If you’re interested in more great content about hiking with kids, be sure to check out the following posts:
- Best Hiking Shoes for Kids
- 10 Hiking Essentials for Families
- Best Baby Carriers for Hiking
- Trail-Test & Kid-Approved Hiking Snacks
- Ultimate List of Outdoor Gear for Kids
Are you ready to make a hiking stick with your kids?

About the author
Lissy lives near the ocean on Cape Cod, Massachusetts with her husband, 2 rambunctious boys (aged 4 & 7), and an ever-growing number of pets. She grew up walking nature trails and finding joy in the beauty of nature. She now shares that love for local adventures with her community through her blog, “Get Outside Cape Cod”. Lissy knows that everyone can benefit from spending more time outdoors, and wants to inspire and support families to do just that!
You can find more from Lissy in the following online locations:
Instagram: @getoutsidecapecod
Website: Get Outside Cape Cod
Facebook: @getoutsidecapecod
RWMC Posts: Lissy Perna
Comments
6 responses to “Making Hiking Sticks with Kids”
[…] Making DIY Hiking Sticks with Kids […]
[…] so I love the idea of allowing them to create their own to use. These special creations from Run Wild My Child are a lovely addition to a Thanksgiving, Christmas, or New Year’s hike. Just find the perfect […]
[…] Make and decorate walking sticks. Inspired by Run Wild My Child […]
Thanks so much for all the information. We have 12 boys that we are going to make walking sticks with to complete for a badge in Royal Rangers. This will be creative and fun!
[…] Making DIY Hiking Sticks with Kids […]
[…] campers. If you use foraged sticks, make sure to scrape off the bark before painting and gluing. This guide from Run Wild My Child is a good place to […]

Leave a Reply