Your cart is currently empty!
Winter Fort Building with Kids
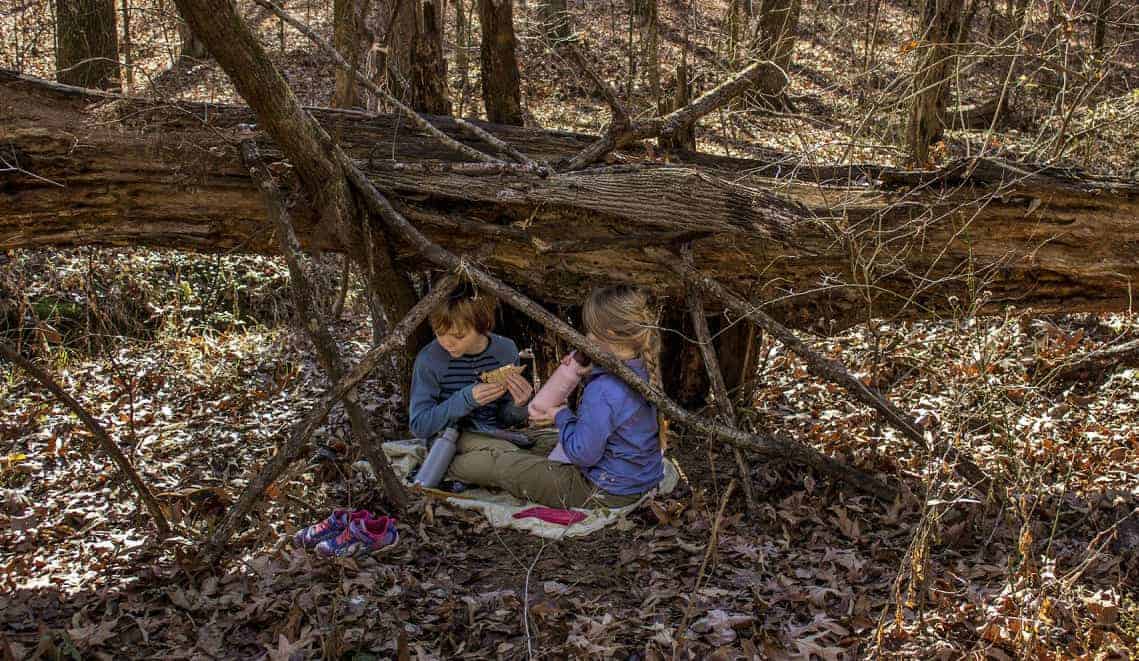
Colder temperatures do not mean the fun of fort building has to stop! For many in the warmer climates, it’s actually the best time of year to head to the woods to build some forts! Winter fort-building is so much fun, with definite perks. In the winter, the risk for snake encounters goes down and the ticks (and mosquitoes) die off, leaving the woods much more pleasurable! There are so many different ways to build a fort with your kids. Today, we have homeschooling mom of two and outdoor adventurer Nichole of Luckey Wanderers here, walking us through how to build an eco-friendly winter fort with kids!
This post contains affiliate links.
Why build forts in the winter?
While we love adventuring outdoors year-round, winter fort building is our favorite. The winter provides a certain sense of freedom and ease to our time spent in the woods. The forest always presents certain inherent dangers, but for our very warm locale, the winter offers a bit of a break from constant awareness of snakes, ticks, wasps, mosquitoes and fire ants. (However, we do still check for ticks every time we return from the woods as a precaution.) The winter also gives us a chance to venture (respectfully) off-trail and explore the woods a little deeper without the oppressive heat and humidity.
Choosing the perfect fort-building location
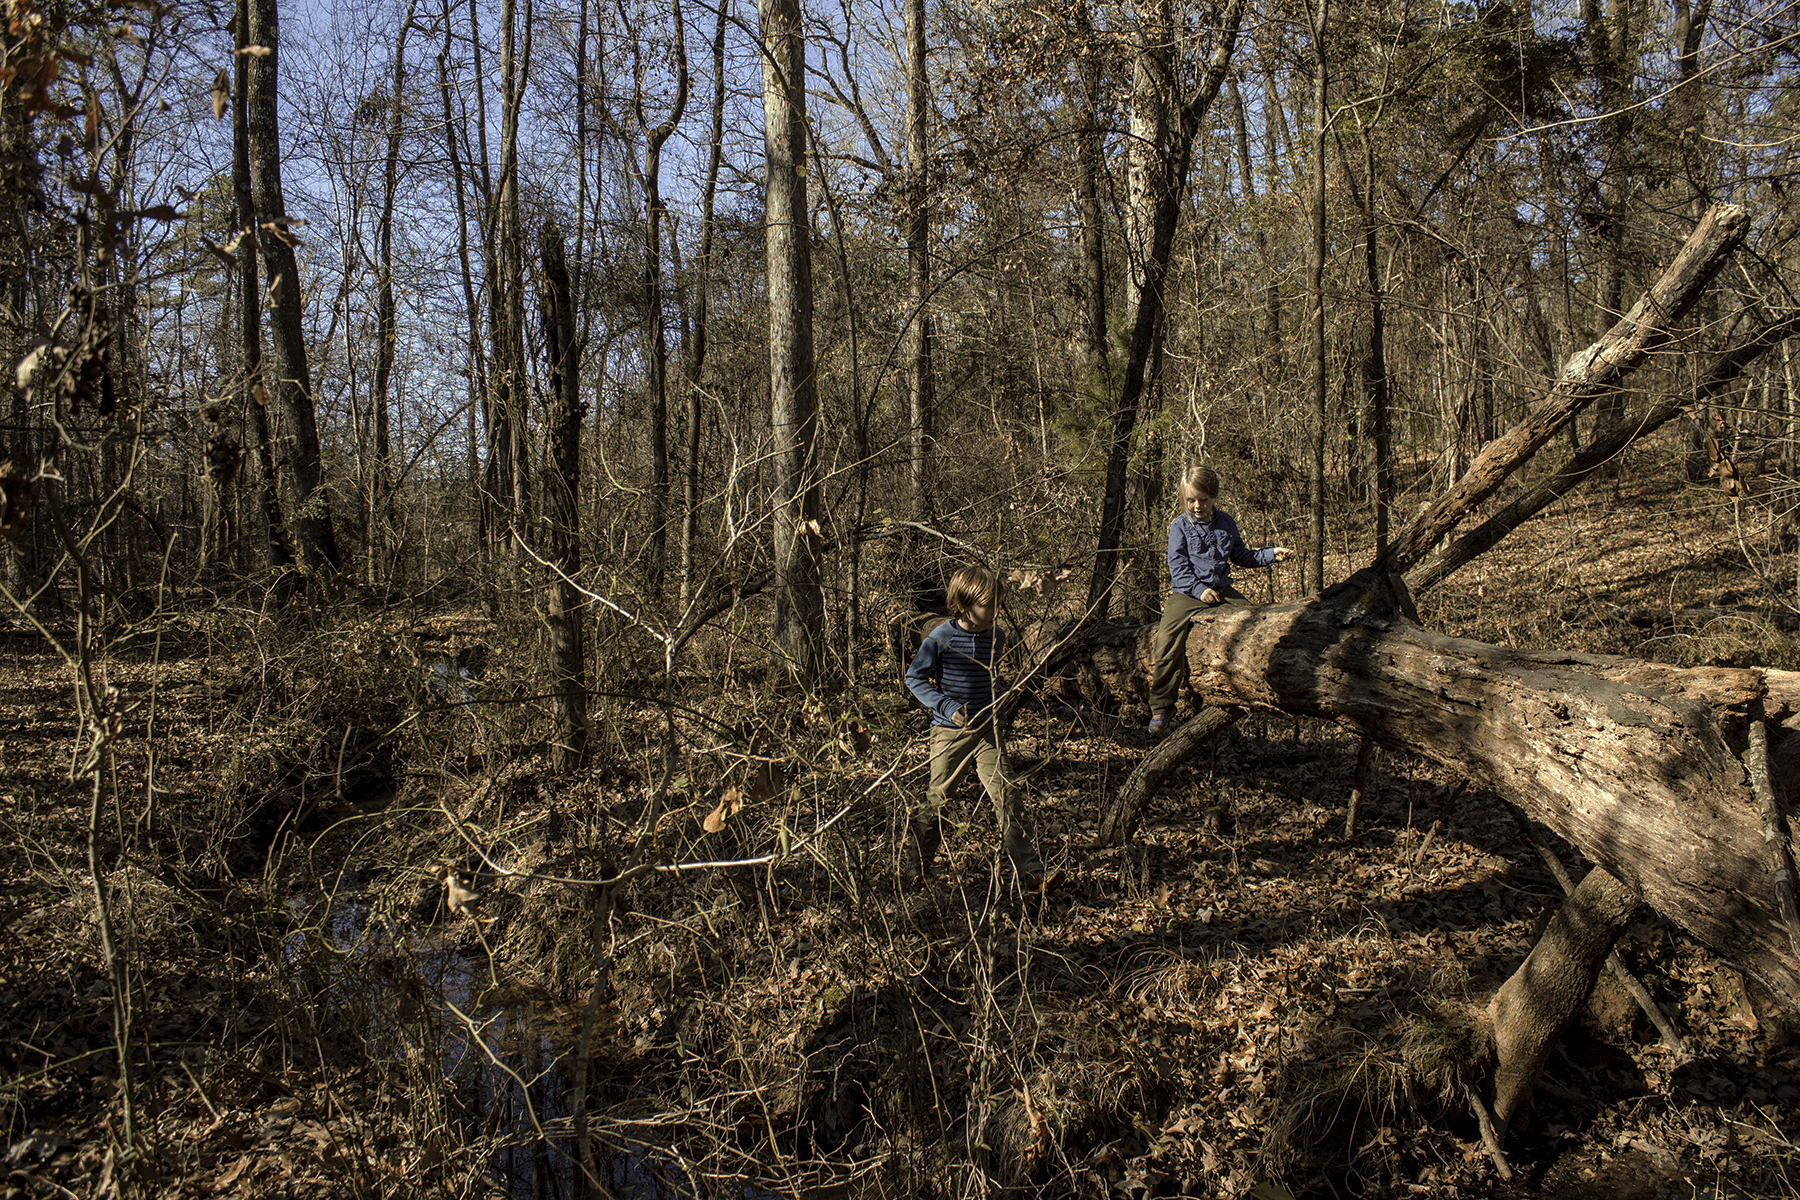
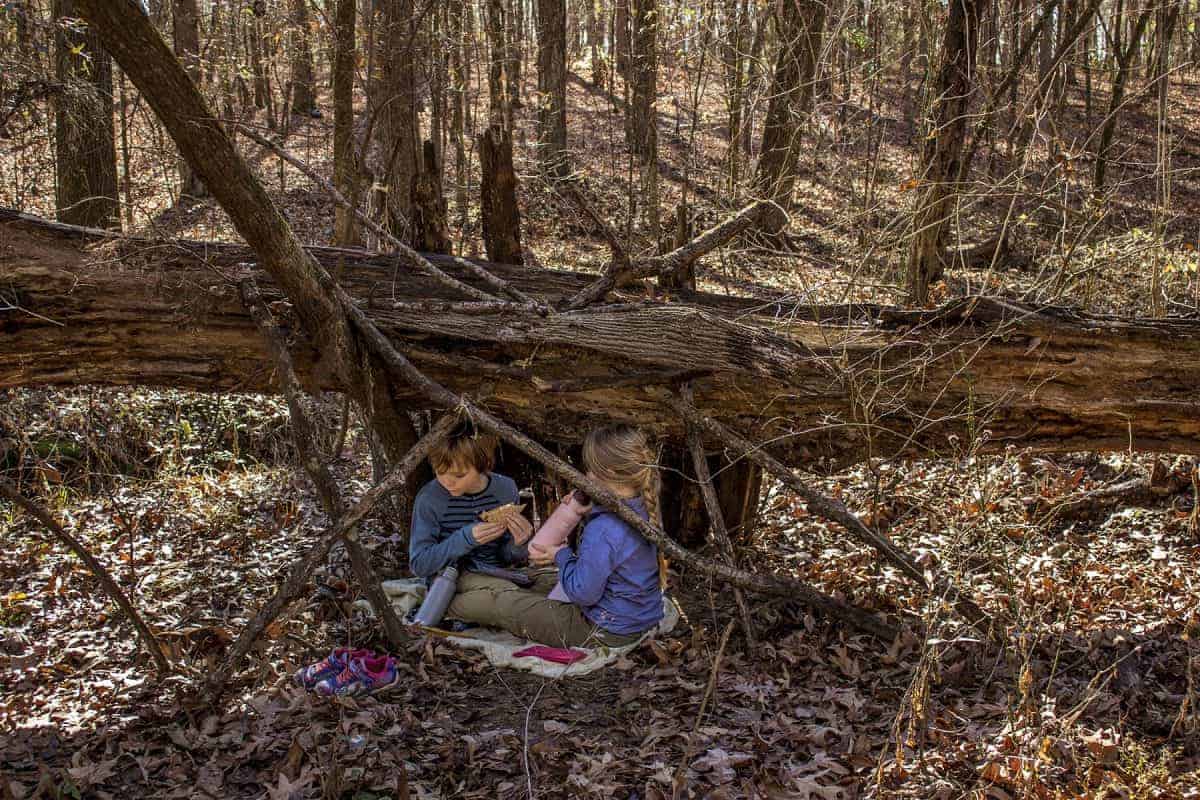
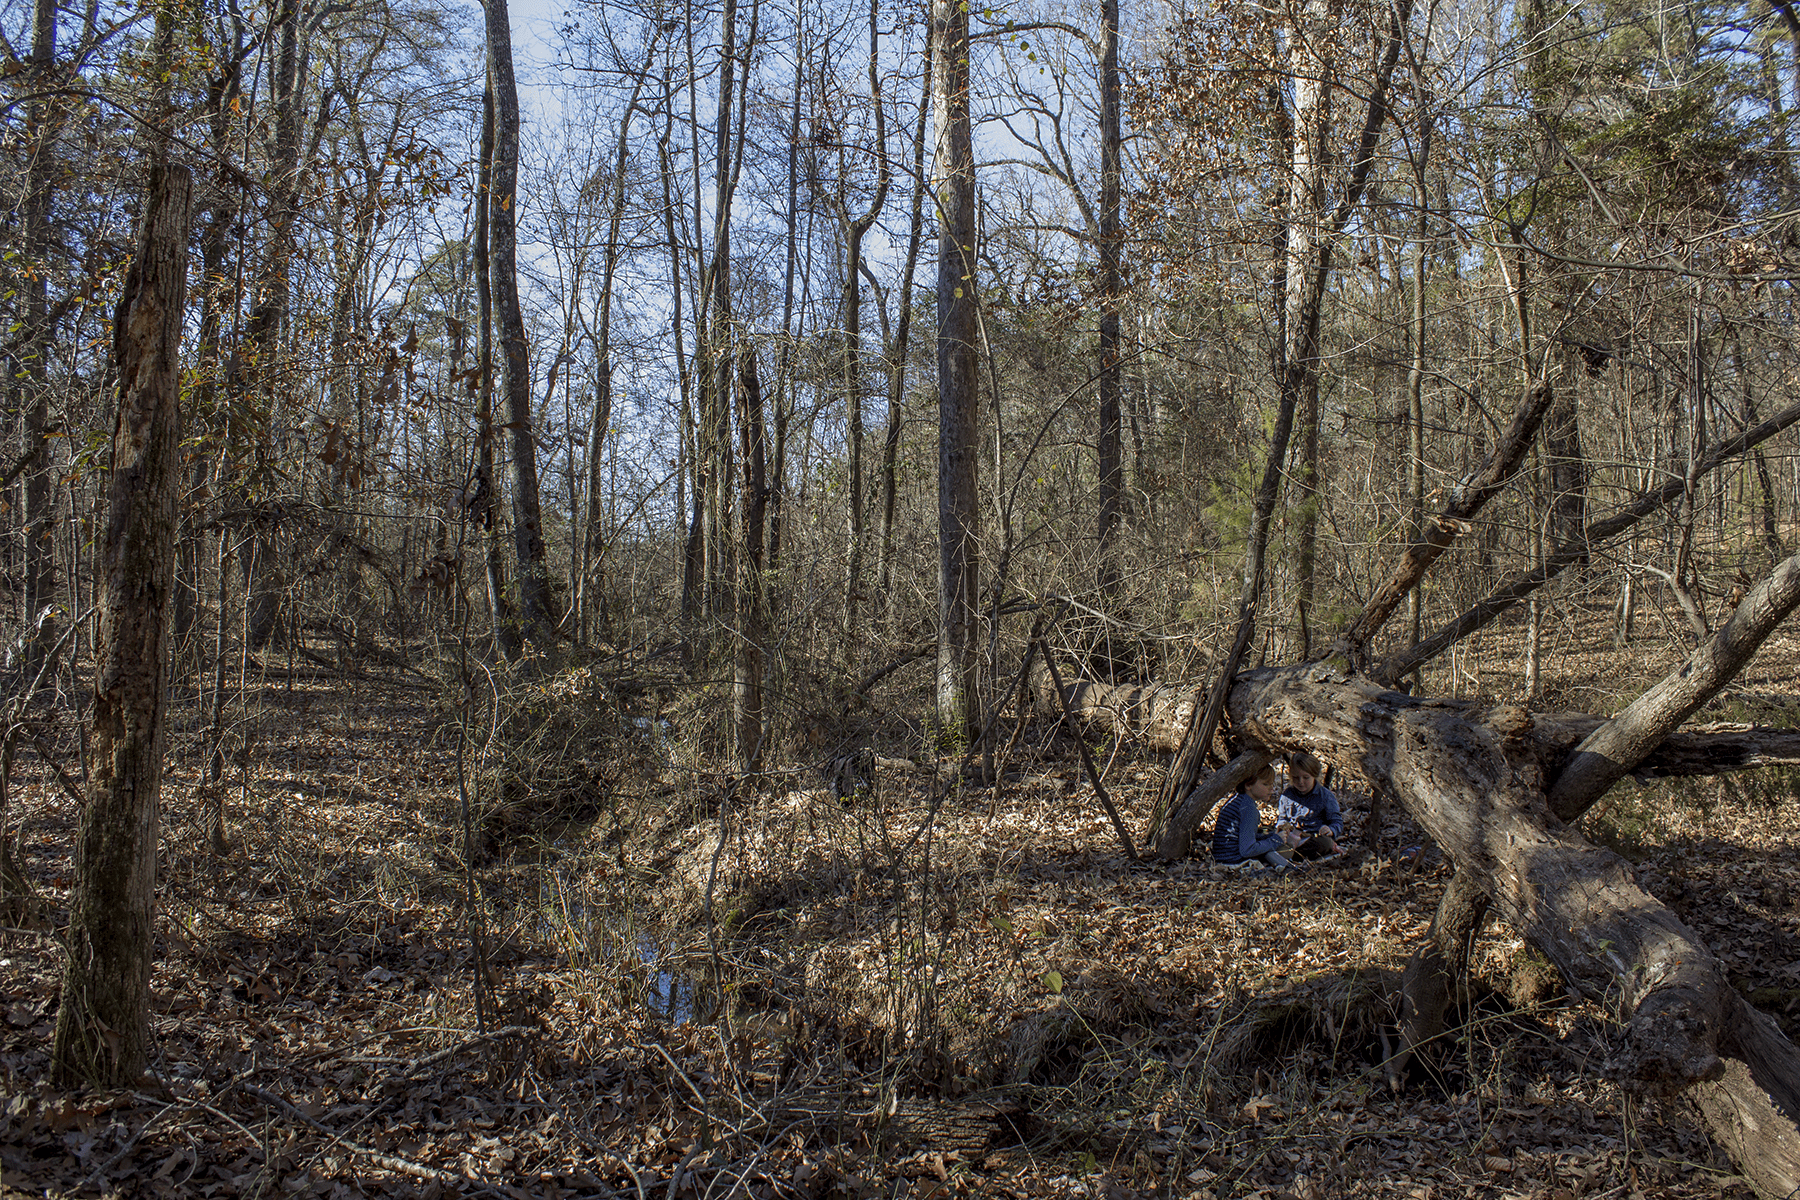
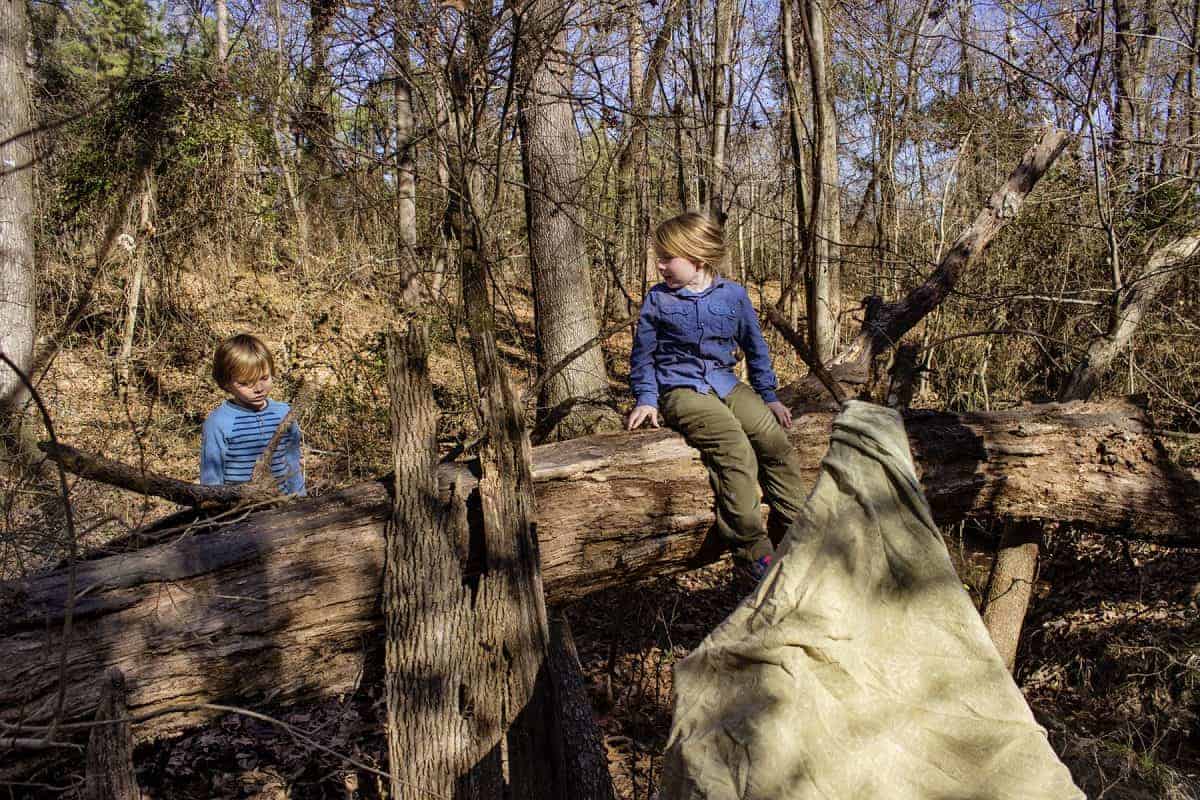
When we head out for the day, we usually have some sort of idea of the type/style of fort we would like to build. Our plan for this winter fort was to make a tepee structure to enjoy a picnic under. That plan quickly changed when my kids spotted a fallen tree that seemed to be calling to them. Much to their delight, it was also surrounded on three sides by a creek and had the feeling of a moat. It was the perfect location!
What to look for in a location
There are always a few things we look for, no matter what type of fort we are building:
- Three or four long sticks to be made into the tri-pod structure
- Fallen bark to use for a roof or sides
- A clear, flat spot to build on
- A fallen tree to make a lean-to
- Ways to be minimally destructive when gathering supplies (take one stick/bark/etc, instead of all of it)
- Check to make sure the area you are building is not already inhabited by any animals, such as beaver or rabbits
Step back and watch them step up
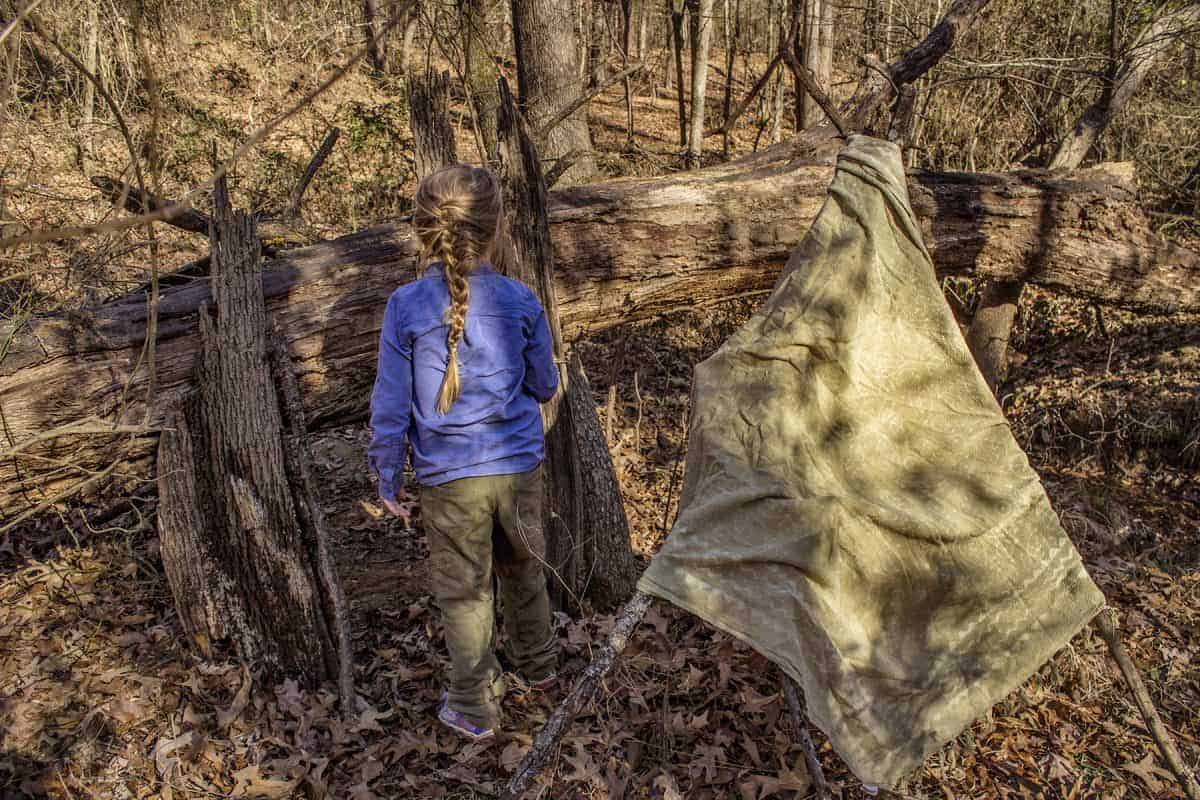
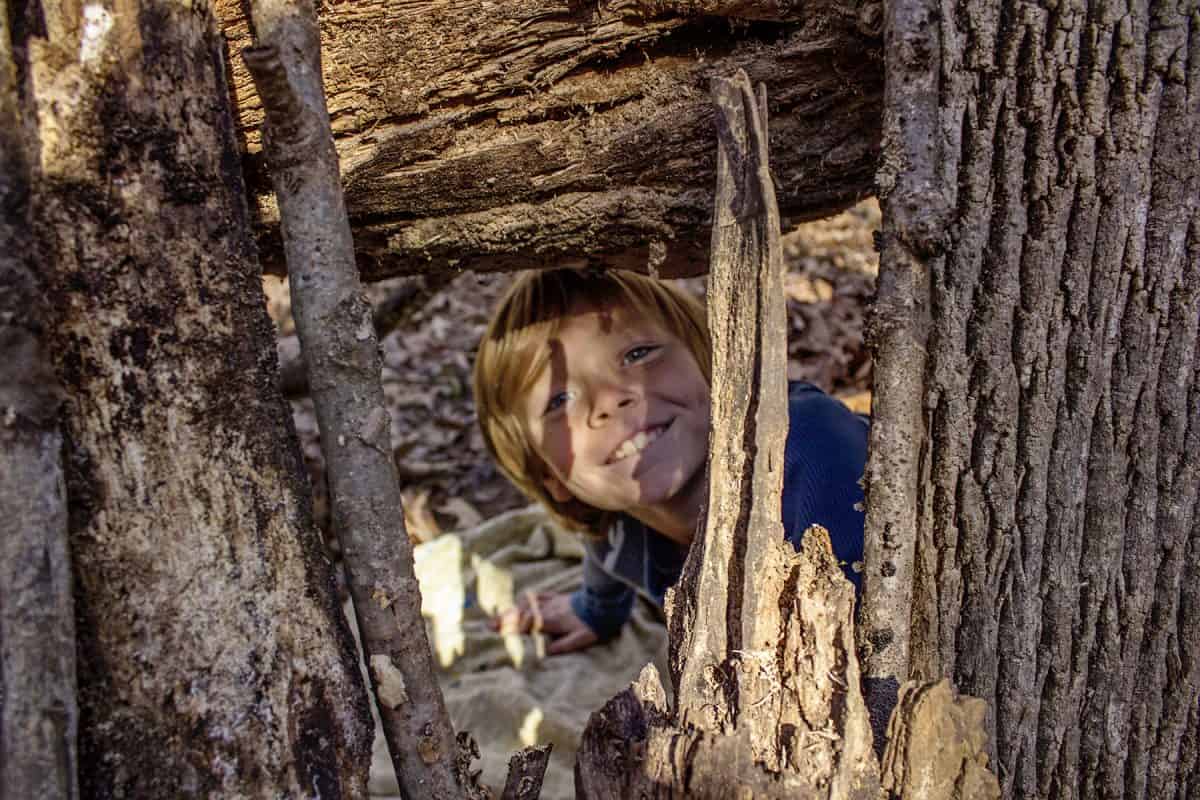
The process of winter fort-building is a fantastic application of scientific method and hands-on exploration. While I love building right alongside my kids, sometimes it’s an opportunity to step back and let them run with their ideas. Sometimes it works out wonderfully, and sometimes I’m wiping away tears and playing master architect. I highly recommend that you let them experiment on their own. Let them build a tripod or lean-to, only to watch it tumble under the weight of the leaves they piled on top. This teaches them. Allow them opportunities to learn from mistakes and try again. Then, celebrate their victories with them! Share a picnic together in their fort, even if you can only fit your foot inside. They’ll always remember it, I promise.
 A note about safety
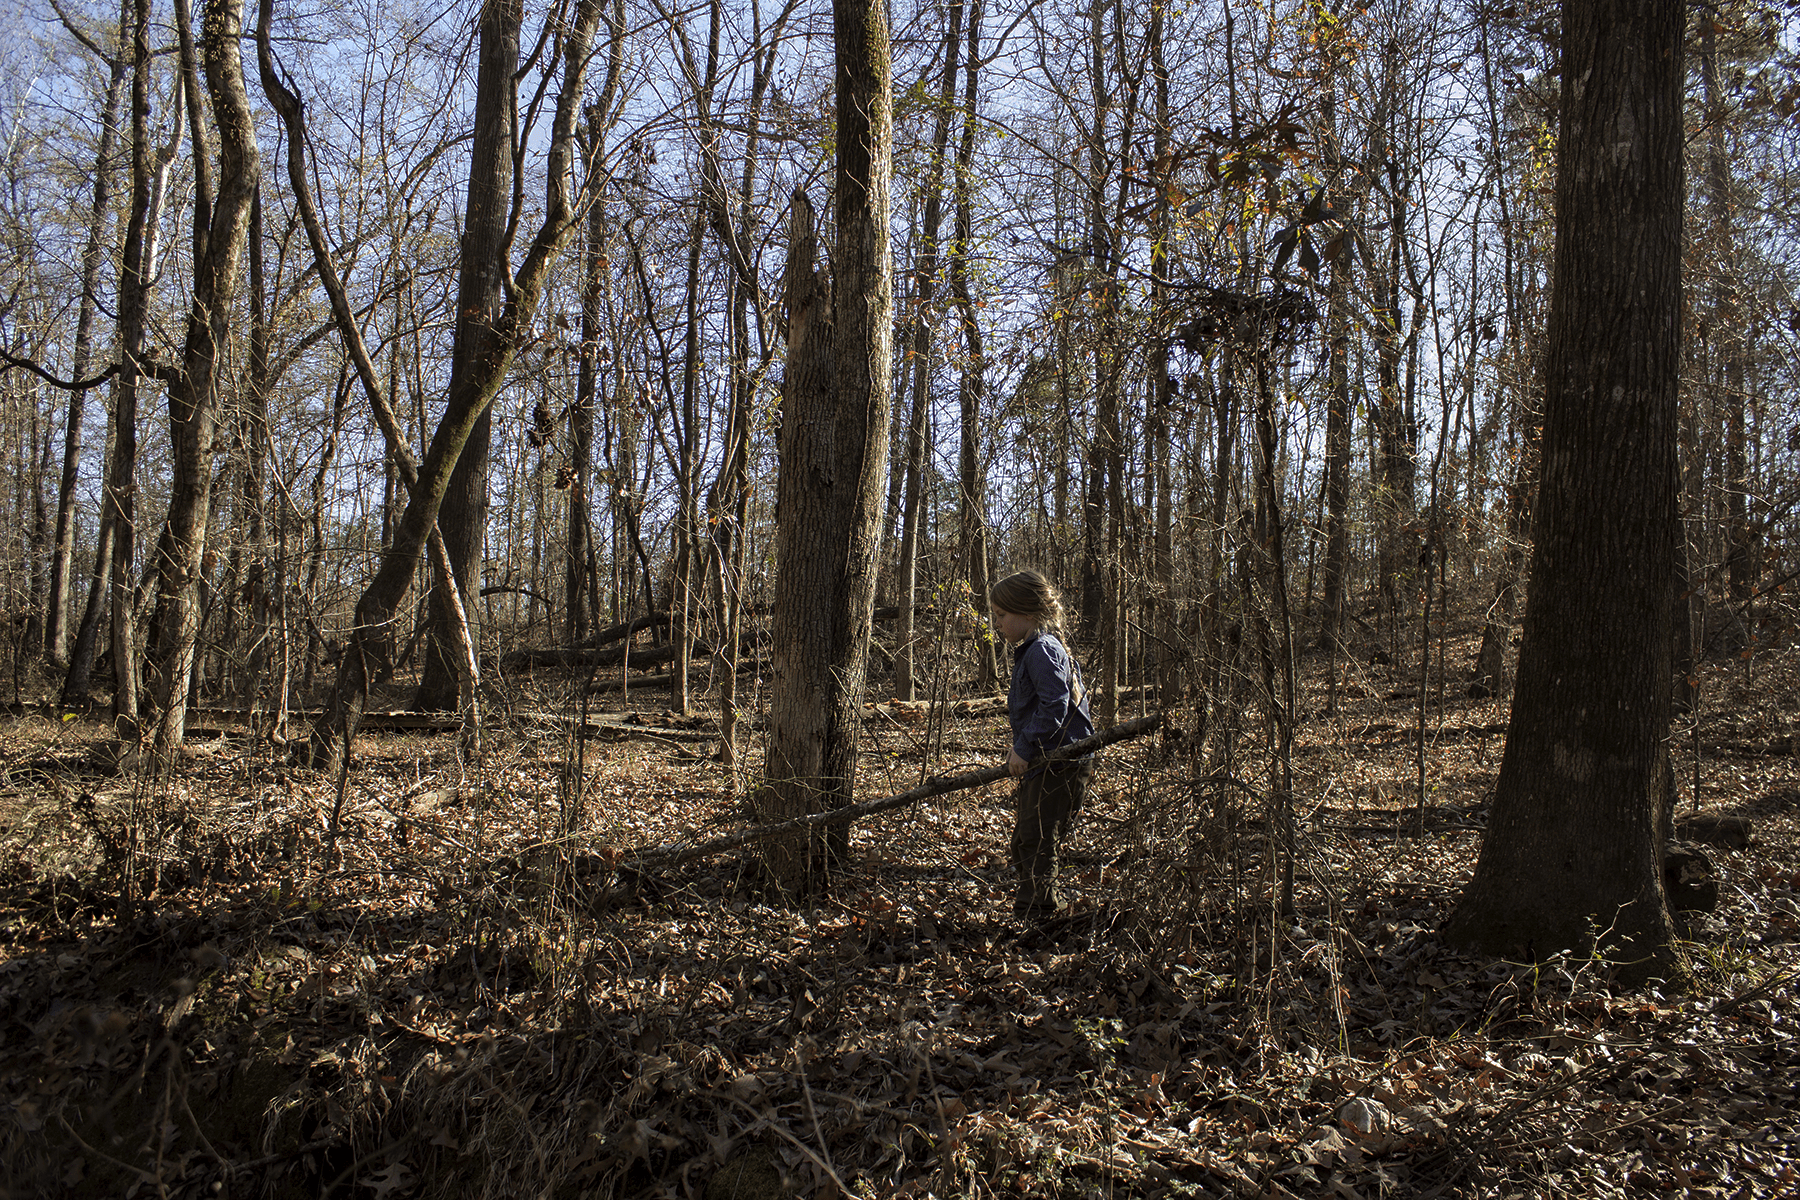
It’s important to note that even when the cooler temperatures arrive, you should still always be aware of potential dangers outside. There are a few things that we do to help keep ourselves safe when scavenging for materials to build our forts. The rule that I enforce fast and hard is to ALWAYS roll logs slowly TOWARD you. Yes, that’s right. Roll it toward you. Here’s why: if there is a snake hiding underneath, by rolling it toward you, the log is a barrier and gives the snake an escape route that doesn’t end directly on your feet. We learned that tip from a park interpreter at one of the amazing state parks in Arkansas. We also use a stick to lift fallen bark, scatter leaves, and poke around the underbrush. Essentially, we touch anything first with a stick, then with our hands, just to be on the safe(r) side.
Fort-building supplies
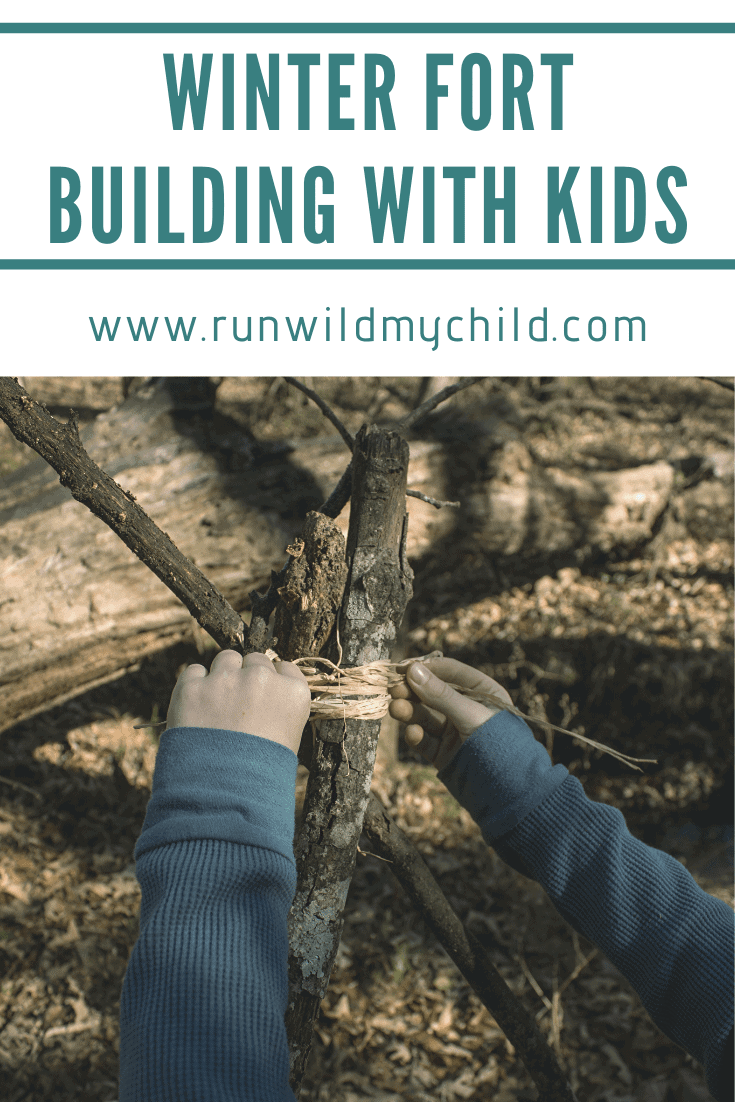
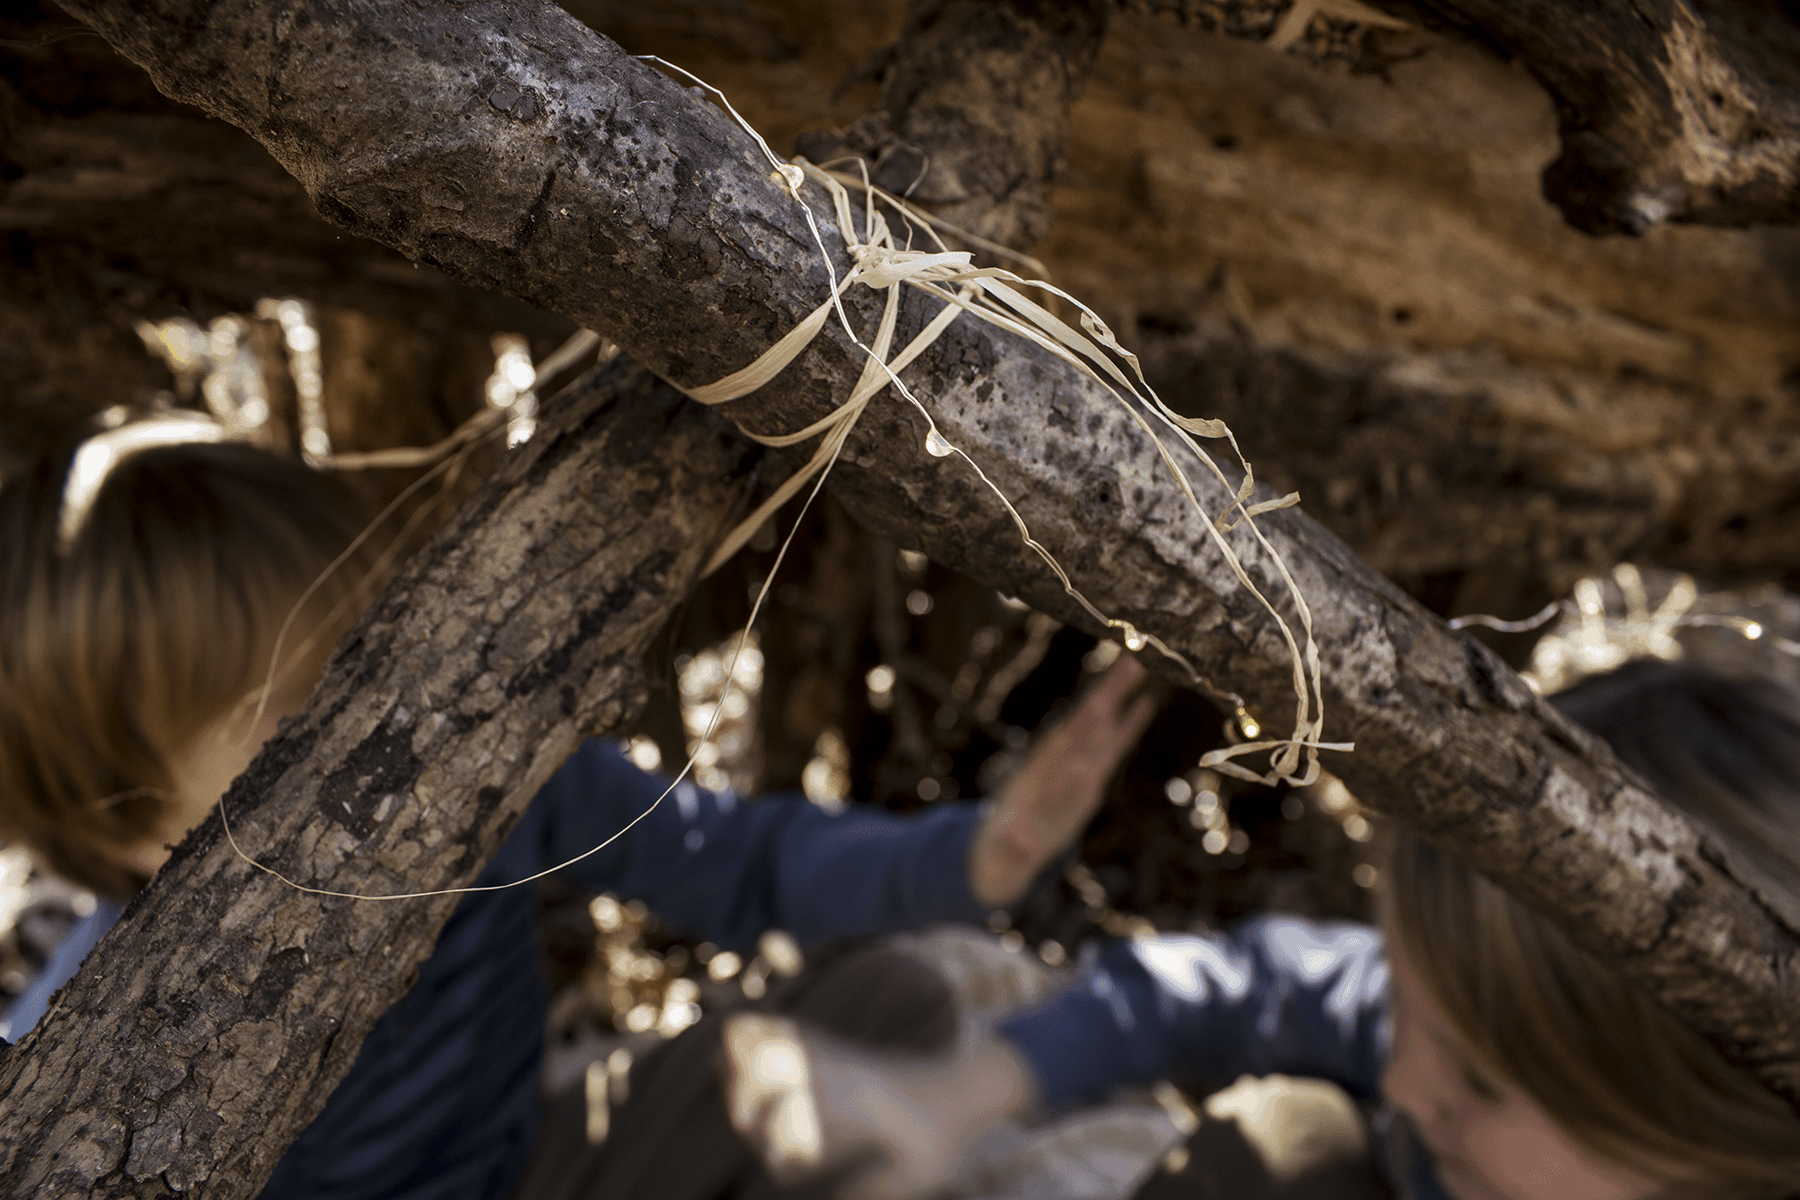
Fort building is a simple activity that does not require much. However, there are a few things that we always bring along to make it more fun. I recently discovered a fort-building kit with rubber/silicone hooks that hold sticks together. While those are a great idea, we prefer to use an eco-friendly natural option so we’re not worried about leaving plastic behind. All-natural raffia grass is a great option for fort building. It is the most natural thing I have found to use to secure sticks and logs. Twine works well also, but the more natural, the better.
My kids love using the long pieces of raffia to hang decorations from their fort, or to secure the sticks together. I also love to surprise them with twinkle lights to string up once their fort is done. A durable, outdoor blanket or an old bed sheet or two are also helpful to bring along. These can serve as a roof, walls/dividers or a comfy floor to sit on inside the fort.
Don’t forget the snacks
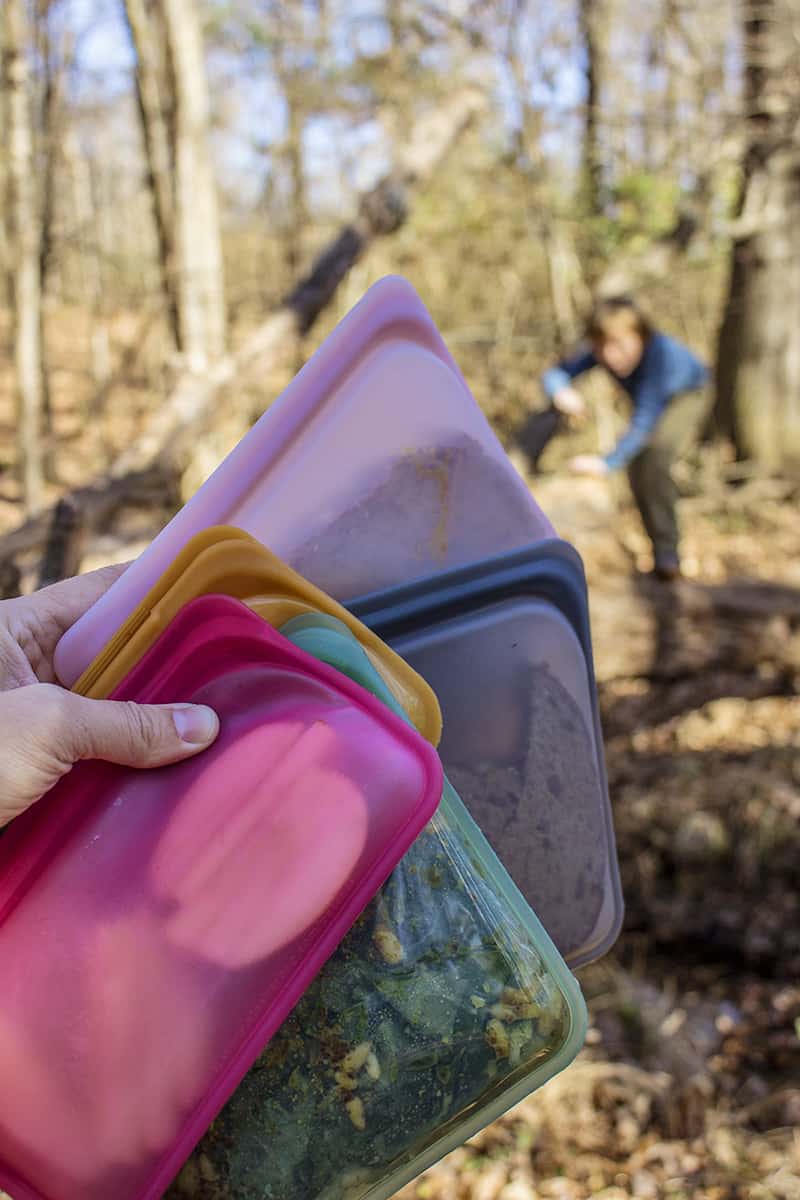
Whether it’s lunchtime or not, when adventuring outdoors with kids, always bring snacks! There’s nothing better than a snack in the fort you built with your kids. If I’ve planned far enough ahead, I’ll pack a lunch with a fun surprise treat. If not, I throw whatever I have in my cupboard into my Stasher bags and off we go. I love those bags because they can go directly in the dishwasher when we get home. Peanut butter sandwiches for them and a salad for me are always an easy lunch to pack. Plus, while we are hiking in my salad gets nicely mixed. Always remember to pack out what you pack in and remove any trash or food remnants when you leave.
The fruits of their labor
When you plan your fort-building day, be sure to allow enough time for your kids to stick around and enjoy their fort after they build it. I have made the mistake of making the kids leave shortly after they declared their fort complete. Talk about anticlimactic. So let yourselves linger. Give them time to enjoy it. Let them play. Lie down in your fort and take some time to talk about what they learned and what you can observe from within:
- What do you notice when you look at your fort from different angles?
- What types of animals would like your fort?
- Do you think it would survive a storm?
- What could you do to make it even better?
Get out your nature journals and draw your fort. You could even start an art journal just for the forts you build with your children. The possibilities to expand this into a lesson are endless, including studies in physics and mathematics. Or, just have fun with it and enjoy the journey. Either way, fort building throughout the seasons is always a wonderful way to spend time outside.
 Tips for winter fort-building in colder climates
If you live where snow and ice are prevalent in the winter months, there are still plenty of options for winter fort-building! You can still take the kids out into the woods to gather sticks and logs. Instead of packing leaves and bark over your fort to fortify it, let your kids experiment with packing snow. Help them dig tunnels in the snow to create an entrance or a moat around the fort. Or, if you’re building a fort around home, use sand toys and buckets as molds to make ice and snow bricks for building an igloo. The options are really endless when you let your (and your kids’) imagination and creativity run wild.
 About the author
Nichole is mama to two incredible adventurers. They are on their third year of homeschooling. She has been married to her best friend for nearly twelve years and they share a mutual love for the outdoors. An Iowan native now living in the south, she is happy to claim Arkansas as home. She is a wanderlust (and coffee) fueled, fearless, road-tripper who has been known to take off for epic adventures at a moment’s notice. Hiking and camping (of the backpacking variety) and crystal digging are a few of their favorite family activities. You can find her in the woods somewhere, (probably up a creek and jumping off waterfalls) or online in the following locations:
Website: www.luckeywanderers.com
Instagram: @coleyraeh
RWMC posts: Nichole
More from Nichole
As a family, we love gardening. It’s a wonderful way to ensure time spent outside every day throughout the growing season. This past year, we embarked on an adventure to grow our own luffa sponges. Did you know you could do that? It took us all year, but now we have the most wonderful gifts that came from our very own backyard. Here’s all the details about our luffa gardening adventure. We also grew some giant sunflowers that turned into a really fun hands-on learning experience at the end of the season. You can read about our sunflower dissection.
Have you tried winter fort-building? What was your experience?
Any tips for building ice or snow forts? We’d love to hear them!
Comments
2 responses to “Winter Fort Building with Kids”
[…] Cooler and colder temperatures do not mean the fort building has to stop. For many of you in the warmer climates, it’s actually the best time of year to head to the woods to build some forts! The risk for snake encounters goes down, the ticks die off and so do the mosquitoes! There are so many options for building forts, including eco-friendly options. Our favorite ways include finding long sticks and piling them up to make a giant teepee type structure or lining them up against a fallen tree to make a shelter inside. Here’s a great post on how to build an eco-friendly winter fort with kids. […]
[…] Build an outdoor den – Building outdoor forts and dens is a really important activity for children and helps them with all kinds of problem-solving and […]

Leave a Reply