October is the perfect time of year to think about bats! If your kids are curious about bats and would love to learn more about these fascinating (and really beneficial) creatures, this post is for you! Today, Lissy Perna, Massachusetts mom of two and founder of Get Outside Cape Cod, is here to discuss all things BAT! Lissy walks us through the benefits and importance of bats and provides step-by-step instructions on how to build a bat house with kids. This hands-on DIY is easier to do than you might think! She also includes additional bat resources, bat book recommendations for kids, and some really interesting bat facts.
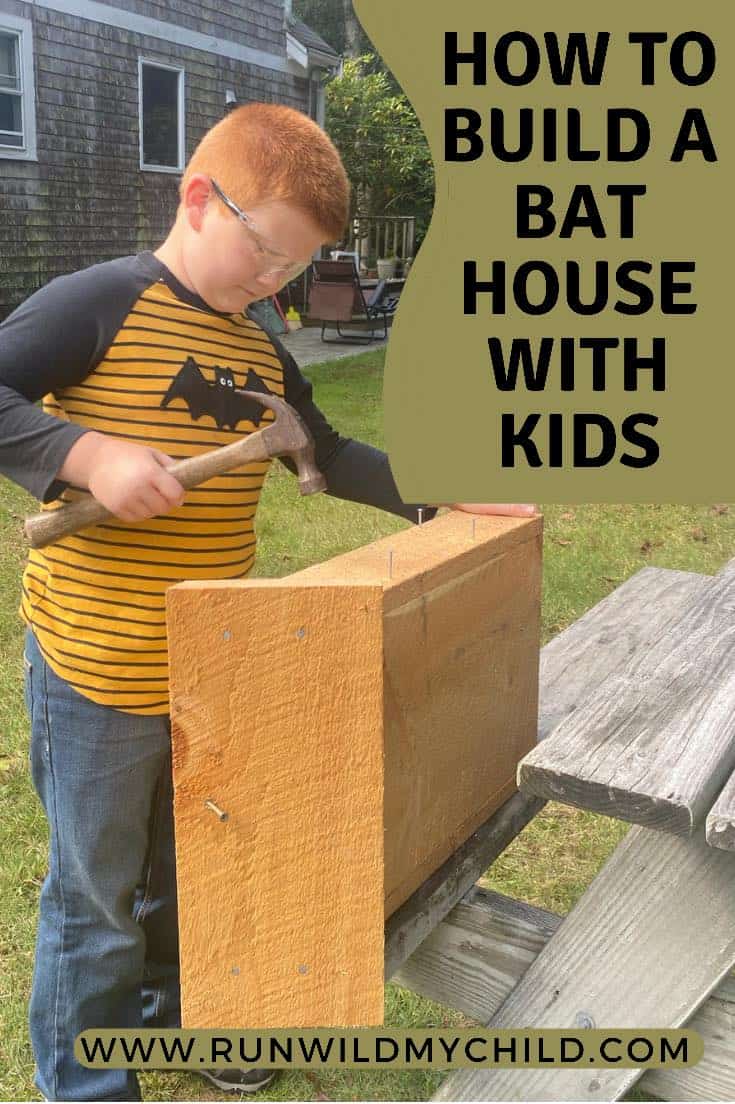
How to build a bat house with kids
Have you ever thought about building a bat house with your kids, but you weren’t sure if it would be too much work? Well, I want you to know that you can totally do it! Building a bat house is an easy project that can be done in an afternoon. The shallow design of a bat box is perfect for bats because they like cramped, dark spaces for nesting. Get your kids involved in the planning and the work. Kids can help with picking the location, measuring the wood, cutting the pieces, driving nails, and decorating the bat house. Follow these steps while including your kids, and you’ll not only have built a bat house but will have formed a lasting memory together too!
Benefits of bats
Bats get a bad rap, as they are often associated with Halloween, vampires, and even the most recent pandemic. But, bats are crucial to their ecosystems and are generally not harmful or dangerous to humans. Here are some of the many valuable aspects of bats that you might not have been aware of.
Bats that consume insects provide a critical amount of pest control – $3.7 billion worth in the United States alone each year. And, in a bittersweet way, these bats become sustenance for larger predators such as hawks, raccoons, and snakes. (Did anyone else start to sing “The Circle of Life” from the Lion King?)
When you think of pollinators, bats probably aren’t the first creature that comes to mind. Bees, butterflies, or birds might top your list. But, some bats, like the Mexican long-tongued bat, are perfectly adapted to pollinate the agave plant in the Southwestern US. Sweet!
Bat guano is rich in nutrients. Did you know that bat excrement (or bat droppings), also known as guano, is high in nitrogen and can be used as organic fertilizer? It’s more effective than cow manure, so moo-ve over heifers, we have a new way to fertilize our gardens.
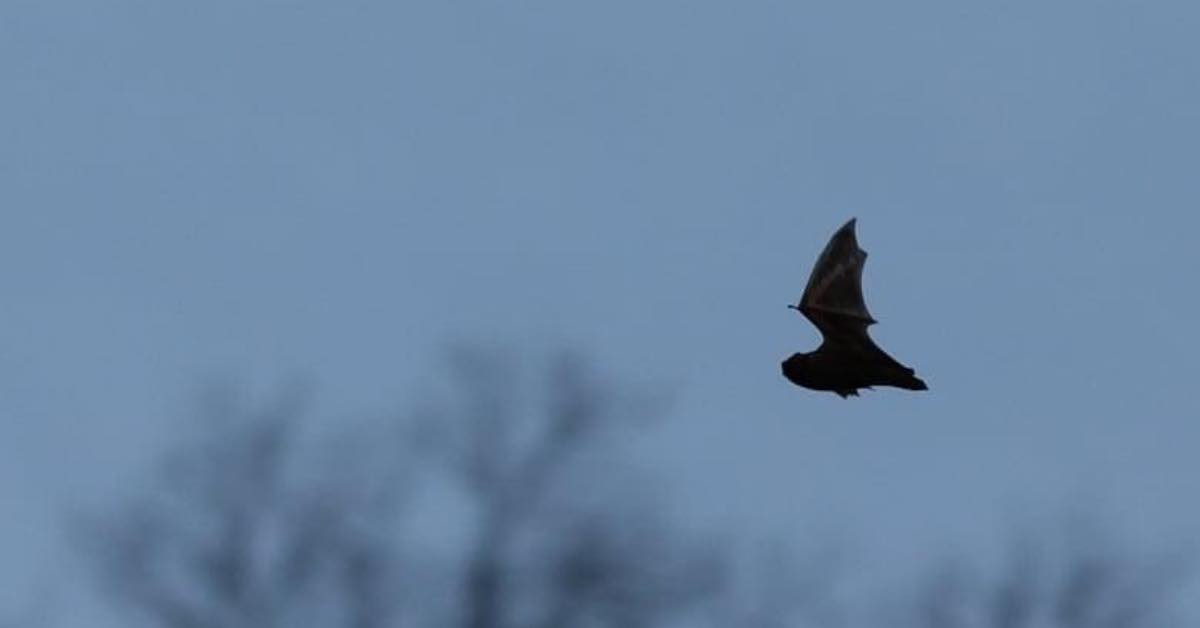 Photo credit: Stephen Ghio
What do bats eat?
Bats eat various things, like fruit, nectar, pollen, and insects. Some even drink blood! However, out of 1400 species of bats, only 3 are vampire bats species that survive by consuming blood.
Did you know that bats are the prime pollinator for the agave plant, an ingredient in tequila? So the next time you’re drinking a margarita, make a toast to a bat!
The bat populations in our area in Massachusetts are all insectivores, meaning they only feed on insects. In just one hour, a single little brown bat can eat up to 1,000 insects. A nursing mother bat can eat up to 4,000 insects in one night; isn’t that wild?
More amazing bat facts for kids
Let’s face it, bats are pretty interesting creatures. Here are ten more facts about our winged friends that I thought were unusual that might interest your kids:
- Bats are the only mammal that can truly fly.
- The oldest living bat on record was found in Siberia; it lived to be 41 years old!
- Bats have lived on earth for over 50 million years, and the oldest fossil was found in Wyoming near Yellowstone National Park.
- The saying “blind as a bat” doesn’t hold much weight, as bats can actually see. Some bats that eat fruit rely almost entirely on their vision to find their food.
- The largest known colony of bats is in Texas at the Bracken Bat Cave. There are more than 20 million bats living together!
- Bats are a symbol of happiness in Japan.
- Bat excrement or guano was used to make gun powder during the Civil War.
- There is species of bat in West Africa that live in spider webs!
- Bats’ echolocation is so precise that it can detect an object as thin as human hair.
- The smallest known bat is Kitti’s Hog-nose bat also known as the Bumblebee Bat because it only weighs 2 grams.
Now that you’ve learned so much about these truly magnificent mammals and the critical role they play in our ecosystem, are you ready to build your bat house? Great! Just hang in there because I have all the information you need up next.
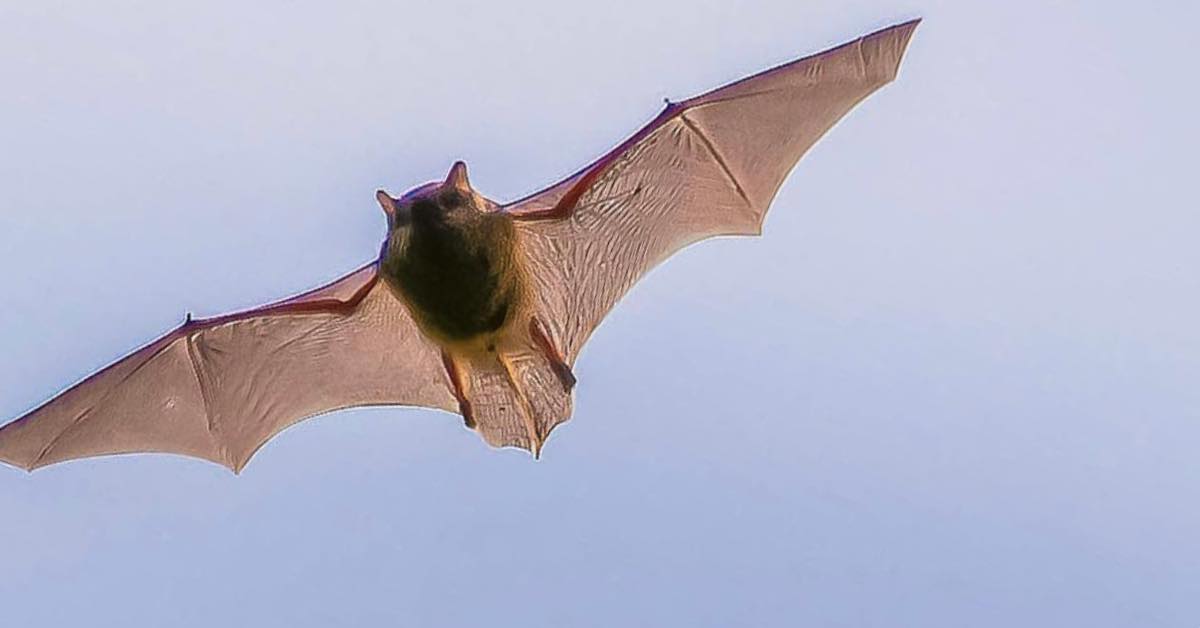 Photo credit: Adam Olliver
Bat house design
Typically, bat house design is pretty straightforward. Bat houses are usually in the shape of a narrow flat box, with an opening at the bottom for the bats to fly in and out of. The goal for bat house design is to make a bat house that mimics the space between tree bark and a tree trunk. The space inside a bat house should be very narrow, unlike a birdhouse, which would house a round nest. Bats like tight spaces. They also like warm spaces when raising their young. The open bottom designs allow the bats easy entrance/exit.
Gathering materials to build your bat house
First, you will need to gather all materials to build the bat house with your kids.
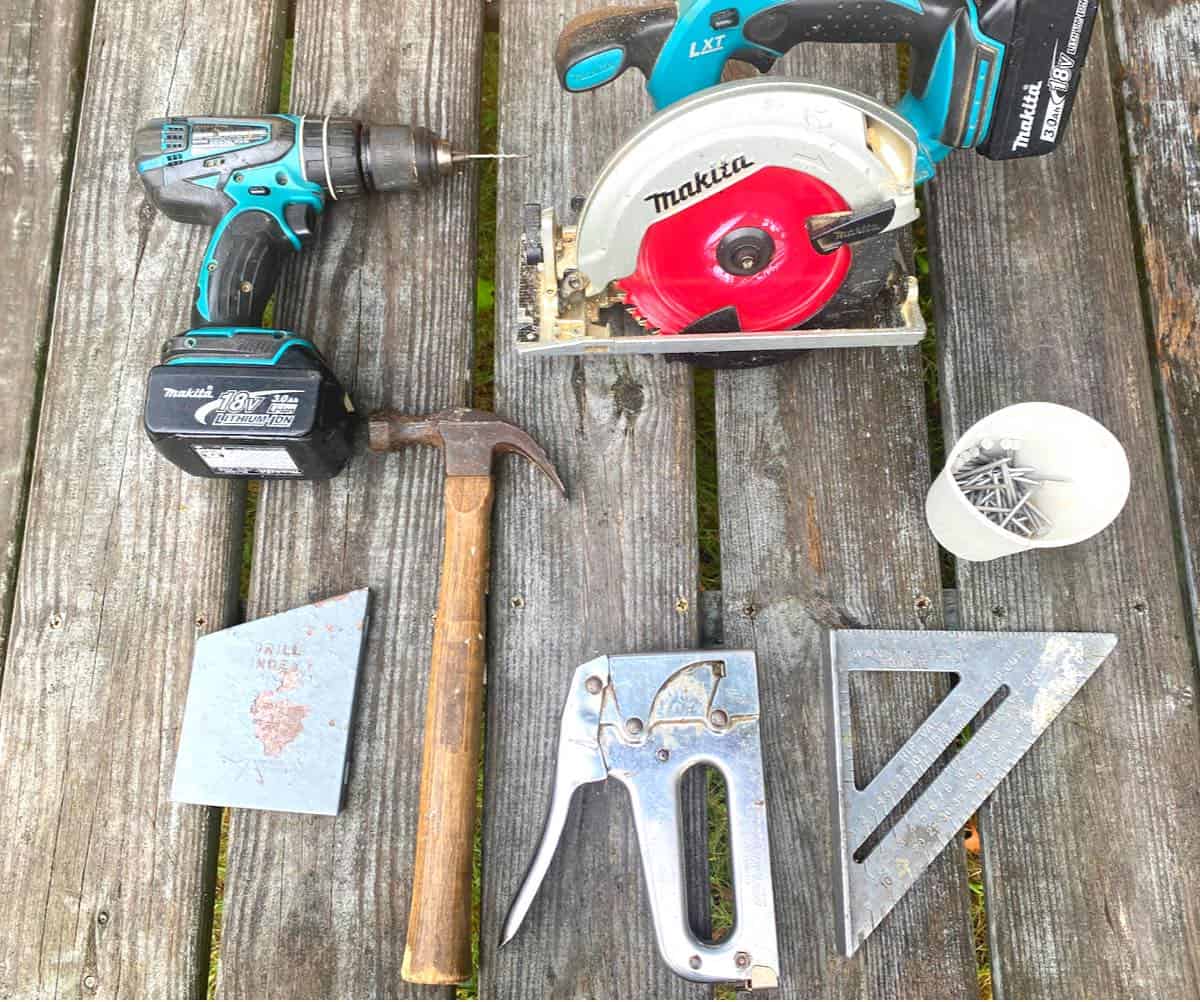
Tools needed:
- Hammer
- (24) 2-inch nails, aka “6-penny nails”, or galvanized screws
- Circular saw
- Compound miter saw
- Power drill
- Tape measure
- Pencil for marking measurements and straight edge
- Safety goggles
- (2) 3″ exterior screws for mounting
- Paint and paintbrush (optional)
- Plastic mesh netting and staple gun (optional)
- Wood boards (preferably cedar boards)
Pieces of wood cut into the following sizes:
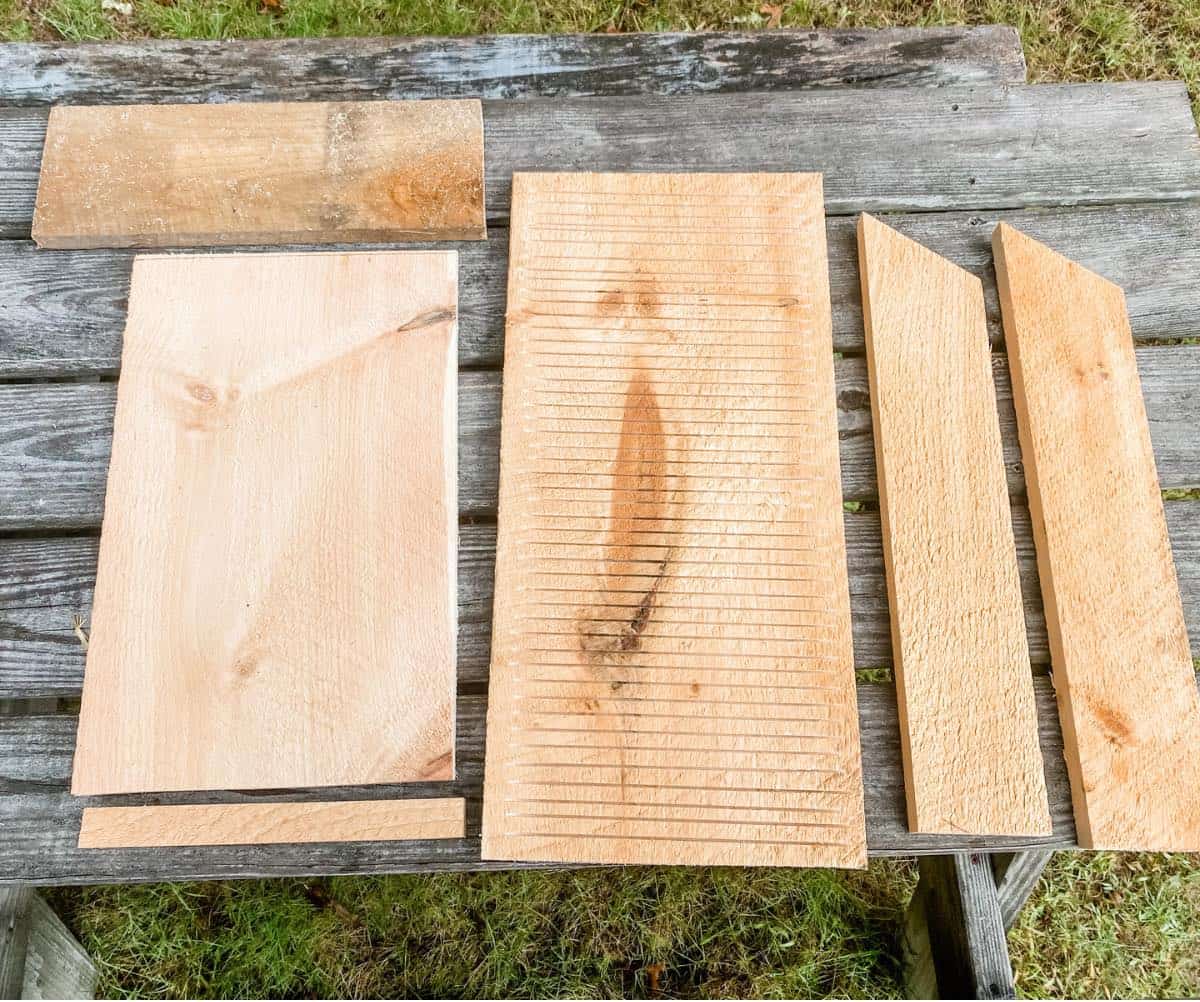
You’ll need to cut 6 separate pieces of wood to assemble the house. Measuring the boards is a great project for kids. I’ve included the dimensions for a basic bat house below, but you can certainly make a bigger bat house if you’d like; adjust the sizes accordingly.
- Front panel – 18.25″x12″x1″
- Sides (2) – 22″x4″x.1″, make 30-degree cuts on one end of each
- Back panel – 25″x 12″x1″
- Roof – 16.5″x7″x1″, you can make a 30-degree angle on the roof if you choose to, not necessary
- Predator Buffer – 12″x 1.5″x 1″
Also, cedar is generally recommended but tends to be expensive. We chose to build with rough-sawn native white pine from a local mill, as it was less costly and has worked fine in bat boxes that we have made in the past. Whichever wood you decide to use, remember that it must not be treated with any chemicals, as they can be harmful to the bats. Purchasing an 8-foot by 1-foot plank of wood from a lumberyard should give you enough material to build your entire bat house.
How to assemble a bat house
Create kerfs in the wood
The first step in assembling your bat house is to make sure that the interior sections of the house are not planed or smooth. As you can see on our back piece, we created multiple horizontal lines with the saw. These “kerfs” were a quarter-inch deep and made with the compound miter saw. (This step would most likely be a job for an older child, but using power tools can be an empowering skill to learn!)
These kerfs make it easier for the bats to hang when sleeping upside down in the house. Another option is to use plastic netting and staple it onto the interior of the bat house. Carefully trim any excess edges to avoid injuring the bats while inside the house. Bat houses should not contain fabric or plastic mesh.
Keep the predators out
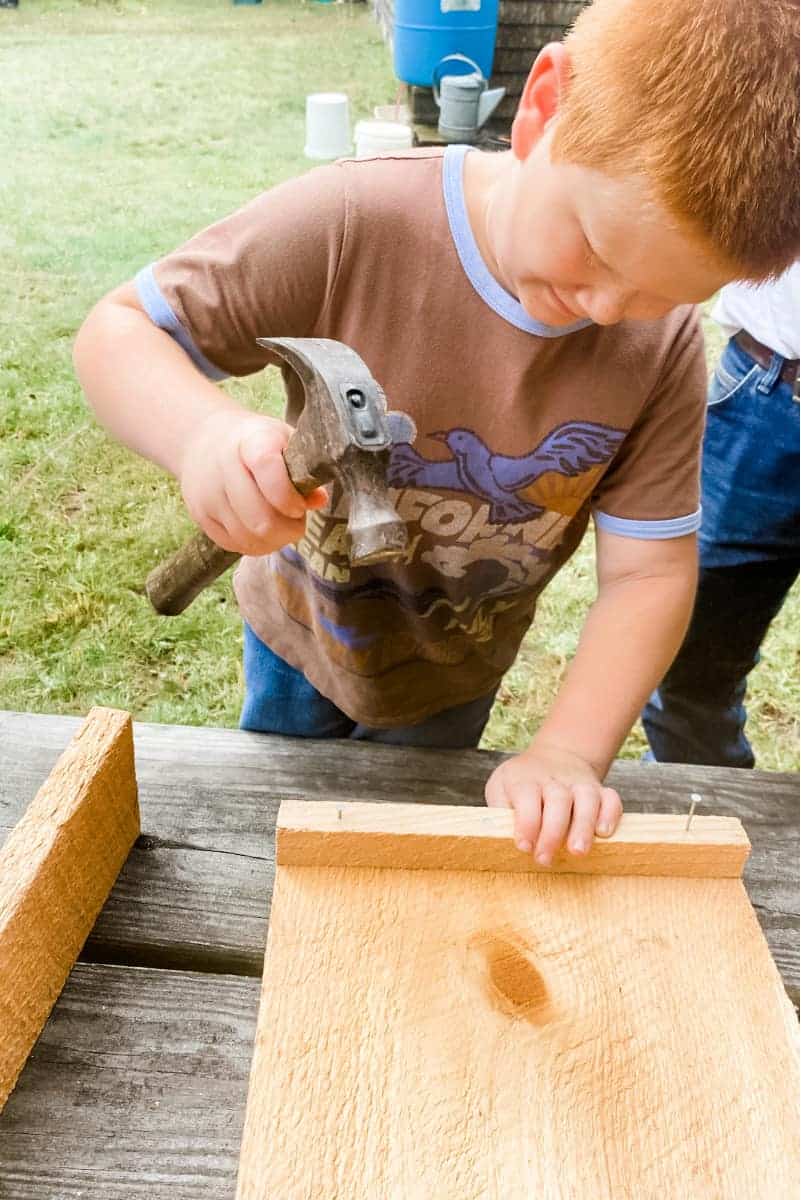
Next, nail the predator buffer to the bottom of the inside of the front piece. This piece of wood is vital to prevent predators from climbing inside the bat house and create a safe home for the bats. However, the small opening is still big enough for the bats to squeeze through. The gap at the bottom should be three-quarters to one inch.
Nailing this piece of wood is a great way for the kids to get involved in building the bat house. You can help stabilize the pieces using wood glue, but that’s not necessary. Kids can use a hammer to pound in a few nails, and it’s great for hand-eye coordination! Pro-tip: Holding the hammer farther down on the grip, away from the head, will give you more force and more “BANG” for your buck.
Add the sides to the bat house
Next, use the power drill to start the holes in the sides of the house. We made three evenly spaced pilot holes along the edge. Pre-drilled holes made it easier for the kids to bang in the nails. These side pieces then get nailed to the back of the bat house.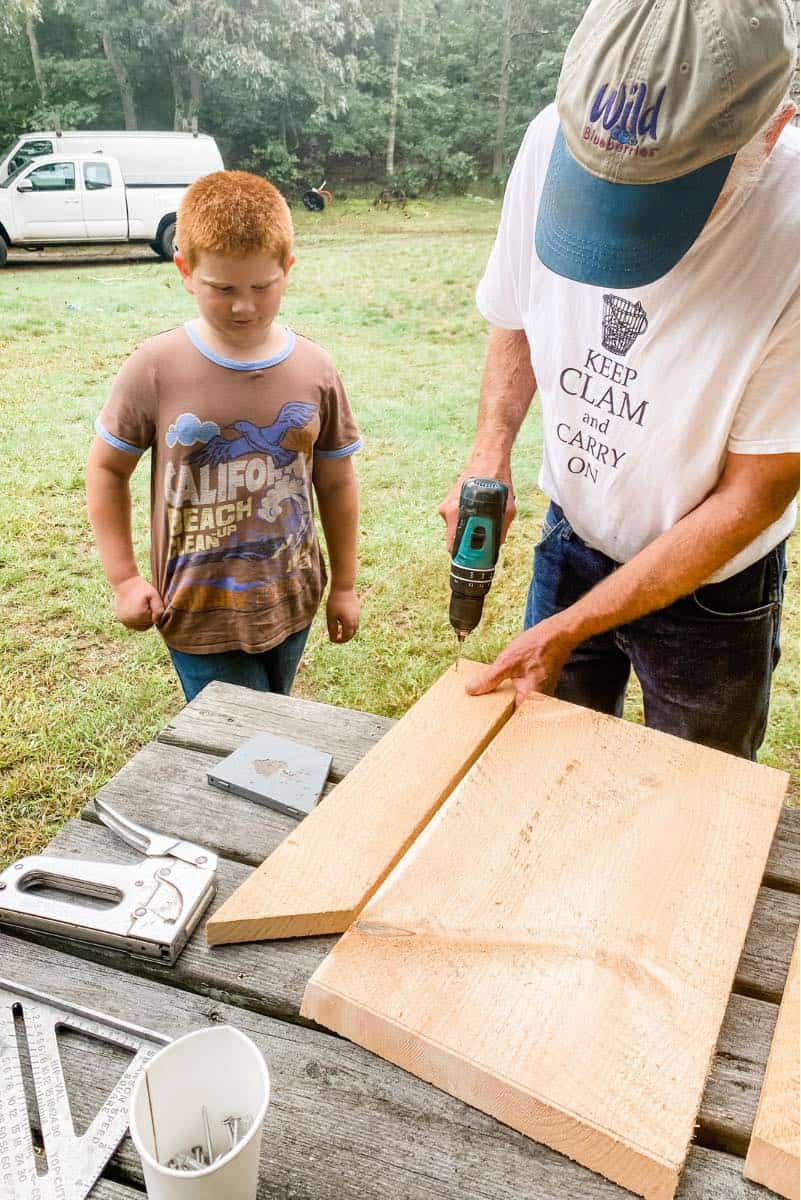
Add the front and landing areas
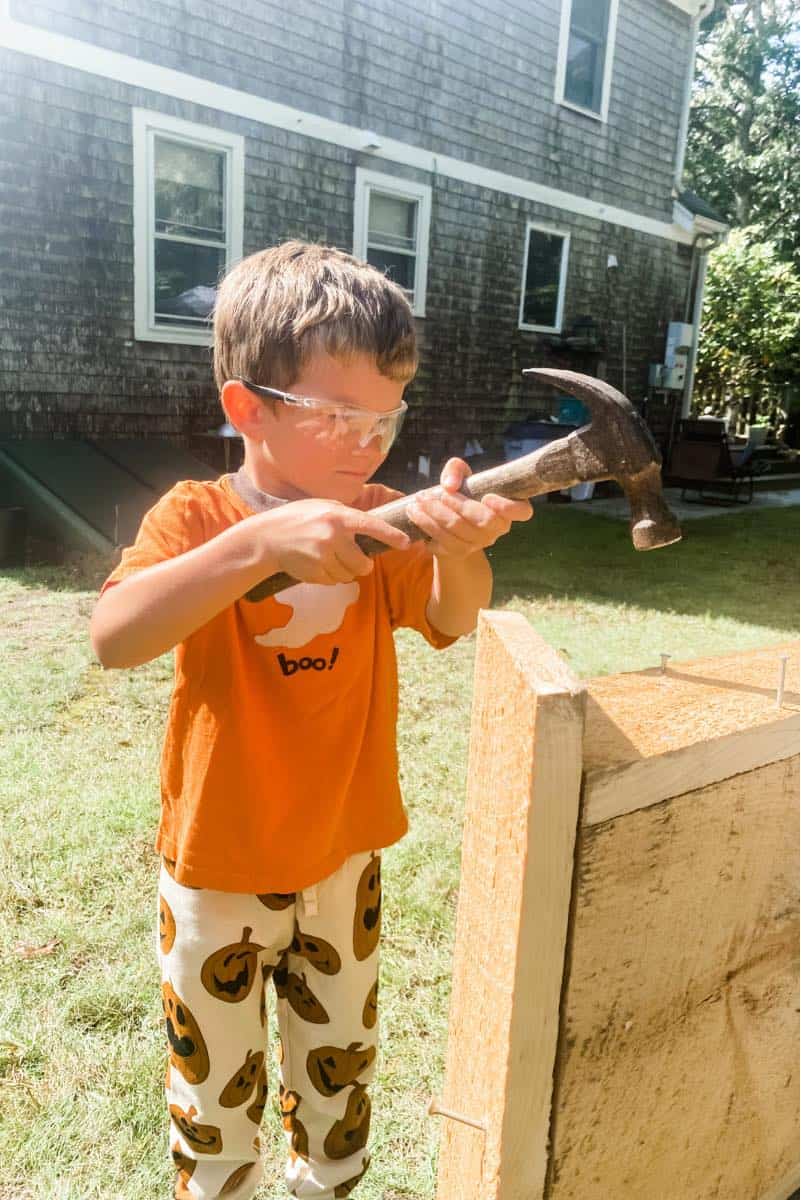
The next steps are to slide the front piece into place and add the landing area. A little gap along the upper edge is a good thing – it’s necessary for ventilation. Use three more nails on each side. The overhang on the bottom is called the “landing area” this is where the bats land and climb up inside the house. A four-inch landing zone is sufficient for the bats to perch and climb comfortably.
Attach roof and mount
The last piece to attach is the roof. We used four nails after pre-drilling holes.
Finally, drill a hole in the bottom center of the back piece & the top center of the roof for the exterior screws to mount to the side of a building or the side of a house.
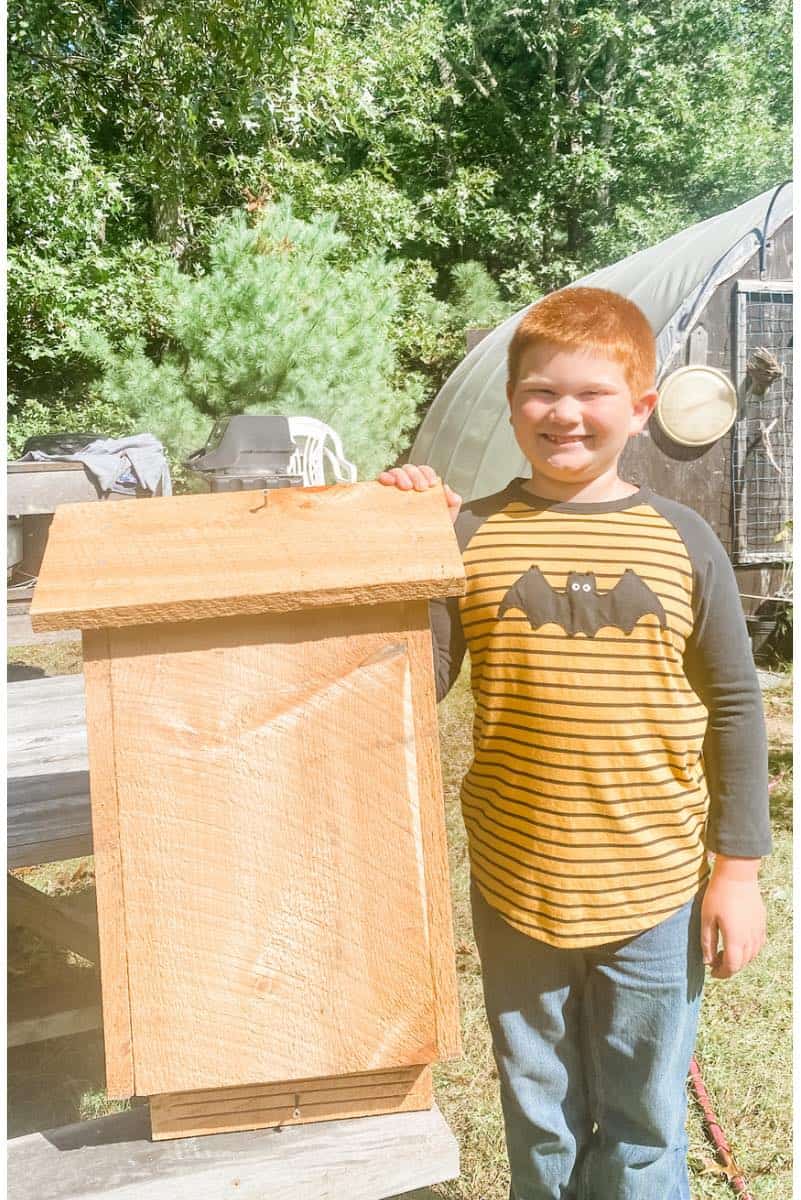
And with that last step, you just built your very own bat house with your kids! Pat yourself on the bat- I mean, back. Great work!
Decorating your bat house
While it’s not necessary to paint your bat house, paint color can affect the inside temperature, which in turn can either attract or repel bats. You should either paint your bat house a light color or dark color depending on the temperature where you live. Here is a trusty map I found from Bat Conservation and Management that will guide you to what color you should paint your bat house based on your location if you decide to paint. Colder climates need darker colors to absorb warmth.
When painting your bat house, the most important rule is to choose non-toxic water or oil-based paint that will withstand natural elements such as snow and rain. You can use a drop cloth or old sheet to protect any surfaces from paint splatter. Remember to let the paint dry fully before hanging your house!
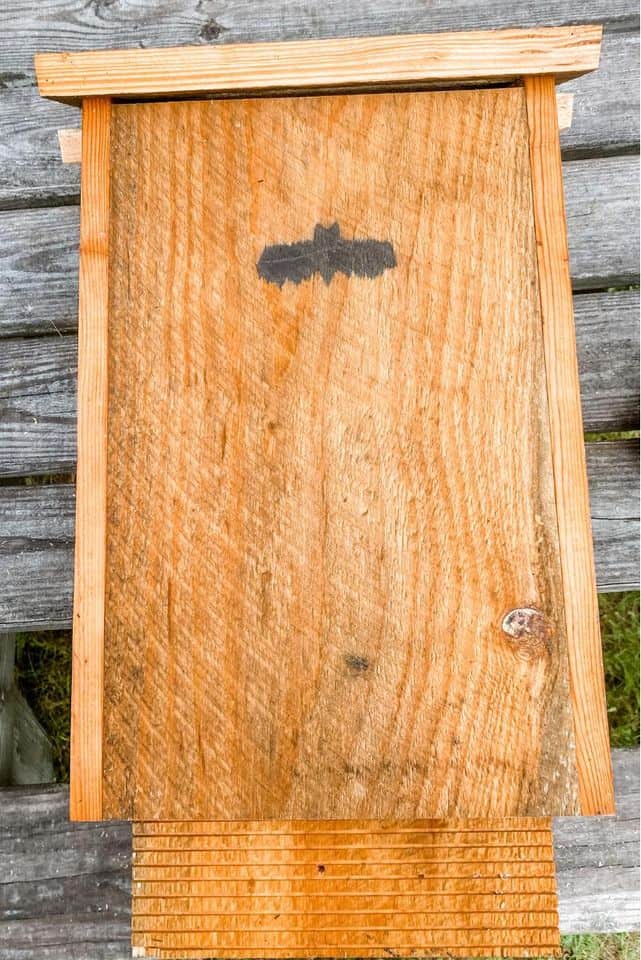
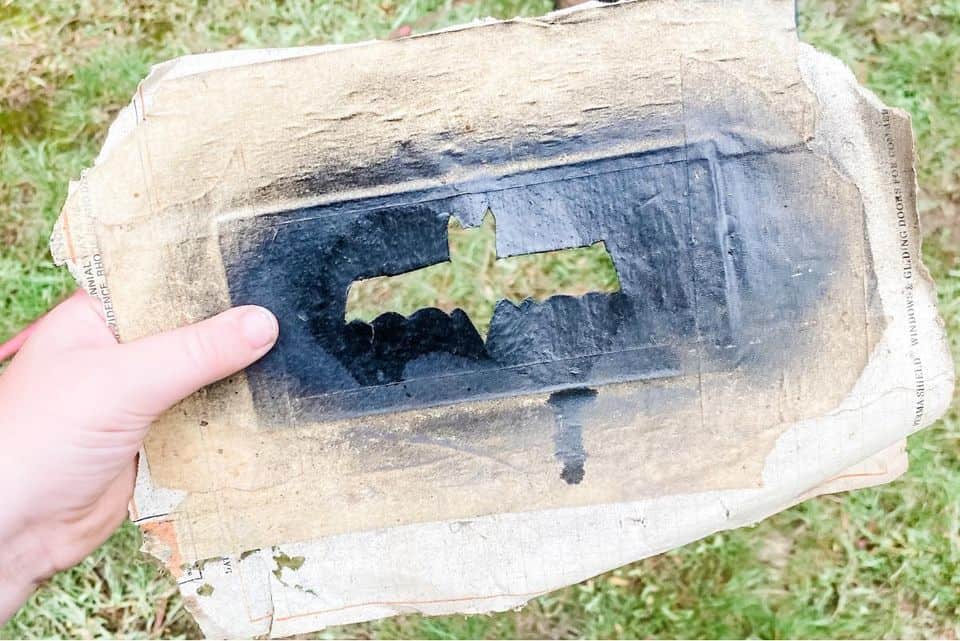
We decided not to paint our bat house and hung it up as-is. However, we did make another one and added a bat stencil to the front. The little brown bat stencil was initially drawn by my younger brother about twenty-five years ago when he first made a bat house with my dad. Can you believe my dad still had the stencil in his barn? This project ended up being incredibly special because my kids got to make this house with my dad and me, and he passed some of his carpentry skills on to them!
Where to hang a bat house
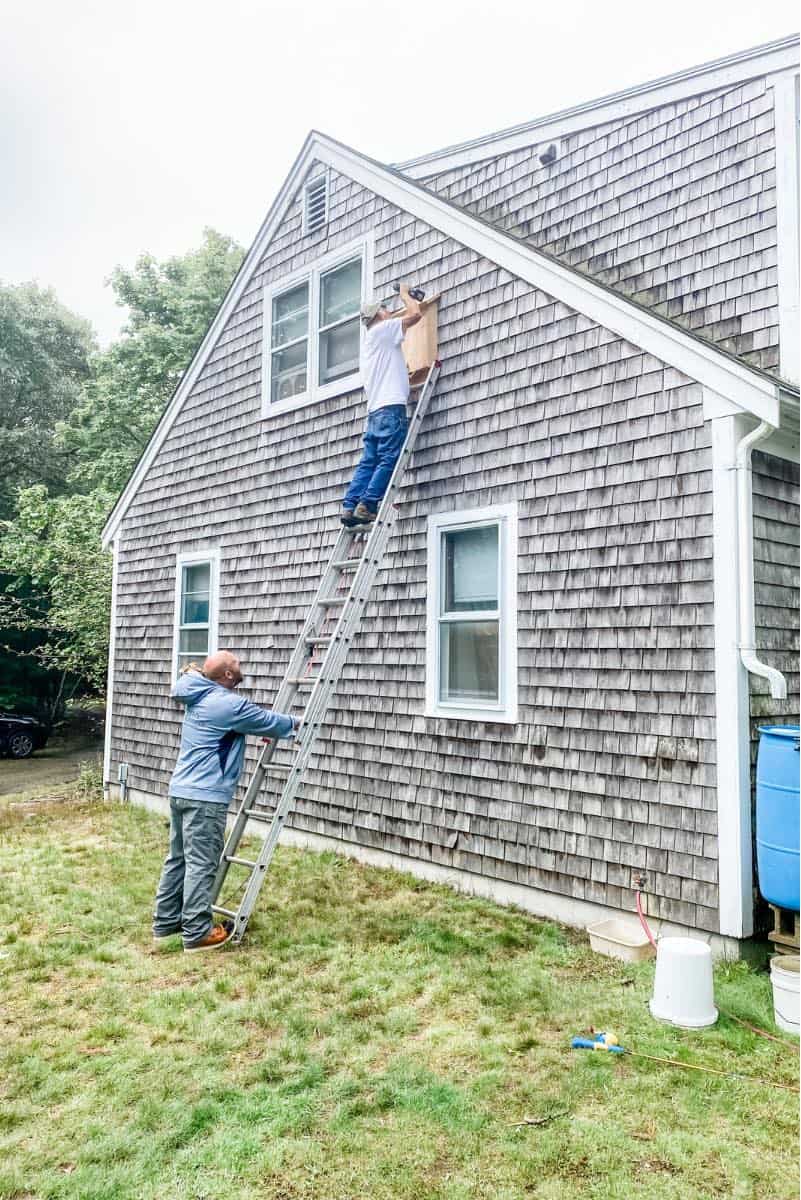
Choosing a place to attach your bat house is very important and depends on whether bats will decide to move into your newly constructed dwelling. There are a few factors to keep in mind when choosing the best location and mounting your bat house.
- The bat house should face south or south-east and get 6-8 hours of sun per day.
- Mounting the house at least 12 to 20 feet from the ground is ideal.
- The bat house should be away from bright lights.
- Trees are not the best option for mounting a bat house because they are usually too shaded and predators can more easily access the house.
- A fresh water source should be within a quarter-mile from where you place your bat house.
- Multiple bat houses can be grouped side-by-side on a home or building or back-to-back on a pole mount.
These seem like many requirements, but they are just general guidelines for the most successful bat houses. The goal is to do your best. If you only have a tree to mount it on, then try that. Or, if you don’t have a water source nearby, it’s still worth it to build a bat house!
Attracting bats to your bat house
Another thing to mention is building and hanging a homemade bat house does not guarantee that bats will decide to move in. Many factors are beyond your control that will determine whether or not you have a successful bat house. Some factors include predators nearby, other established roosts in the area, temperature and location of your bat house, etc. Ninety percent of bat houses become occupied by local bats within two years of installation, so practice patience. Hopefully, you will see some bat action sooner rather than later.
“When day fades away, bats come out to play”
Best times to look for bats
If you want to look for bats in your backyard or a local park, choose a clear dry evening. Bats mainly come out at about dusk to feed, so find out when the sun sets and head out around that time. Where we live in New England, Spring, Summer, and early Fall are the best seasons to look for these flying mammals, as they hibernate during the colder months.
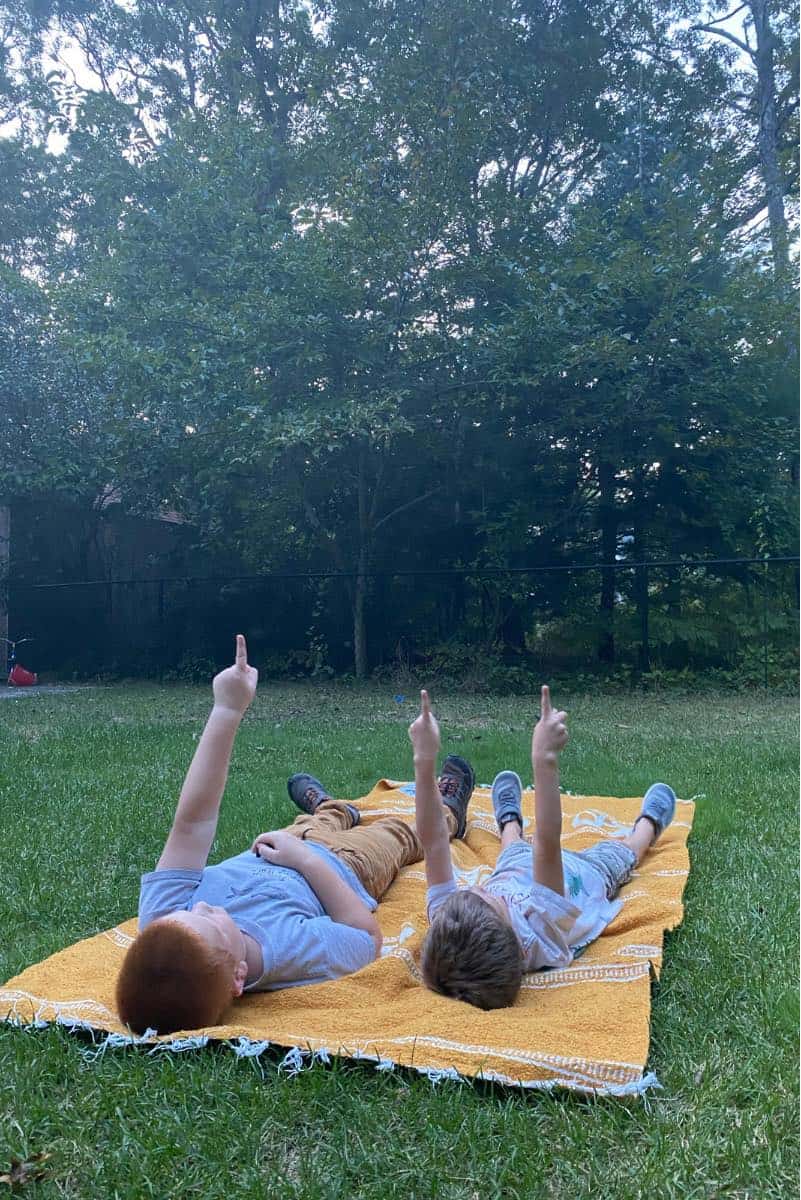
When we set out to look for bats in our yard, we lay blankets on the lawn and ensured all outdoor lights were off. Then, staring up into the sky as the sunlight slowly fades away, we keep our eyes peeled for any movement above the trees. There’s certainly no shortage of mosquitos, so we hope the bats will soon follow.
SWOOP! We saw our first bat! It was a flash of jagged flight, looking almost uncoordinated, but we knew better. These winged mammals are precise hunters and we had front-row seats.
My kids are always so excited to count bats. They love pointing at the sky and yelling out – “There’s one!” “I see another!” “Did you see those big brown bats, Mommy?!” It’s awesome. I try to capture photos of these insectivores, but they are too fast. As a result, only blurs of black in the early night sky showed up on my screen. The memory of this experience, however, is clear as a bell.
Become a bat-tivist (bat-activist)
Now that you’ve built a sturdy bat house to help support the bats in your neighborhood, there are other ways that you can help protect and support bat populations.
- Keep those dead trees up on your property! If they aren’t going to be a safety hazard, let them stay. Their natural cavities create the perfect habitat for bats, as well as many other creatures.
- Refrain from using dangerous pesticides, as these can unintentionally harm bats and other animals. There are all kinds of natural alternatives that are safer for the animals and our planet, too.
- Keep domesticated cats indoors, as they are dangerous to bats. House cats kill over 250,000 bats each year. Also, bat rehabilitators report that about one-third of injured bats are due to house cat attacks.
- Share your knowledge! Tell your friends that you know how to build a bat house and how beneficial these winged animals are.

Effortless options for a bat house build
Here are some alternatives for certified bat house kits for kids. They come with pre-measured and cut wood pieces that are easy to assemble, creating safe and attractive homes for bats without needing to use power tools.
Bat book recommendations for kids
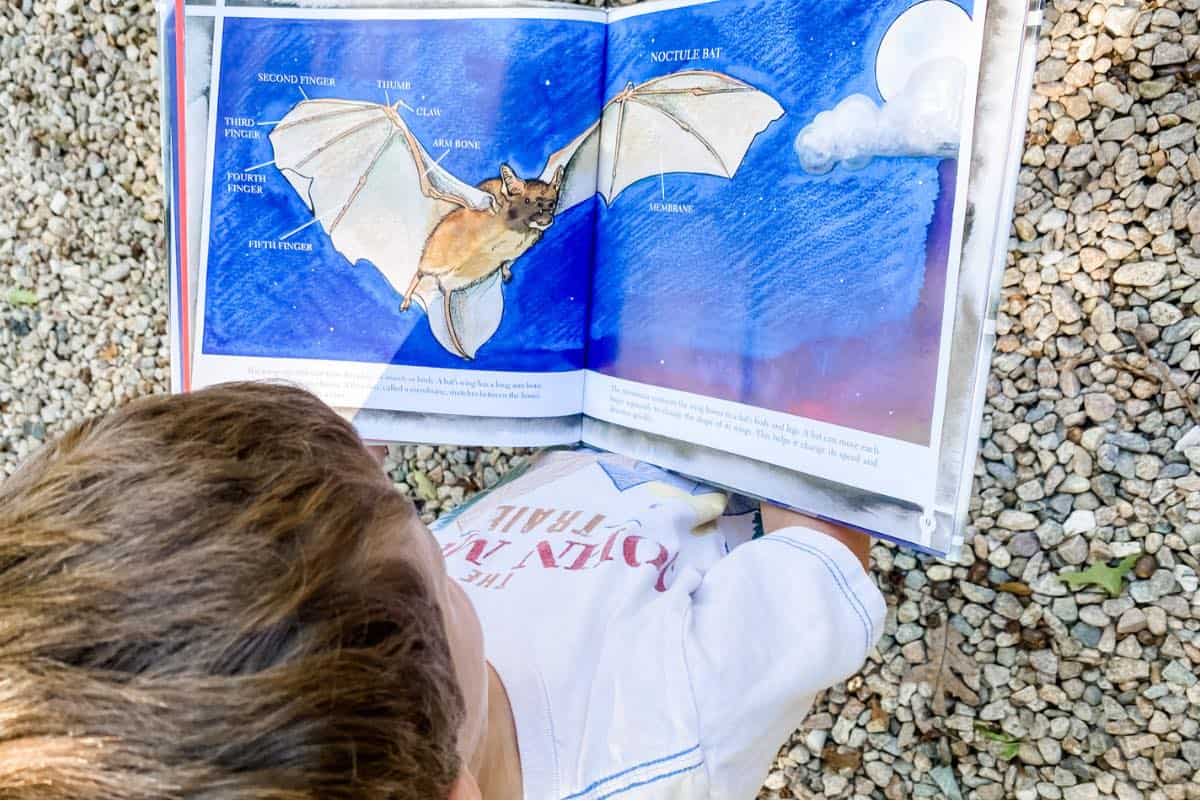
If you’d like to read more about these marvelous flying mammals that will hopefully soon be living in your bat house, here are some beautiful books that you can find at your local library or book store. Who knows, maybe you’ll have a bat-tivist on your hands in the future!
- “Bat Loves the Night” – by Nicola Davies
- “Zipping, Zapping, Zooming Bats” – by Ann Earle
- “A Place for Bats” – by Melissa Stewart
- “Amazing Animals: Bats” – by Kate Riggs
- “The Case of the Vanishing Little Brown Bats” -by Sandra Markle
- “Bats” – by Gail Gibbons
- “The Secret Life of the Little Brown Bat” – by Laurence Pringle
- “Stellaluna” – by Janell Cannon
Learn more about bats
If you (or your kids) are super interested in learning more about bats, check out Bat Conservation International. Their website is filled with amazing bat-tastic information including the latest bat news, bat facts, bat conservation efforts, and how you can help the cause. They also have free plans for building a bat house.
Are you ready to build a bat house with your kids?
About the author
Lissy lives near the ocean on Cape Cod, Massachusetts with her husband, 2 rambunctious boys (aged 4 & 7), and an ever-growing number of pets. She grew up walking nature trails and finding joy in the beauty of nature. She now shares that love for local adventures with her community through her blog, “Get Outside Cape Cod”. Lissy knows that everyone can benefit from spending more time outdoors, and wants to inspire and support families to do just that!
You can find more from Lissy in the following online locations:
Instagram: @getoutsidecapecod
Website: Get Outside Cape Cod
Facebook: @getoutsidecapecod
RWMC Posts: Lissy Perna


5 comments